Soft & Chewy Gluten-Free Ginger Cookies
This post may contain affiliate links. See our disclosure policy for more.
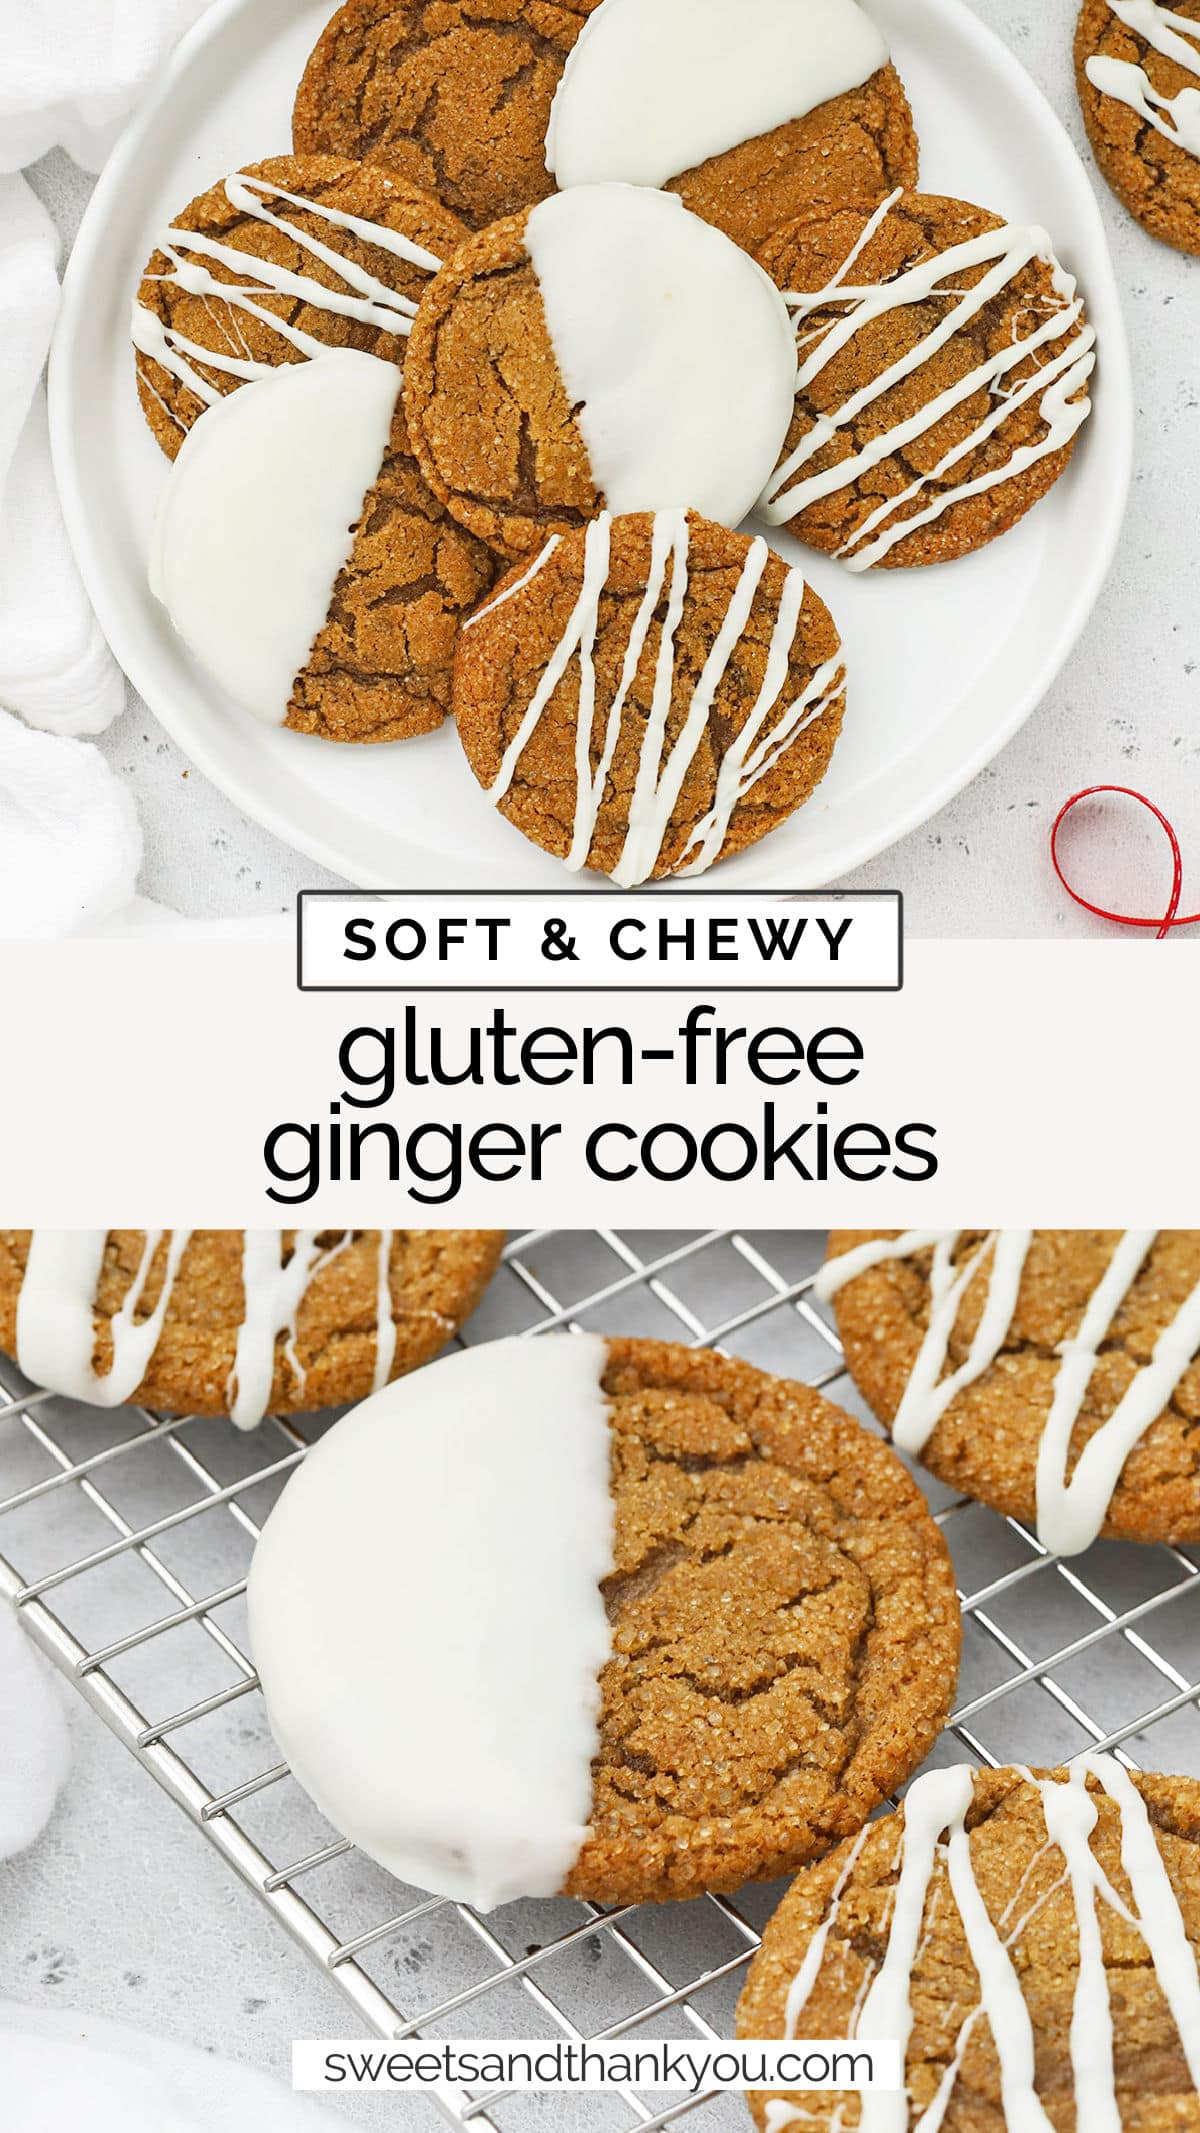
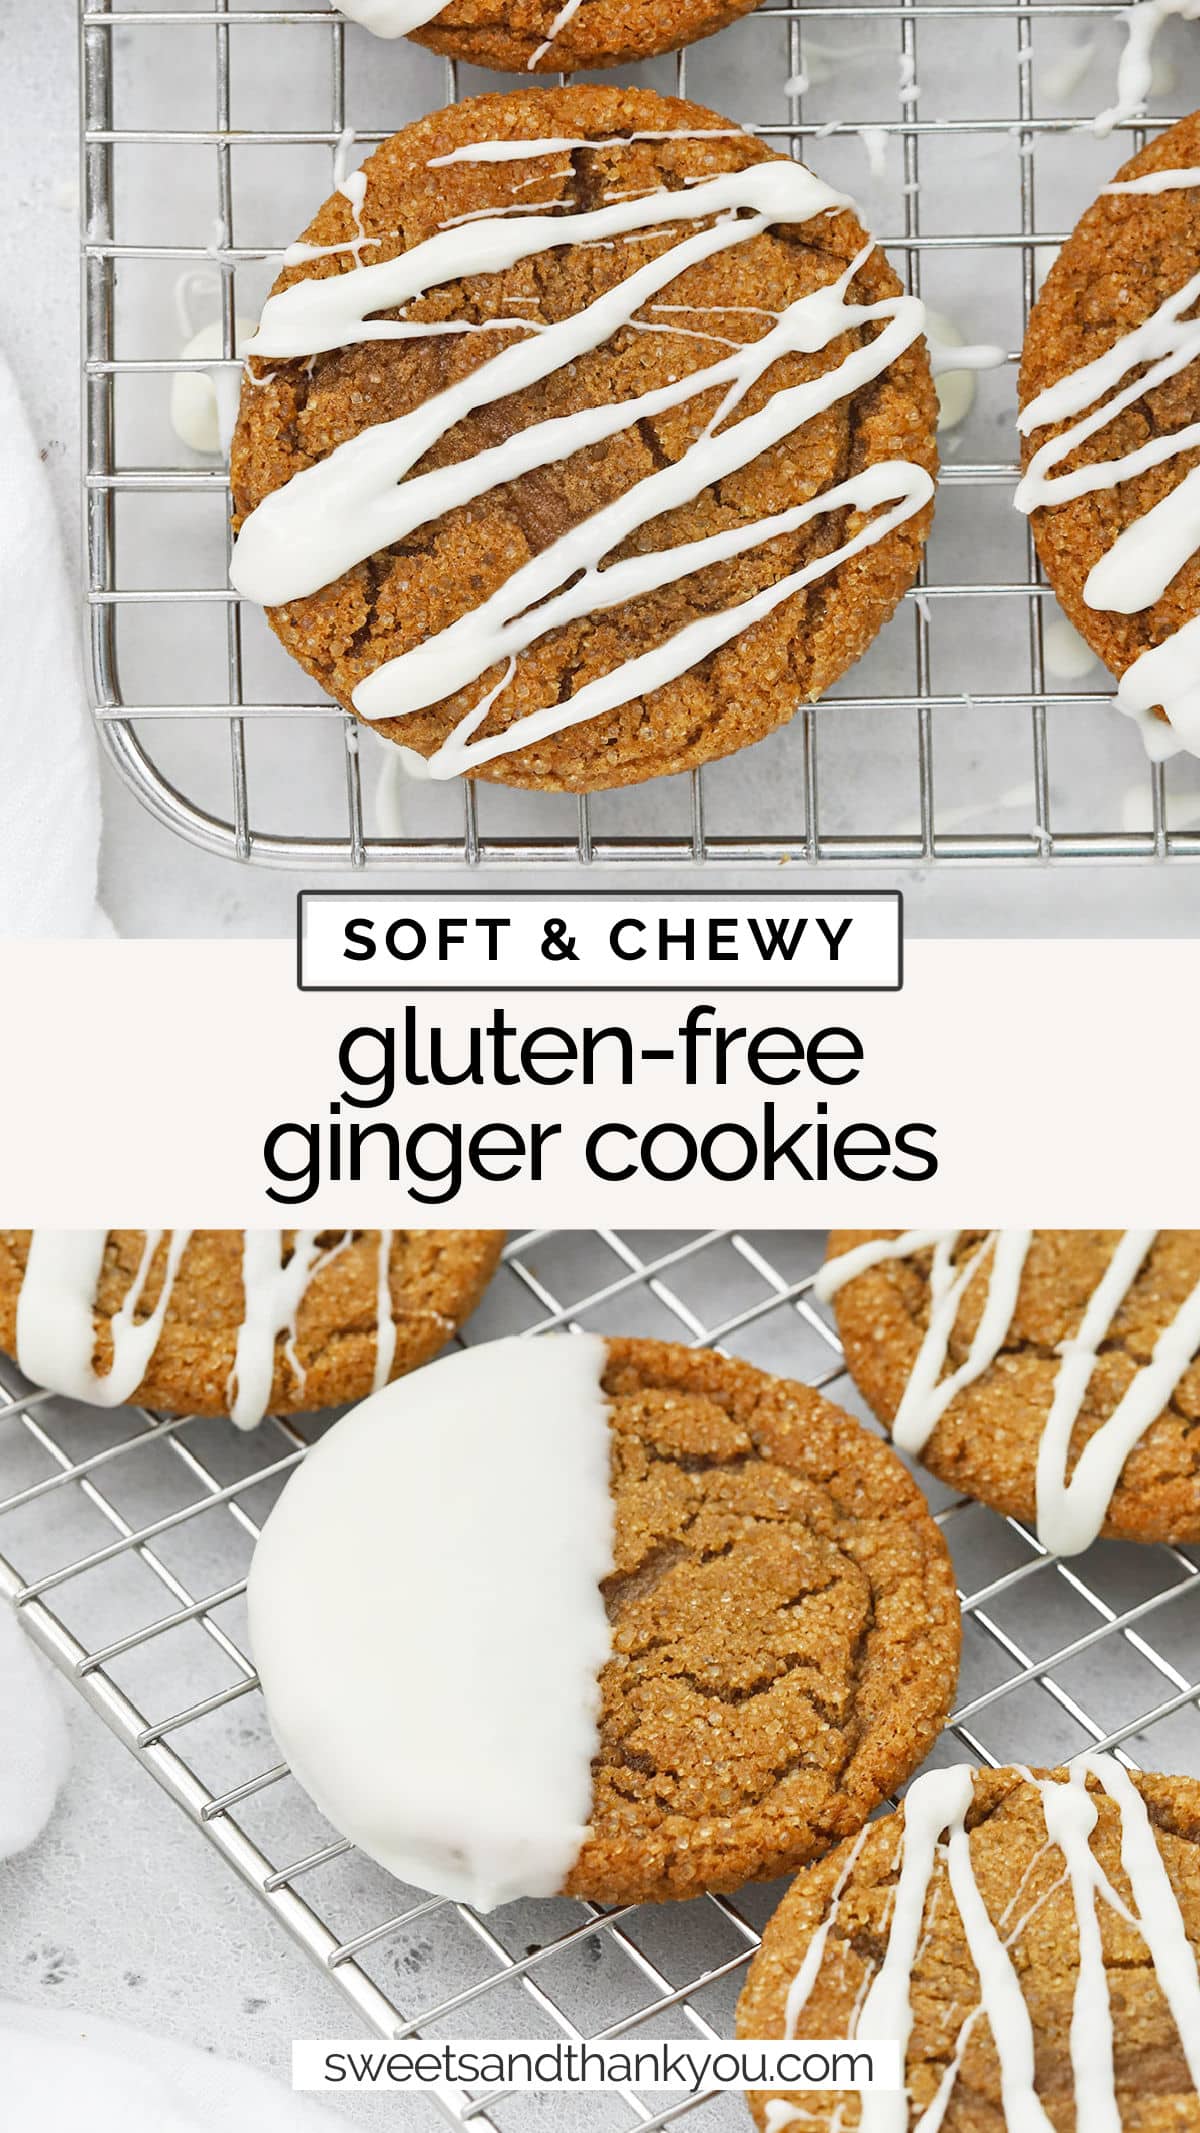
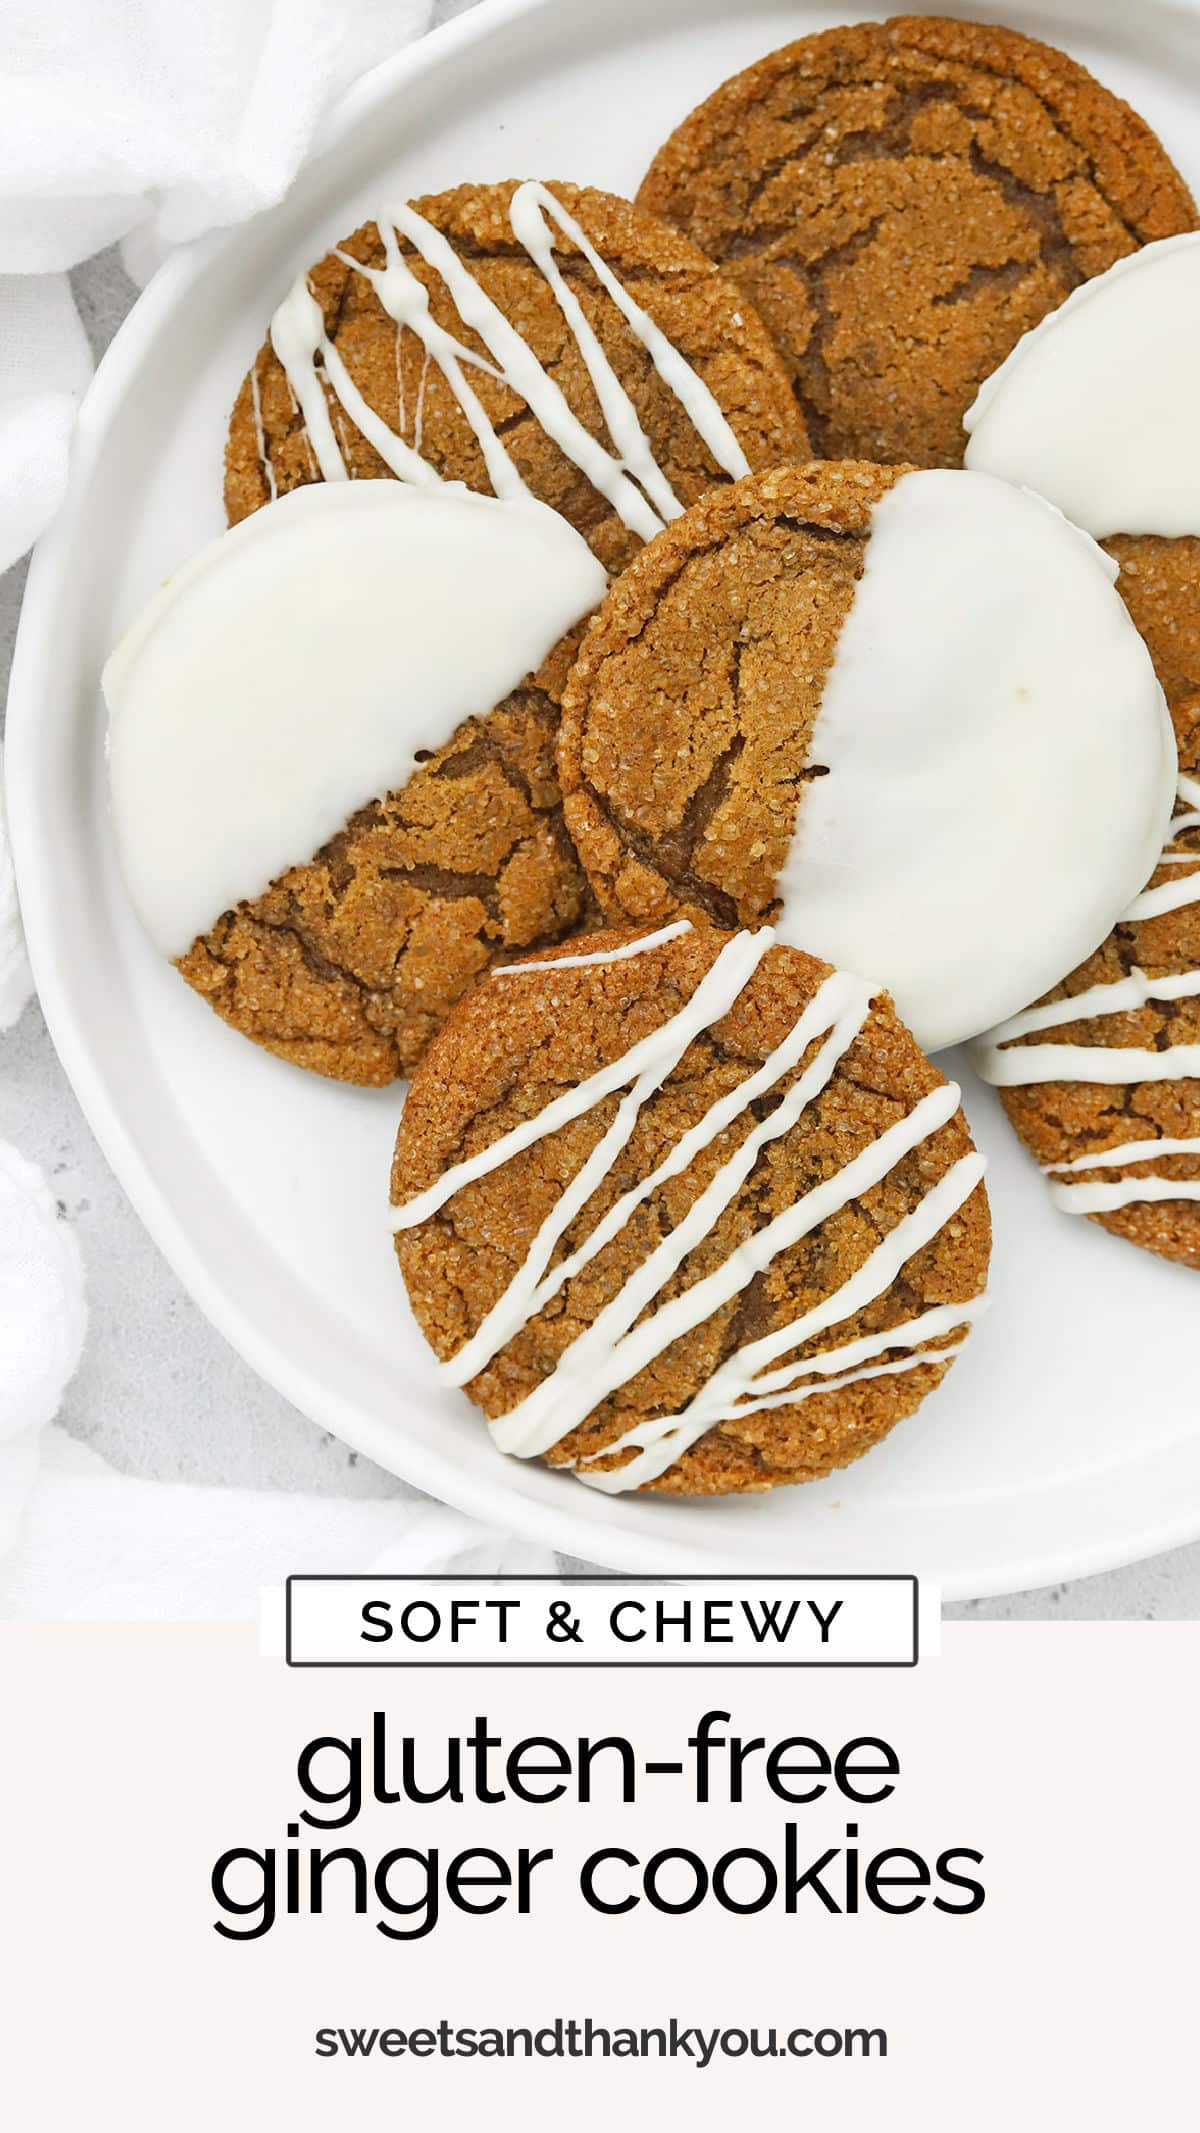

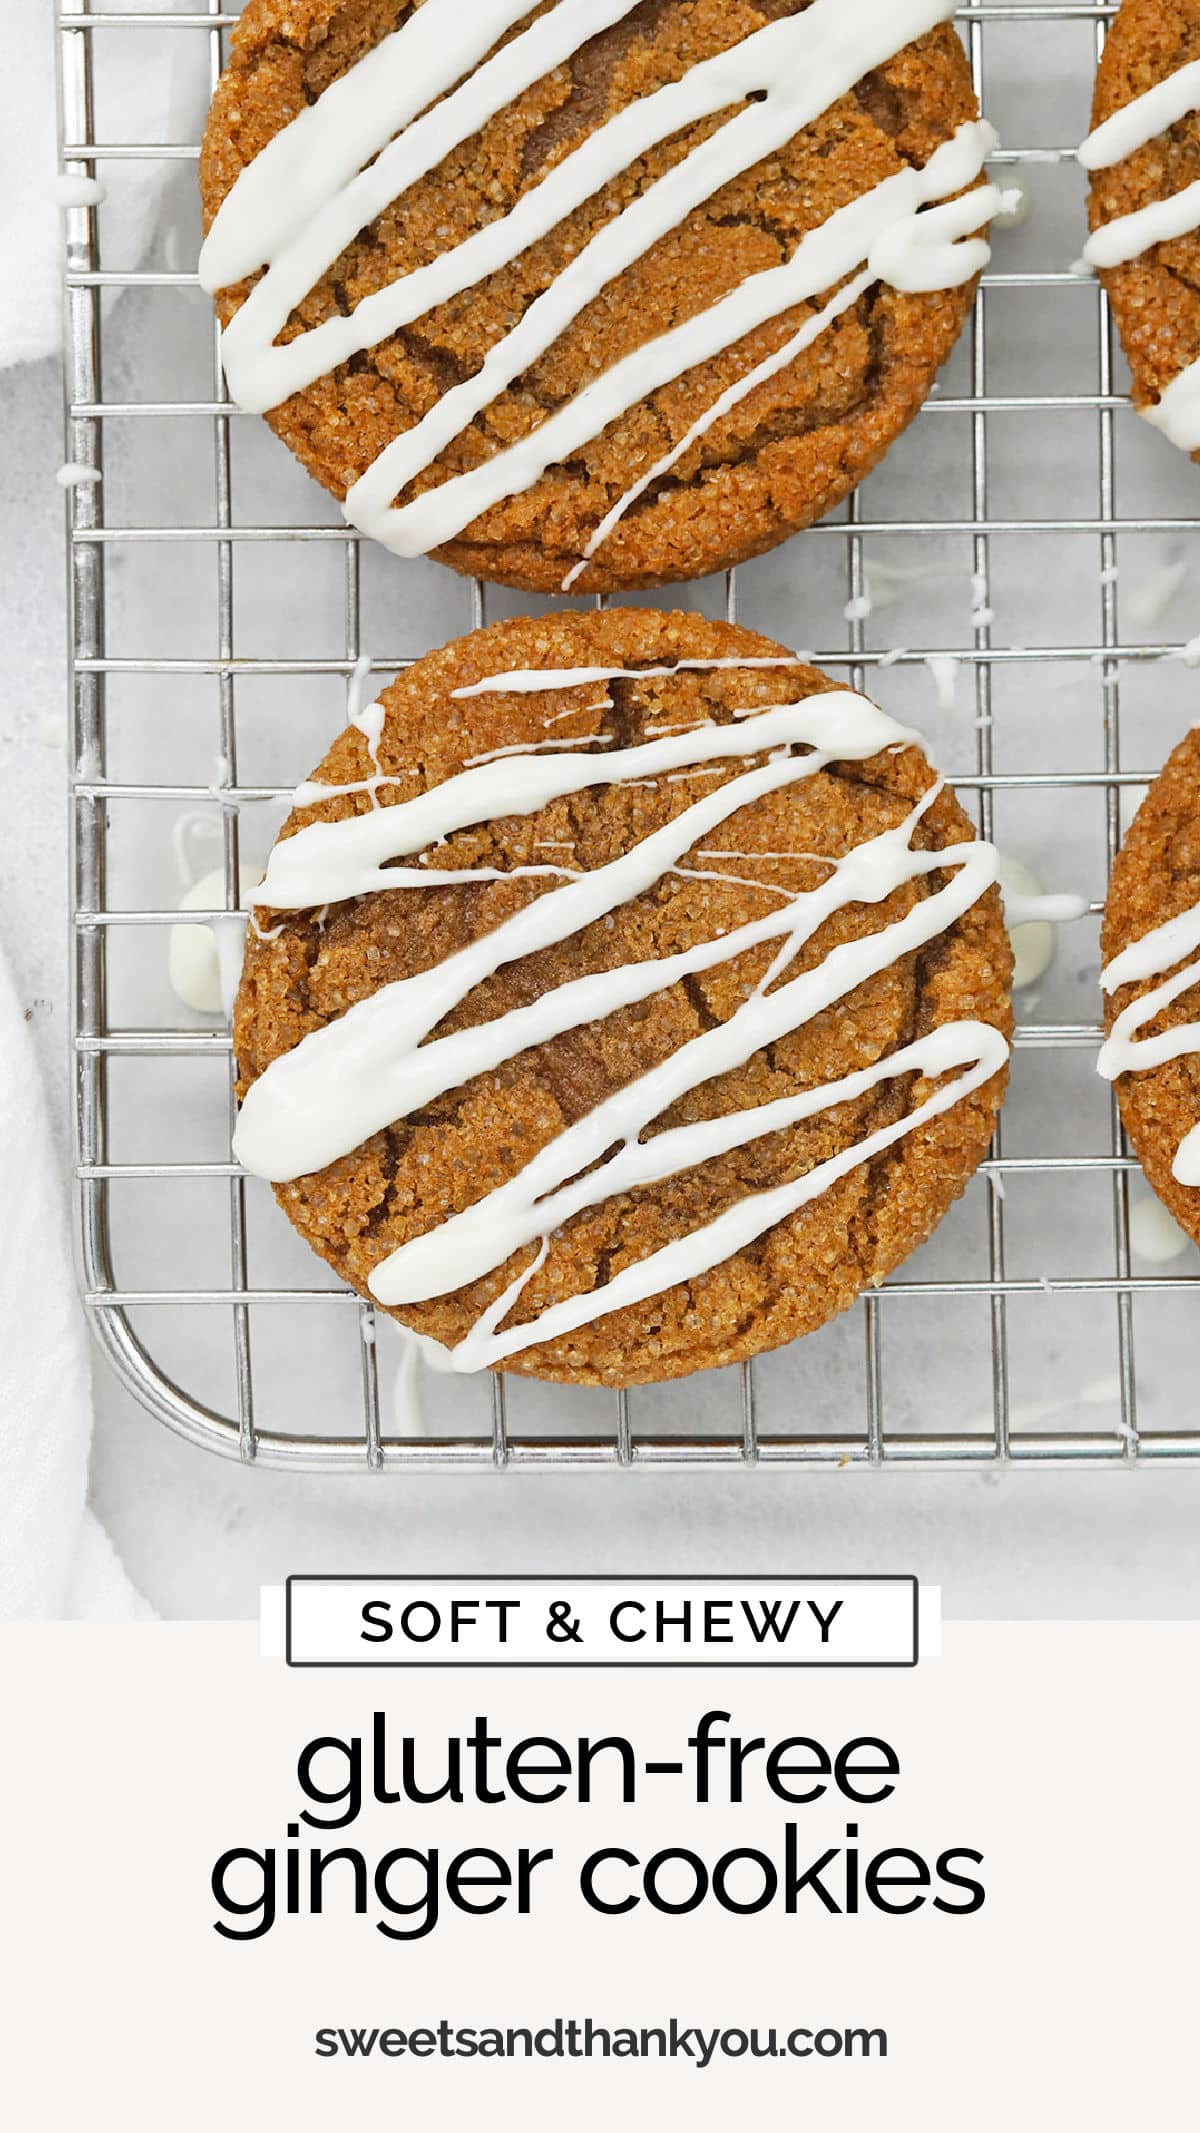
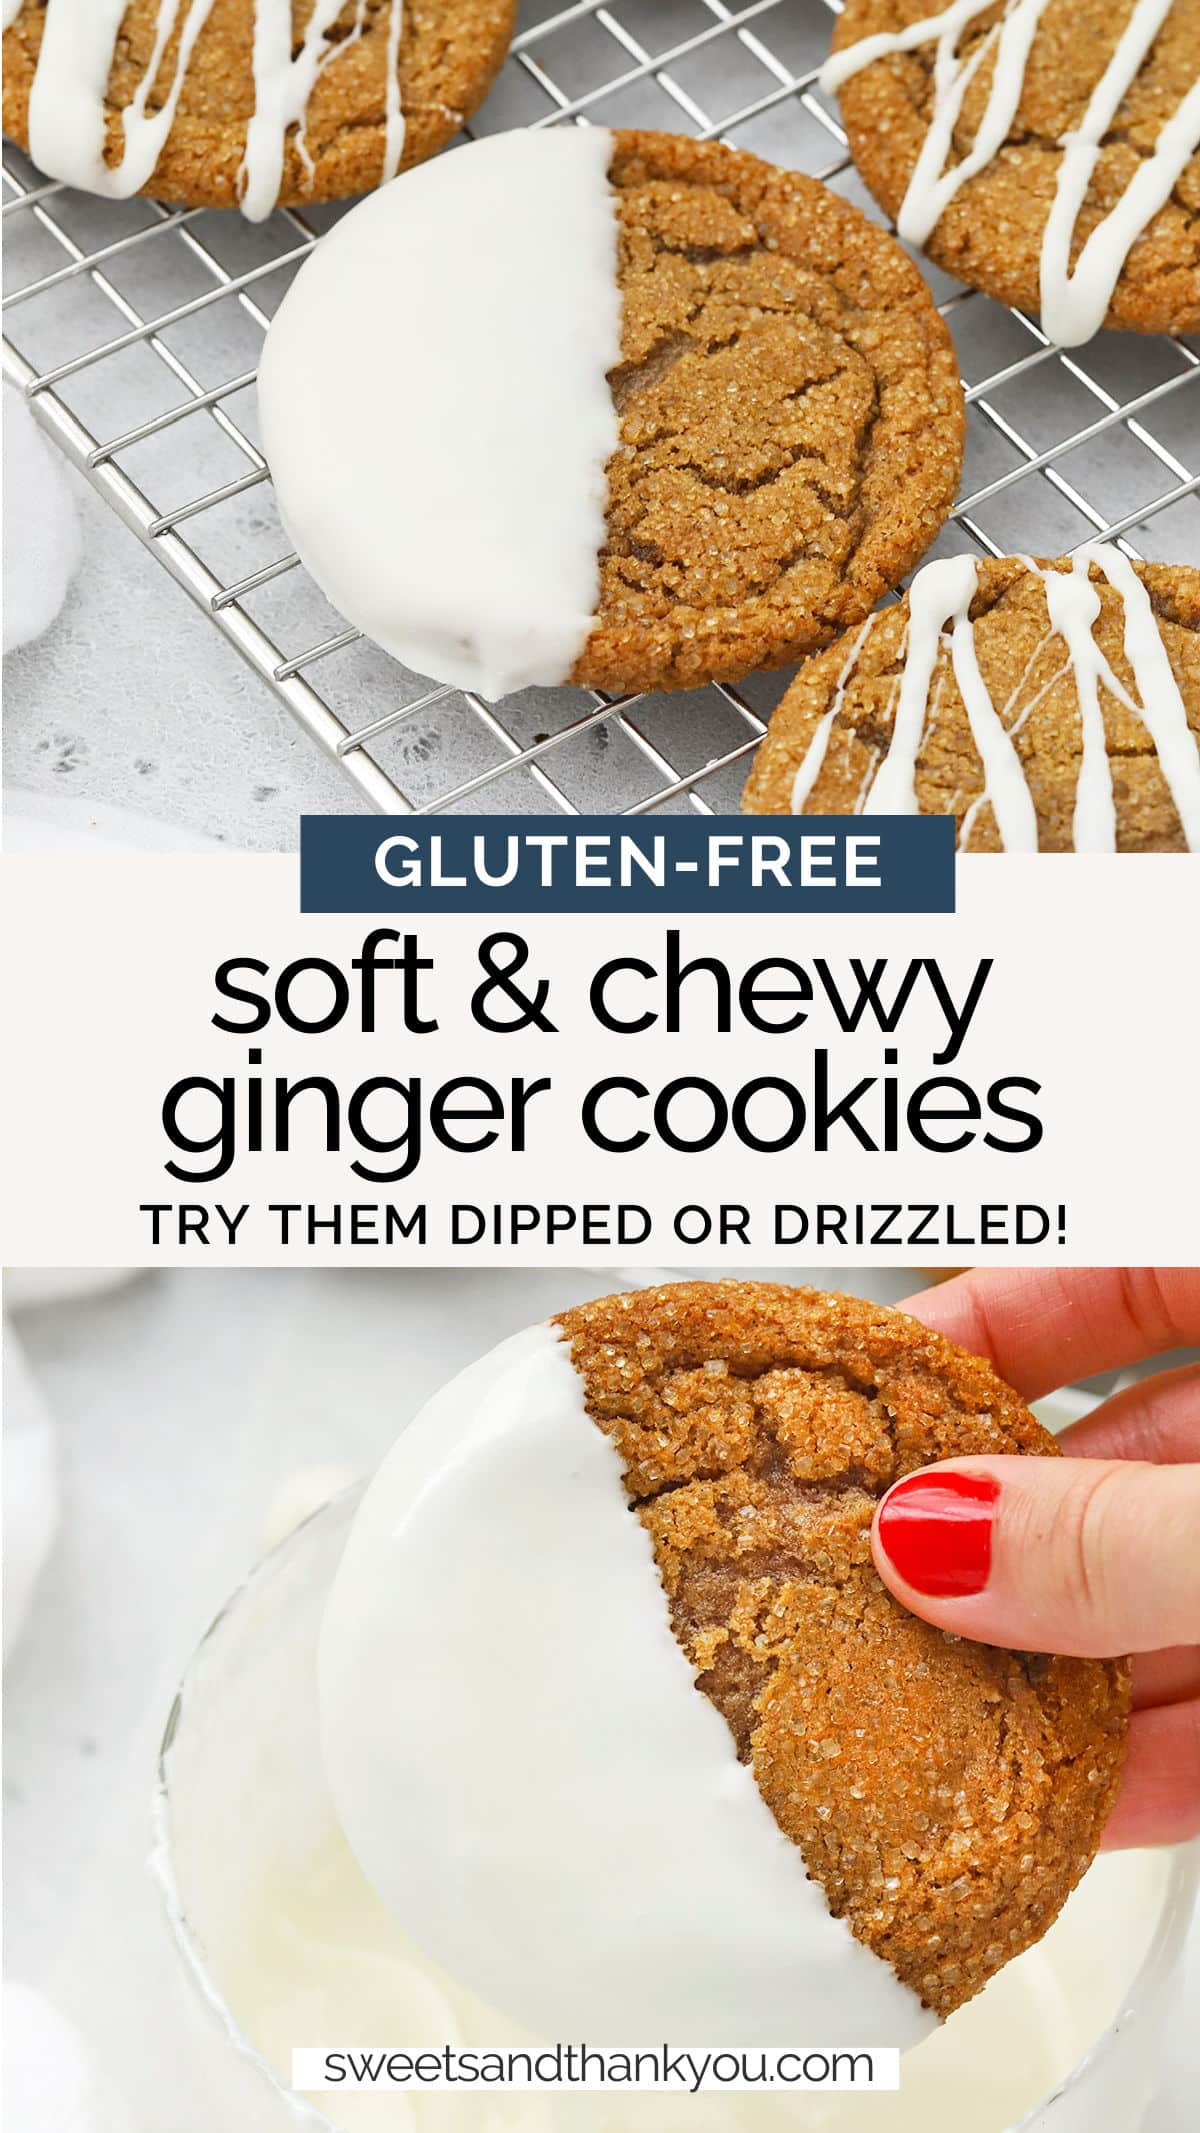
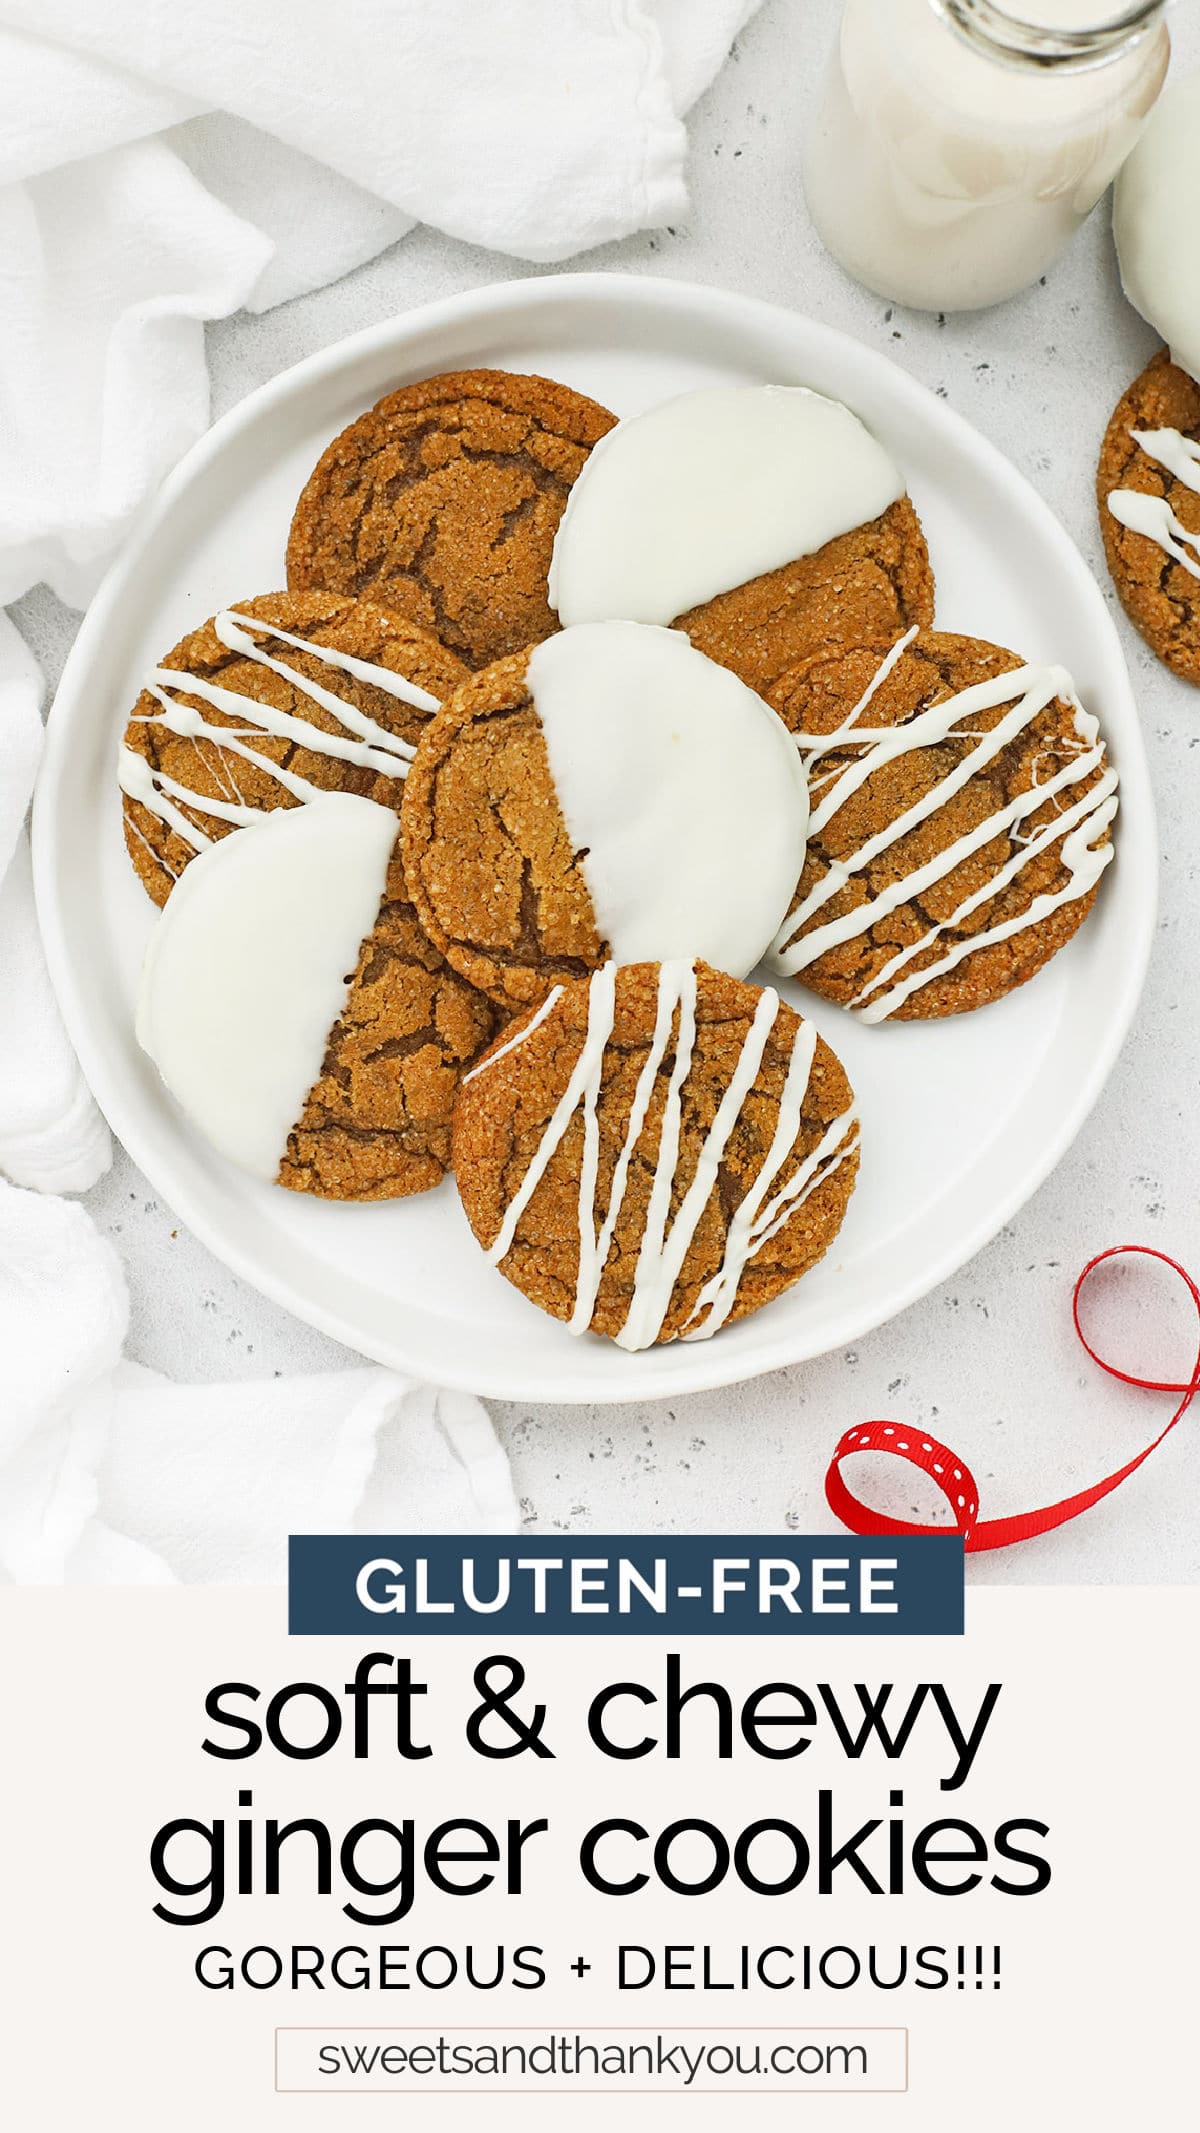
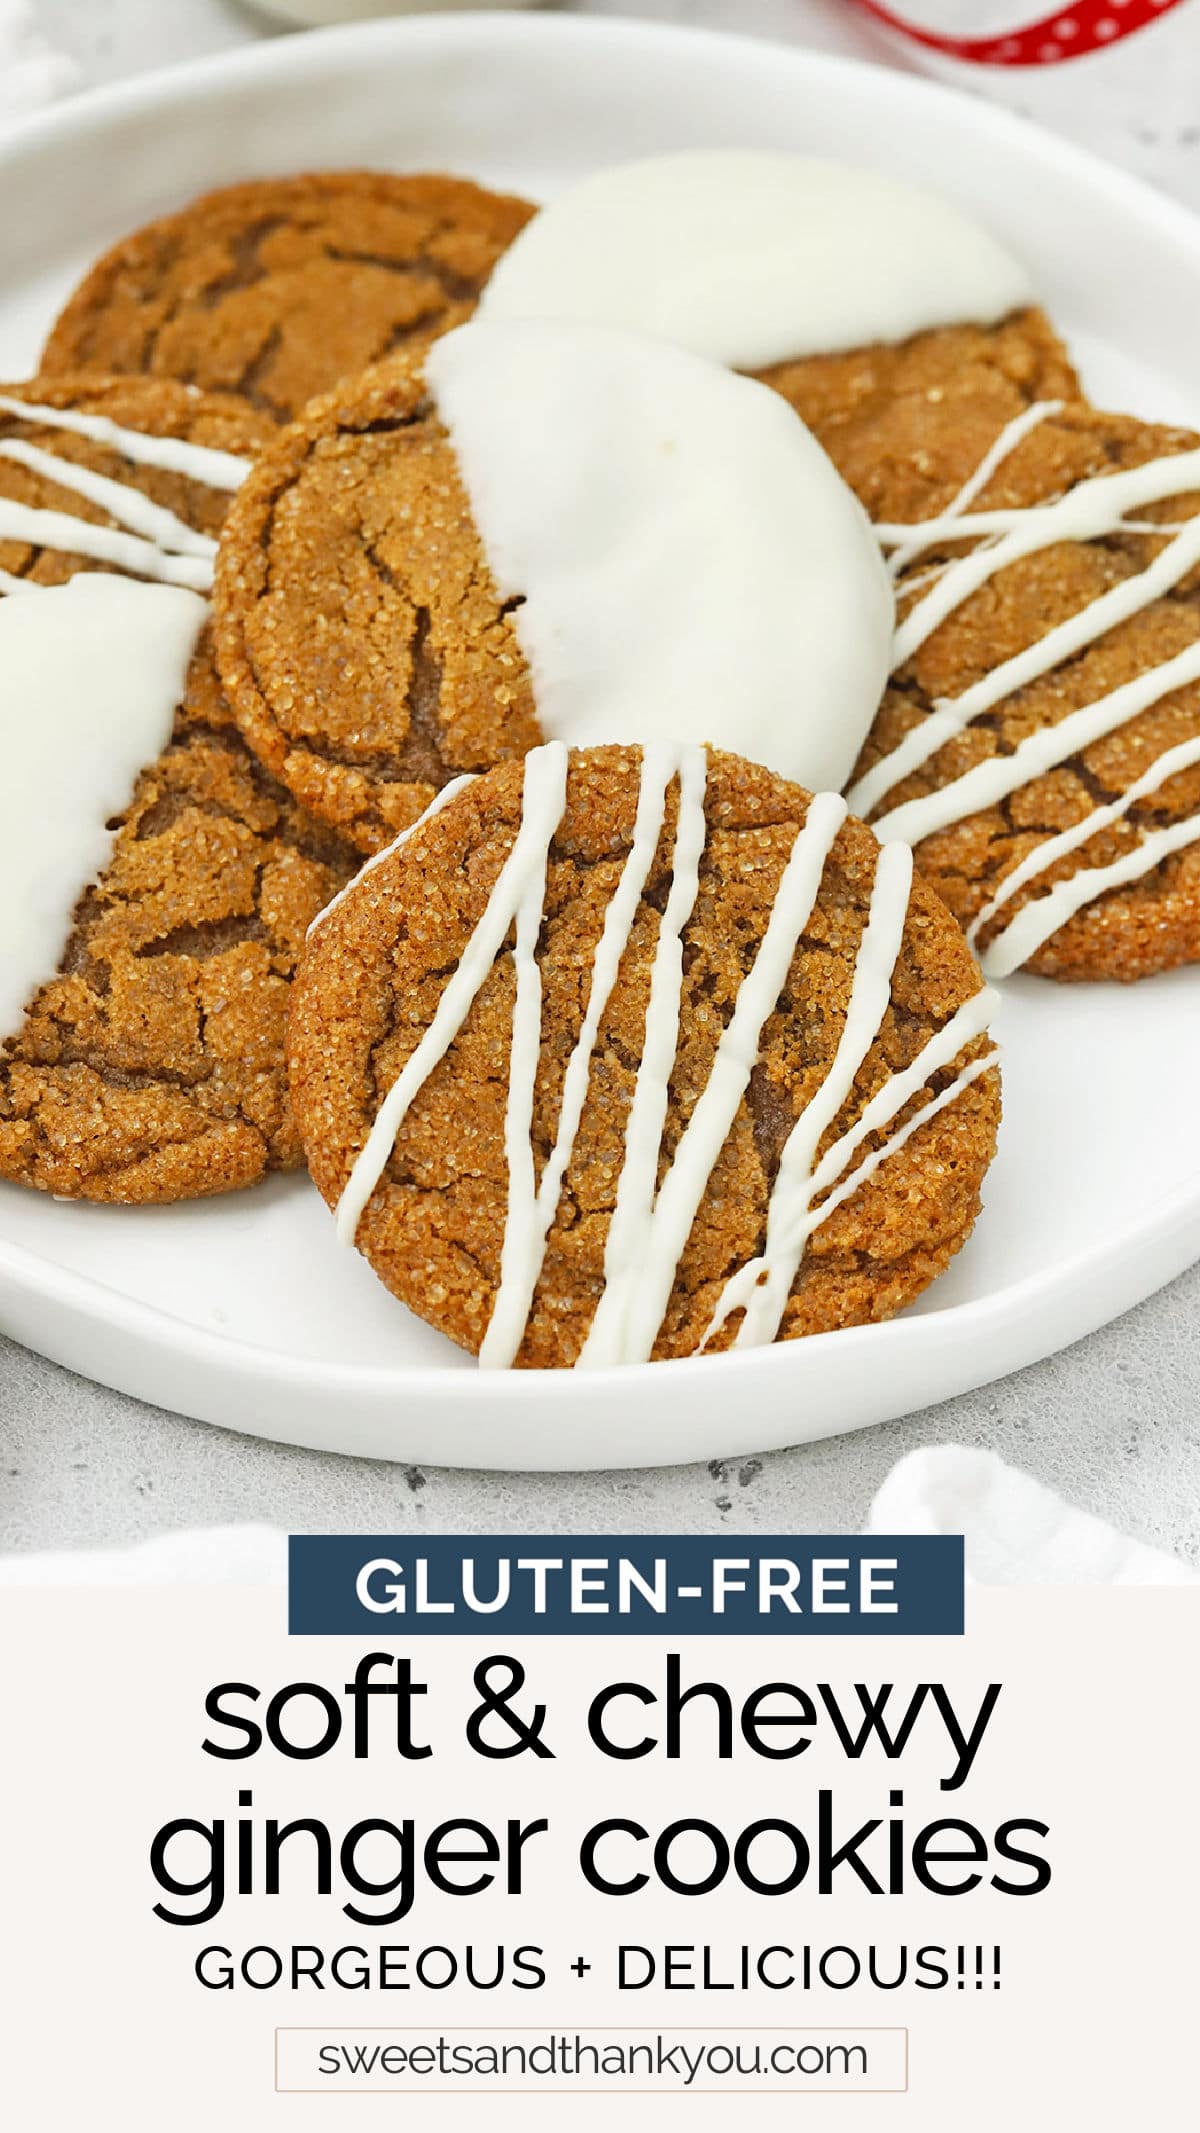
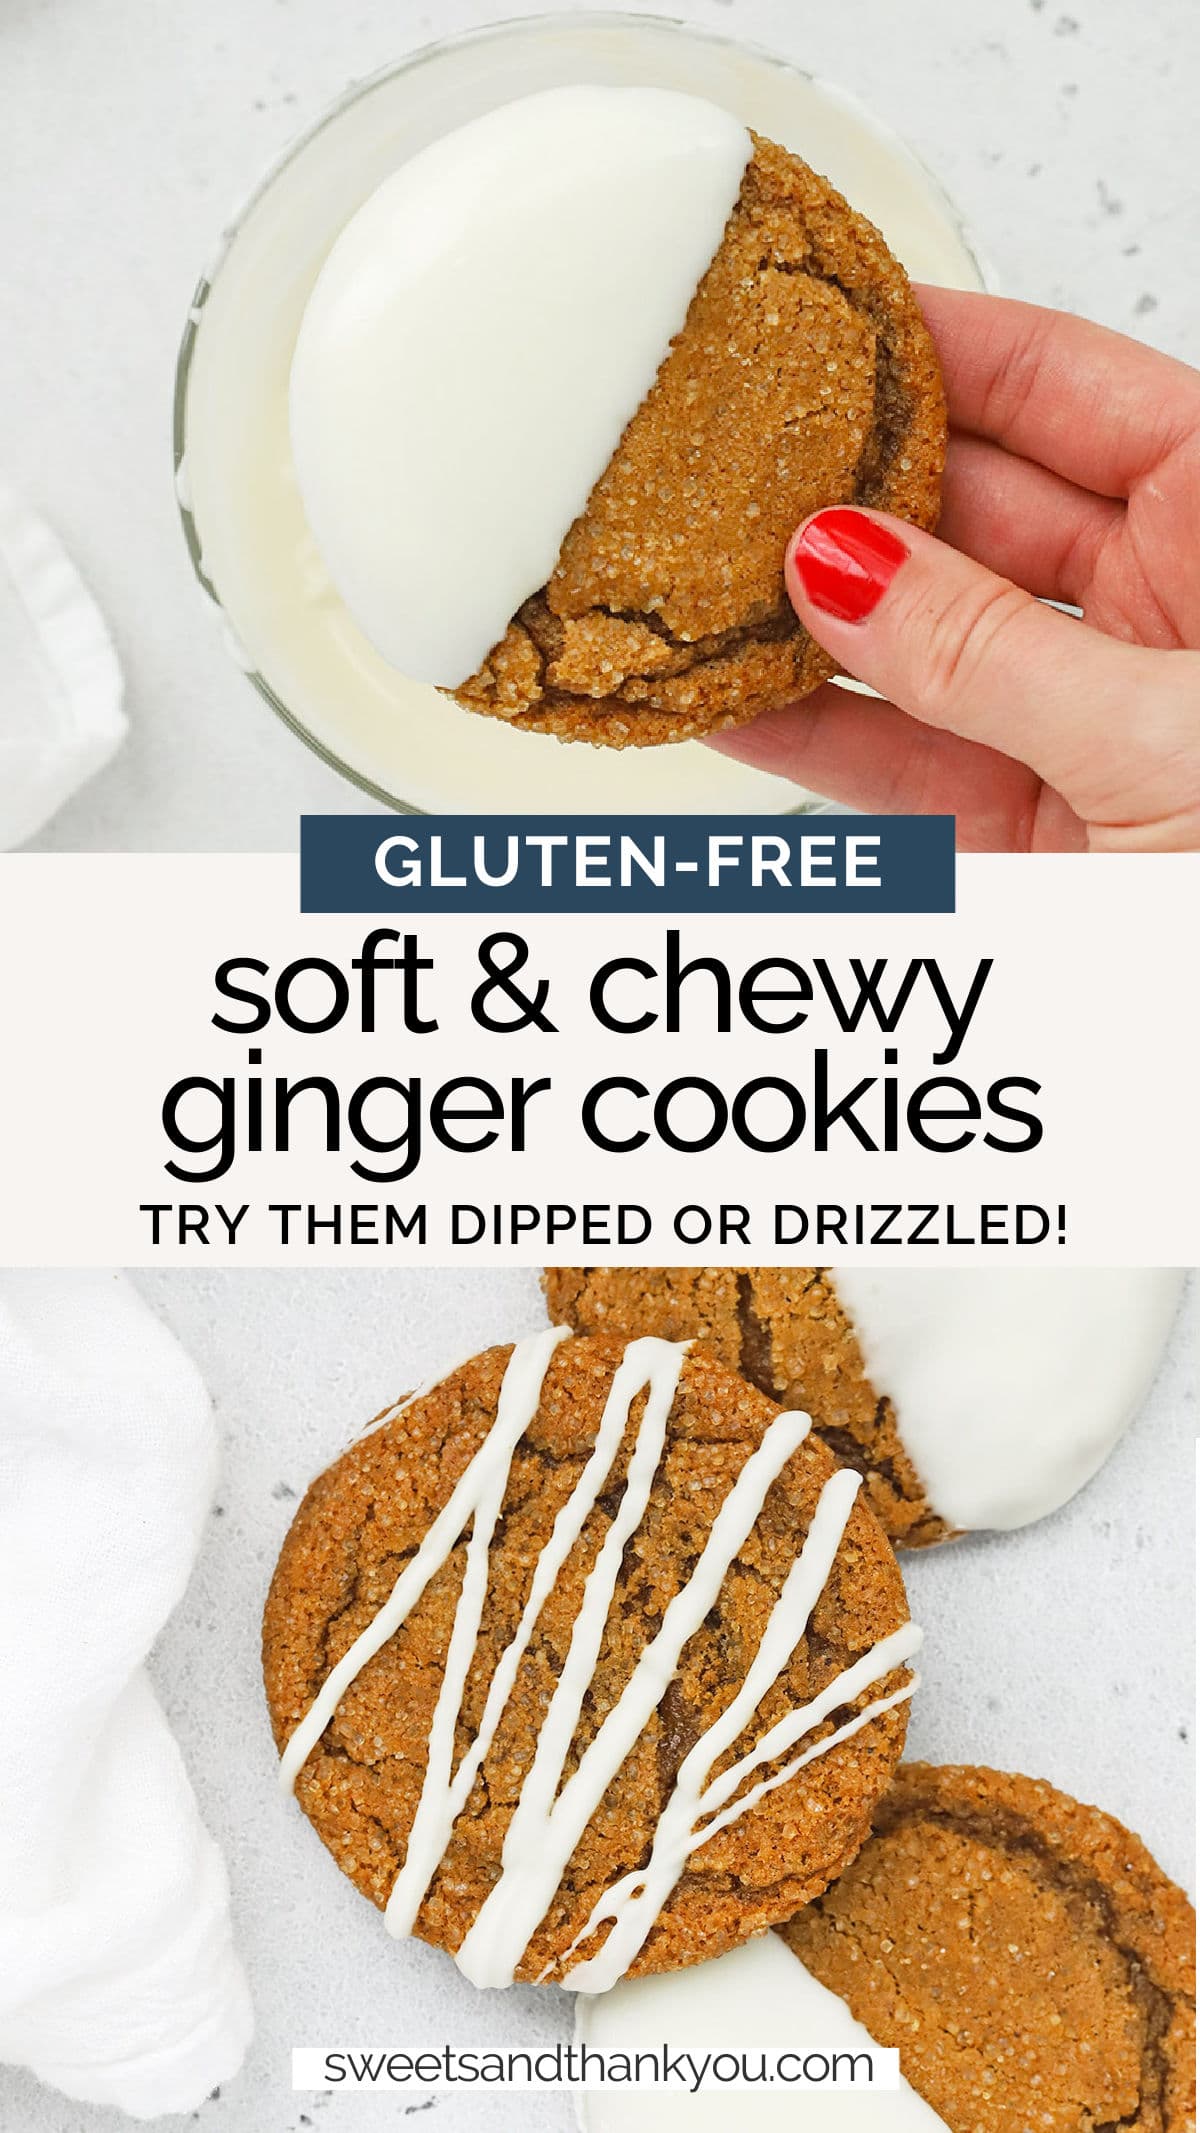
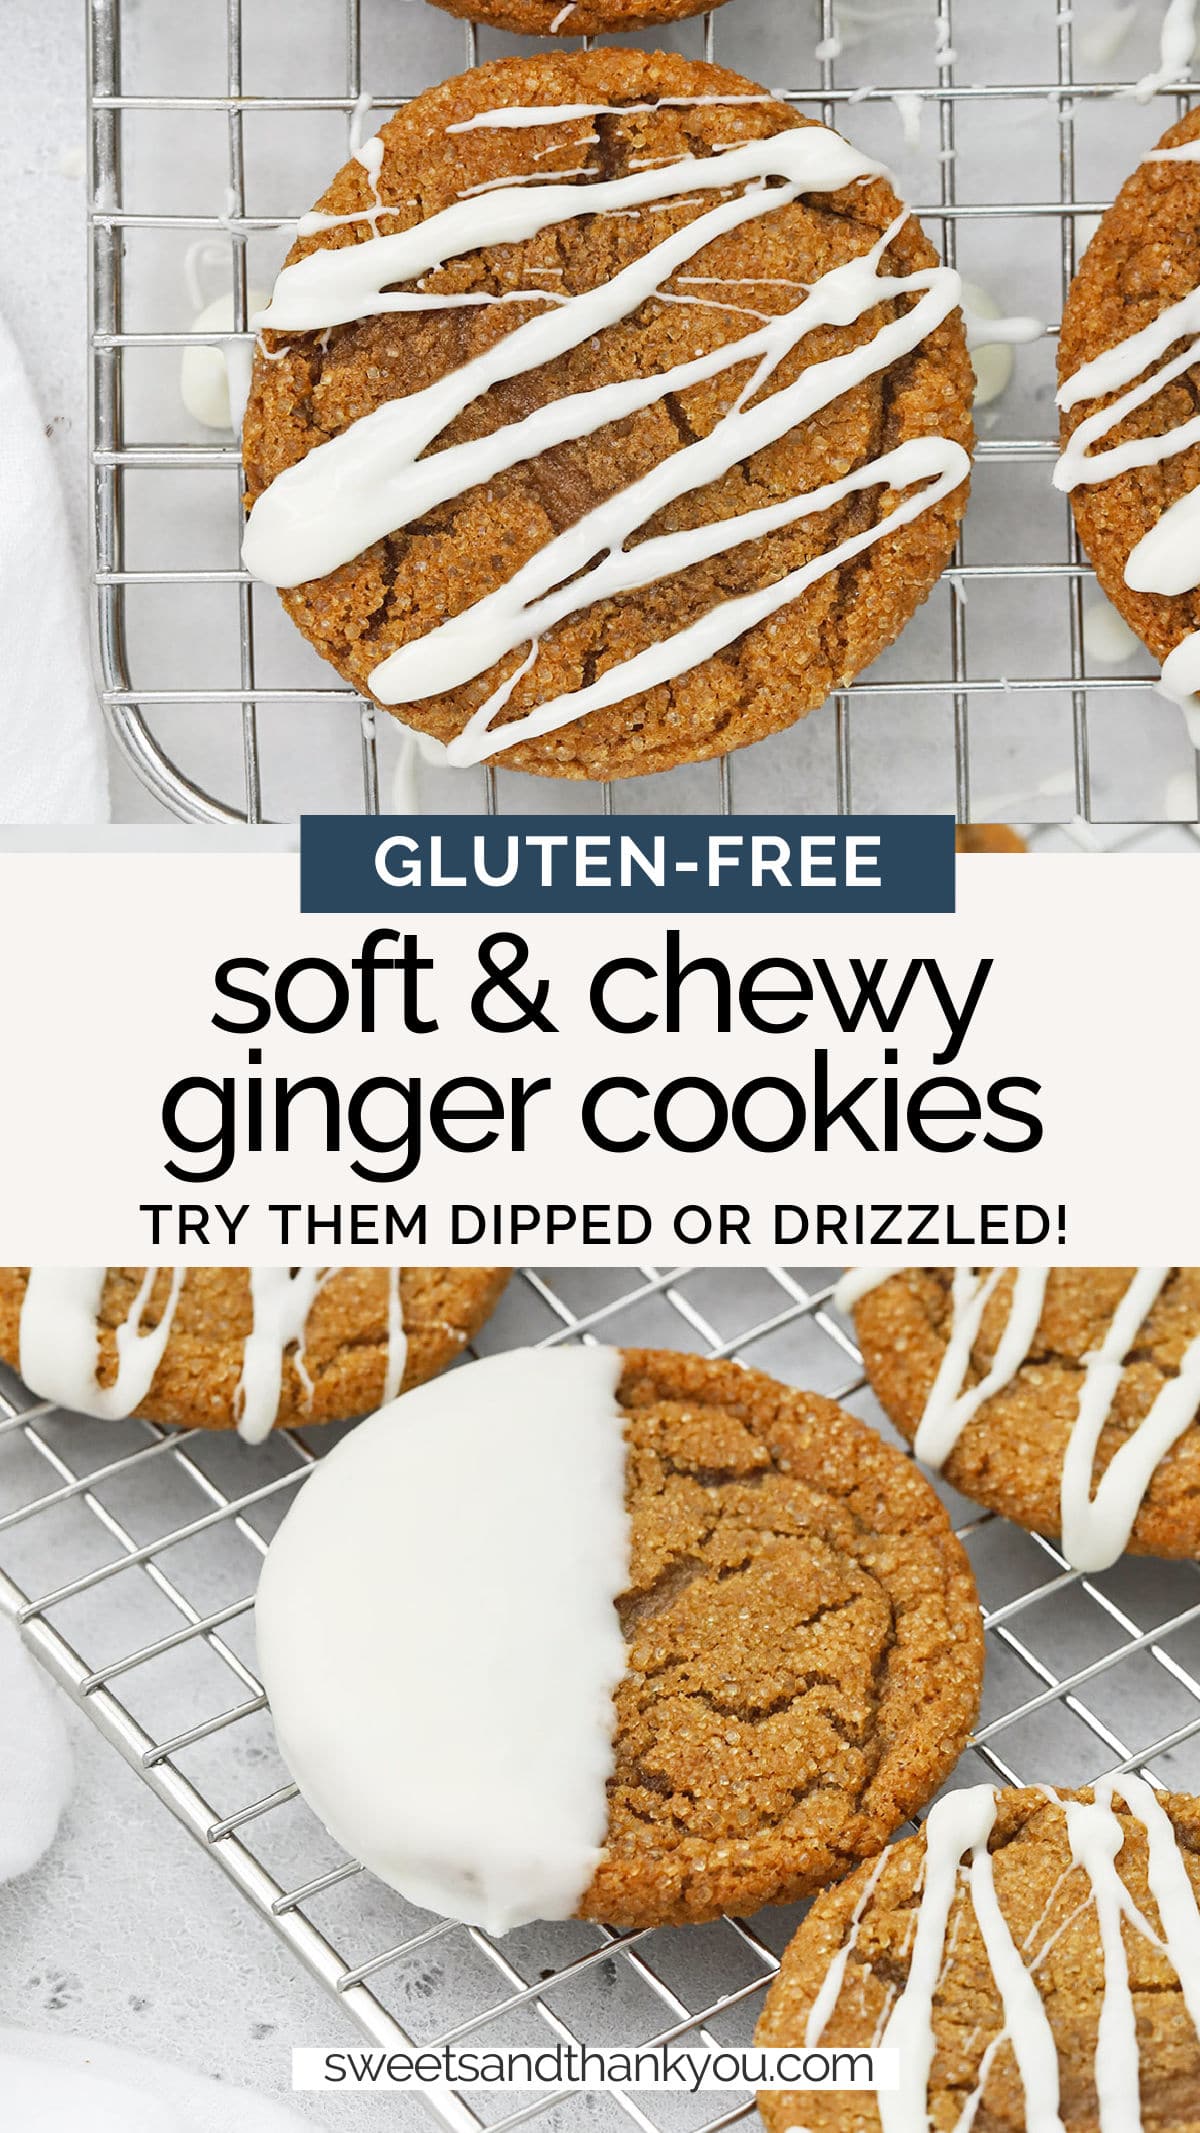
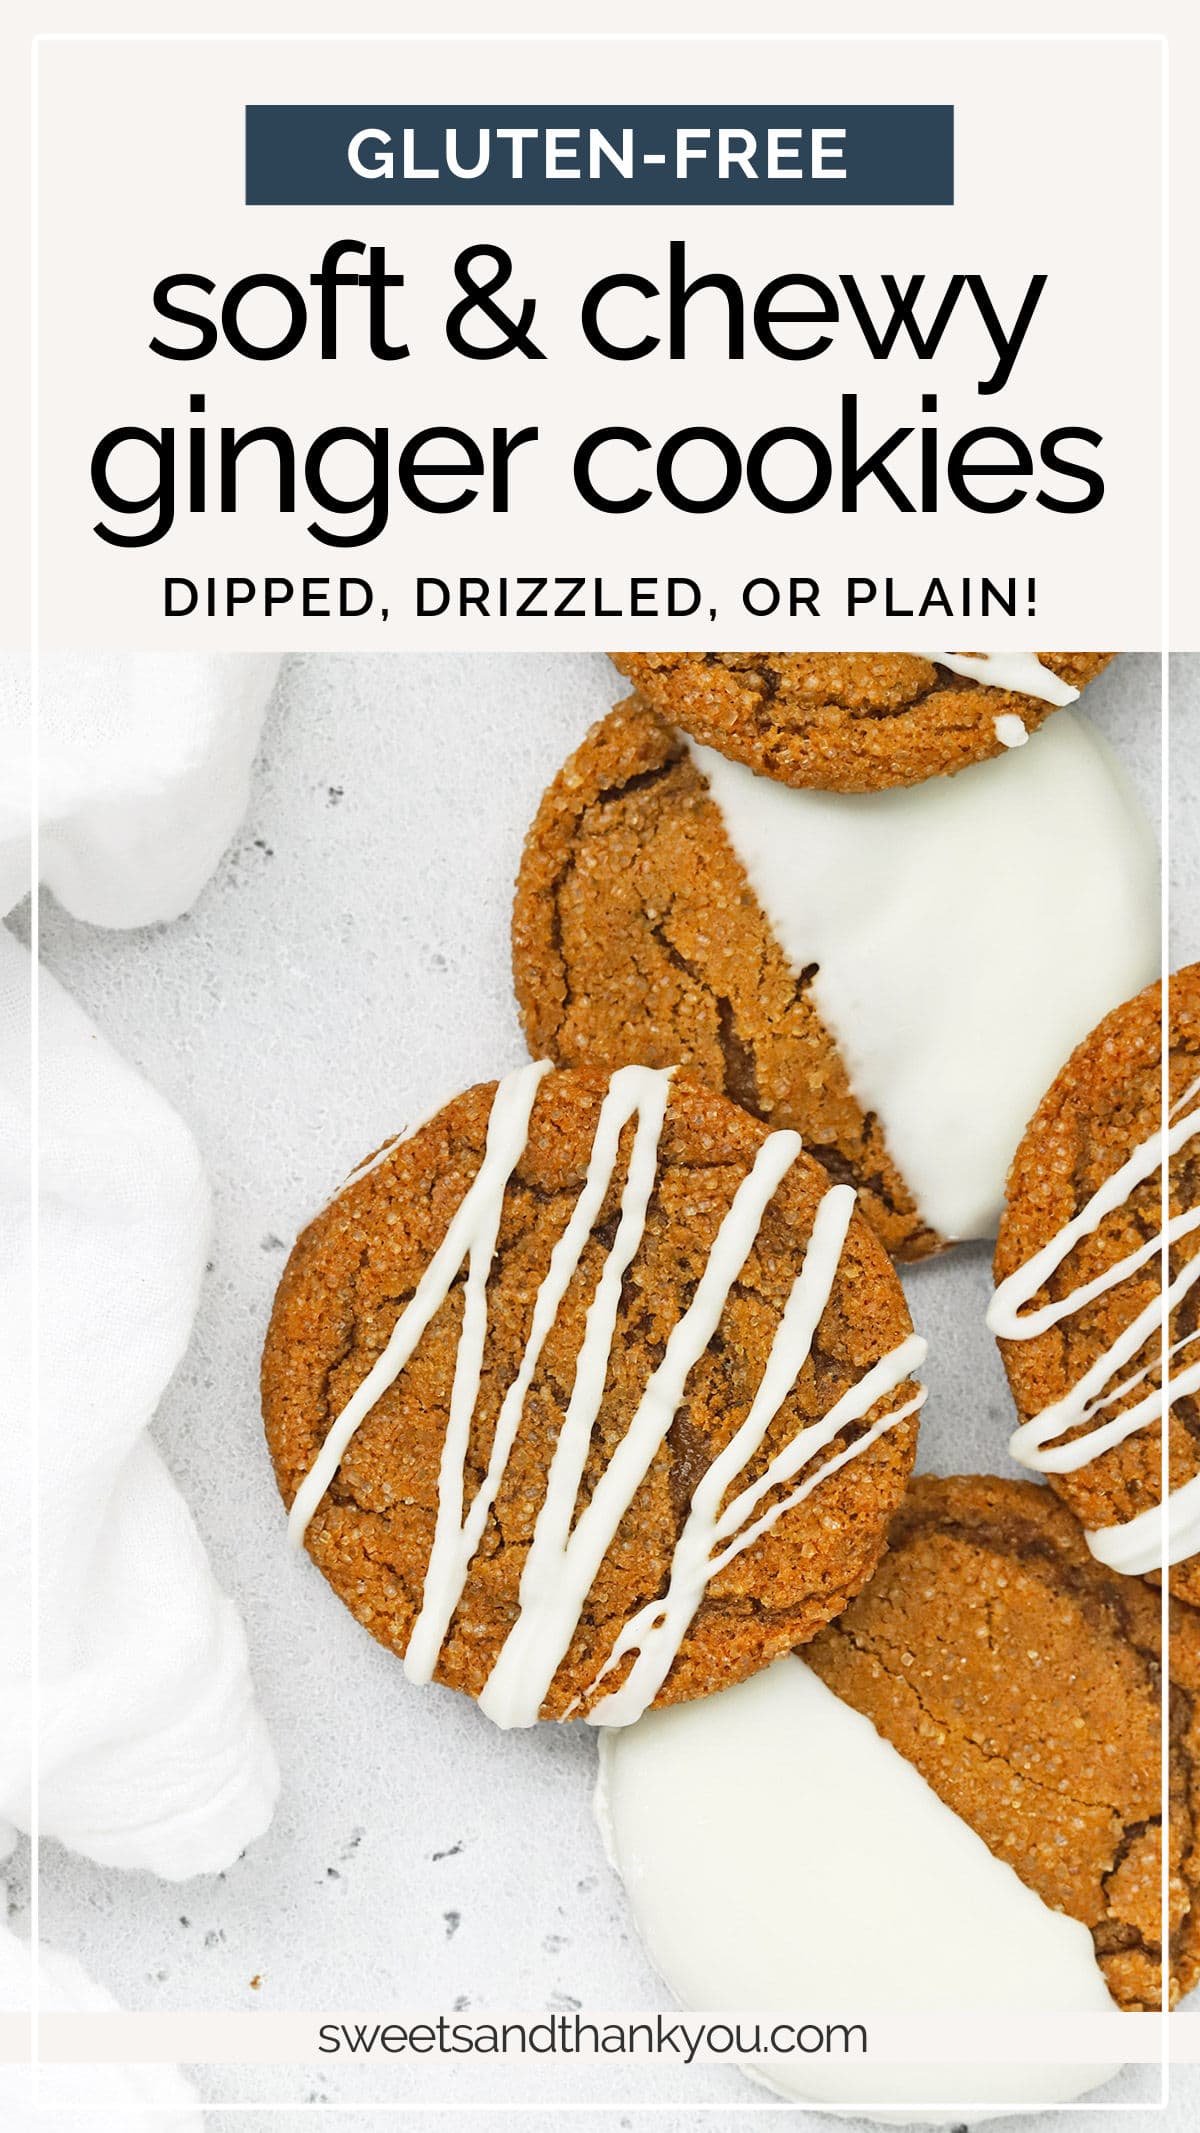

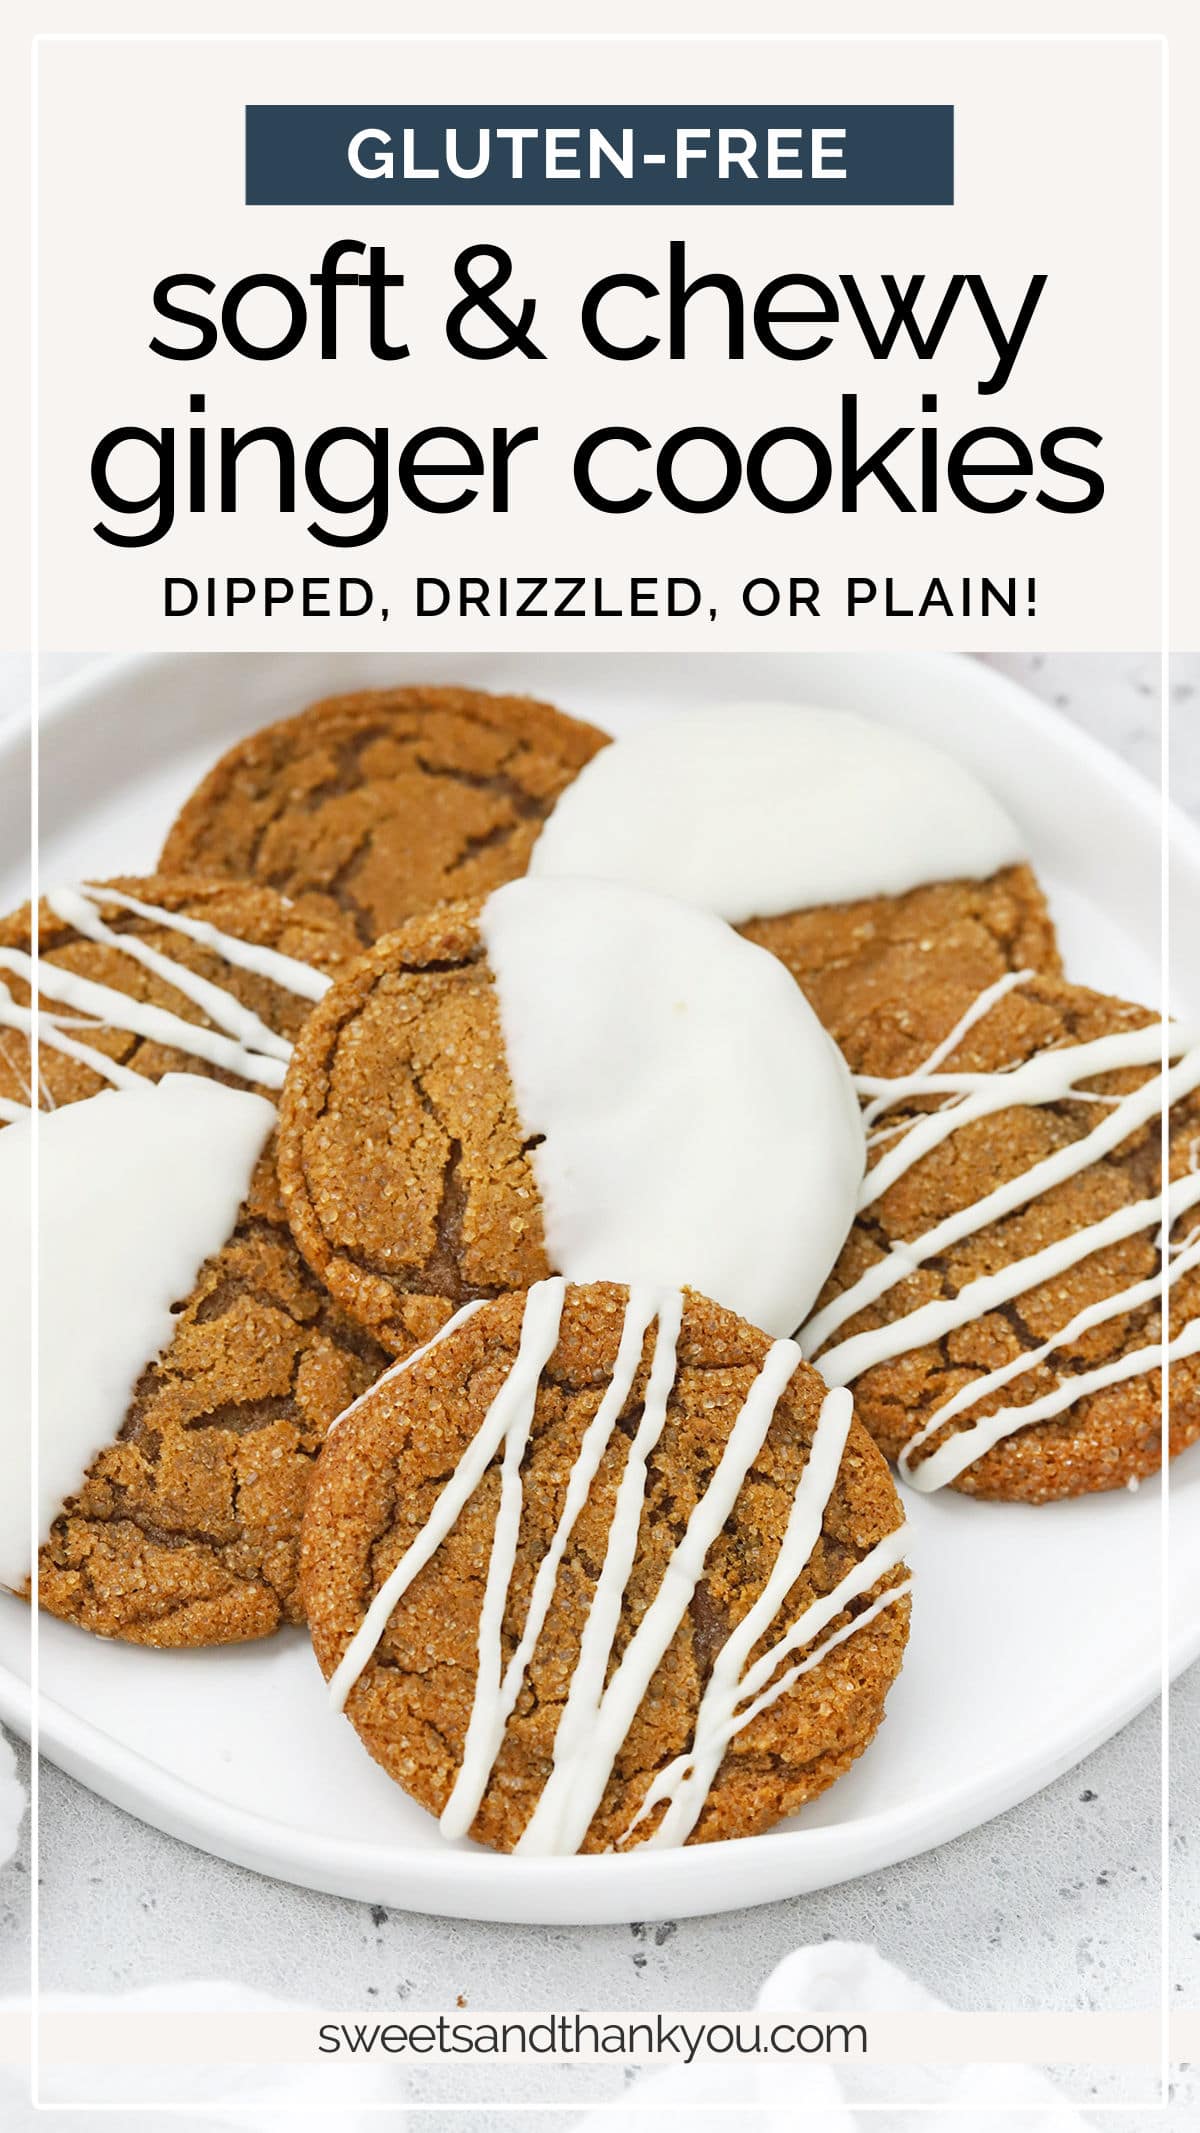
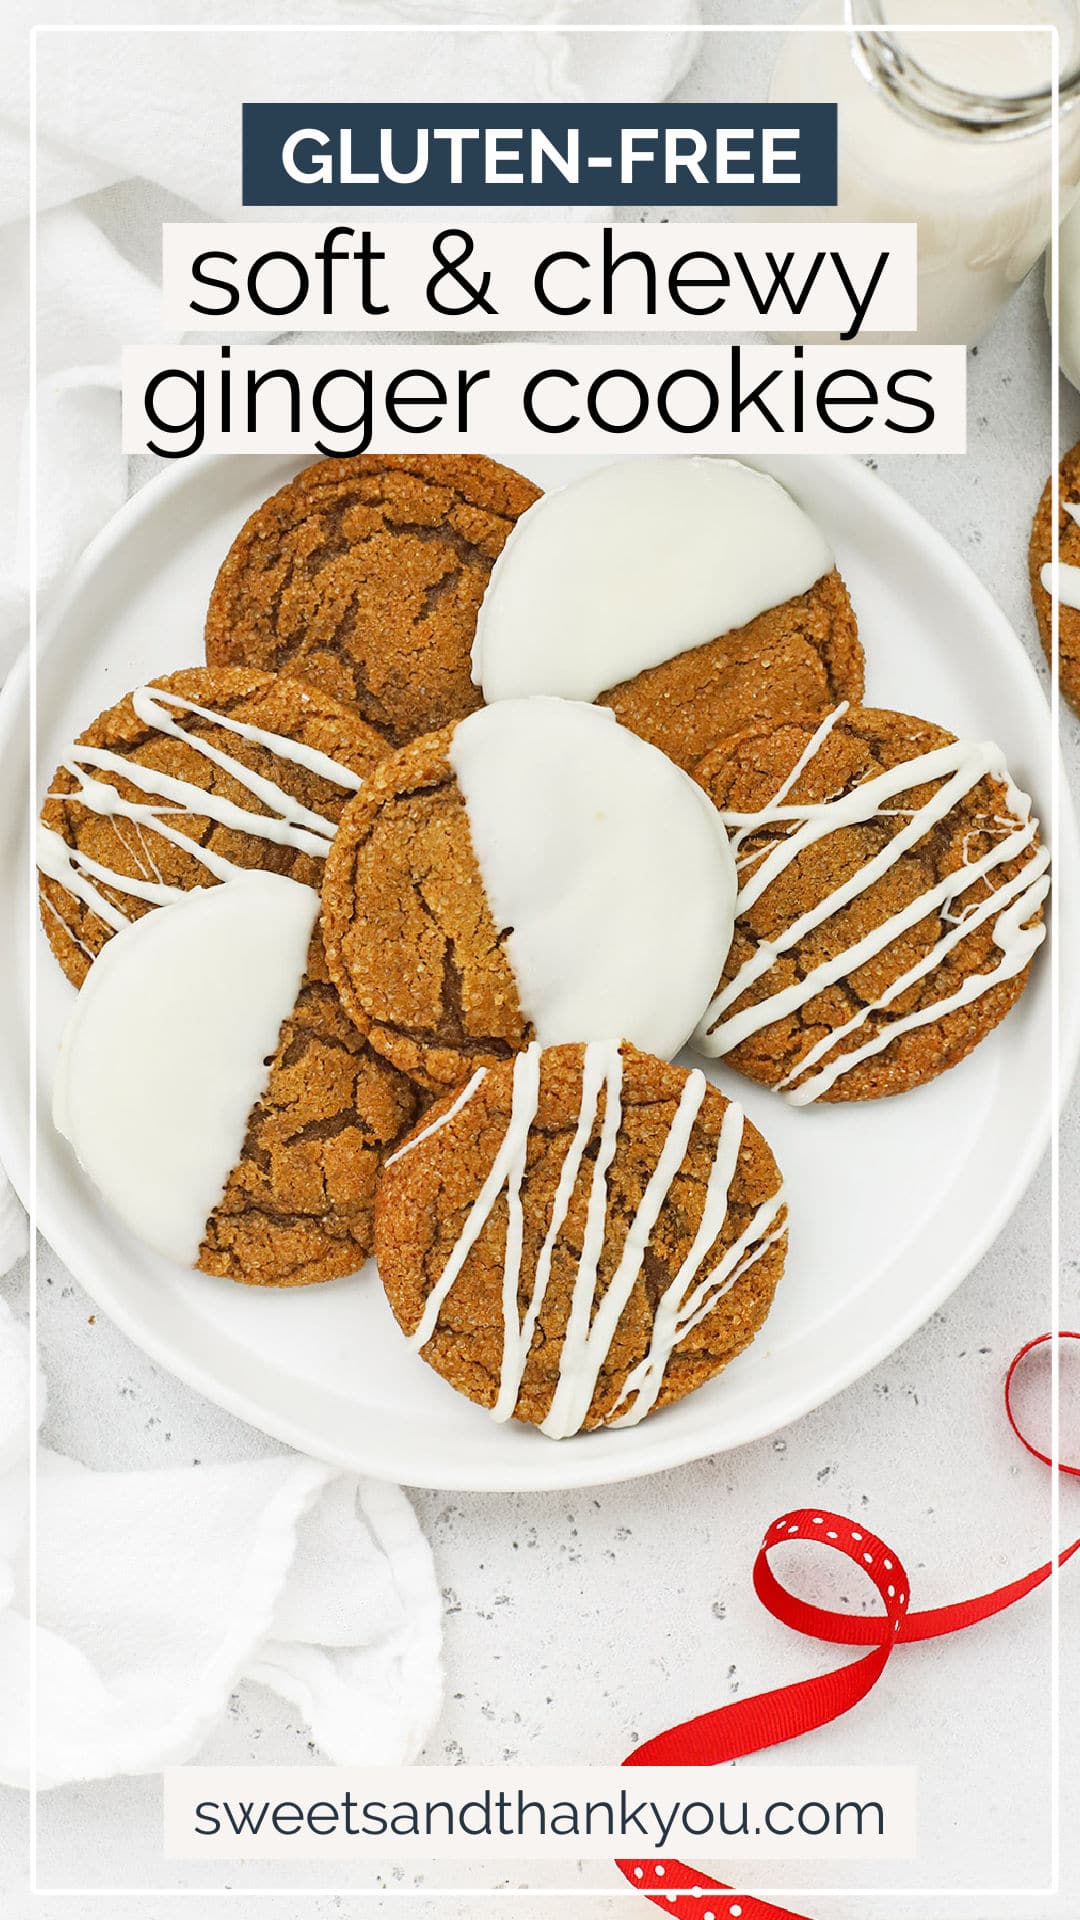
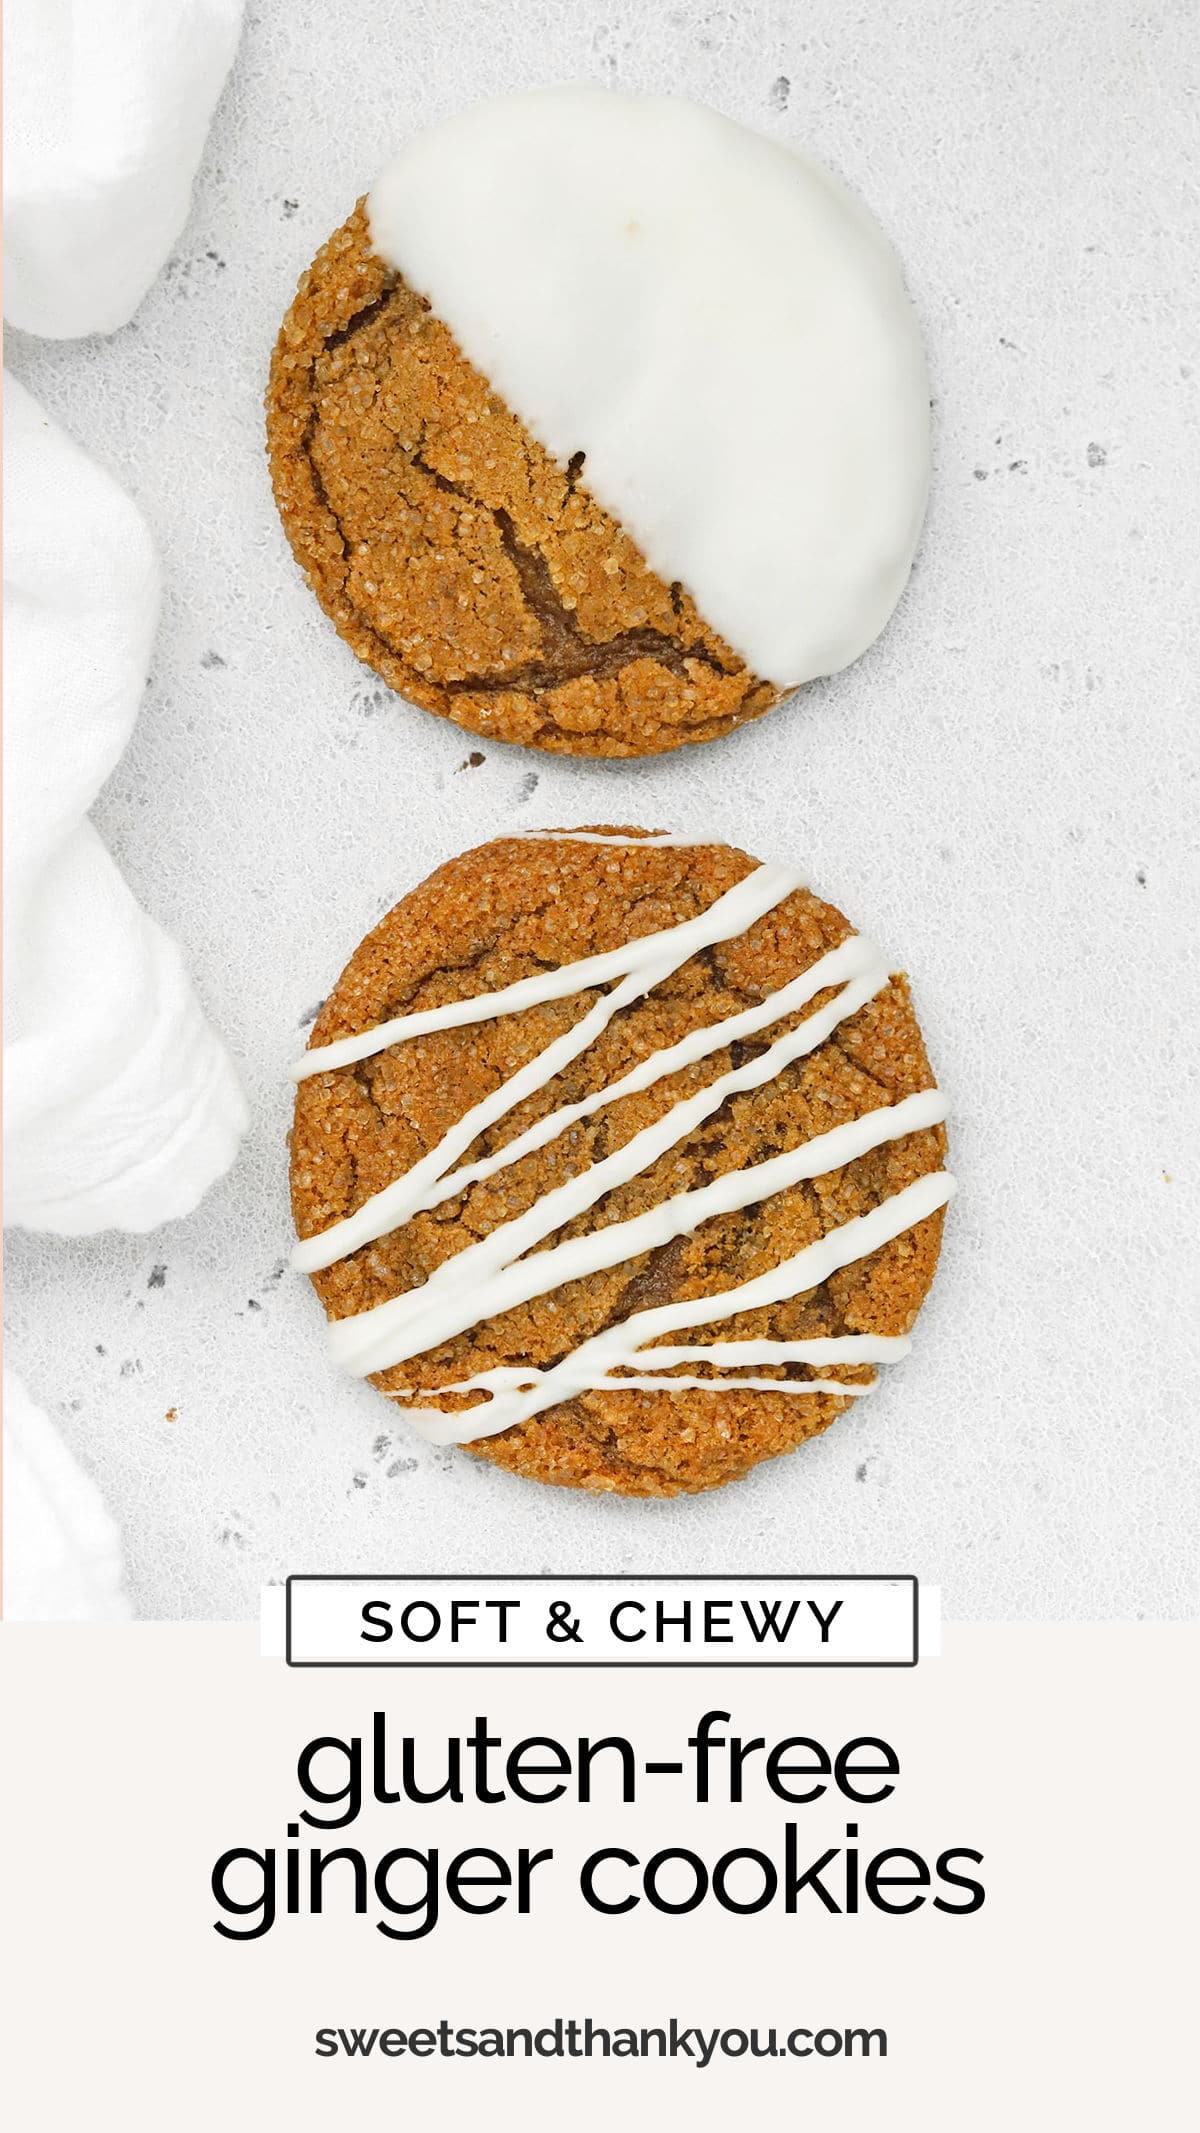
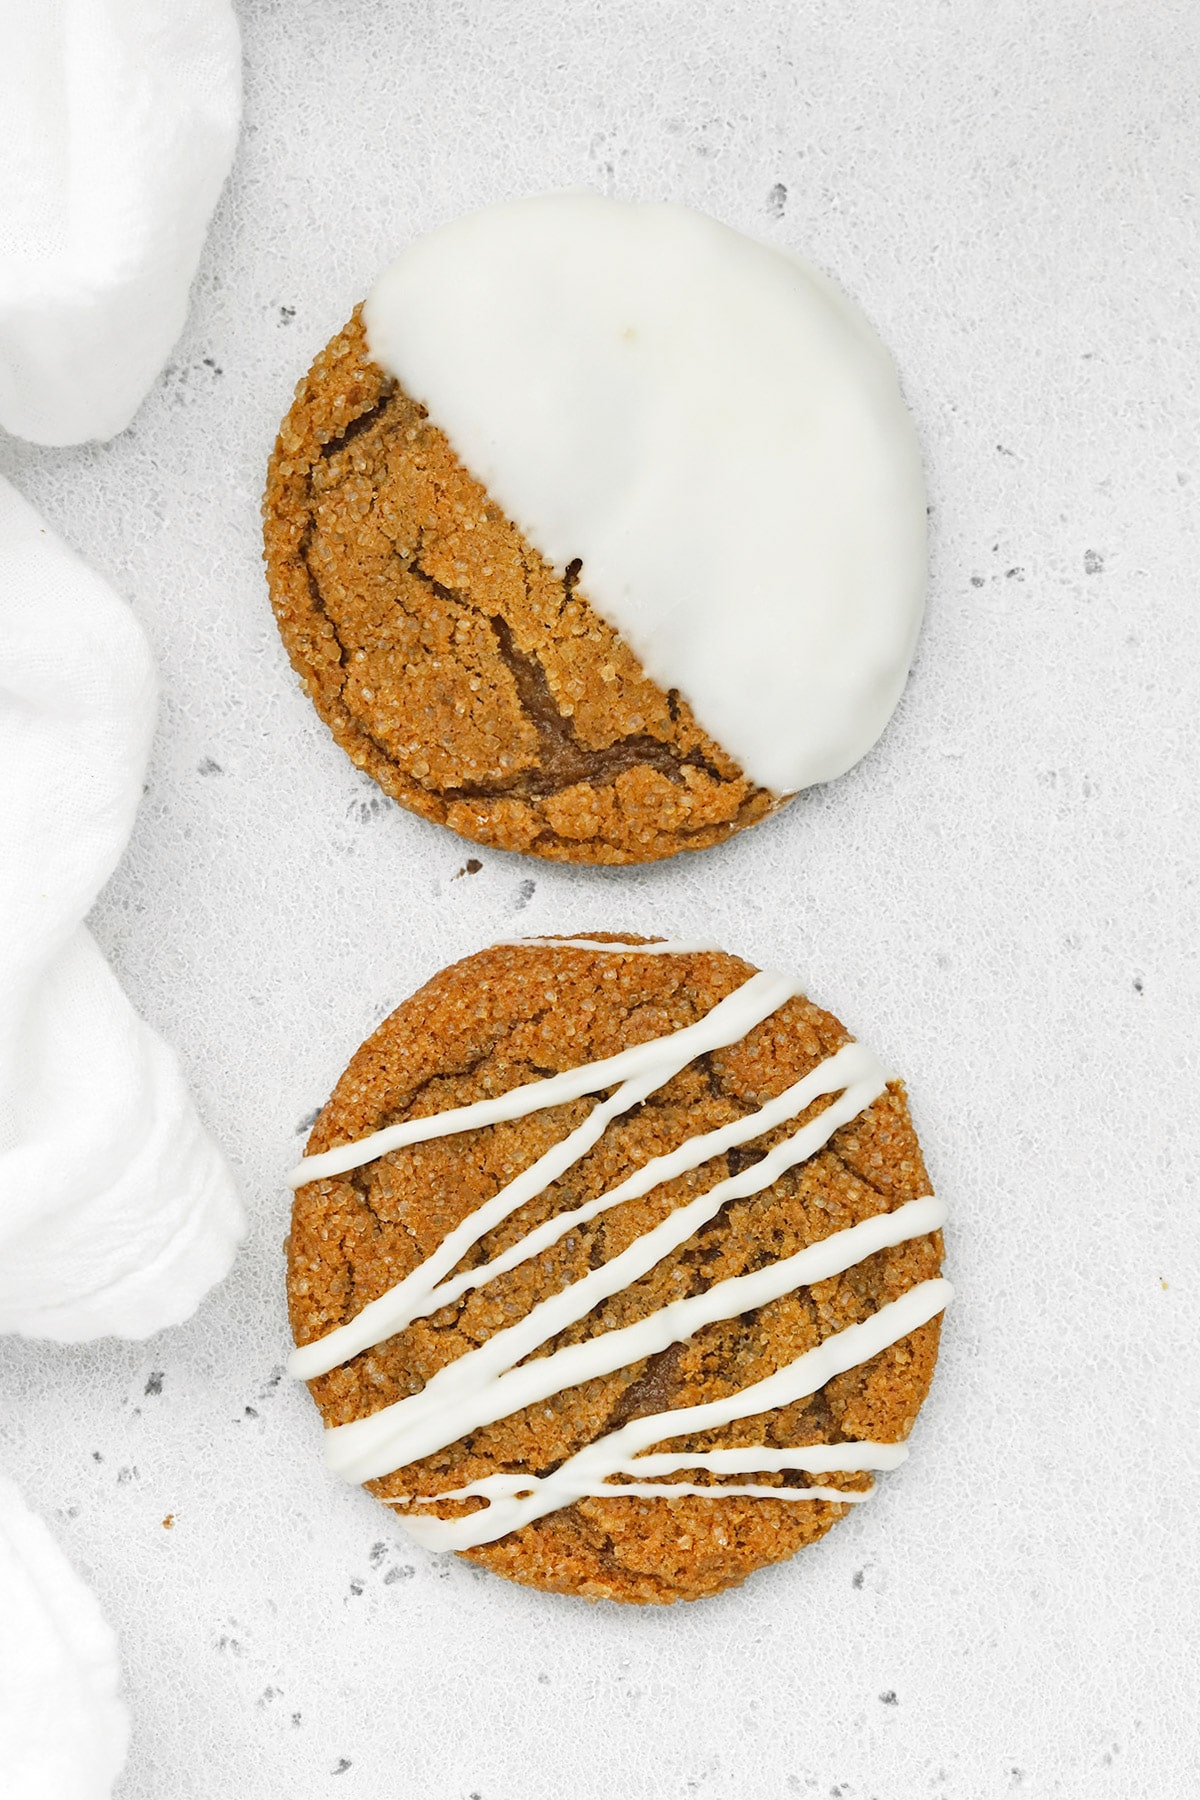
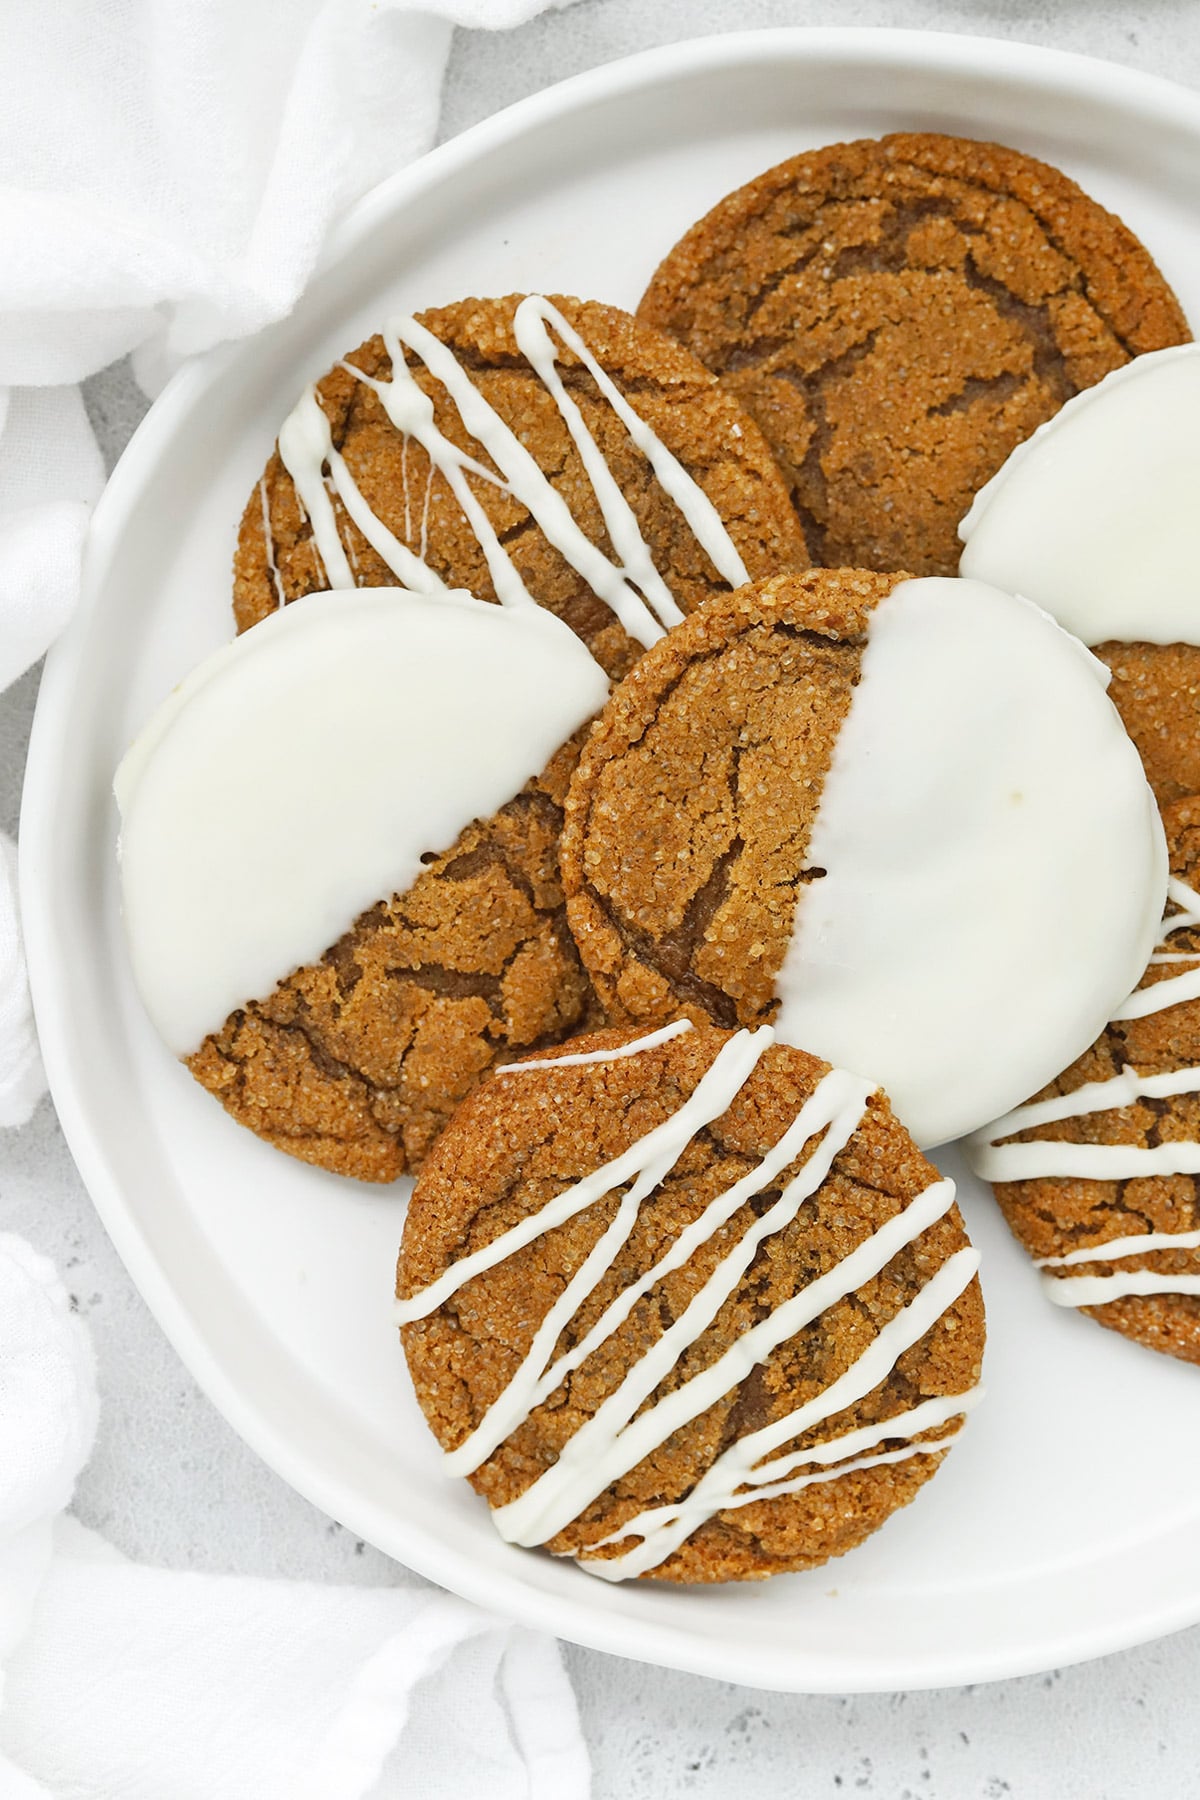
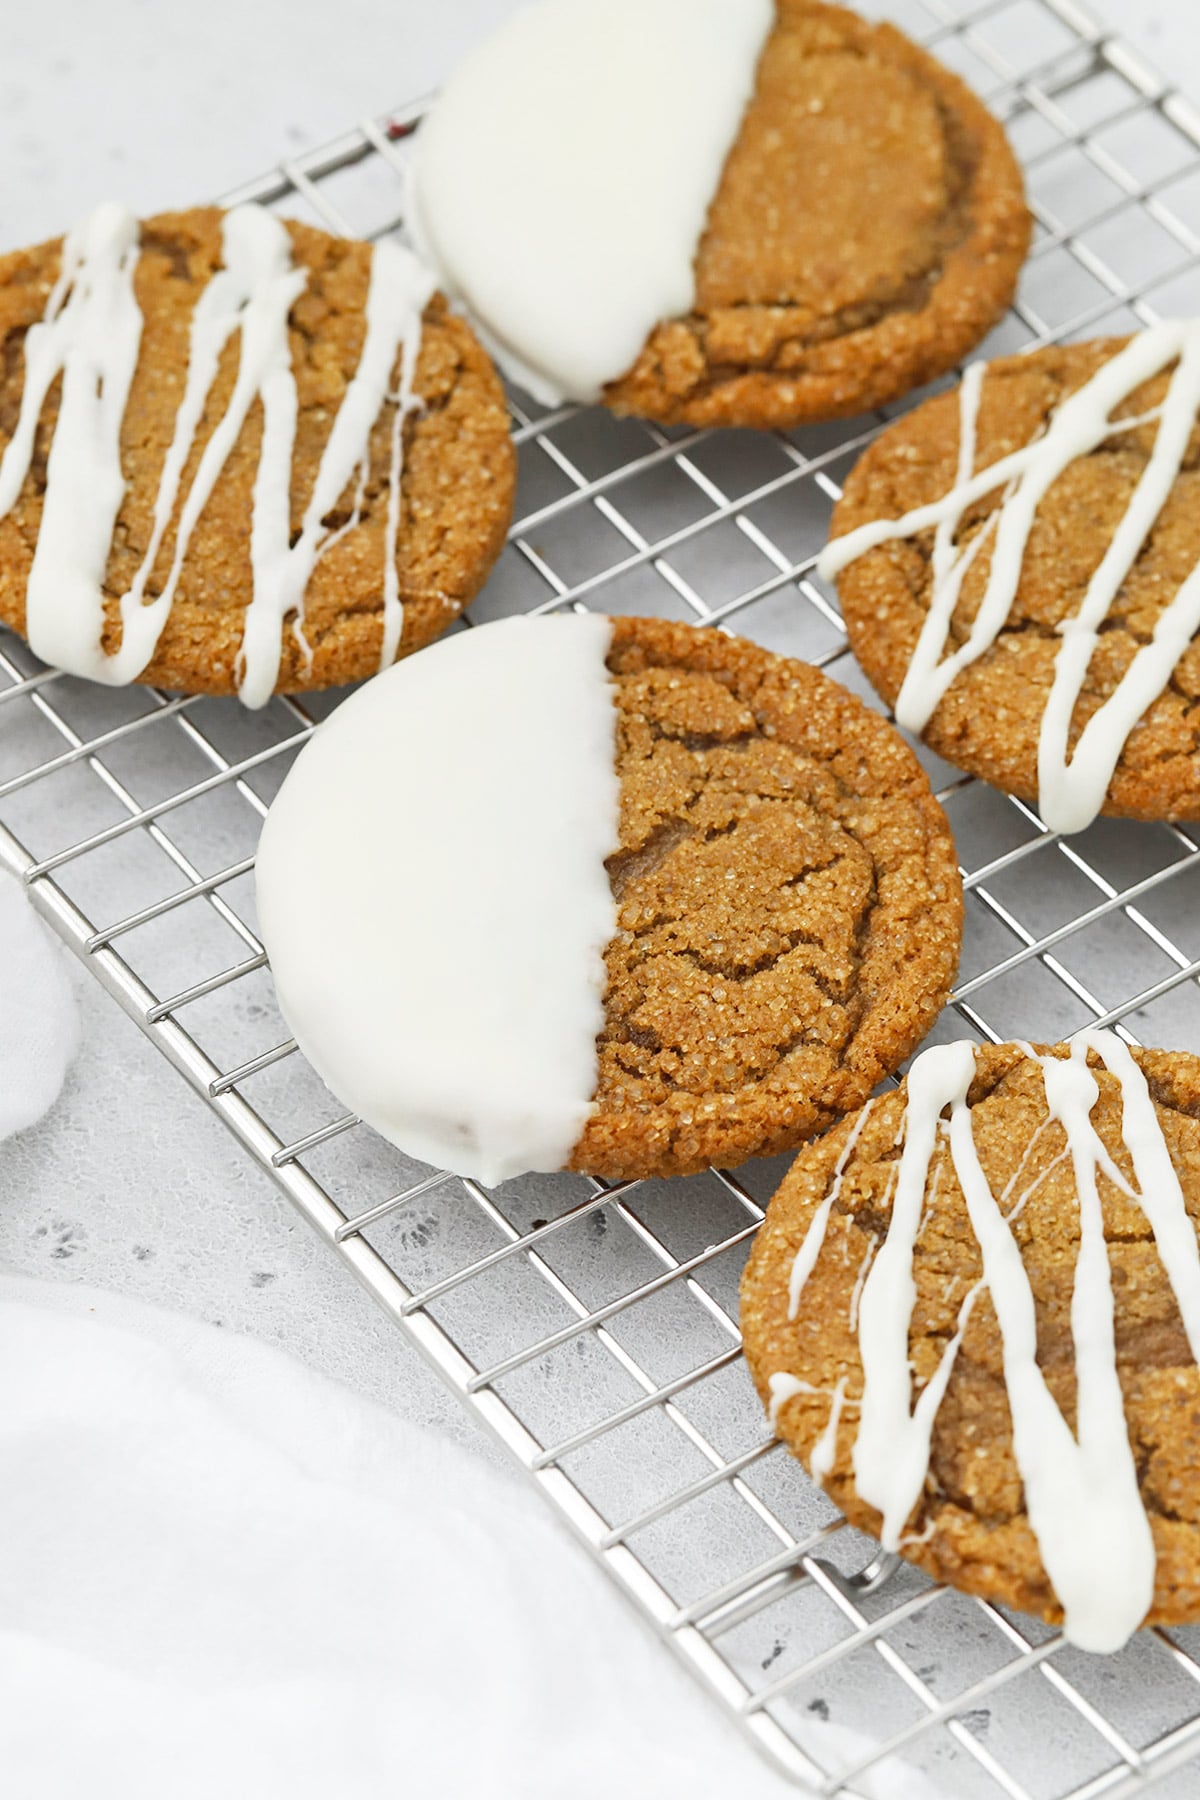
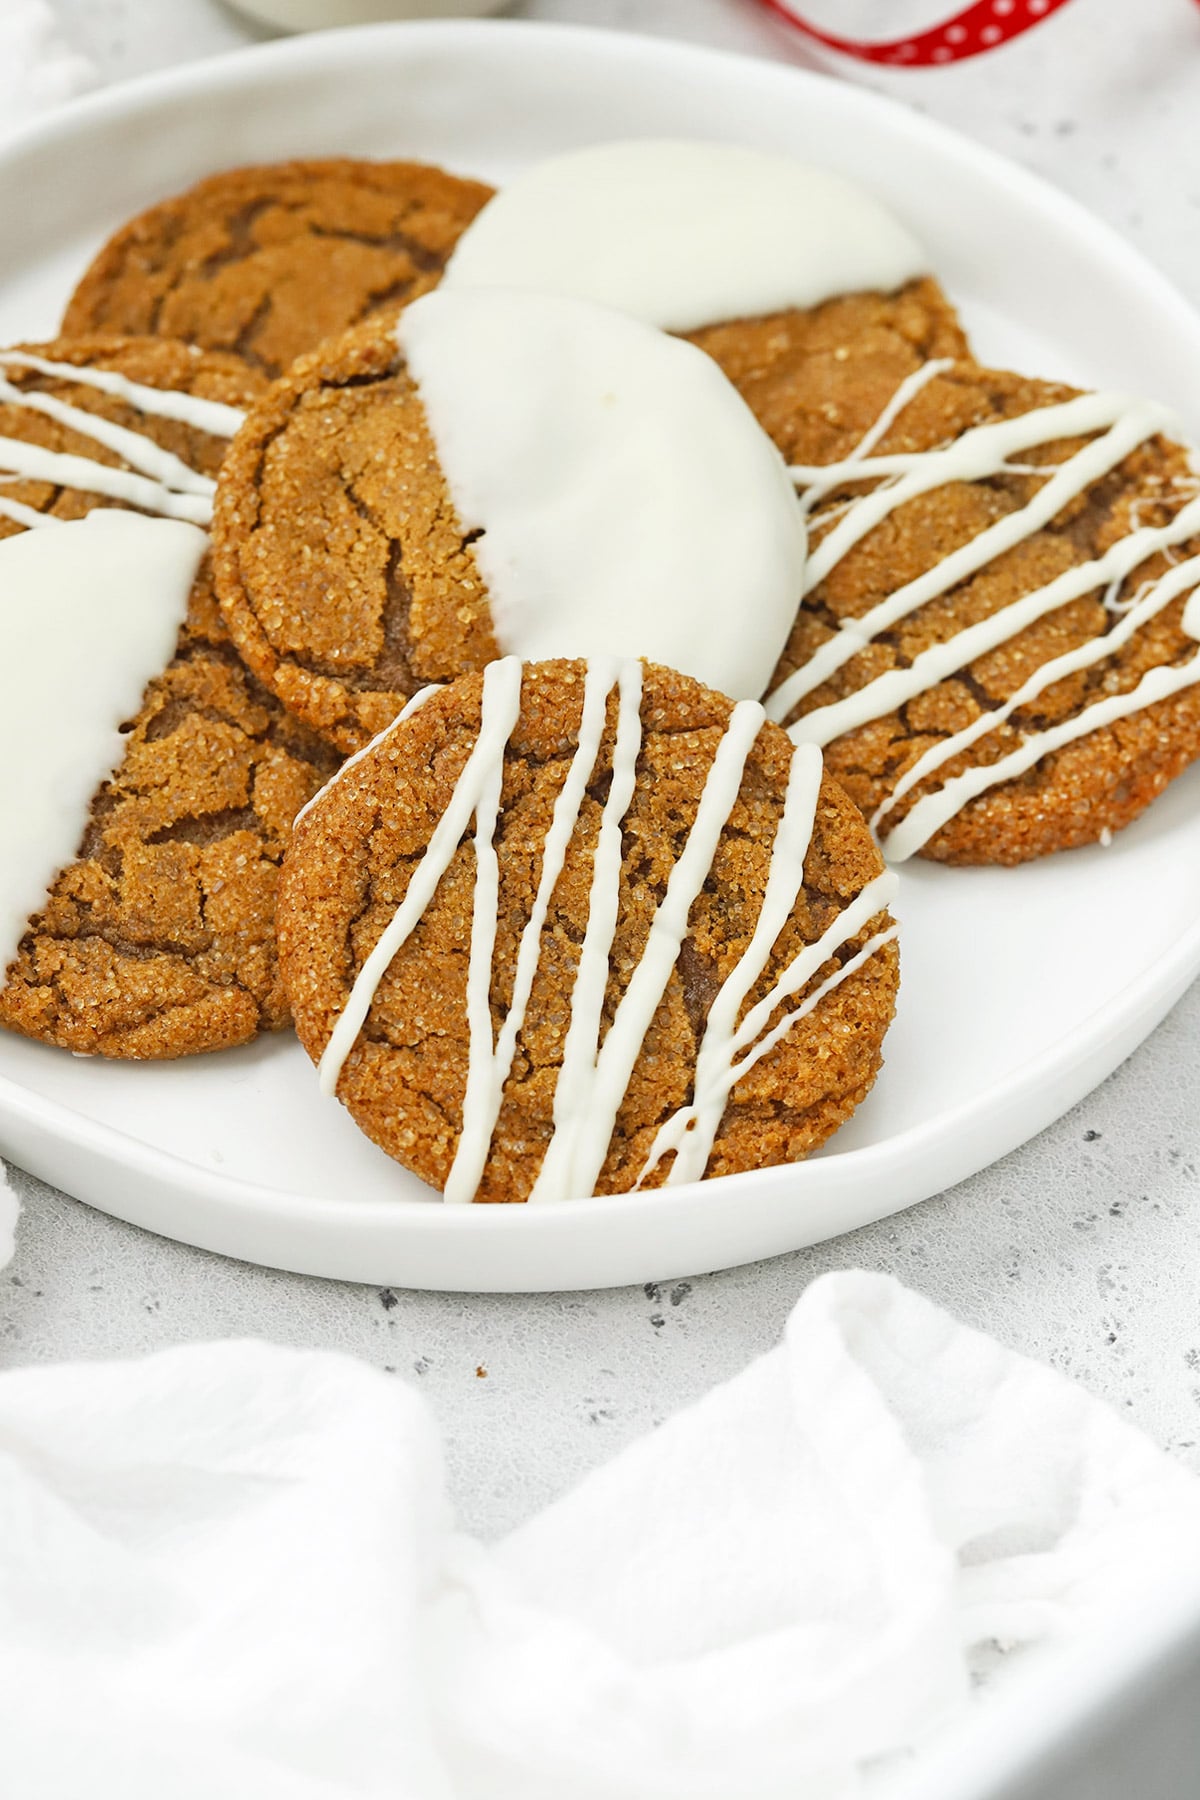
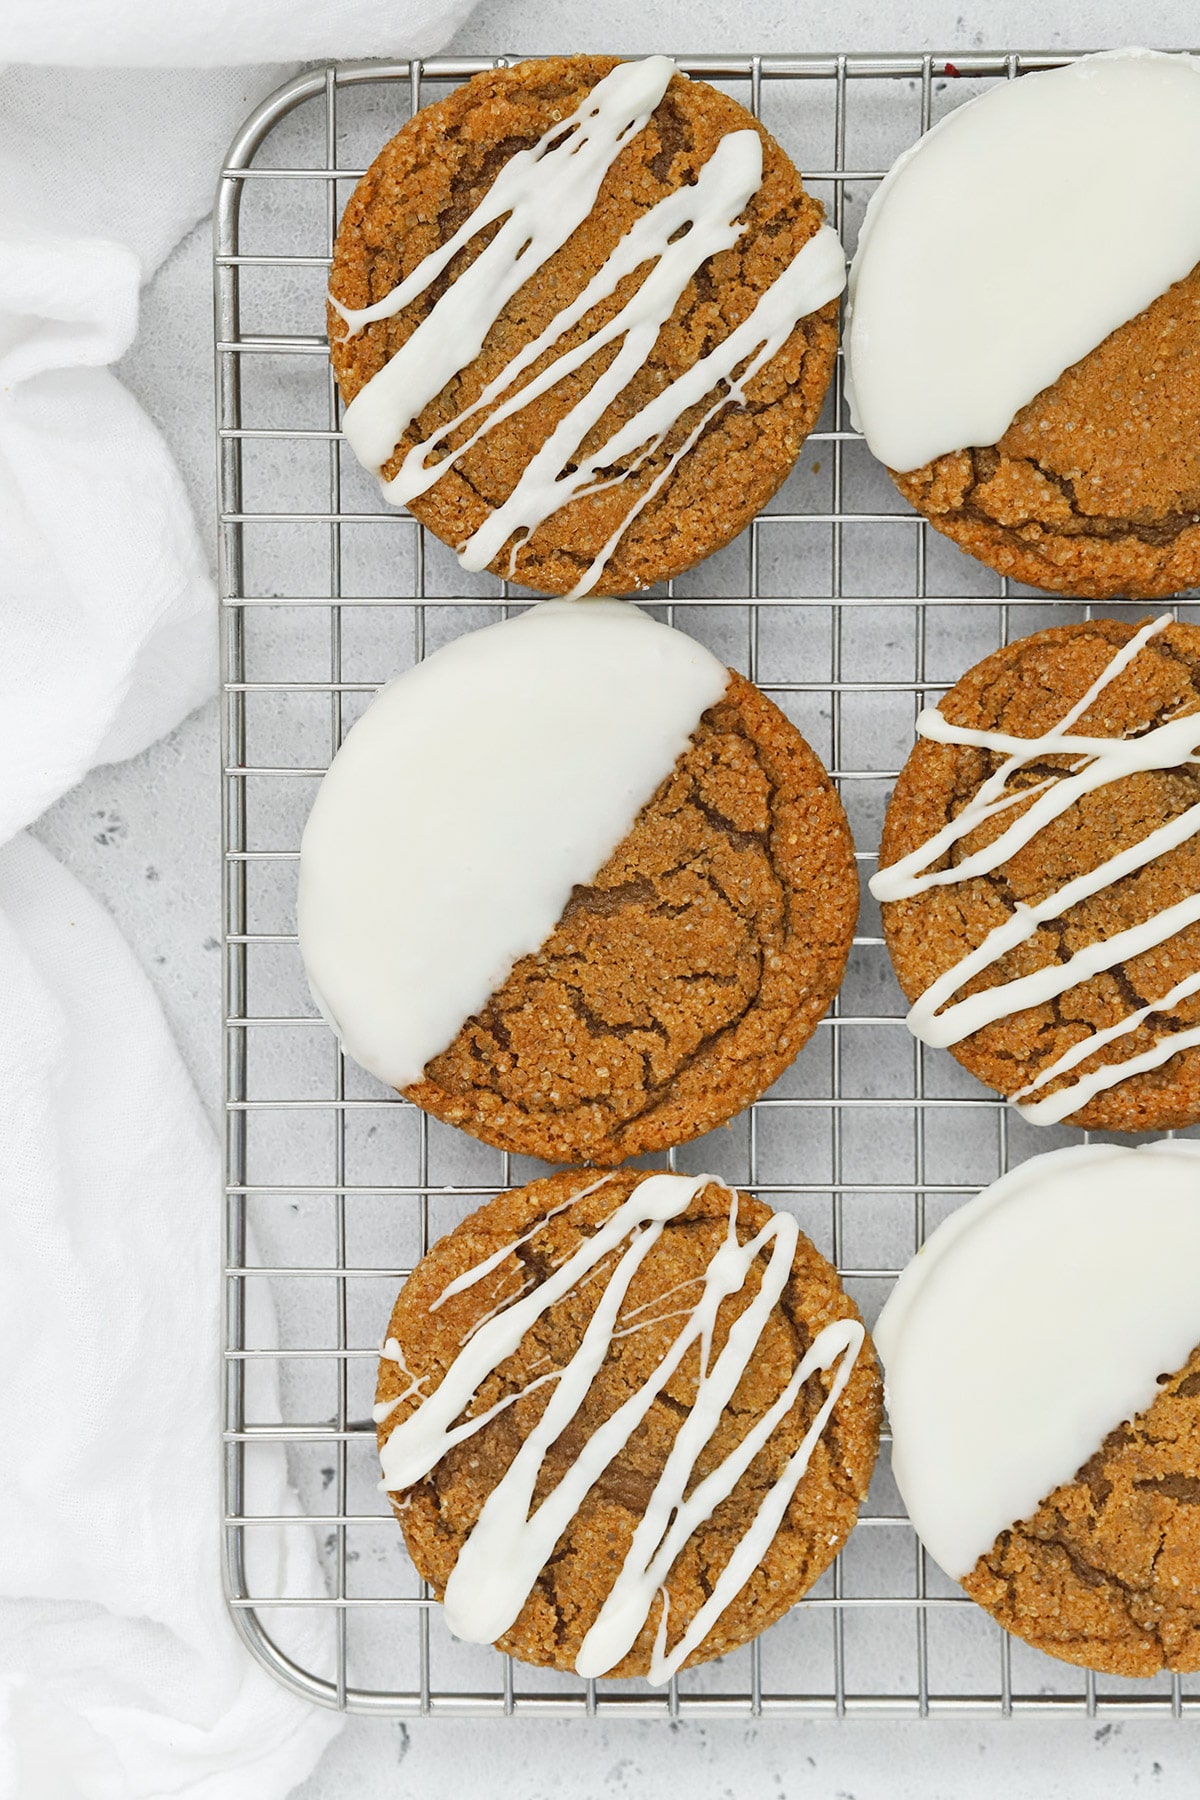
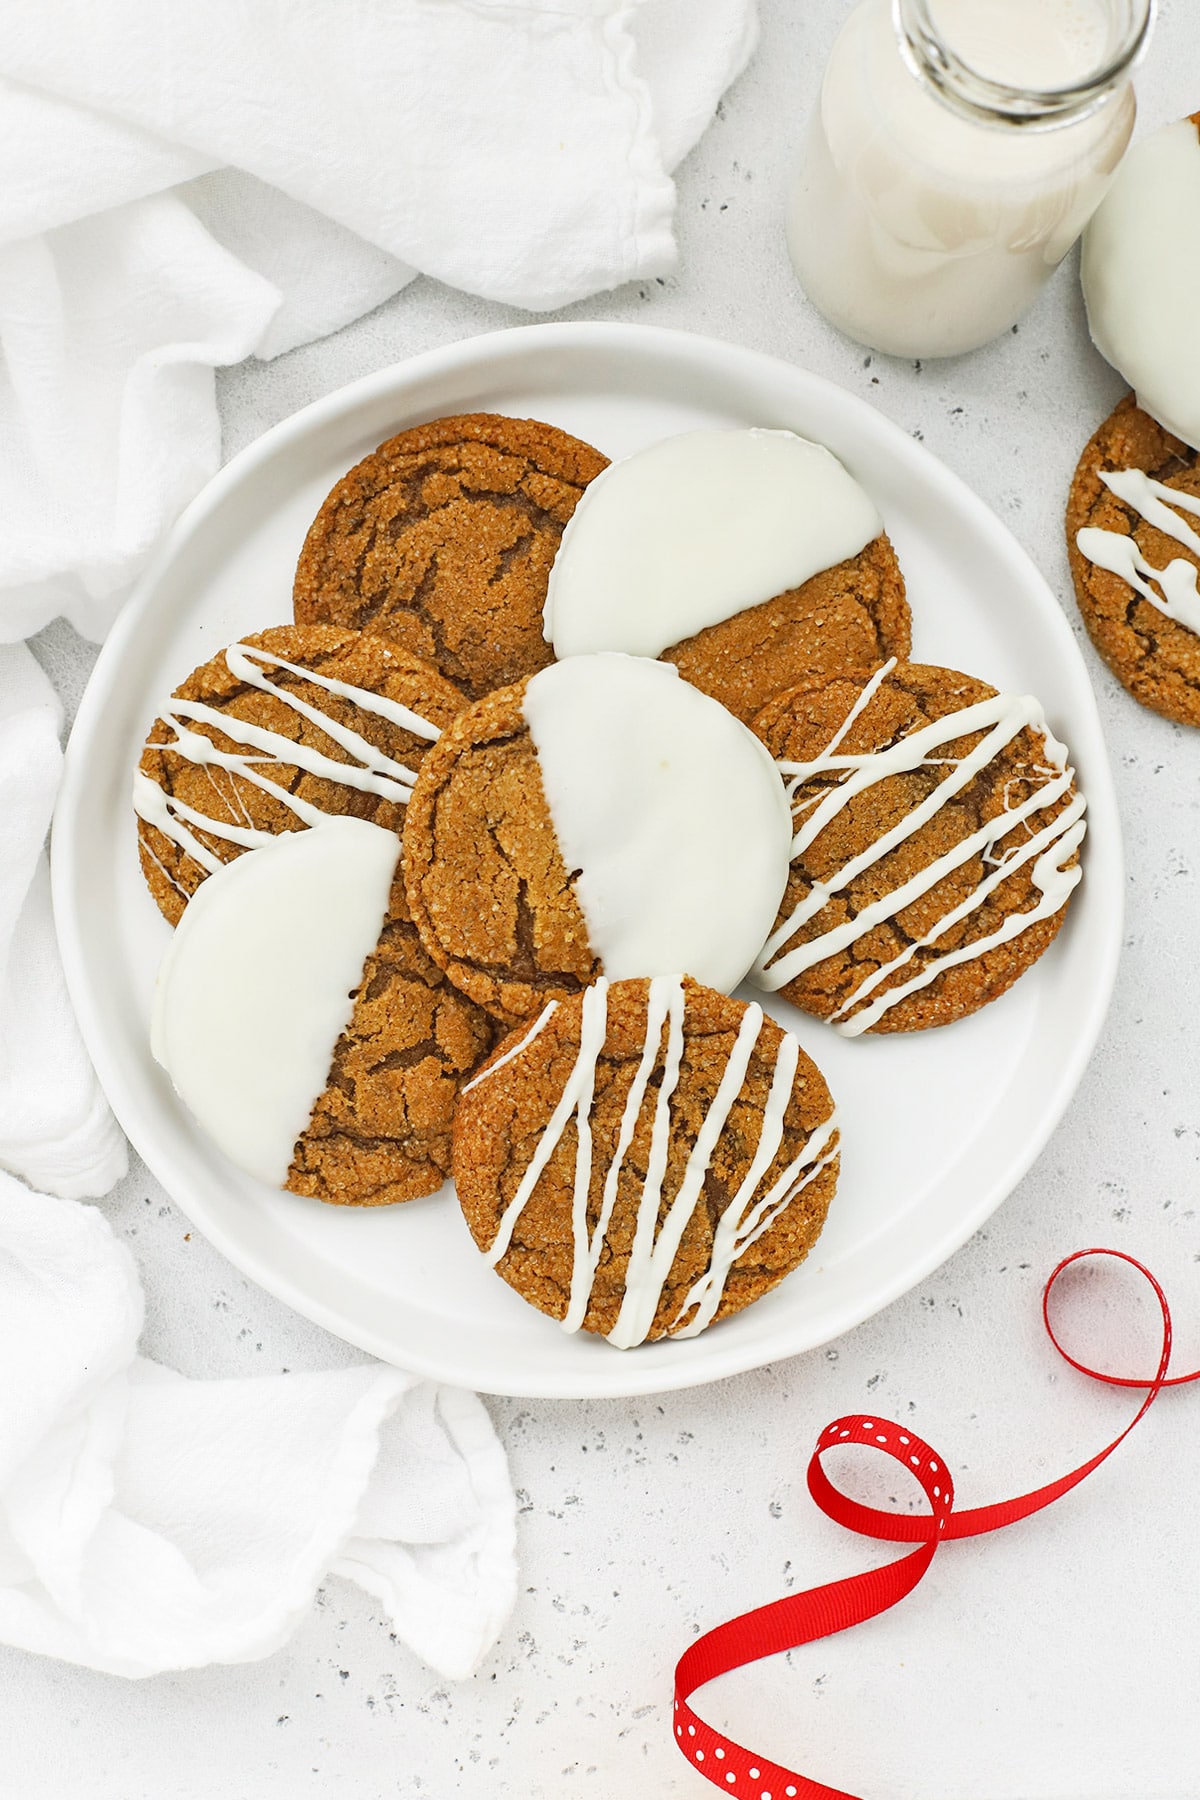
Soft & Chewy Gluten-Free Ginger Cookies – These gorgeous soft ginger cookies taste even better than they look! Try them drizzled or dipped in white chocolate for an extra pretty finish!
Are you more of a “do all the holiday baking at once” sort of person or a “do a little bit at a time to stretch it out” sort of person?
During the holiday season, I’m on team Stretch It Out, mostly because I LOVE it so much I don’t want it to end! There’s nothing like putting on a good holiday playlist, firing up the twinkle lights, and filling my house with the smells and tastes of gorgeous holiday cookies and treats this time of year.
One of my mom’s favorite cookie recipes growing up were soft ginger cookies dipped in white chocolate. They always got rave reviews around the neighborhood and looked so pretty going out on goody plates. I’m keeping the tradition alive today with our gluten-free version of this yummy holiday cookie.
We’re talking about soft, chewy gluten-free ginger cookies! I’ve adapted my mom’s original recipe, and absolutely love how they’ve turned out. These crackly cookies are loaded with warm spices, rolled in sugar to create a crackly, sparkly crust, and then dipped or drizzled with white chocolate to give them a show-stopping look. They’re the perfect holiday cookie!
This soft gluten-free ginger cookie recipe is calling your name! Here’s what you’ll need to get started…
This Gluten-Free Ginger Cookie recipe, At A Glance:
- Ingredients For Soft Gluten-Free Ginger Cookies
- How To Make Gluten-Free Ginger Cookies, Step-By-Step
- How To Dip Or Drizzle Ginger Cookies With White Chocolate
- Tips For The Best Gluten-Free Ginger Cookies
- Should I Use Almond Bark or White Chocolate?
- FAQ – Frequently Asked Questions About Ginger Cookies
- Our Favorite Tools & Ingredients For Making These Cookies
- RECIPE: Soft & Chewy Gluten-Free Ginger Cookies
Ingredients For Gluten-Free Ginger Cookies:
- Gluten-Free Measure-For-Measure Flour. We’ll start off the dry ingredients with our go-to gluten-free flour. We highly recommend King Arthur Baking Measure-For-Measure Gluten-Free Flour (not sponsored) because it gives us really consistent results with gluten-free cookies, cakes, muffins, brownies, and more. If you use another gluten-free flour blend, be sure it contains xanthan gum.
- Baking Soda. It might seem like a lot of baking soda, but it helps the cookies spread and achieve their signature crackly finish.
- A Mix Of Warm Spices And A Little Salt. We combine ginger, cinnamon, and salt to round out the flavors. These warm spices will fill the house with holiday spirit as the cookies bake—so good!
- Softened Butter. My mom makes her ginger cookies with oil, but in our recipe testing, we did a side-by-side comparison, and all 4 of us liked the flavor and texture of the butter-based cookies best.
- Brown Sugar & White Sugar. Another change I made from my mom’s recipe was to use a mix of brown and granulated sugar. The brown sugar is one of the reasons these become chewy ginger cookies. The extra molasses in the brown sugar adds moisture and chew to the cookies, It’s gorgeous!
- Egg. For puff and binding!
- Molasses. Another signature ingredient of an excellent gluten-free ginger cookie! Molasses is a strong flavor, so a little goes a long way!
- Vanilla. A (sort of?) secret ingredient! Most ginger cookie recipes don’t call for vanilla, but I love how it softens the assertiveness of the molasses and spices and adds a lovely balance to the cookies. It adds such a delicious flavor!
- Coarse Sugar + White Chocolate or Vanilla Almond Bark. To decorate with!
How To Make Gluten-Free Ginger Cookies, Step-By-Step:
- In a medium bowl, combine the dry ingredients. Add flour, baking soda, ginger, cinnamon, cloves, and salt to the bowl. Whisk to combine and set aside.
- In a stand mixer or large bowl with a handheld mixer, beat the softened butter, brown sugar, and sugar for 2 minutes until smooth and creamy.
- Add egg, molasses, and vanilla, beating to incorporate each fully before adding the next. (Beat the egg all the way in, then beat the molasses in, then the vanilla)
- Scrape down the edges of the mixer and add half of the dry mixture.
- Mix until the dry ingredients are partly incorporated, then add the second half of the dry ingredients and mix until just combined. (The dough will be thick and sticky at this point)
- Transfer the dough to a container, cover, and refrigerate at least 2 hours up to 24 hours before baking.
- When you’re ready to bake, preheat the oven to 350 degrees F. and line two baking sheets with parchment paper.
- Set out a bowl of coarse turbinado sugar for rolling the dough.
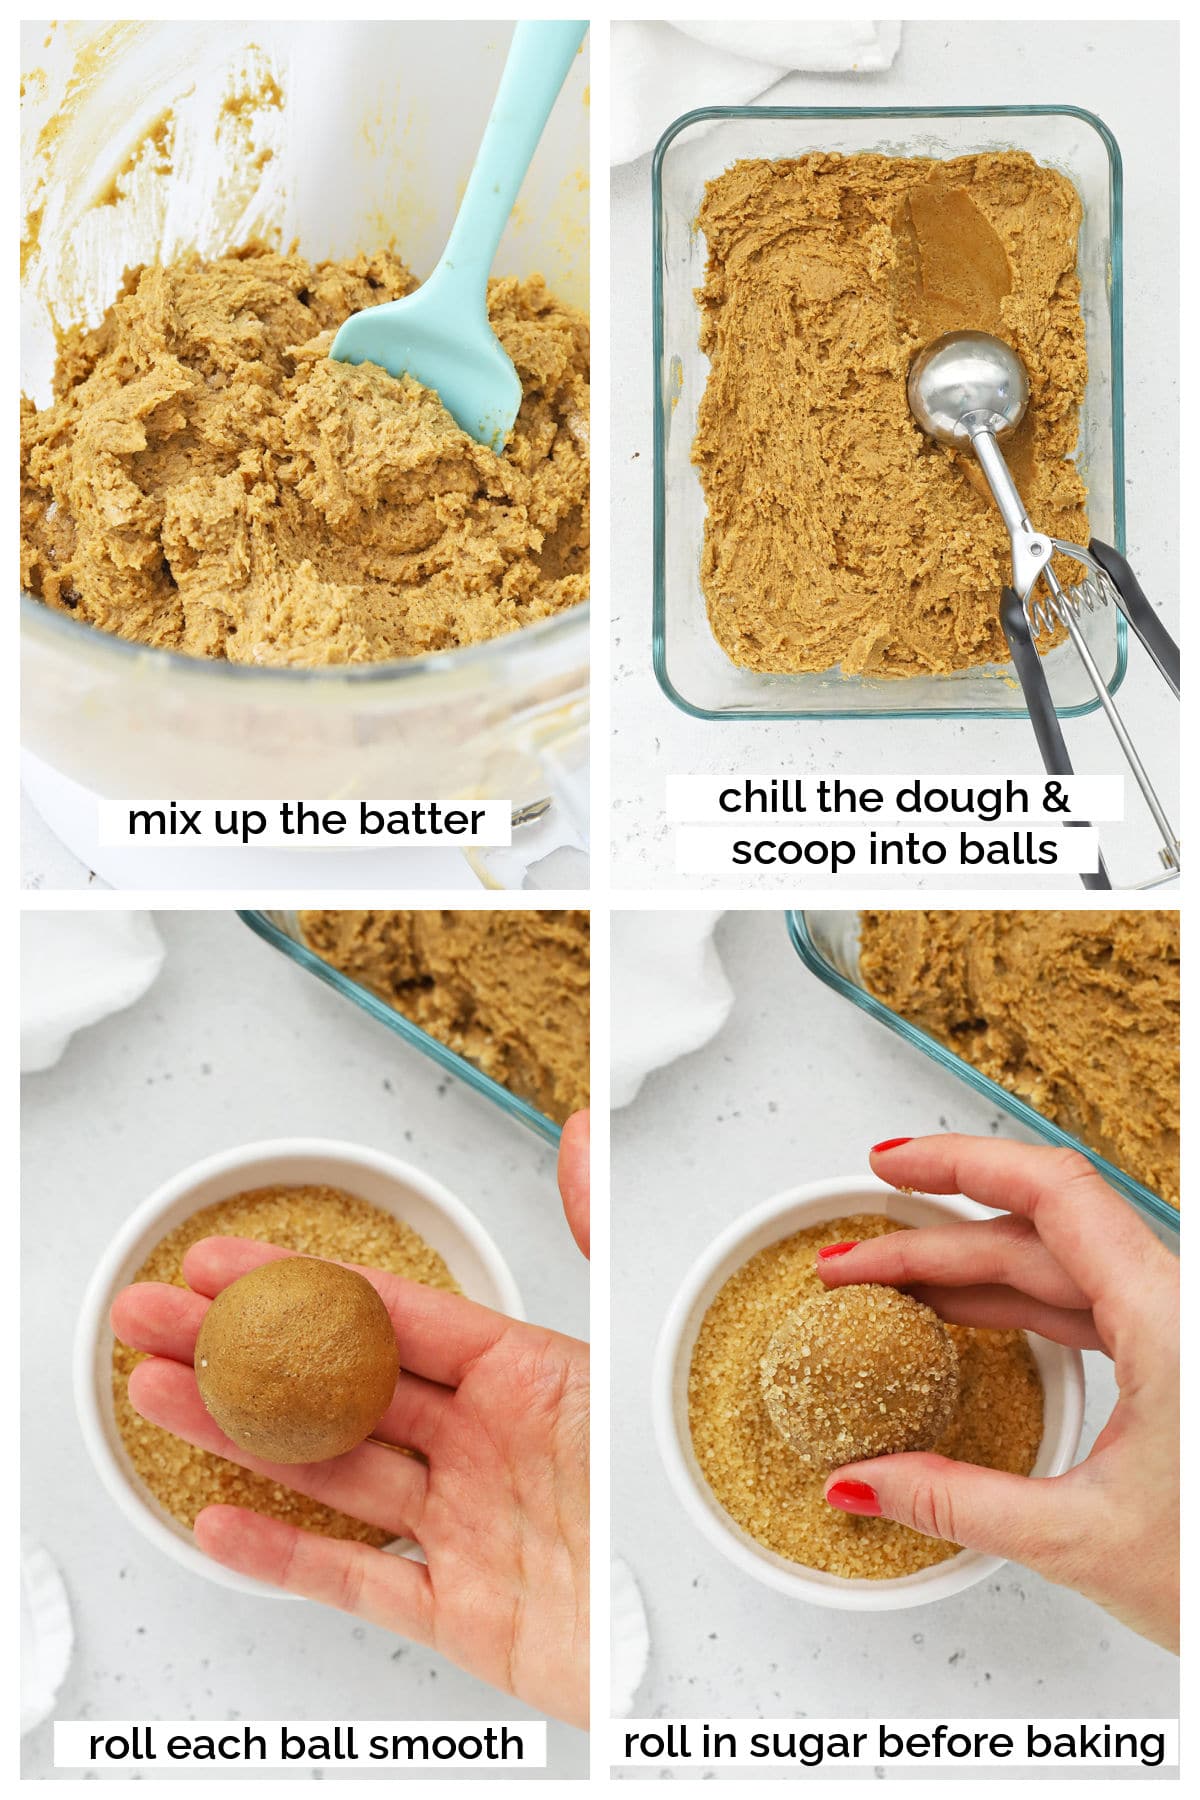
- Use a medium cookie scoop to scoop the chilled dough into even portions. Roll each ball of dough into a uniform shape, then gently roll in the coarse sugar to coat.
- Place 6 cookie dough balls on a prepared baking sheet and bake 8-10 minutes or until the edges look golden and set and the centers look slightly underdone.
- If desired, you can use a large circular cookie cutter to coax the cookies into perfect circles while they are hot from the oven. Let the cookies cool 5 minutes on the cookie sheet before transferring to a cooling rack to continue cooling.
- Repeat with remaining dough, cooking 1 batch of 6 cookies at a time, alternating baking sheets, until all the cookies are baked and cooled. Let the cookies cool completely before decorating.
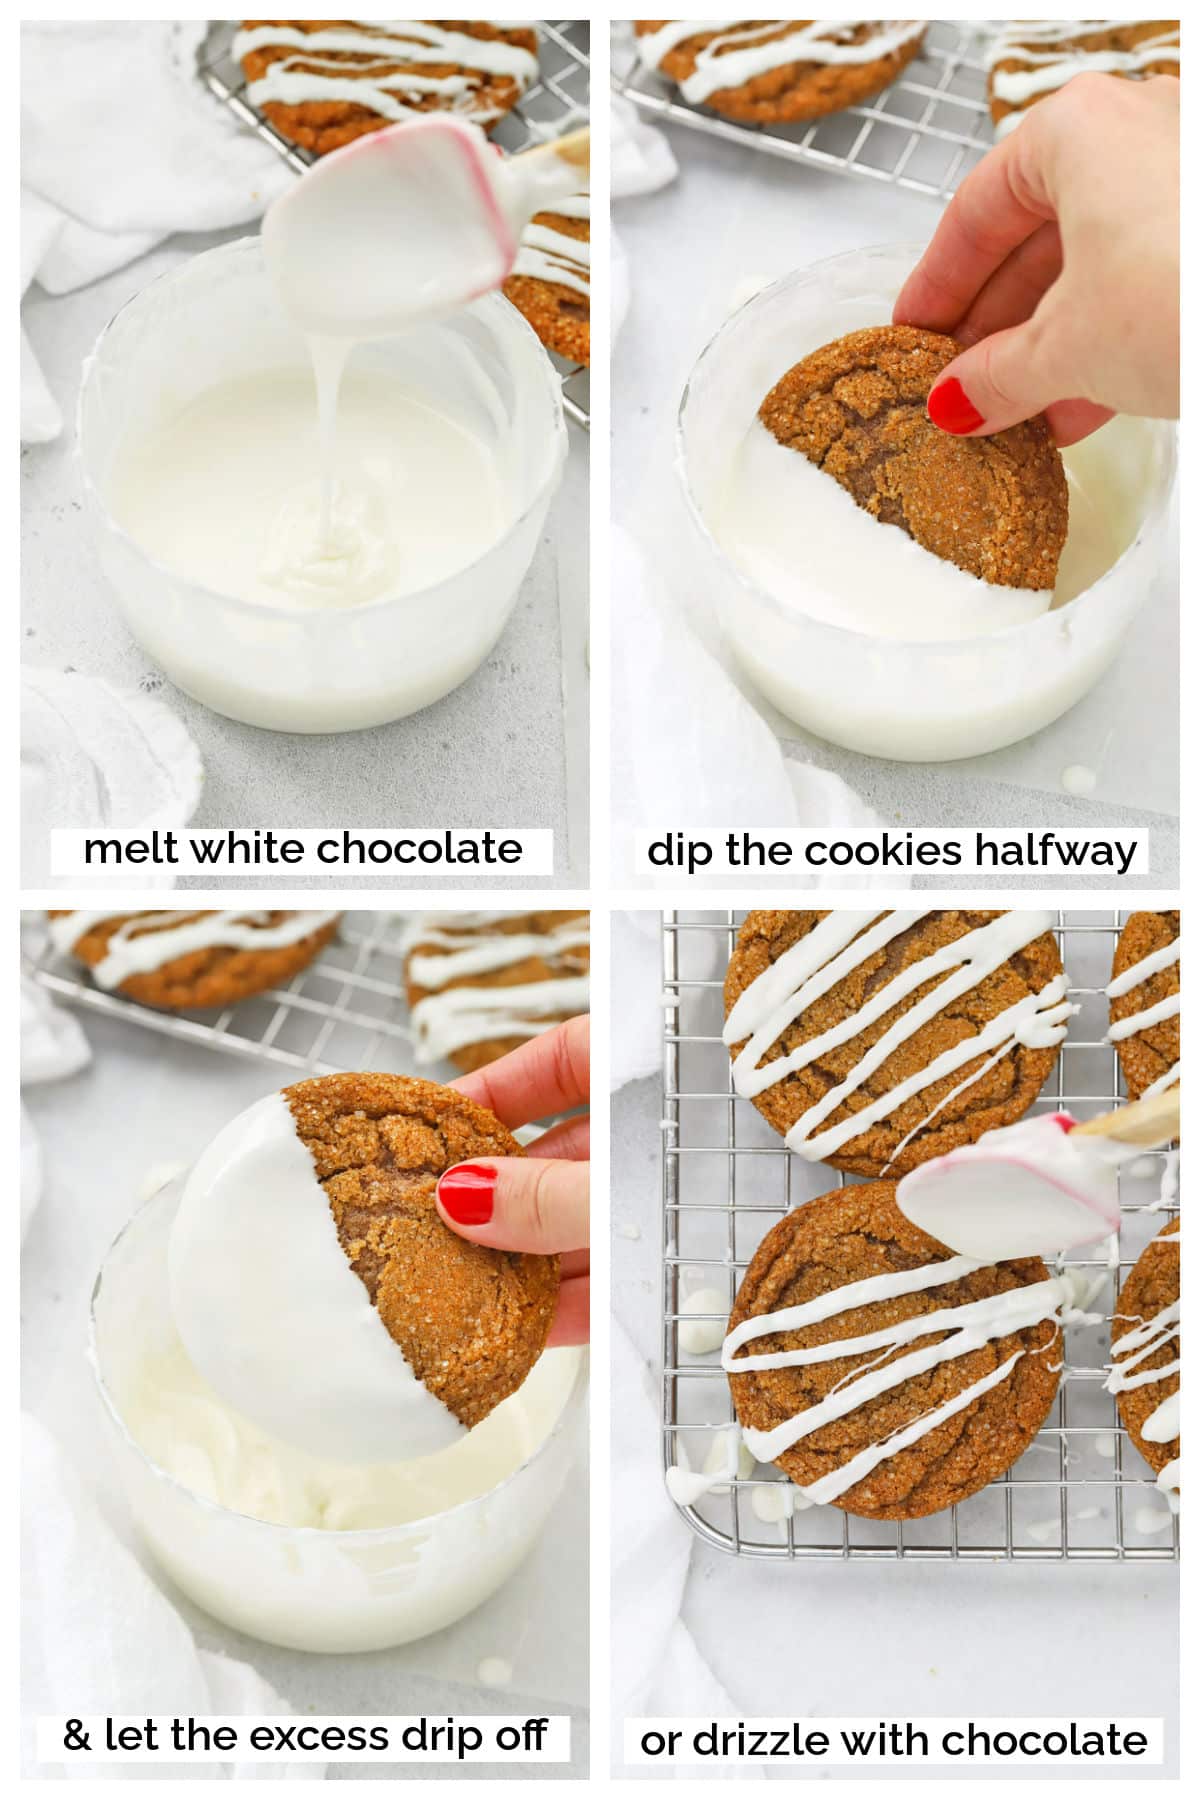
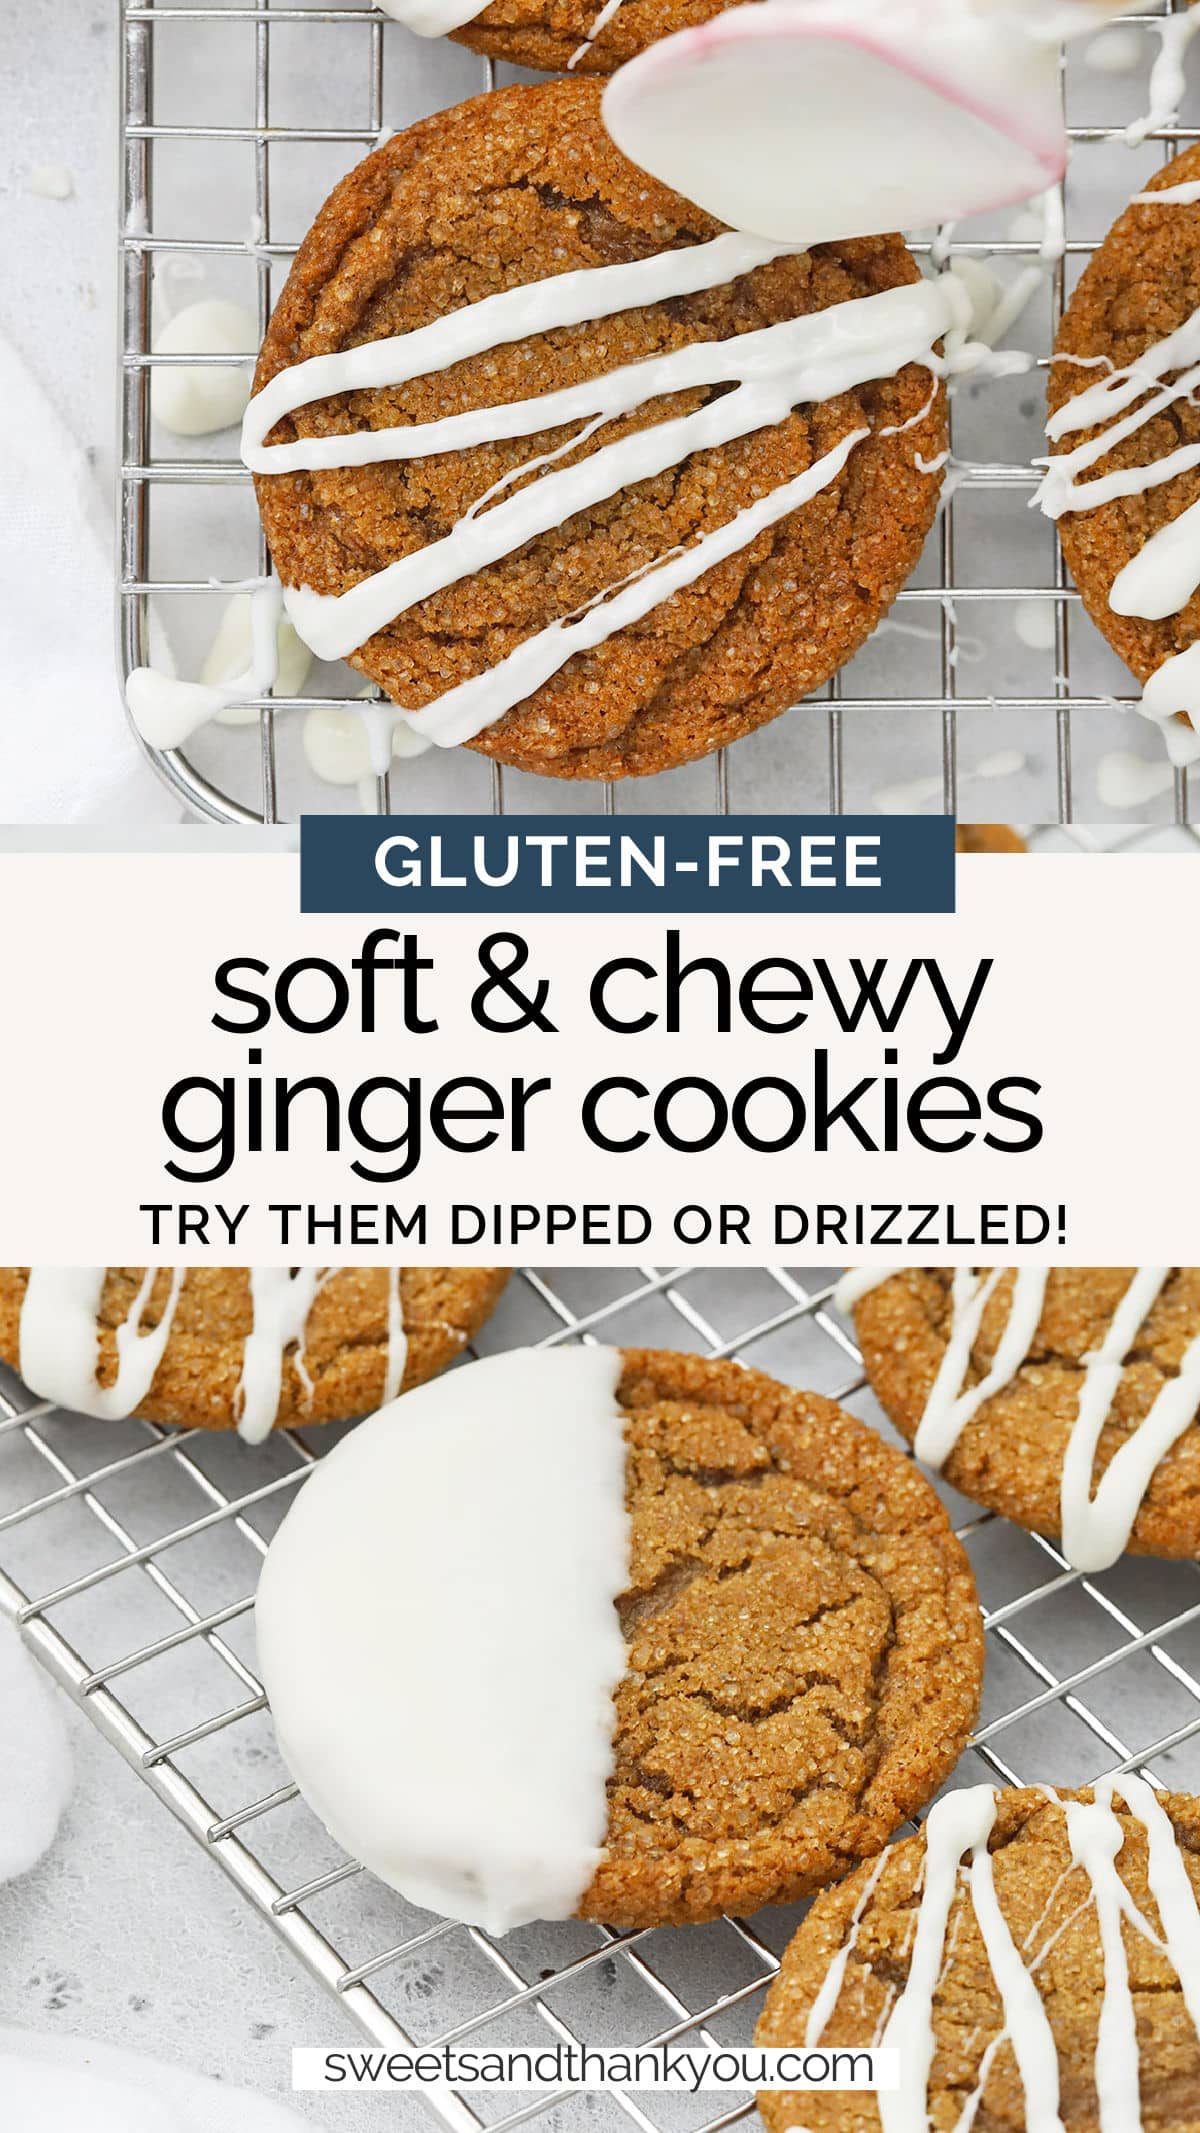
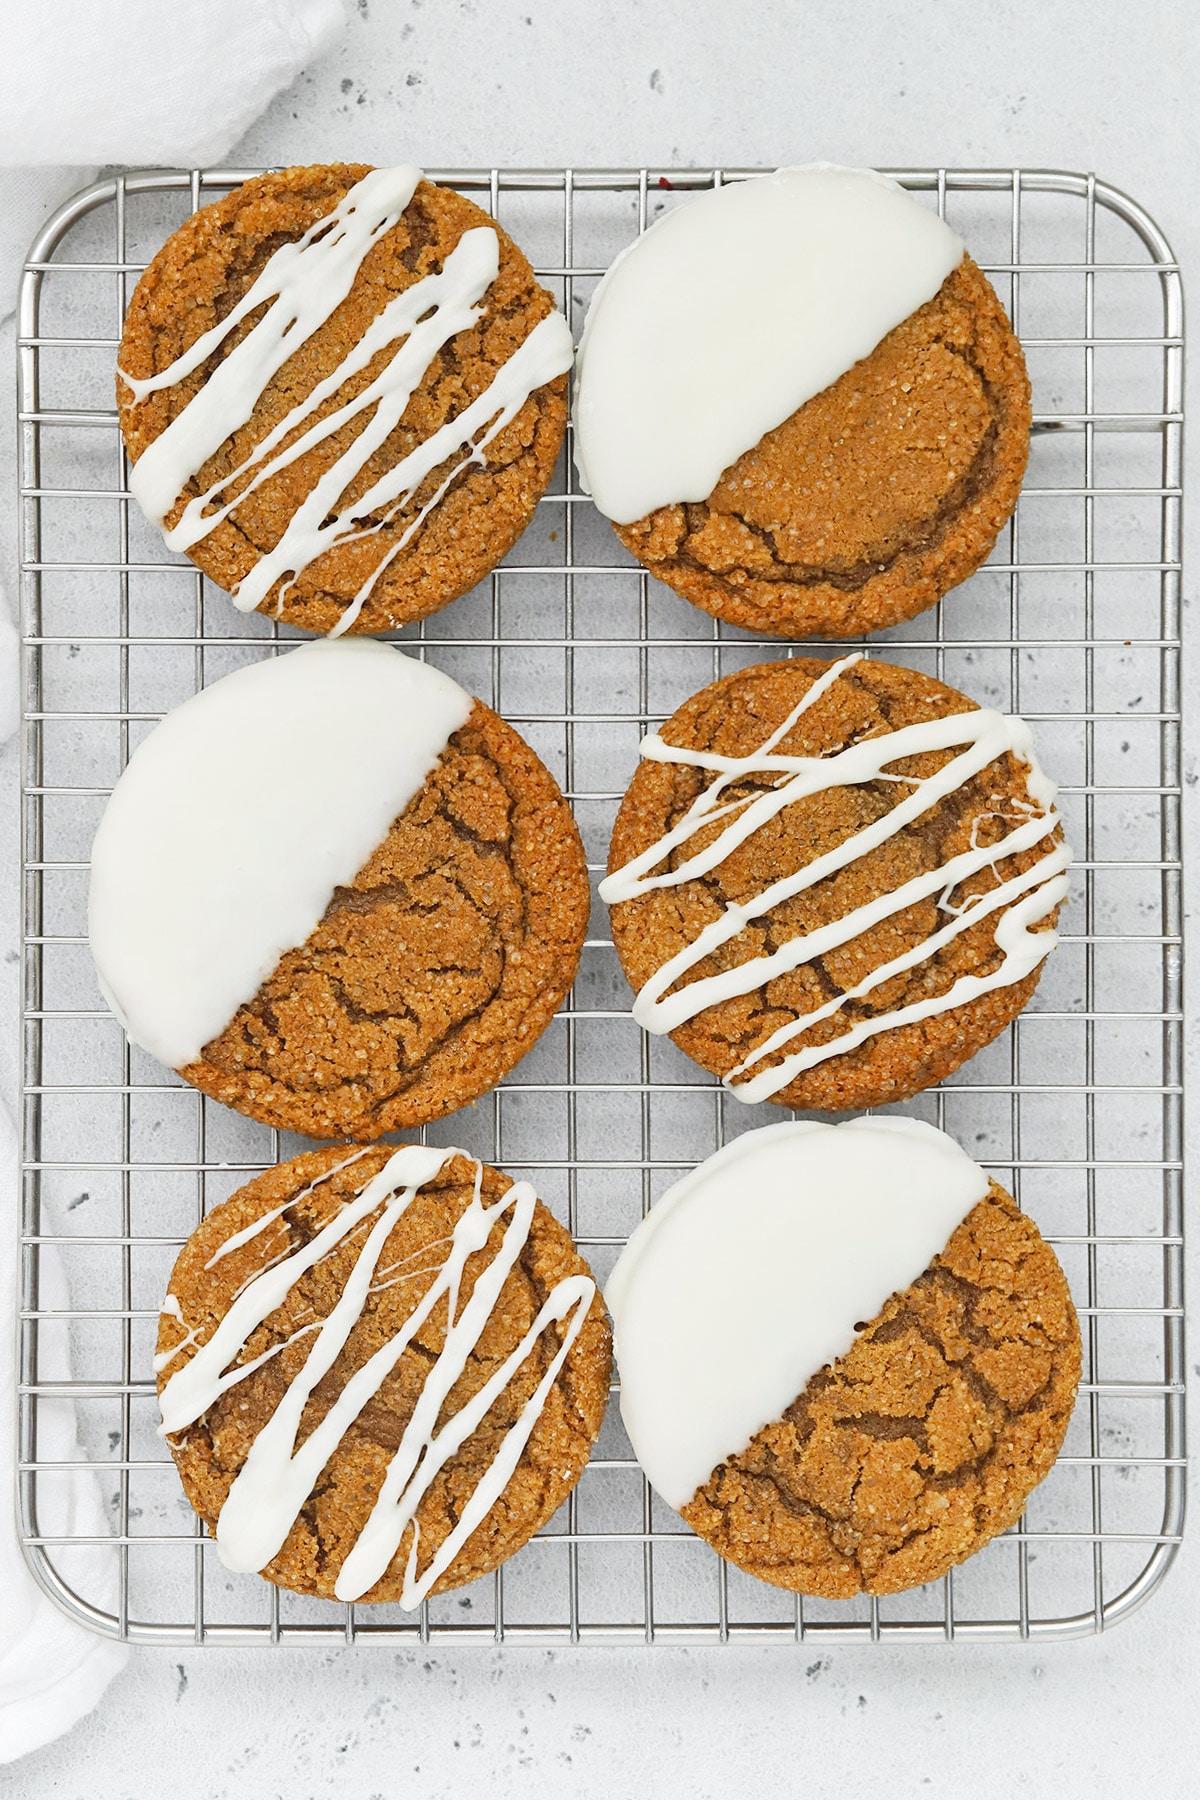
How To Dip Or Drizzle Ginger Cookies With White Chocolate
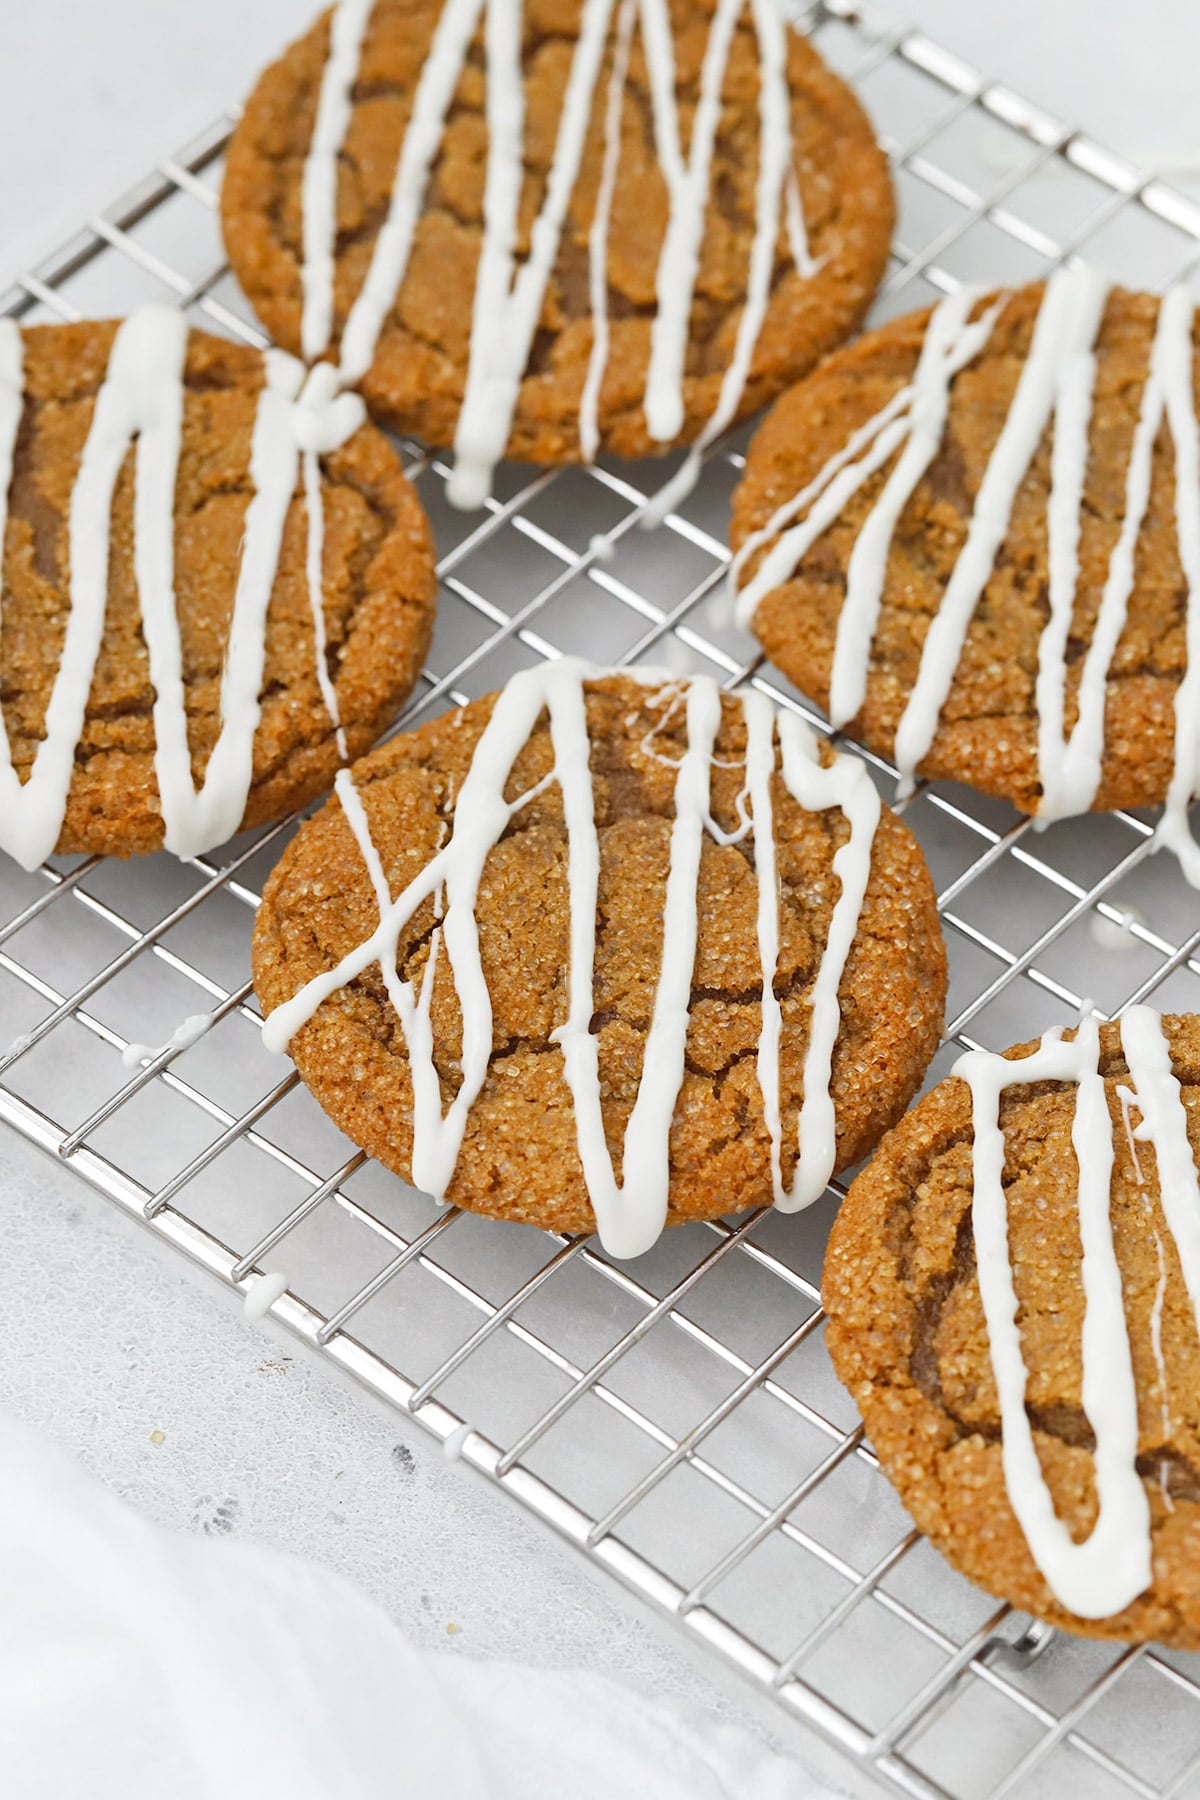
To Drizzle With White Chocolate:
- Add white chocolate chips or chopped vanilla almond bark to a microwave safe bowl,
- Microwave in 20-30 second increments (ideally on low power) stirring in between each, until the chocolate is almost completely melted with just a few small bumps of chocolate left.
- Remove from the microwave and continue stirring, allowing the residual heat in the bowl to melt the chocolate the rest of the way until it’s all smooth and glossy.
- Place the cookies on a cooling rack over a piece of parchment (or place the cookies on a baking sheet lined with parchment) and drizzle the cookies a few at a time. Dip a small spoonula (rounded spatula) or fork into the melted chocolate and move back and forth as smoothly as possible over the cookies, allowing the melted chocolate to drip off the spatula/fork and onto the cookies. (Don’t fuss too much about the design!)
- Allow the cookies to set completely before serving or storing. You can refrigerate them to set the chocolate more quickly.
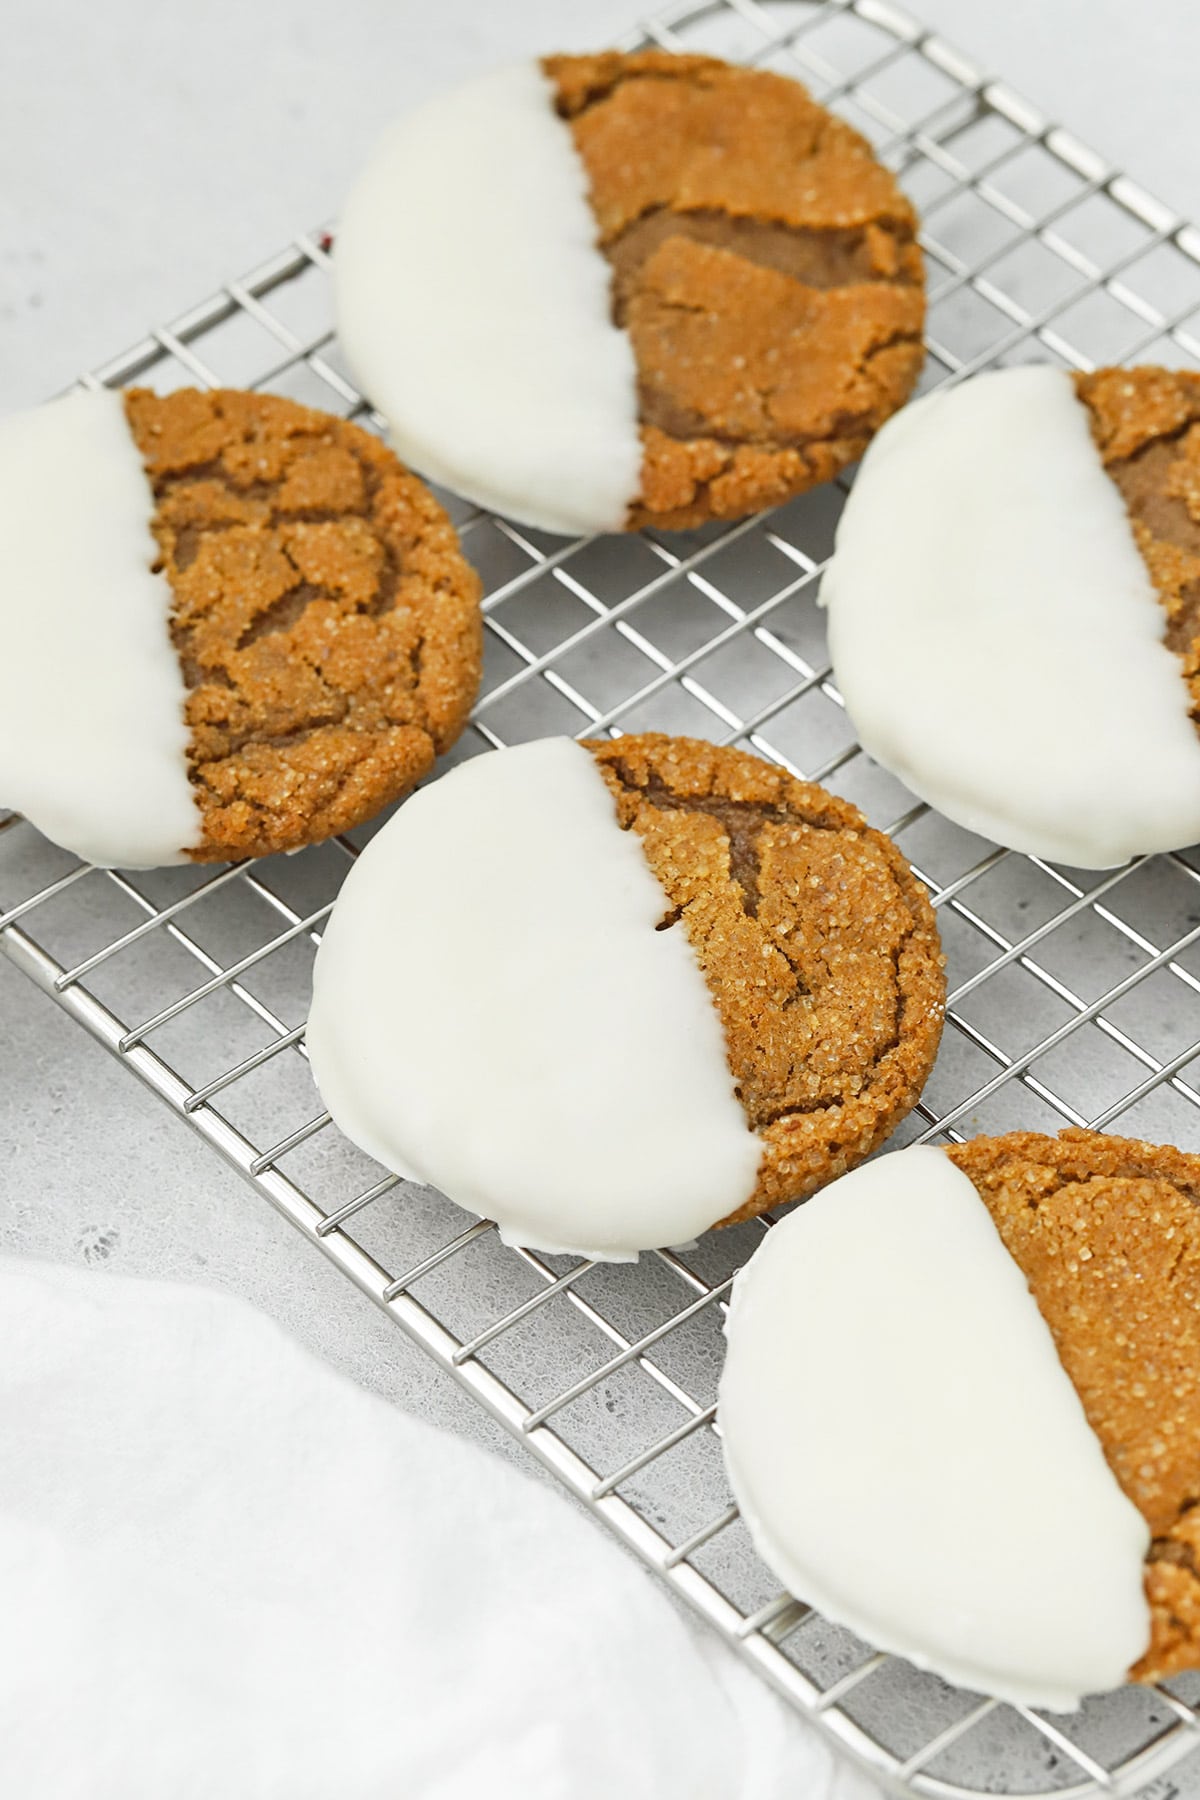
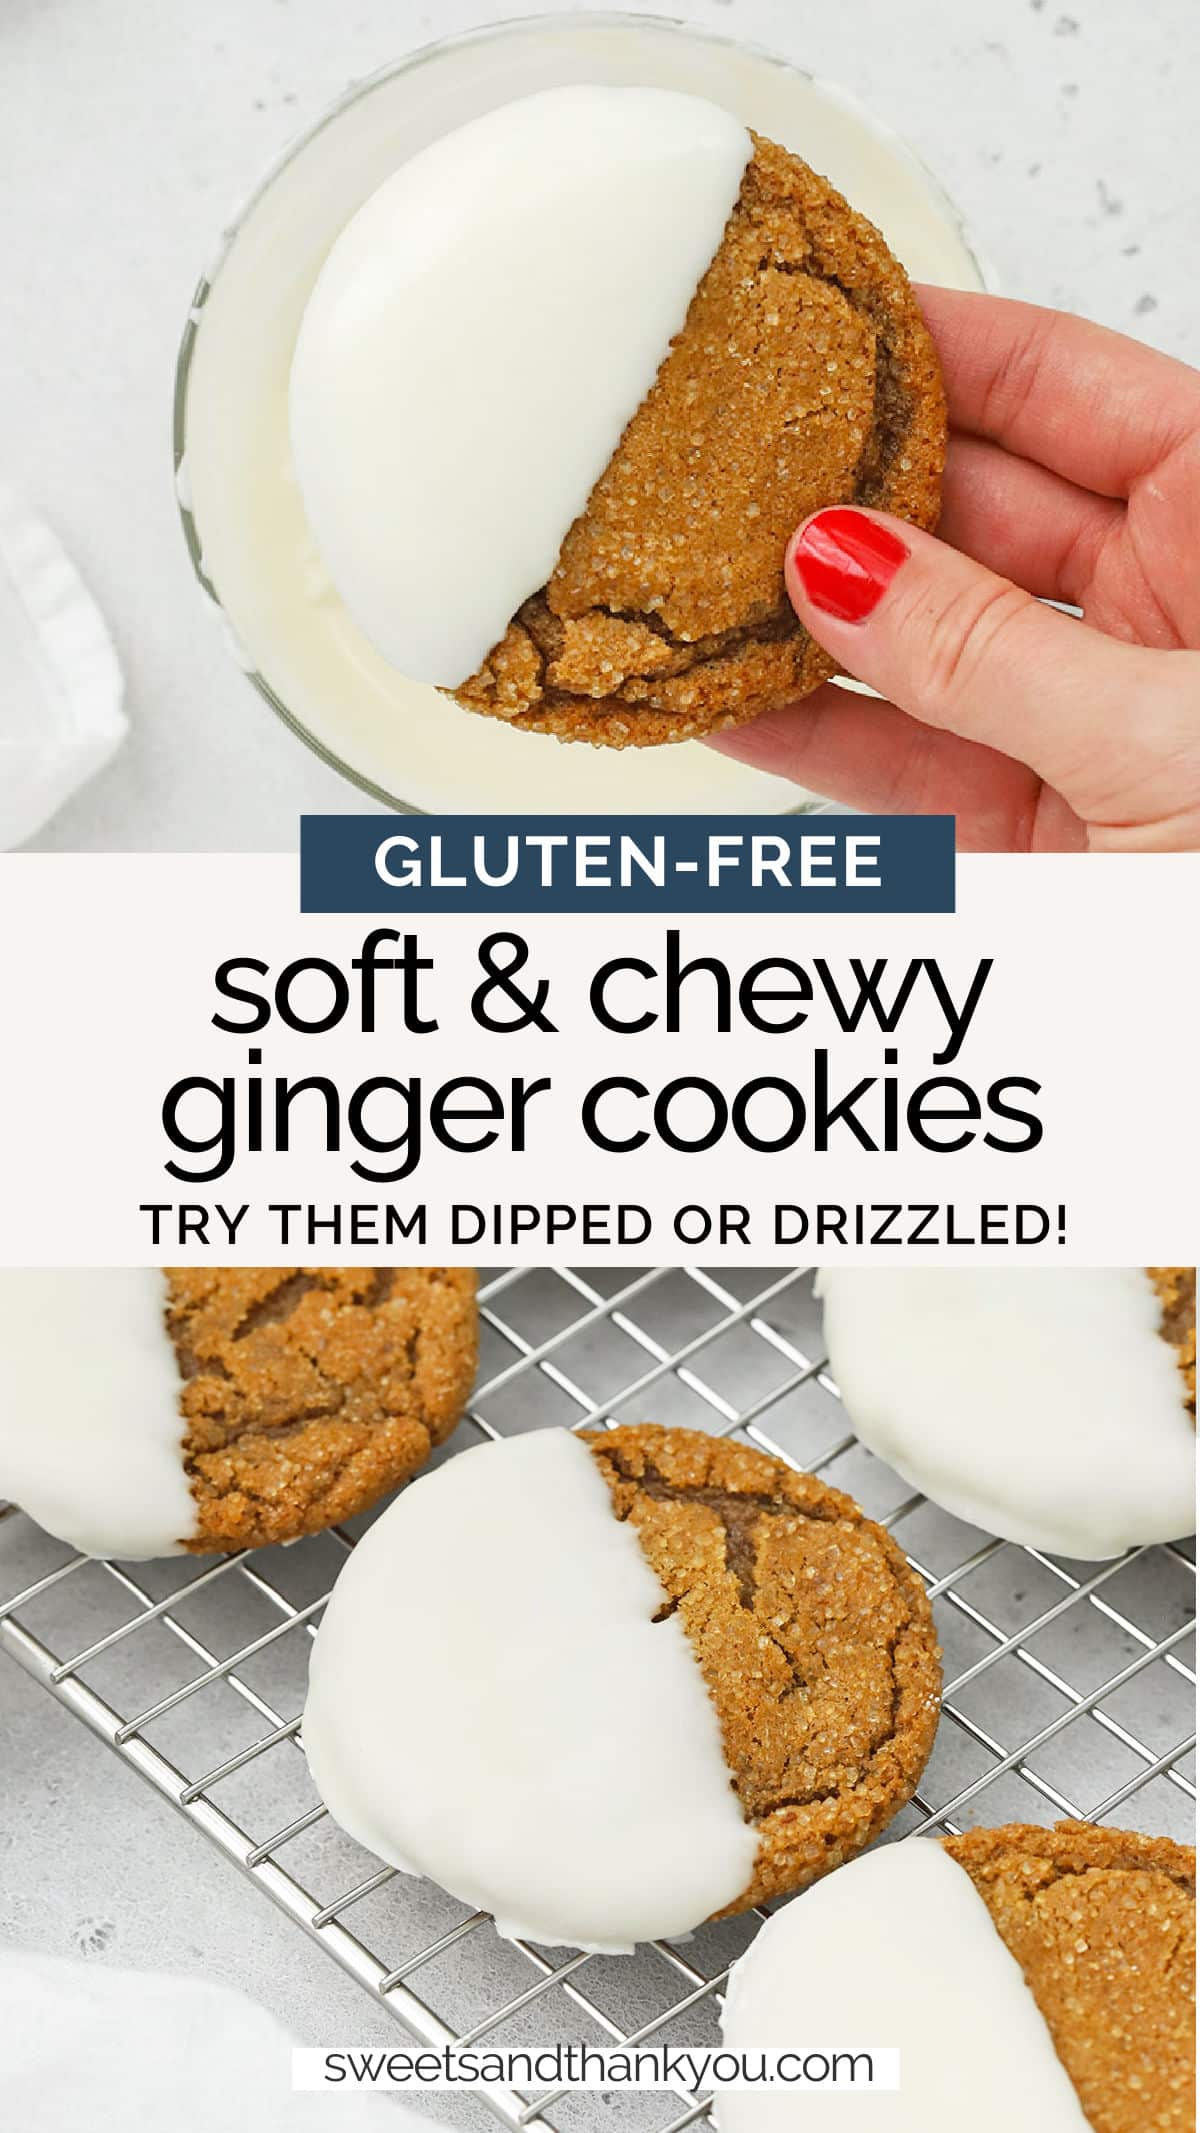
To Dip In White Chocolate:
- Add white chocolate chips or chopped vanilla almond bark to a microwave safe bowl,
- Microwave in 20-30 second increments (ideally on low power) stirring in between each, until the chocolate is almost completely melted with just a few small bumps of chocolate left.
- Remove from the microwave and continue stirring, allowing the residual heat in the bowl to melt the chocolate the rest of the way until it’s all smooth and glossy.
- Set up a station with the melted chocolate, cookies, and a cooling rack set over a piece of parchment or a baking sheet lined with parchment to place the dipped ginger cookies onto.
- Working one cookie at a time, dip half the cookie into the melted chocolate (focus on the top side). Allow the extra chocolate to drip off to avoid a “foot” (puddle of chocolate under your cookie as it sets).
- Transfer dipped cookies to the cooling rack or baking sheet and allow them to set completely before serving or storing. (You can put them in the refrigerator to speed up this process)
Tips For The Best Gluten-Free Ginger Cookies:
DO NOT SKIP THE CHILL TIME. For the best results, chill the cookie dough! I’m saying it in all caps because it’s CRUCIAL for the structure of your gluten-free ginger cookies! If you skip or rush this step, your cookies will over-spread and turn out much too thin. The chill time allows the flour to absorb more of the liquid which helps control the spread and helps the cookie develop some chewiness. It also really lets the flavors meld, which makes for a more flavorful cookie!
A Trick For Keeping The Molasses From Sticking To The Measuring Cup. Molasses is notoriously sticky, but I’ve found that quickly misting the measuring cup with 100% spray oil first helps the molasses come out easier. Then, use a mini spatula to help with any that does stick.
Try Coarse Sugar For Rolling. If you can, I recommend using coarse sugar (sometimes labeled Turbinado, raw sugar, or Sugar in the Raw) to roll the ginger cookies. It’s got larger crystals which makes for a really stunning presentation and a satisfying crackly crunch as you bite into the cookies!
Beginner? Try Using Almond Bark! Almond bark, or candy coating, is much easier to work with than white chocolate, so it’s great if you’re a beginner or don’t want to deal with anything fussy. My kids prefer the vanilla flavor almond bark over white chocolate, too!
Try Our Trick For Perfectly Round Cookies! If you want your ginger cookies to look extra pretty, you can use the cookie cutter trick to make perfectly round cookies. It’s so easy and so helpful!
Should I Use Almond Bark Or White Chocolate?
Almond Bark Pros & Cons:
- PROS: Almond Bark, or Vanilla Candy Coating, is much less finicky or fussy to work with. It has a more neutral vanilla flavor, sets up more quickly than chocolate, and can be reheated several times without impacting its structure or flavor. It’s also generally more affordable and better for beginners.
- CONS: It’s not true chocolate, so if you like the flavor of white chocolate, this won’t deliver. Not usually considered as fancy.
White Chocolate Pros & Cons:
- PROS: White chocolate has a stronger, more pronounced taste than candy coating, creamy appearance, generally considered fancier
- CONS: It can be difficult to find a good-quality white chocolate that tastes great and melts well. Has a slightly less striking appearance on the cookie because of its creamier color. Can seize or streak if reheated too many times. Takes longer to set up. More expensive.
I say use what you prefer best, but if pressed, I actually prefer the vanilla almond bark for dipping or drizzling chewy ginger cookies!
FAQ + Frequently Asked Questions About Ginger Cookies:
Do You Use Regular Molasses or Blackstrap Molasses For Ginger Cookies? Regular molasses works best for ginger cookies. Traditional or regular molasses is a byproduct of the sugar producing process and tends to run sweeter and have a more mild molasses flavor. Blackstrap molasses is less sweet, darker, and runs bitter. It has a higher concentration of minerals because it’s been reduced several times, but its flavor is too strong for ginger cookies unless other adjustments are made.
Can I Freeze Gluten-Free Ginger Cookies? You bet! Follow the guidelines in our How To Freeze Cookie Dough post, which also gives tips on freezing baked cookies or baking frozen cookie dough.
Can I Make Gluten-Free Ginger Cookies In Advance? You bet! you can make and freeze the dough, or freeze the cookies. You can freeze them decorated or plain and then decorate them later. Frozen ginger cookies will keep 6-8 weeks in the freezer.
What Kinds Of White Chocolate Are Good For Drizzling? I like Guittard brand white chocolate chips or Ghiradelli white chocolate chips or vanilla baking discs. (I can get both at Target and Ghiradelli is available at many grocery stores in the US.
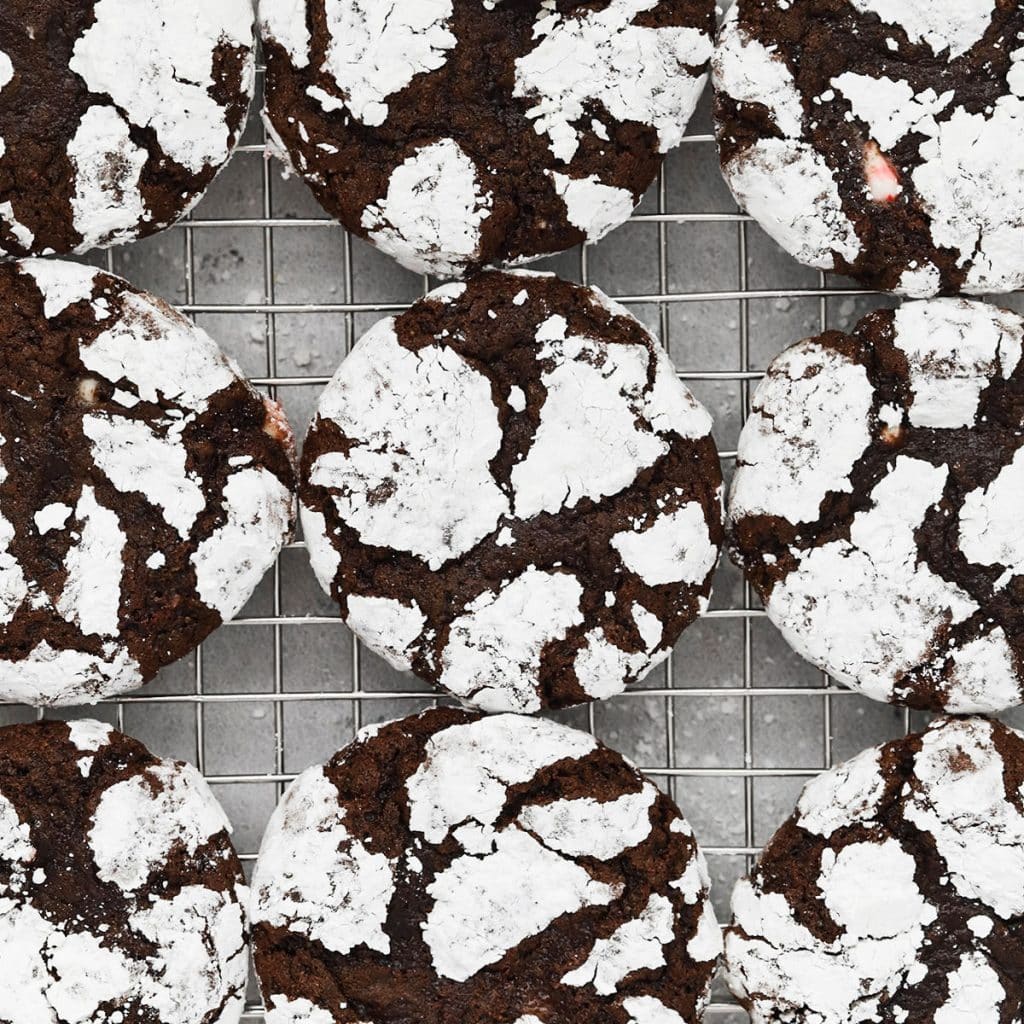
More GLuten-Free Holiday Cookies To Try:

Soft & Chewy Gluten-Free Ginger Cookies
- Total Time: 2 hours 55 minutes
- Yield: 2 dozen cookies 1x
- Diet: Gluten Free
Description
These gorgeous soft ginger cookies taste even better than they look. Try them drizzled or dipped in white chocolate for an extra pretty finish!
Ingredients
For The Dry Ingredients:
- 2 1/4 cup (270 g.) gluten-free measure-for-measure flour (we prefer King Arthur)
- 2 teaspoons baking soda
- 1 1/2 Tablespoons ground ginger
- 1 teaspoon ground cinnamon
- 1/4 teaspoon ground cloves
- 1/2 teaspoon kosher salt
For The Wet Ingredients:
- 3/4 cup (1 1/2 sticks, g) softened butter
- 1/2 cup brown sugar
- 1/2 cup sugar
- 1/4 cup molasses (regular NOT blackstrap)
- 1 egg, room temperature
- 1 teaspoon vanilla extract
To Bake & Decorate:
- 1/2 cup coarse sugar (Turbinado) or white sugar
- Optional: 6-8 oz. vanilla almond bark (candy coating) or white chocolate, for drizzling or dipping
Instructions
To Make The Gluten-Free Ginger Cookies:
- In a medium bowl, combine the dry ingredients. Add flour, baking soda, ginger, cinnamon, cloves, and salt to the bowl. Whisk to combine and set aside.
- In a stand mixer or large mixing bowl with a hand mixer, beat the softened butter, brown sugar, and sugar for 2 minutes until smooth and creamy.
- Add egg, molasses, and vanilla, beating to incorporate each fully before adding the next. (Beat the egg all the way in, then beat the molasses in, then the vanilla)
- Scrape down the edges of the mixer and add half of the dry ingredients.
- Mix until the dry ingredients are partly incorporated, then add the second half of the dry ingredients and mix until just combined. (The dough will be thick and sticky at this point)
- Transfer the dough to a container, cover, and refrigerate at least 2 hours up to 24 hours before baking.
- When you’re ready to bake, preheat the oven to 350 degrees F. and line two baking sheets with parchment paper.
- Set out a bowl of coarse turbinado sugar for rolling the dough.
- Use a medium cookie scoop to scoop the dough into even portions. Roll each ball of dough into a uniform shape, then gently roll in the coarse sugar to coat. Place 6 cookie dough balls on a baking sheet and bake 8-10 minutes or until the edges look golden and set and the centers look slightly underdone.
- If desired, you can use a large circular cookie cutter to coax the cookies into perfect circles while they are hot from the oven. Let the cookies cool 5 minutes on the baking sheet before transferring to a cooling rack to continue cooling.
- Repeat with remaining dough, cooking 1 batch of 6 cookies at a time, alternating baking sheets, until all the cookies are baked and cooled.
To Drizzle With Chocolate:
- Add white chocolate chips or chopped vanilla almond bark to a microwave safe bowl,
- Microwave in 20-30 second increments (ideally on low power) stirring in between each, until the chocolate is almost completely melted with just a few small bumps of chocolate left.
- Remove from the microwave and continue stirring, allowing the residual heat in the bowl to melt the chocolate the rest of the way until it’s all smooth and glossy.
- Place the cookies on a cooling rack over a piece of parchment (or place the cookies on a baking sheet lined with parchment) and drizzle the cookies a few at a time. Dip a small spoonula (rounded spatula) or fork into the melted chocolate and move back and forth as smoothly as possible over the cookies, allowing the melted chocolate to drip off the spatula/fork and onto the cookies. (Don’t fuss too much about the design!)
- Allow the cookies to set completely before serving or storing. You can refrigerate them to set the chocolate more quickly.
To Dip In White Chocolate:
- Add white chocolate chips or chopped vanilla almond bark to a microwave safe bowl,
- Microwave in 20-30 second increments (ideally on low power) stirring in between each, until the chocolate is almost completely melted with just a few small bumps of chocolate left.
- Remove from the microwave and continue stirring, allowing the residual heat in the bowl to melt the chocolate the rest of the way until it’s all smooth and glossy.
- Set up a station with the melted chocolate, cookies, and a cooling rack set over a piece of parchment or a baking sheet lined with parchment to place the dipped ginger cookies onto.
- Working one cookie at a time, dip half the cookie into the melted chocolate (focus on the top side). Allow the extra chocolate to drip off to avoid a “foot” (puddle of chocolate under your cookie as it sets).
- Transfer dipped cookies to the cooling rack or baking sheet and allow them to set completely before serving or storing. (You can put them in the refrigerator to speed up this process)
- Store cooled, set cookies in an airtight container at room temperature 2-3 days, or in the freezer up to 6 weeks.
Notes
We highly recommend King Arthur Flour Measure-For-Measure Gluten-Free Flour for these cookies. If you use another blend (like Bob’s Red Mill), be sure it contains xanthan gum or the cookies will not turn out properly. Do not substitute coconut flour, oat flour, or almond flour in this recipe.
- Prep Time: 20 minutes
- Chill Time: 2 hours
- Cook Time: 35 minutes
- Category: Cookies
- Method: Baking
- Cuisine: American

Our Favorite Tools & Ingredients For This Recipe:
- The Best Gluten-Free Flour – makes light cakes & muffins, fudgy brownies, and gorgeous cookies!
- Light-Colored Sheet Pan – For even baking. These last forever!
- Pre-Cut Parchment Sheets – Like getting a hand-up in the kitchen!
- Medium Cookie Scoop – Makes portioning dough super easy!
- Coarse Sugar – For rolling the cookies. It adds a gorgeous, crackly finish!
- Inexpensive Oven Thermometer – To check your oven temperature & ensure even bakes.
- Almond Bark or White Chocolate – For drizzling or dipping. Almond bark is easier to work with, while white chocolate has more intense white chocolate flavor.
These are some of the best ginger cookies I’ve ever had! They turned out perfectly.
Alissa – You’re THE BEST! Thank you for taking the time to leave a review!!!
I wish someone would share a GF cookie recipe like this (they sound sooo good!) but not with these brand flour mixes. I live in France and they aren’t available over here. Some companies are starting to make them but a far cry from say Bob’s Red Mill or Pamela’s. I’ll try your recipe using a combo of rice, chestnut and sorghum flours. Happy early holidays!