Quick & Easy Whipped Honey Butter
This post may contain affiliate links. See our disclosure policy for more.
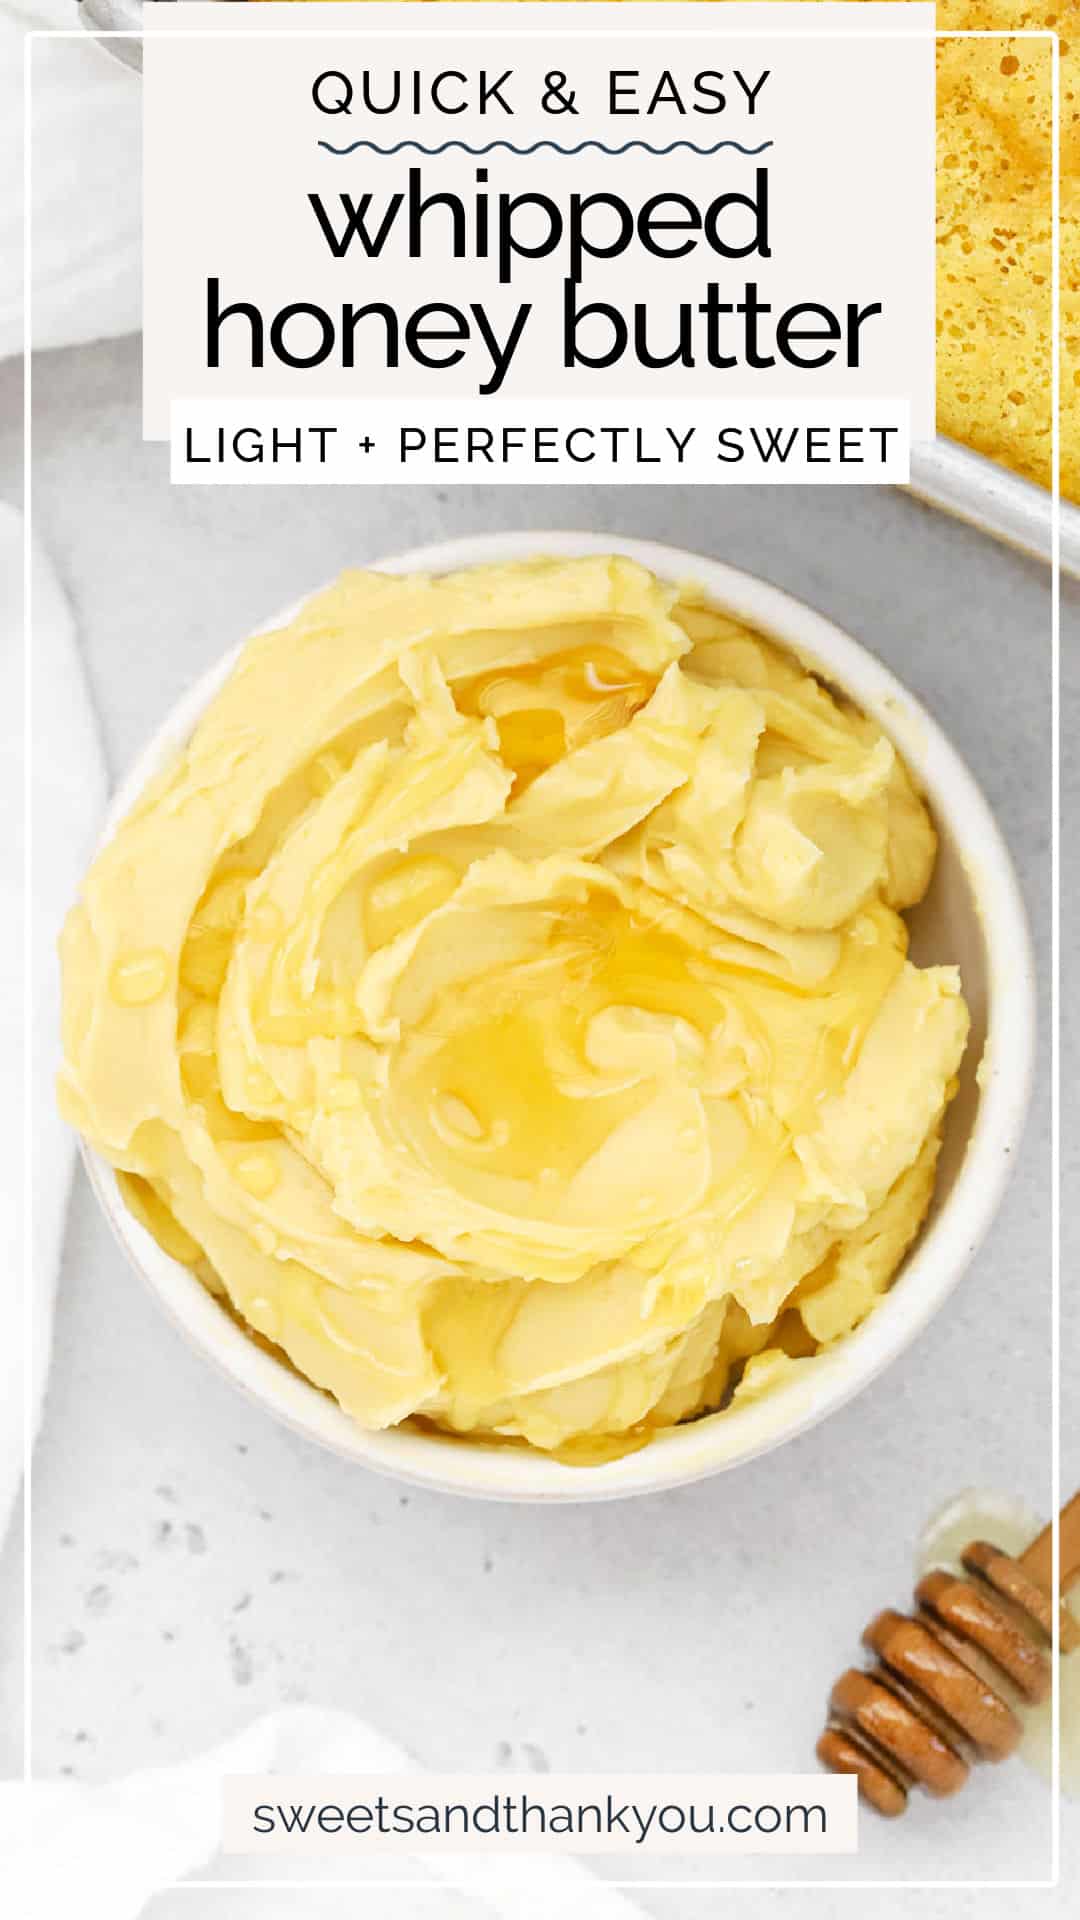
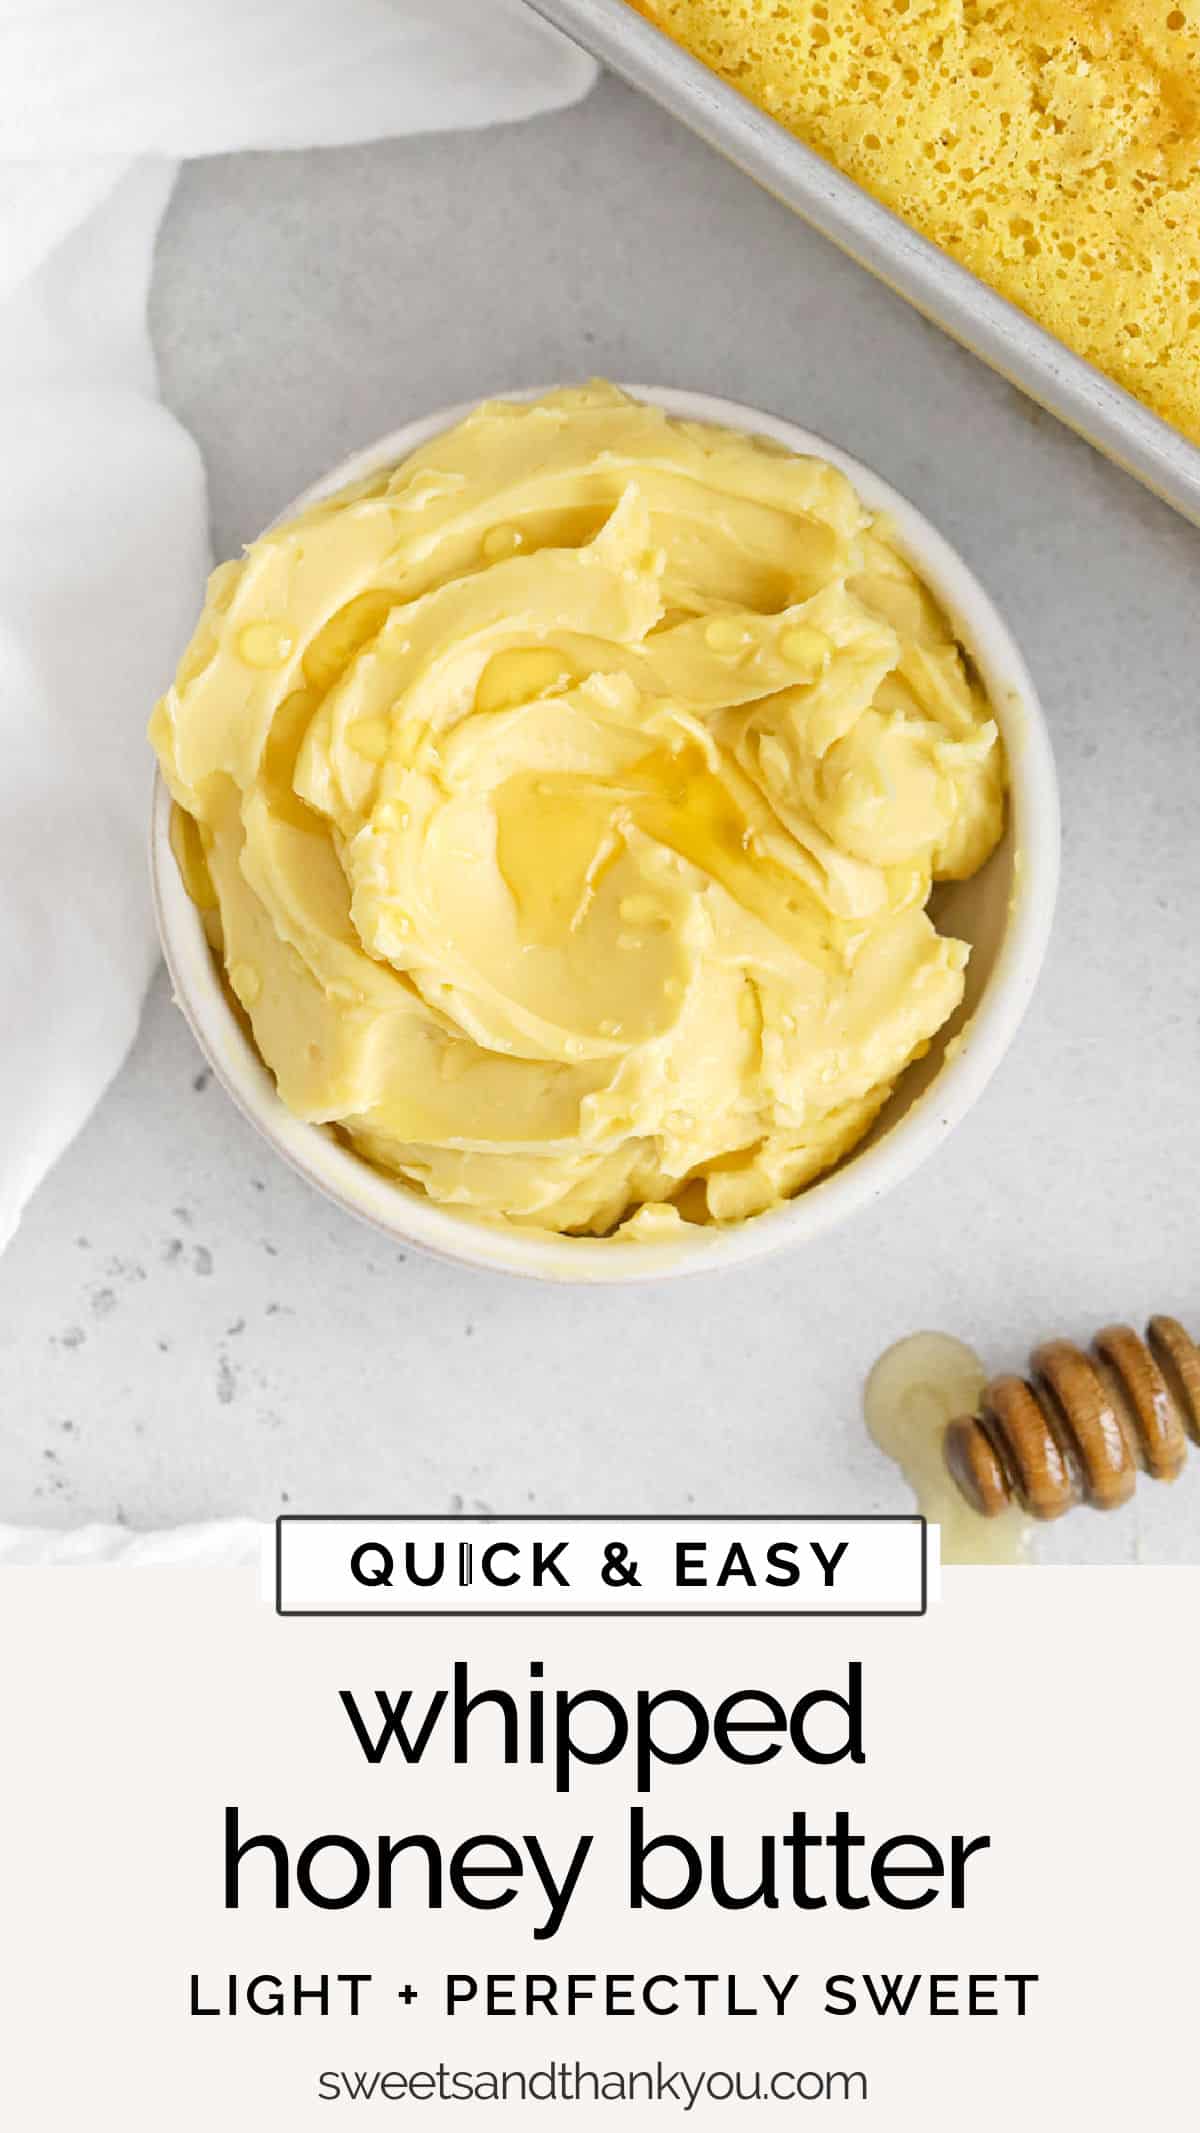
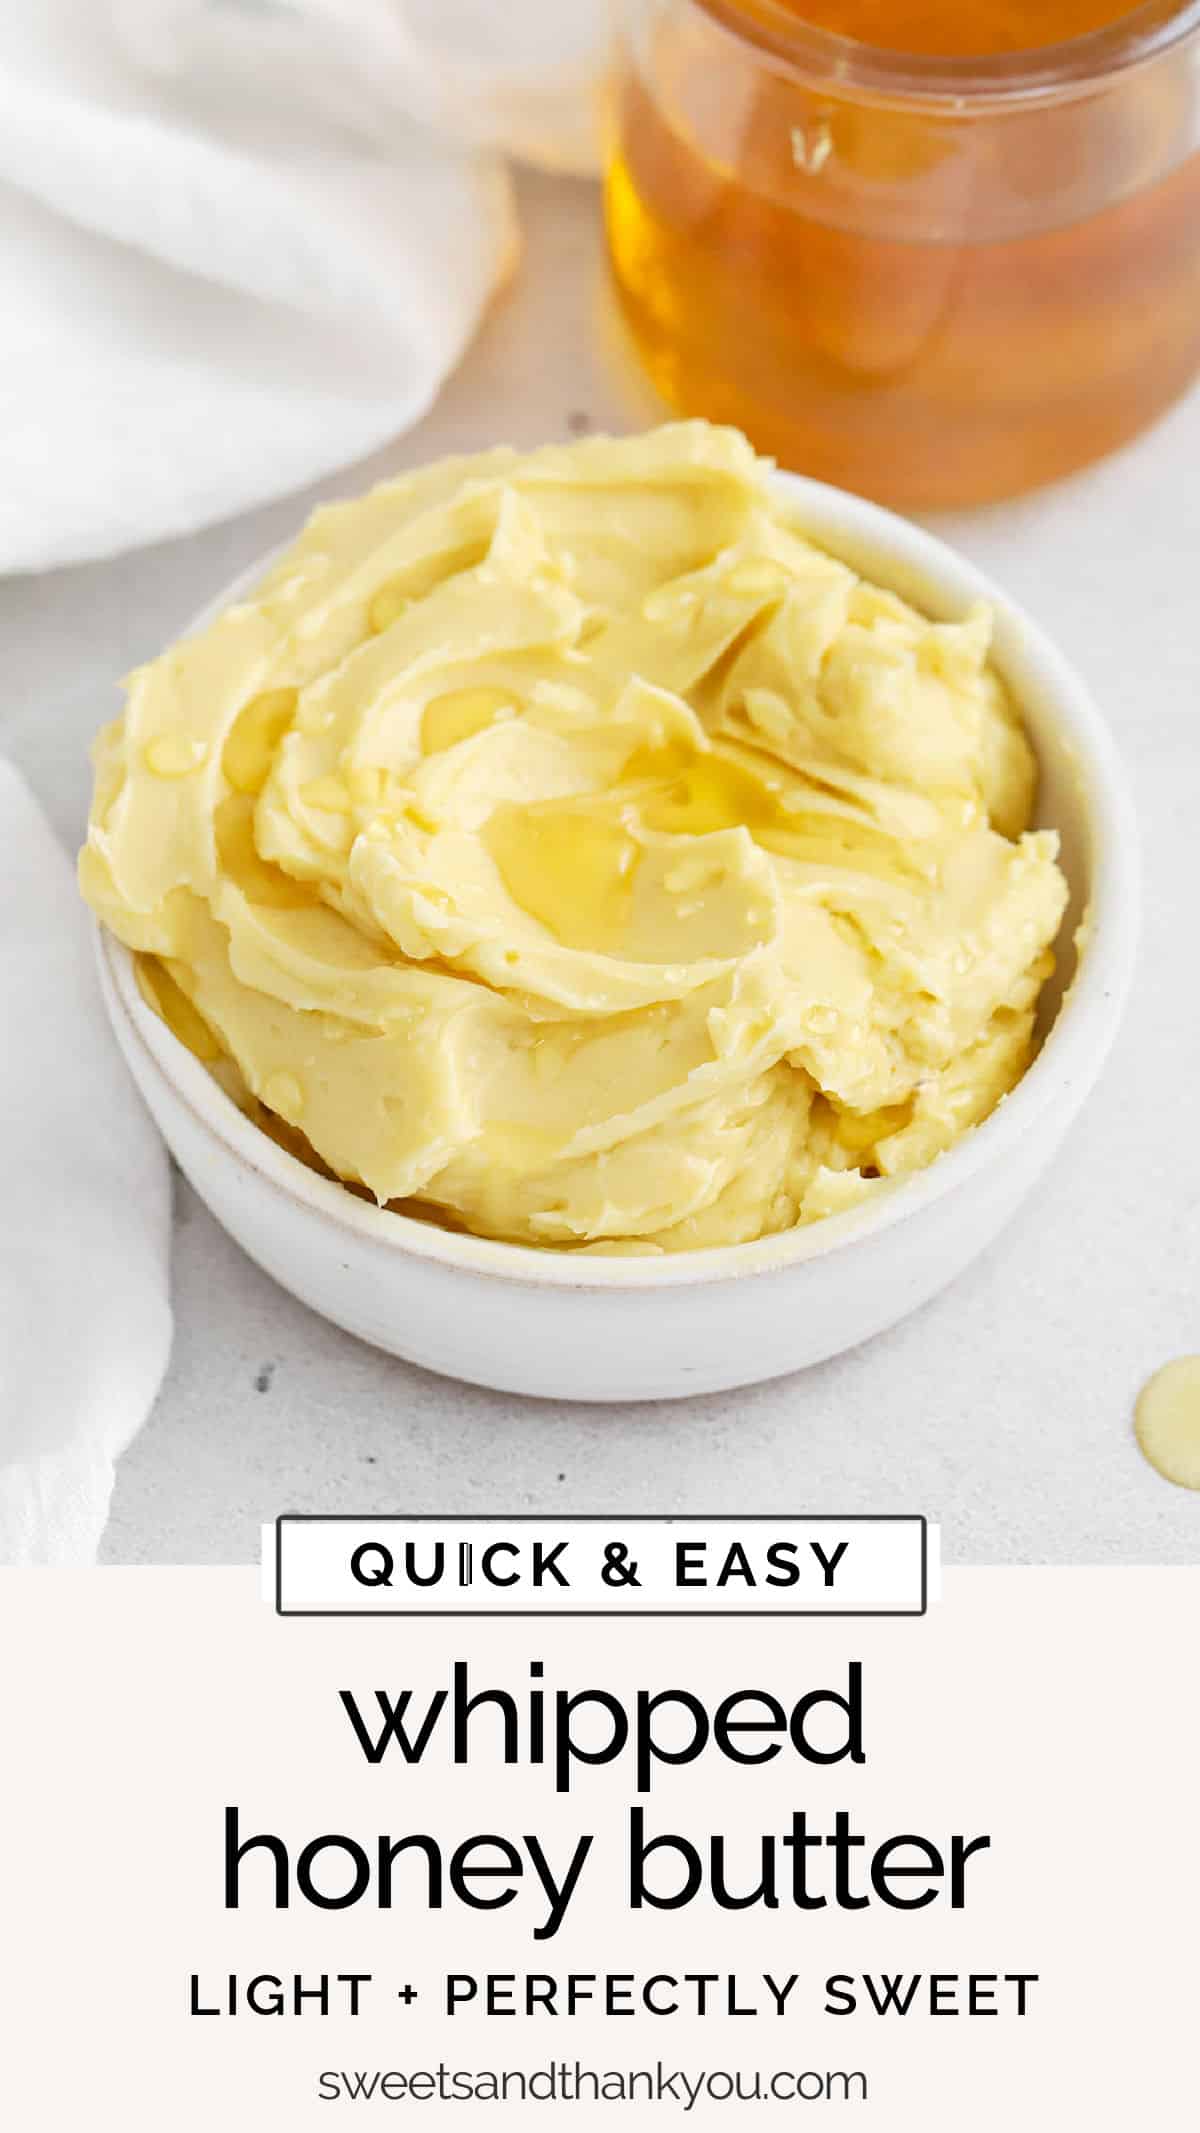
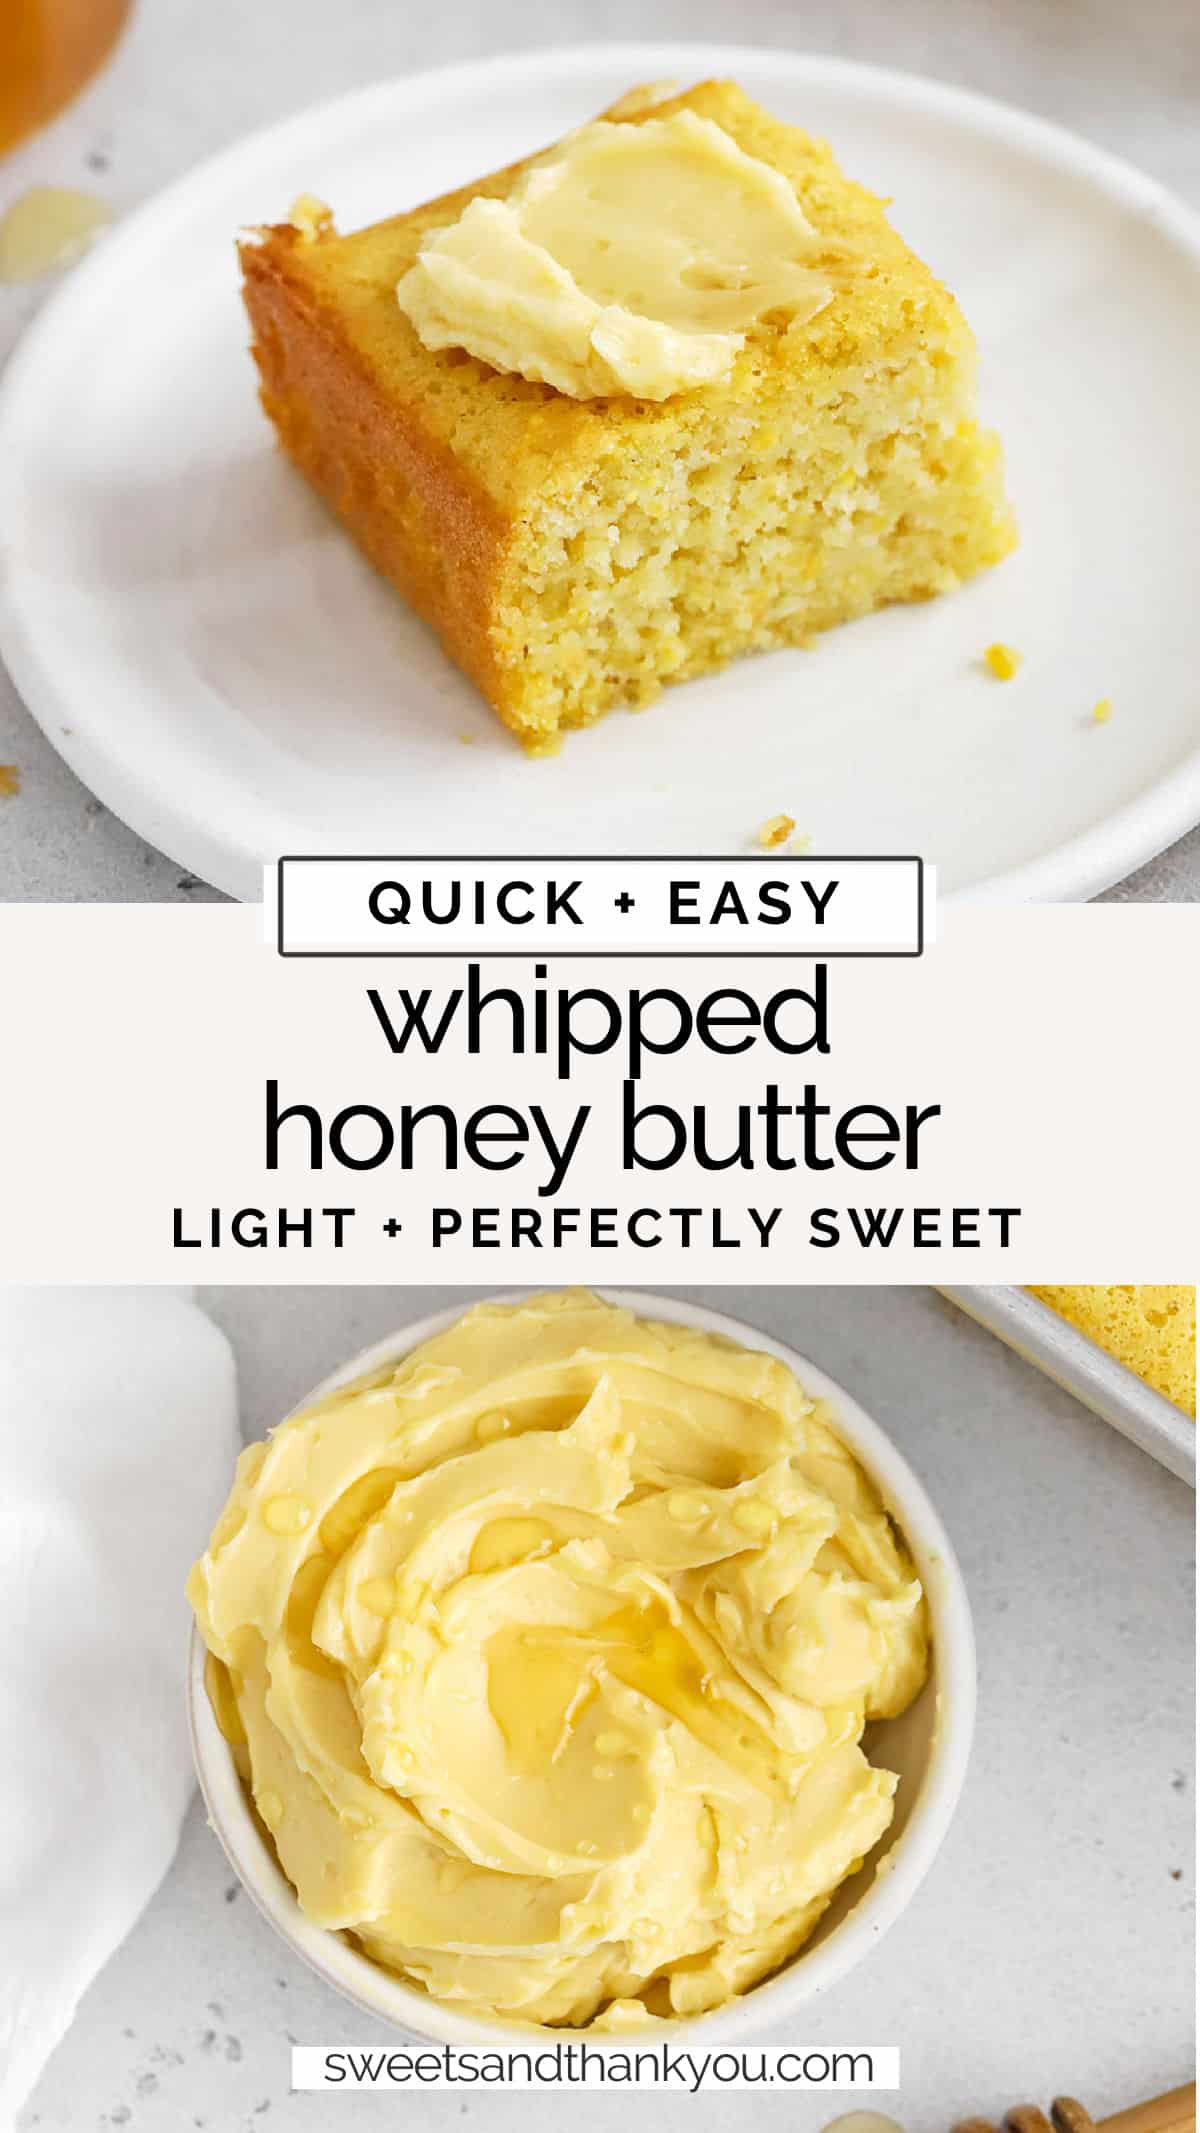
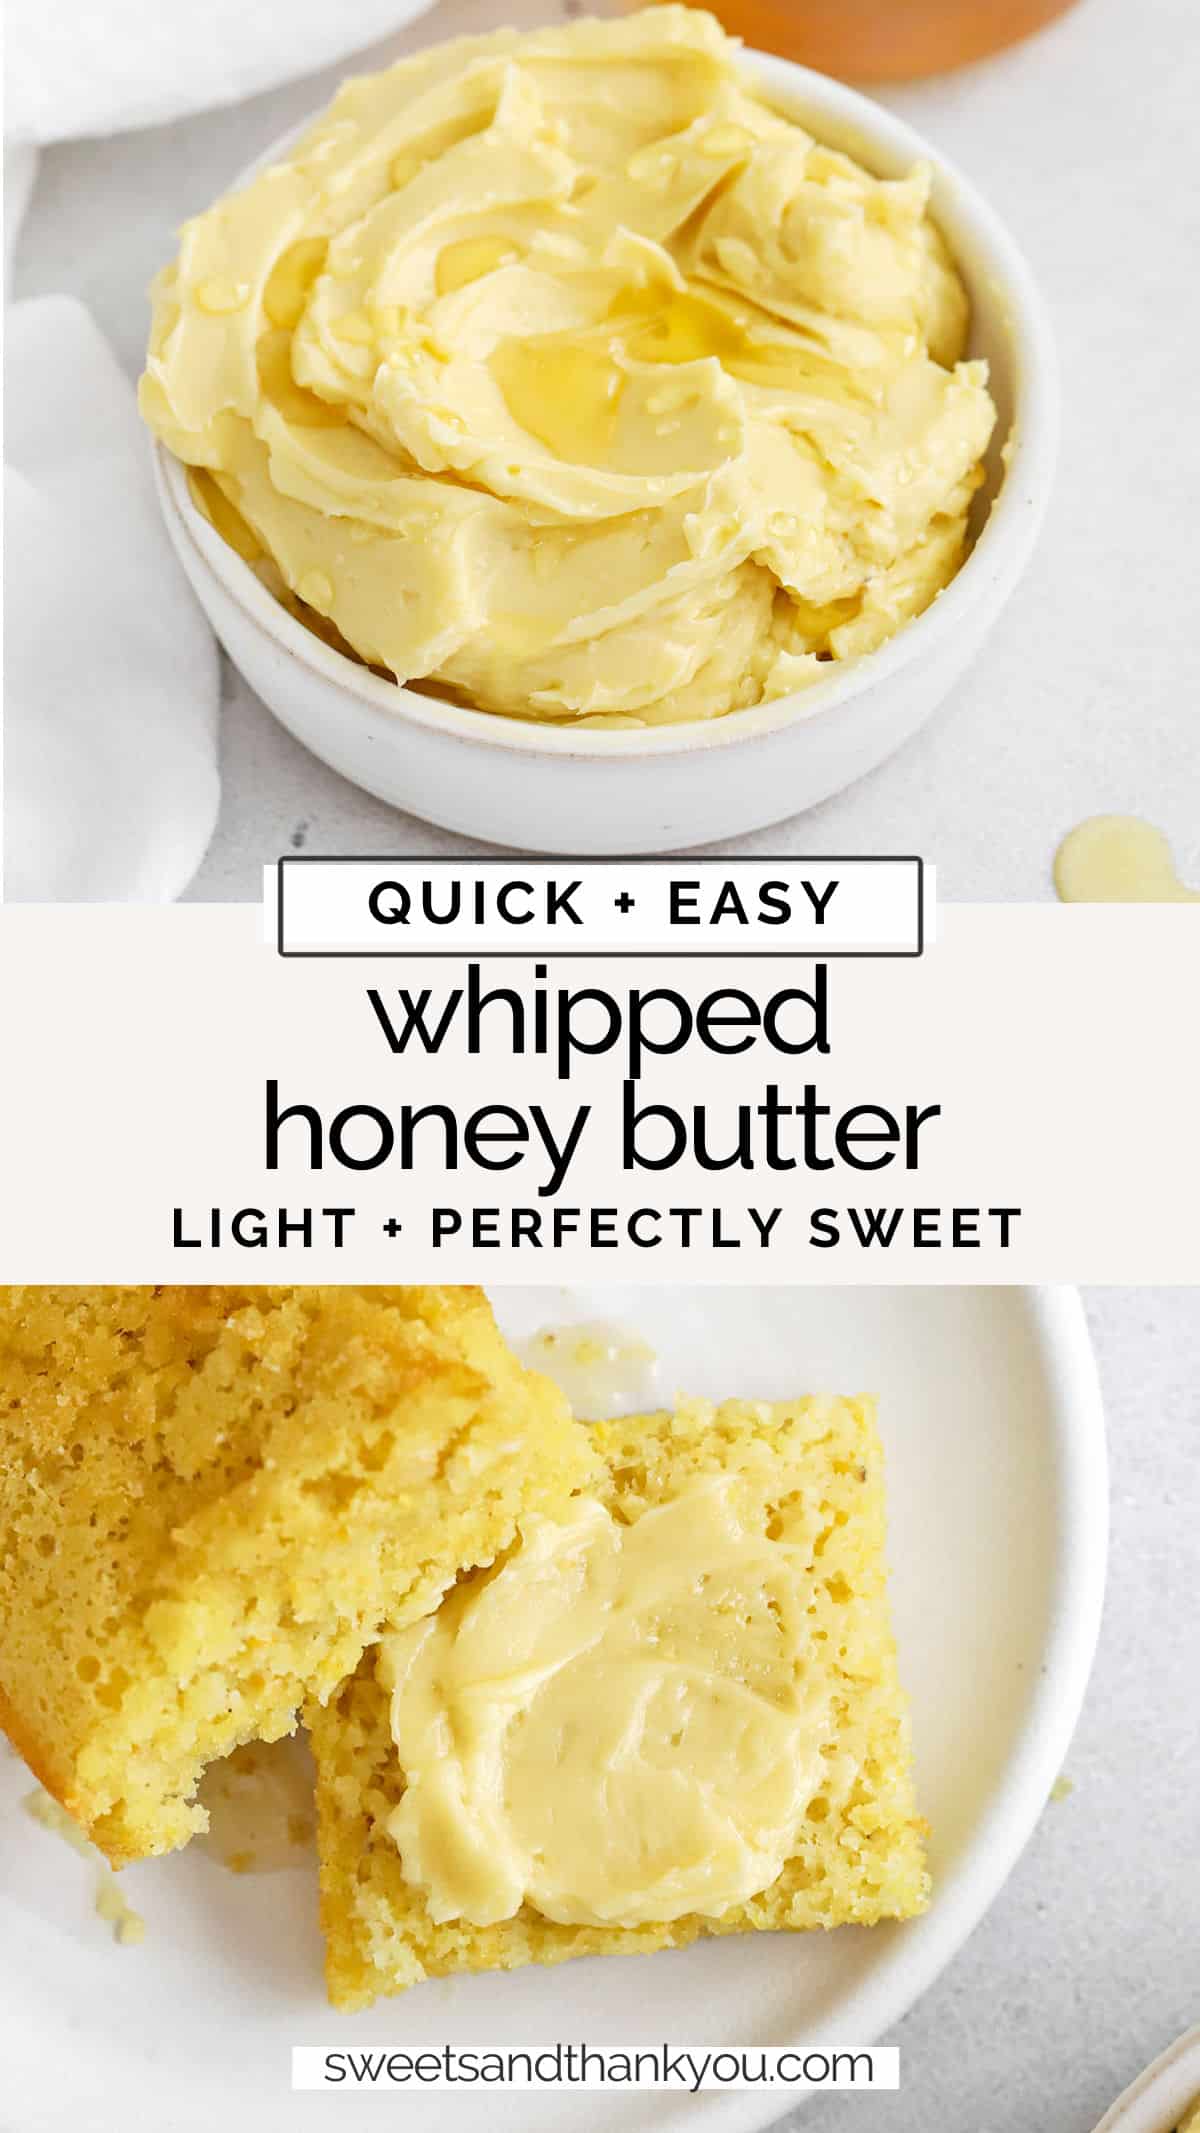
Easy Whipped Honey Butter – How to make the BEST homemade honey butter recipe of your life. Restaurant-worthy, made in minutes & good on EVERYTHING!
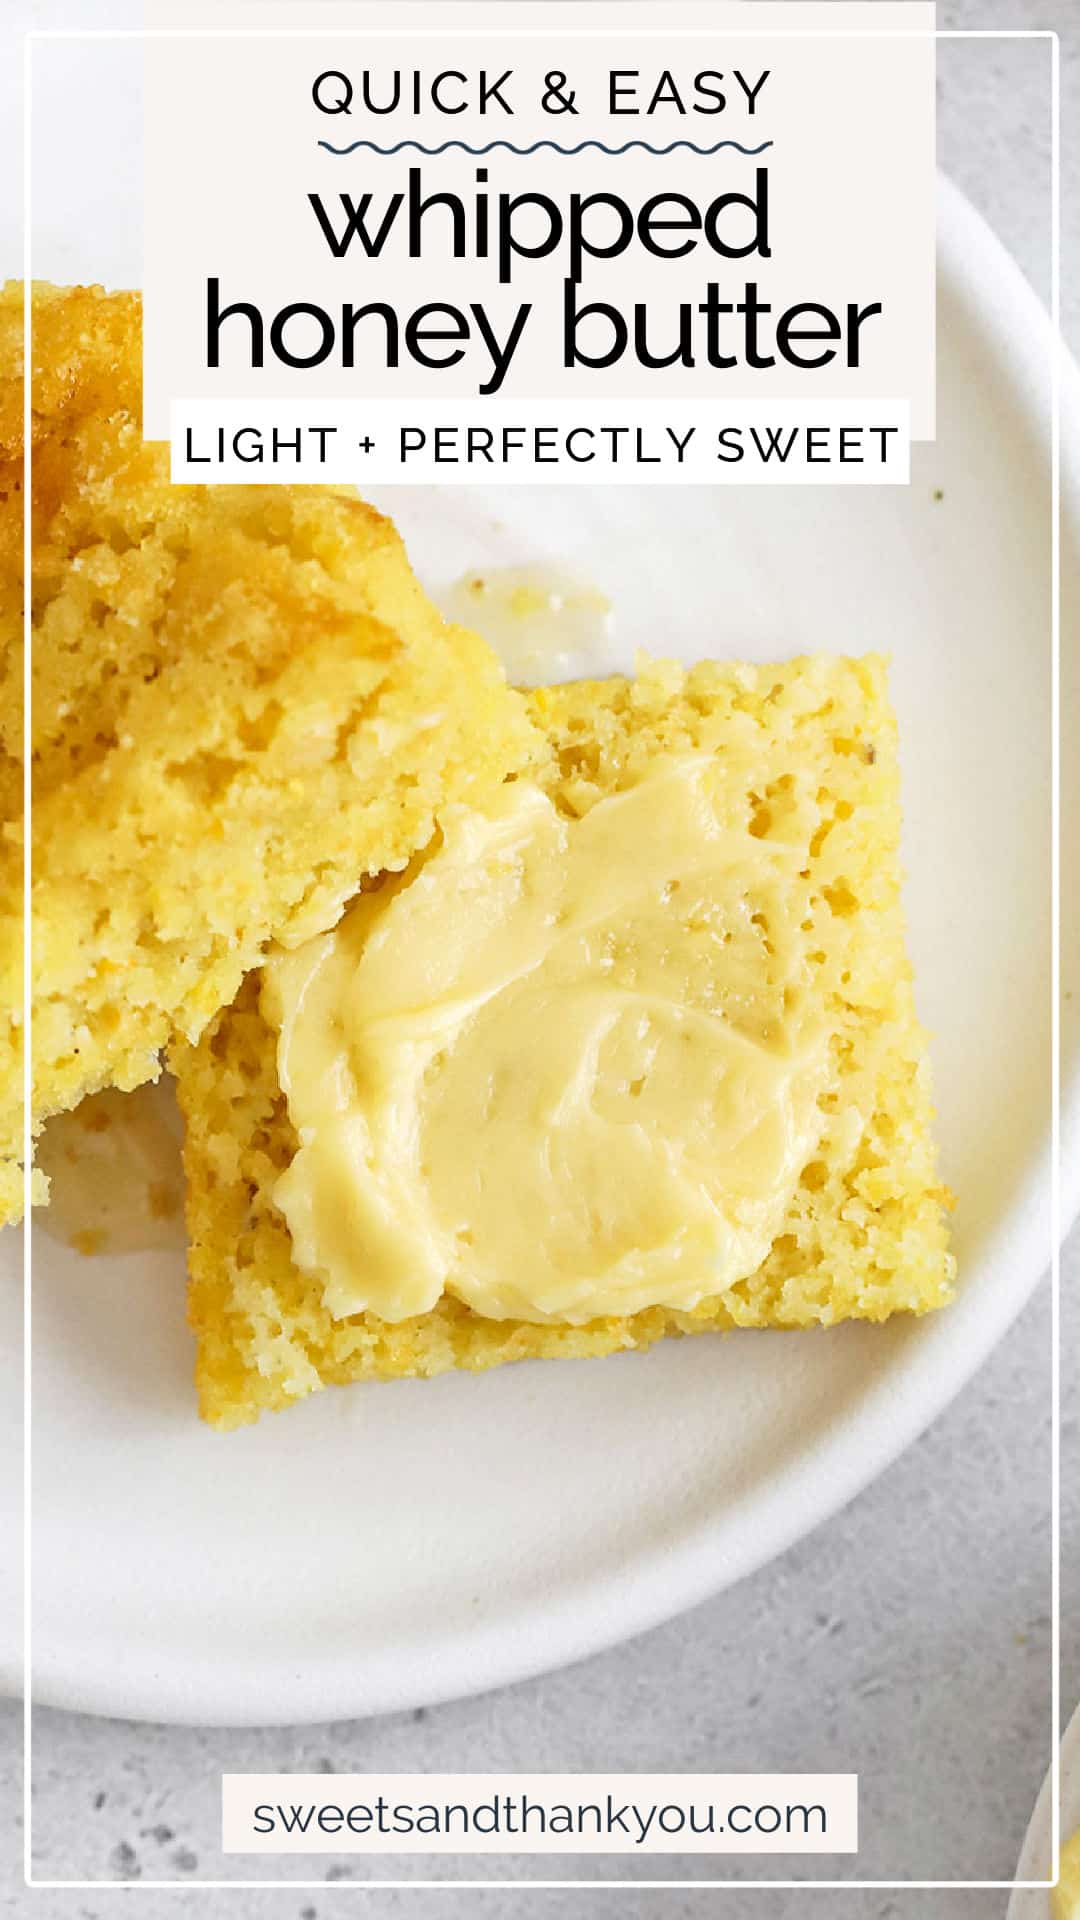
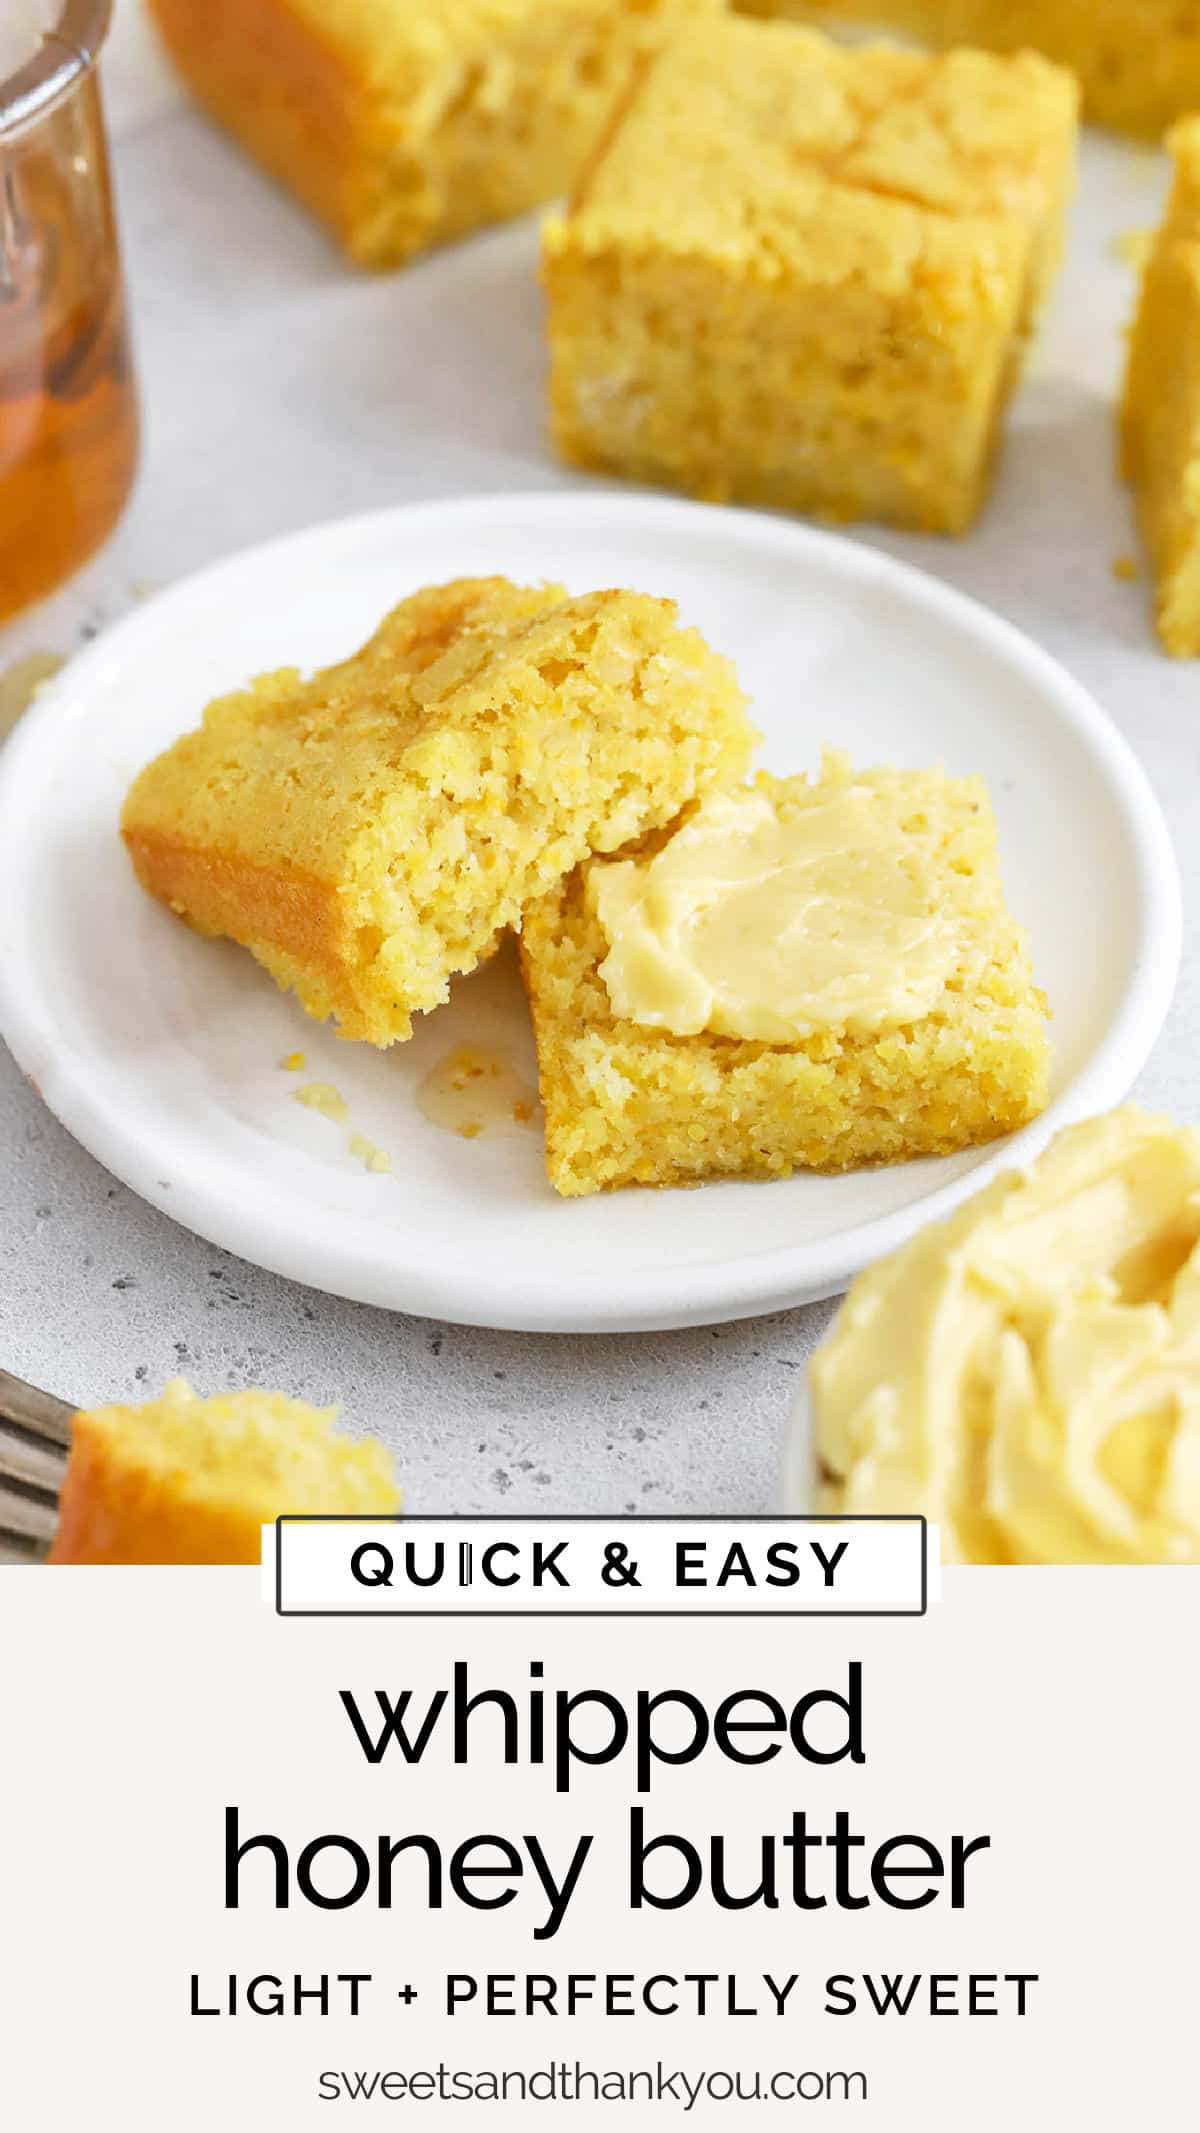
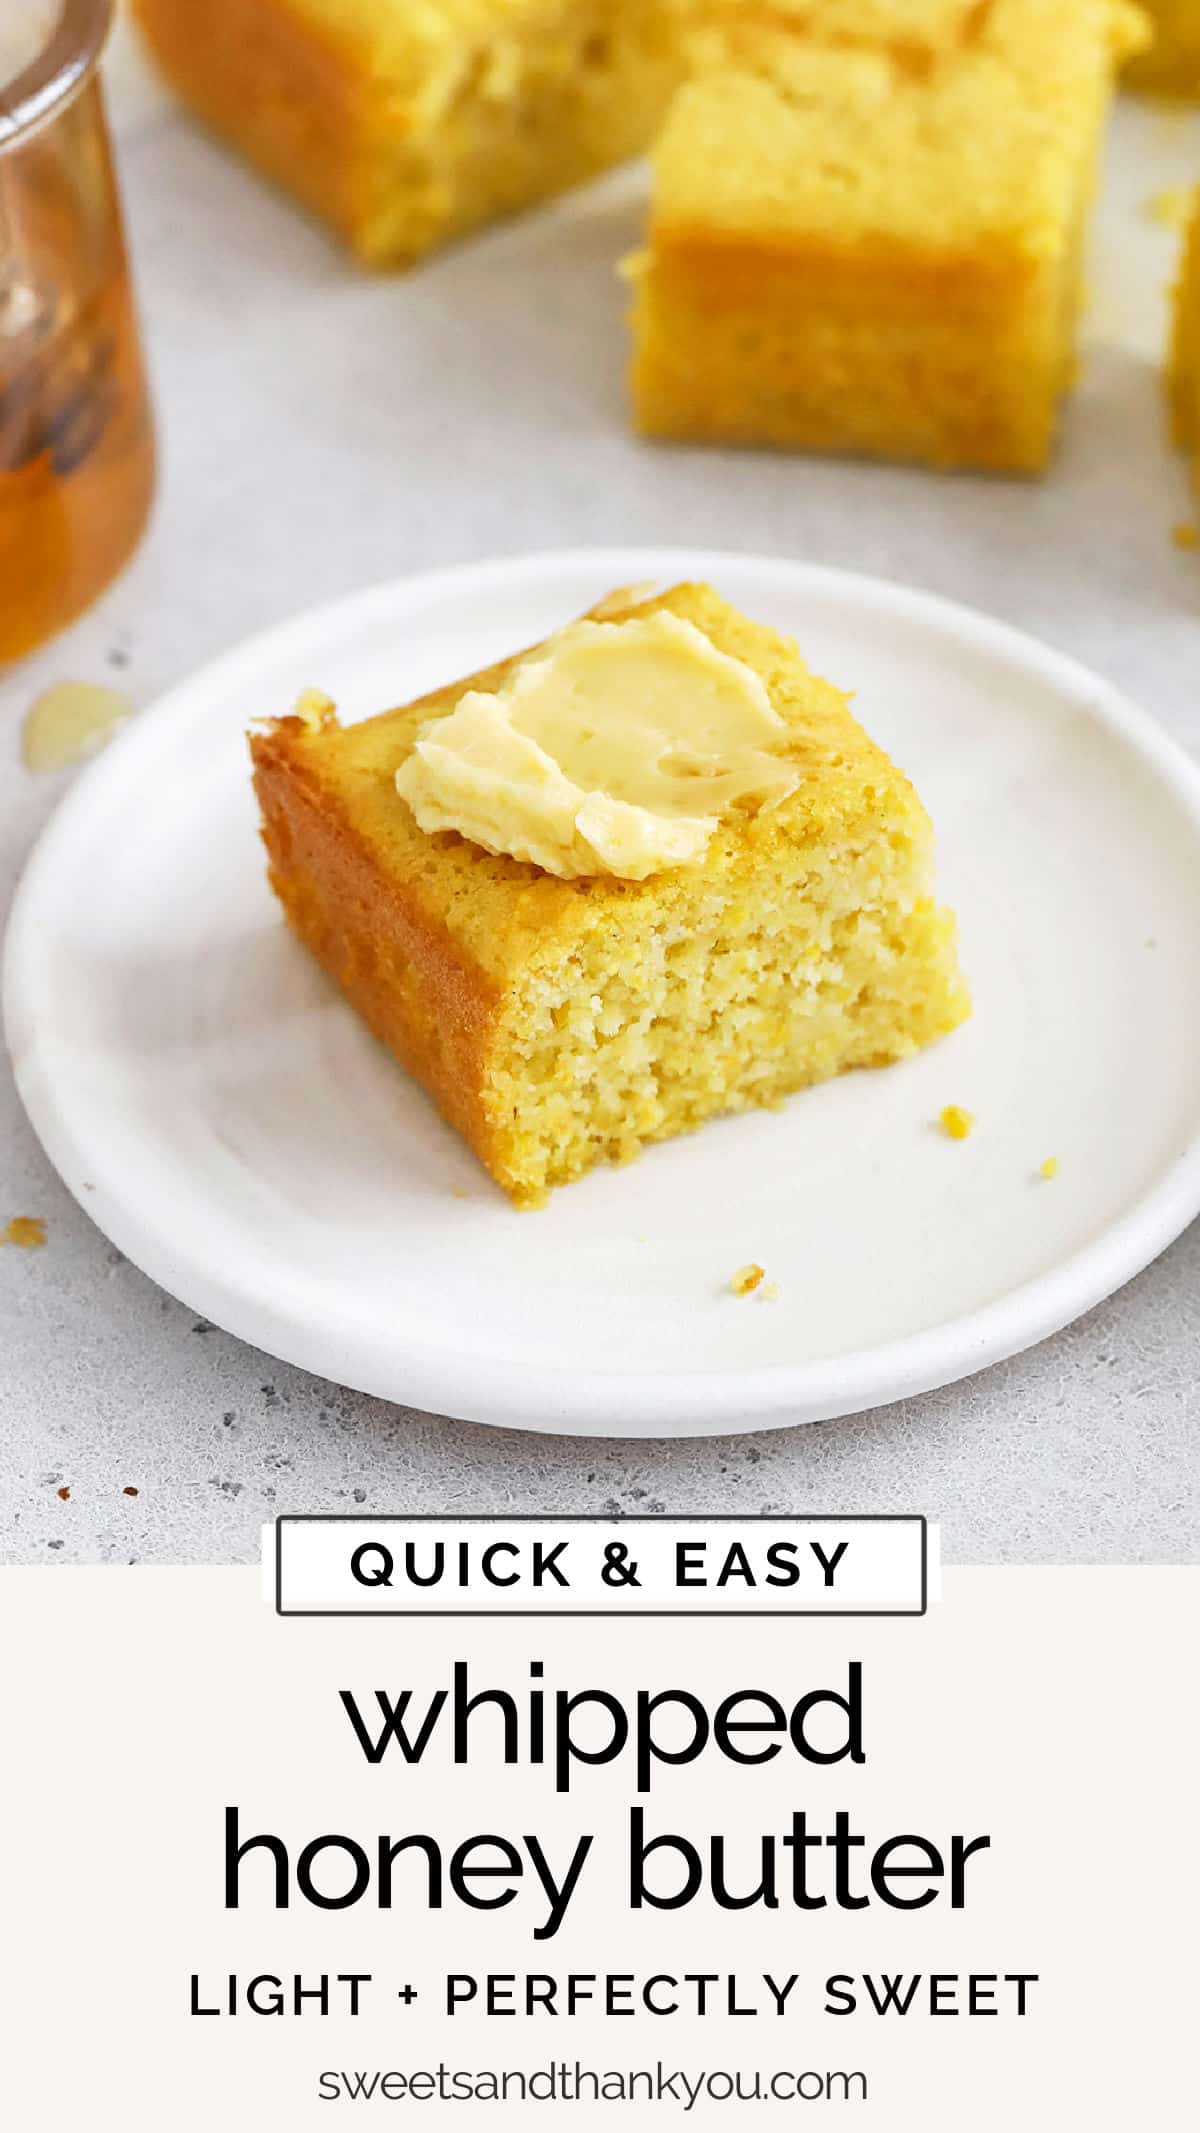
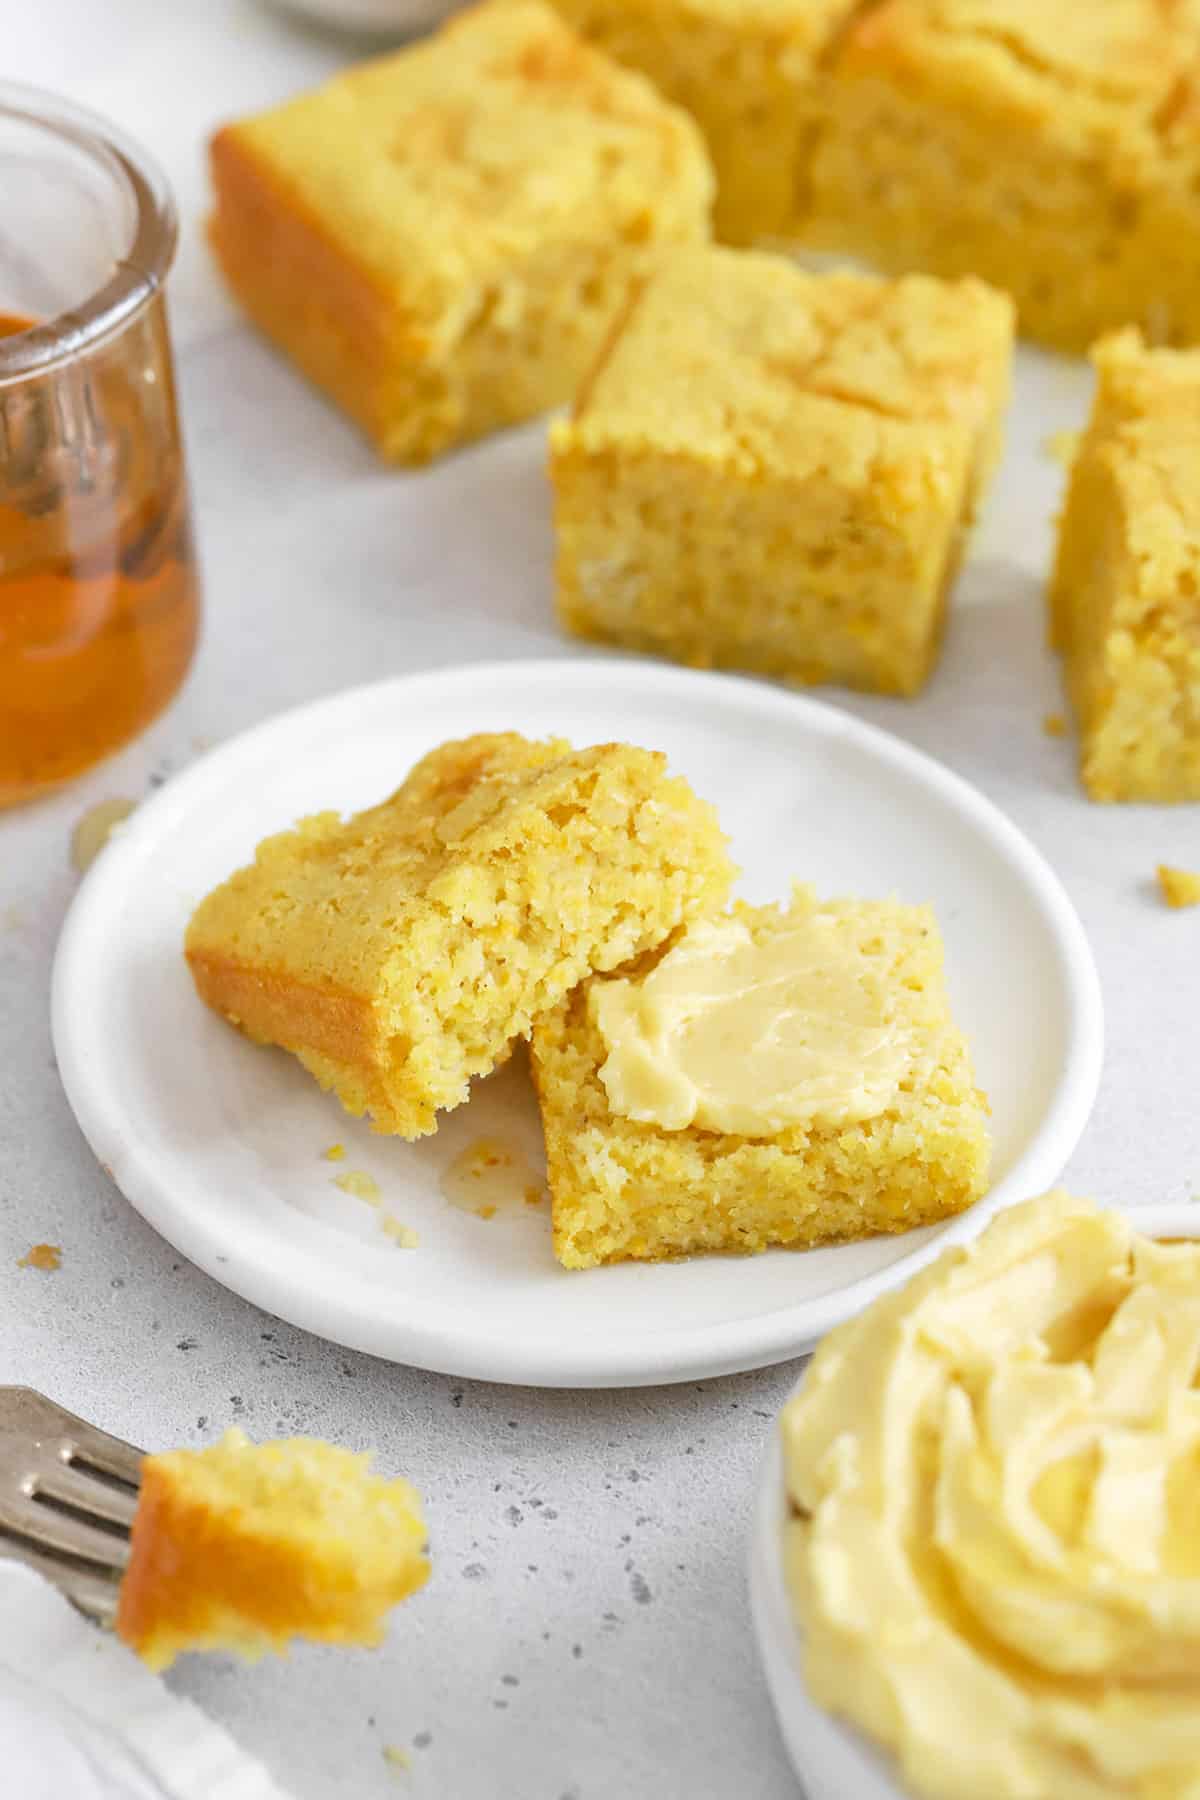
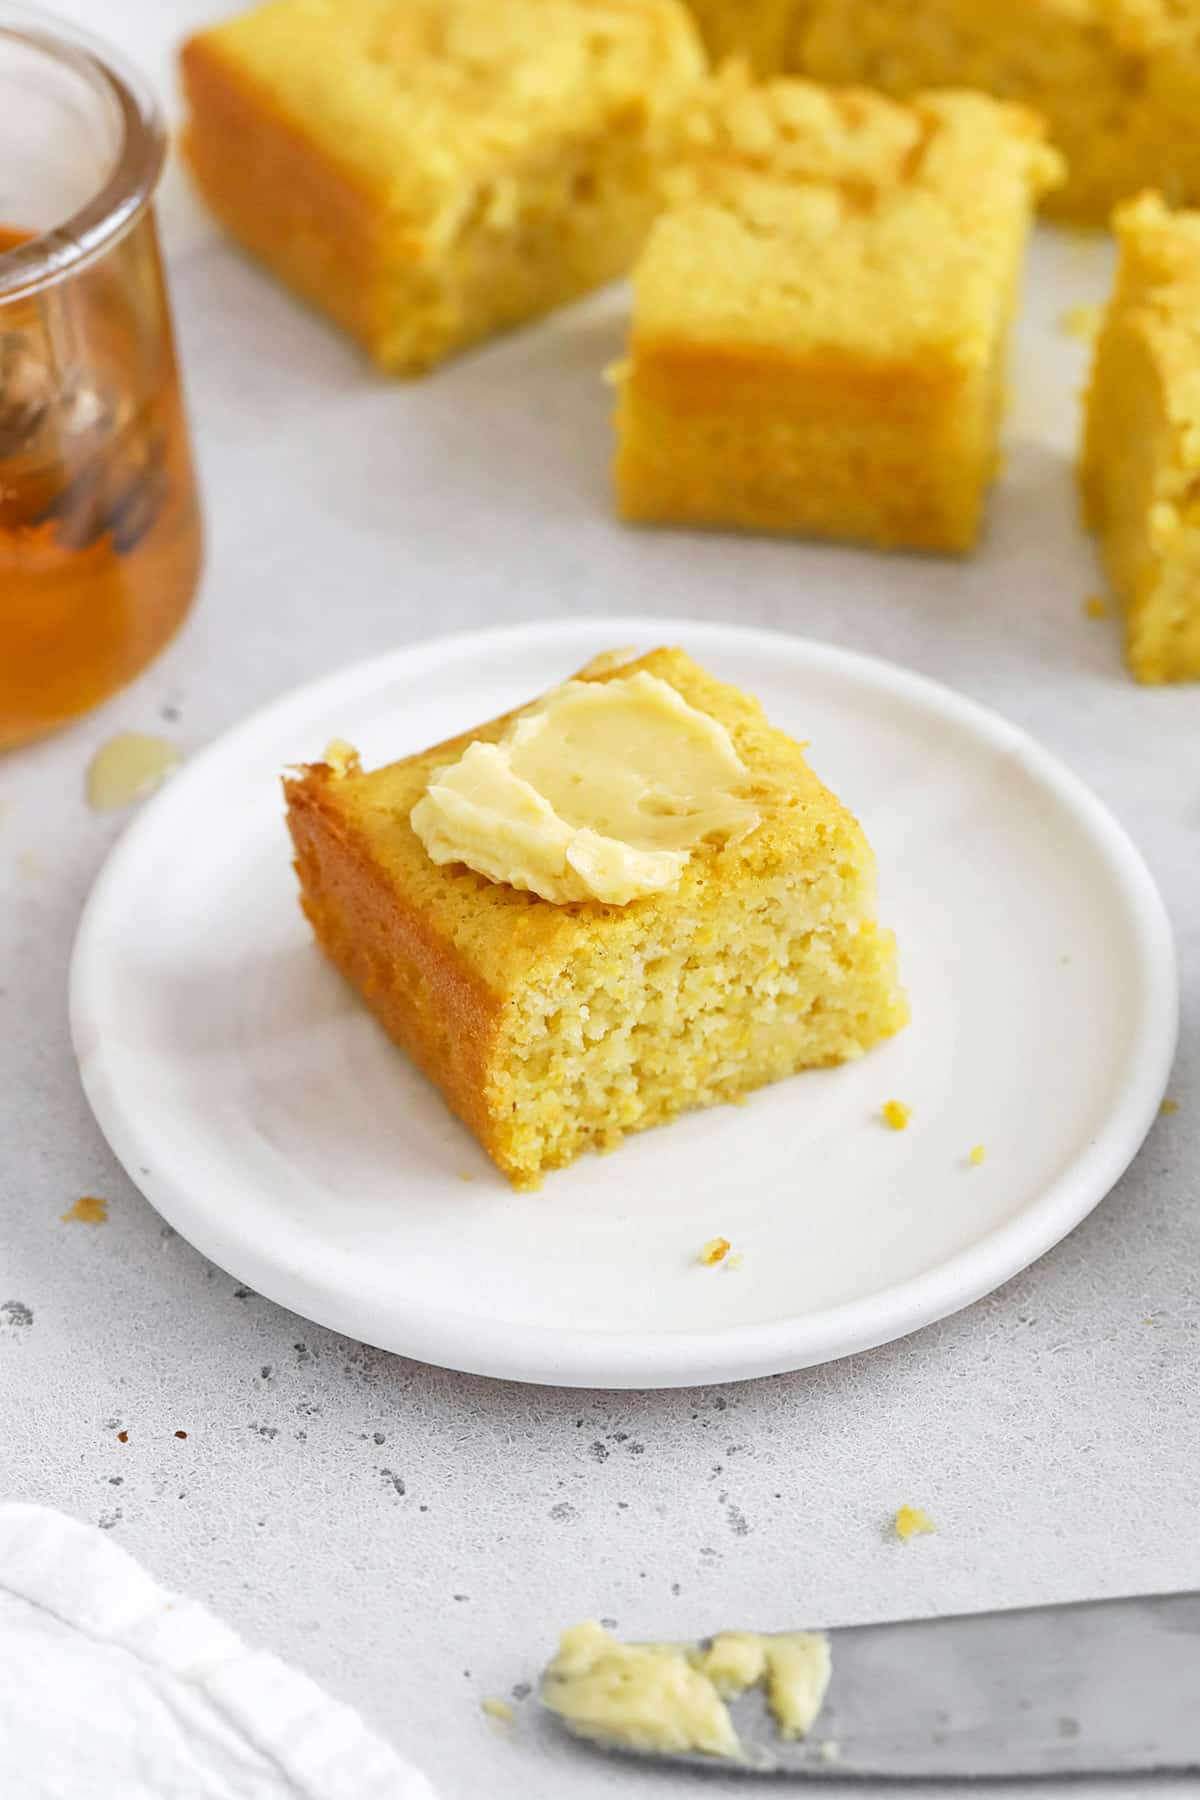
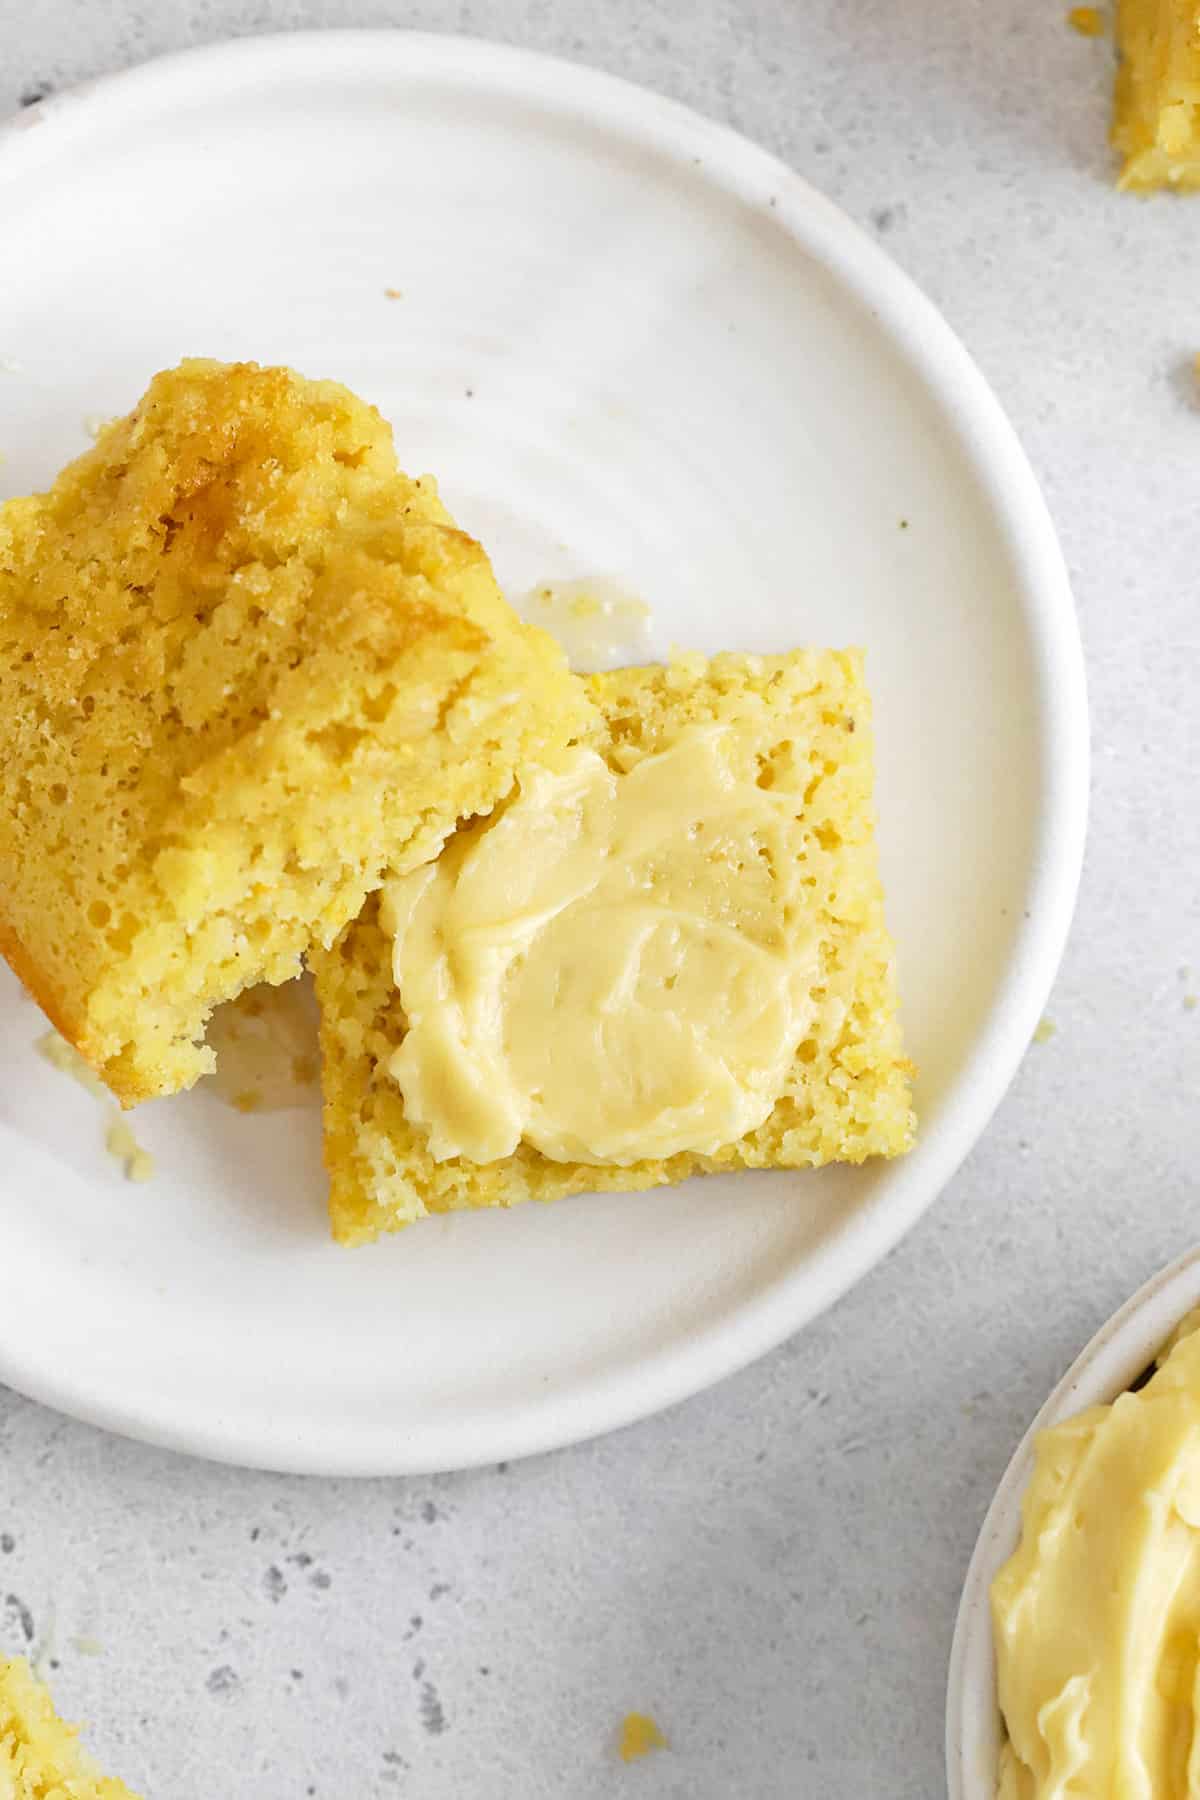
Did you catch our fluffy gluten-free cornbread recipe on Monday? WOW is it good! We’ve been making it on repeat since the summer, and one of my favorite things is topping it with some homemade honey butter.
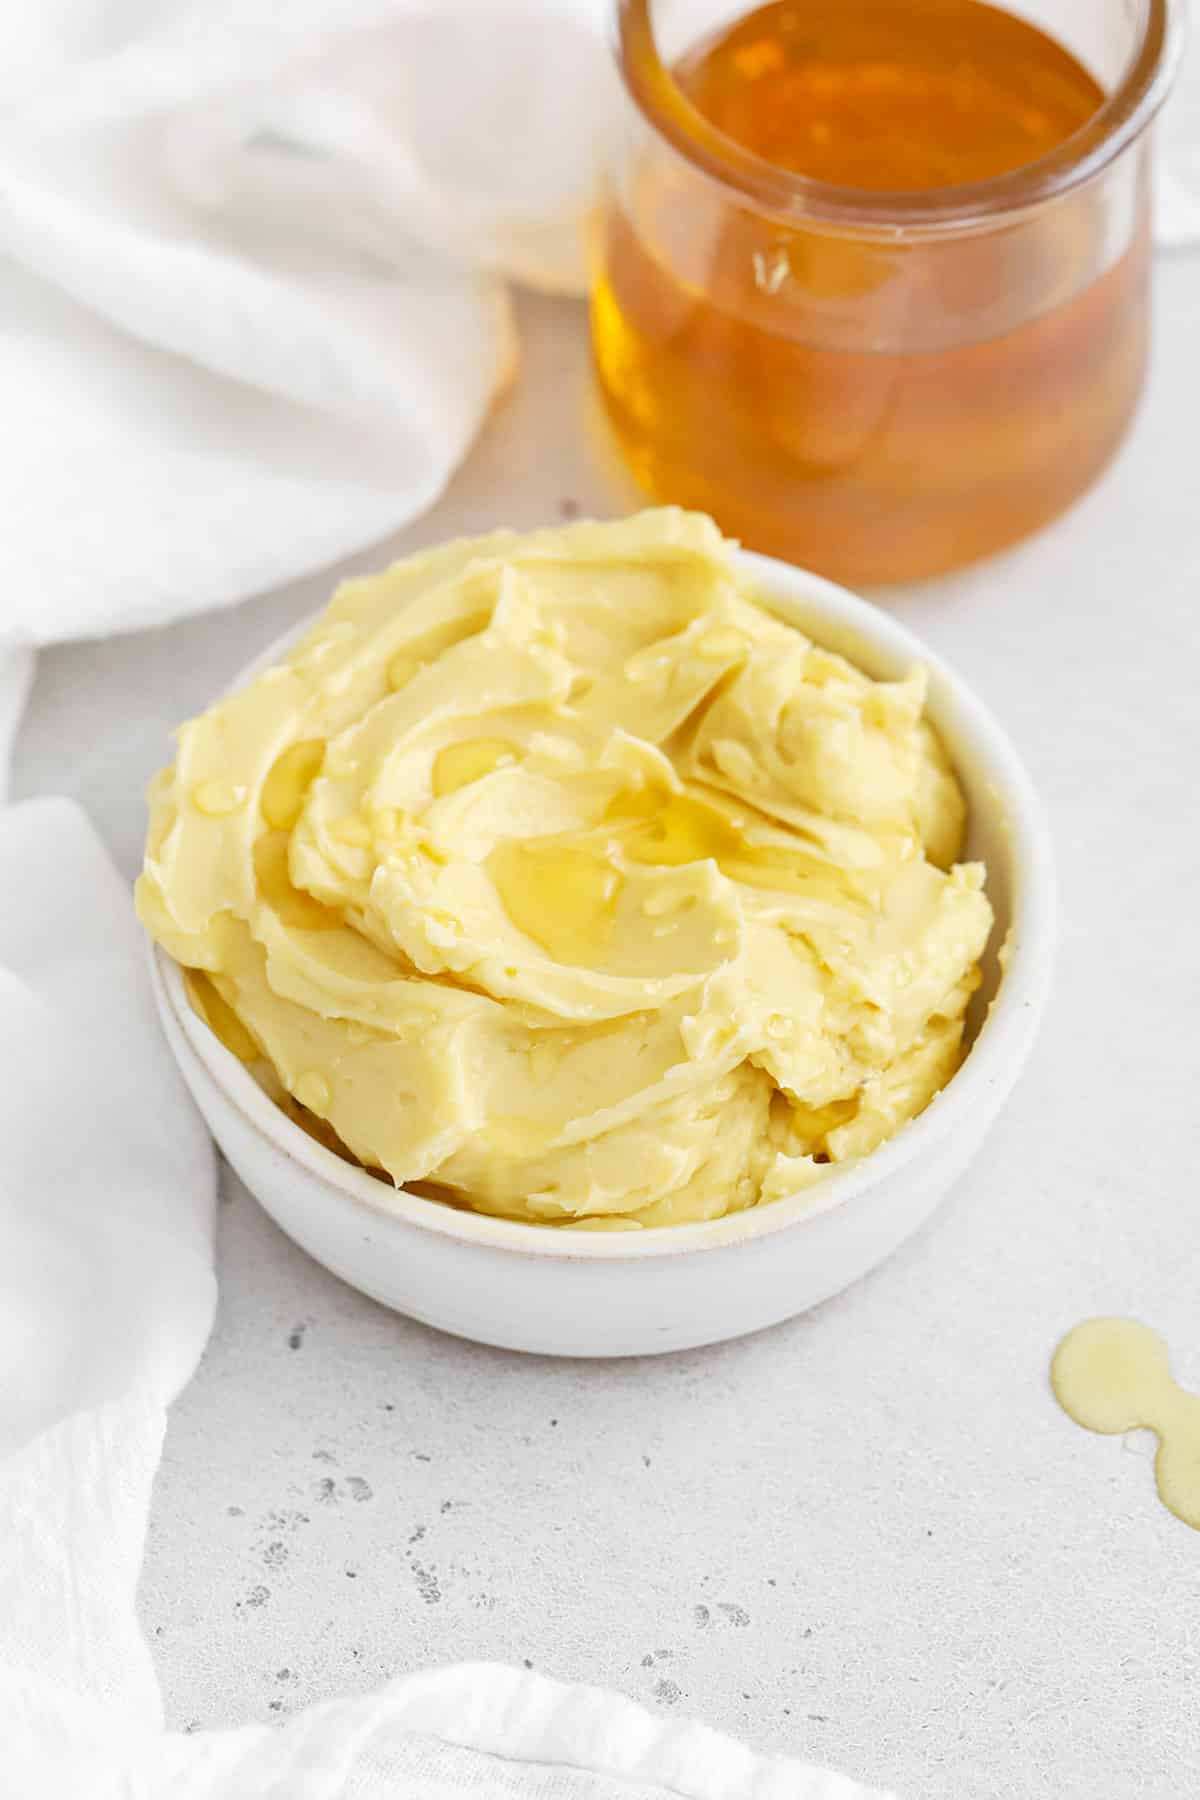
Whipped honey butter is light, fluffy, and perfectly sweet. It reminds me of the kind you get in restaurants with hot dinner rolls, or served up with diner pancakes. It’s delightfully easy to make, tastes delicious, and comes together in minutes.
Are you ready to make some!?
Here’s what you need to make our restaurant-quality whipped honey butter recipe from scratch…
Here’s What You Need To Make Homemade Honey Butter:
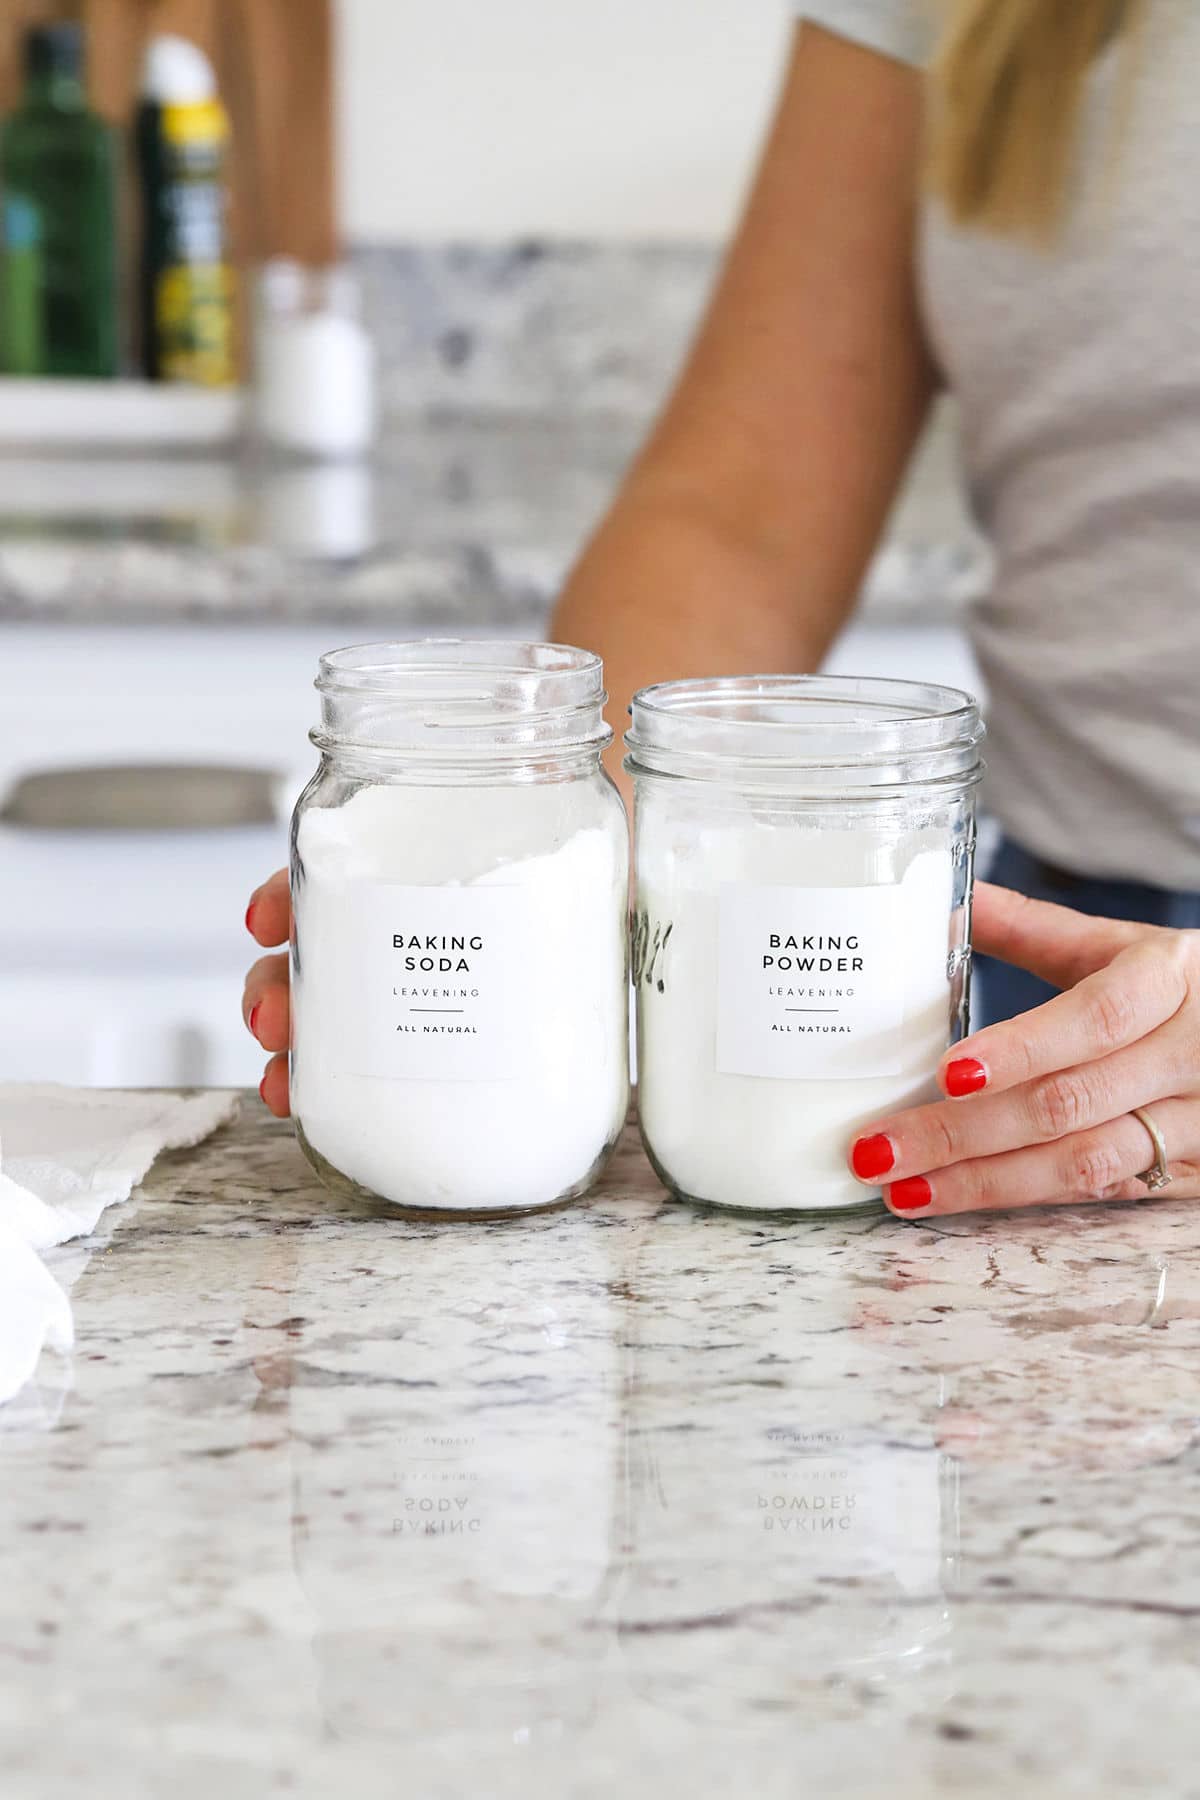
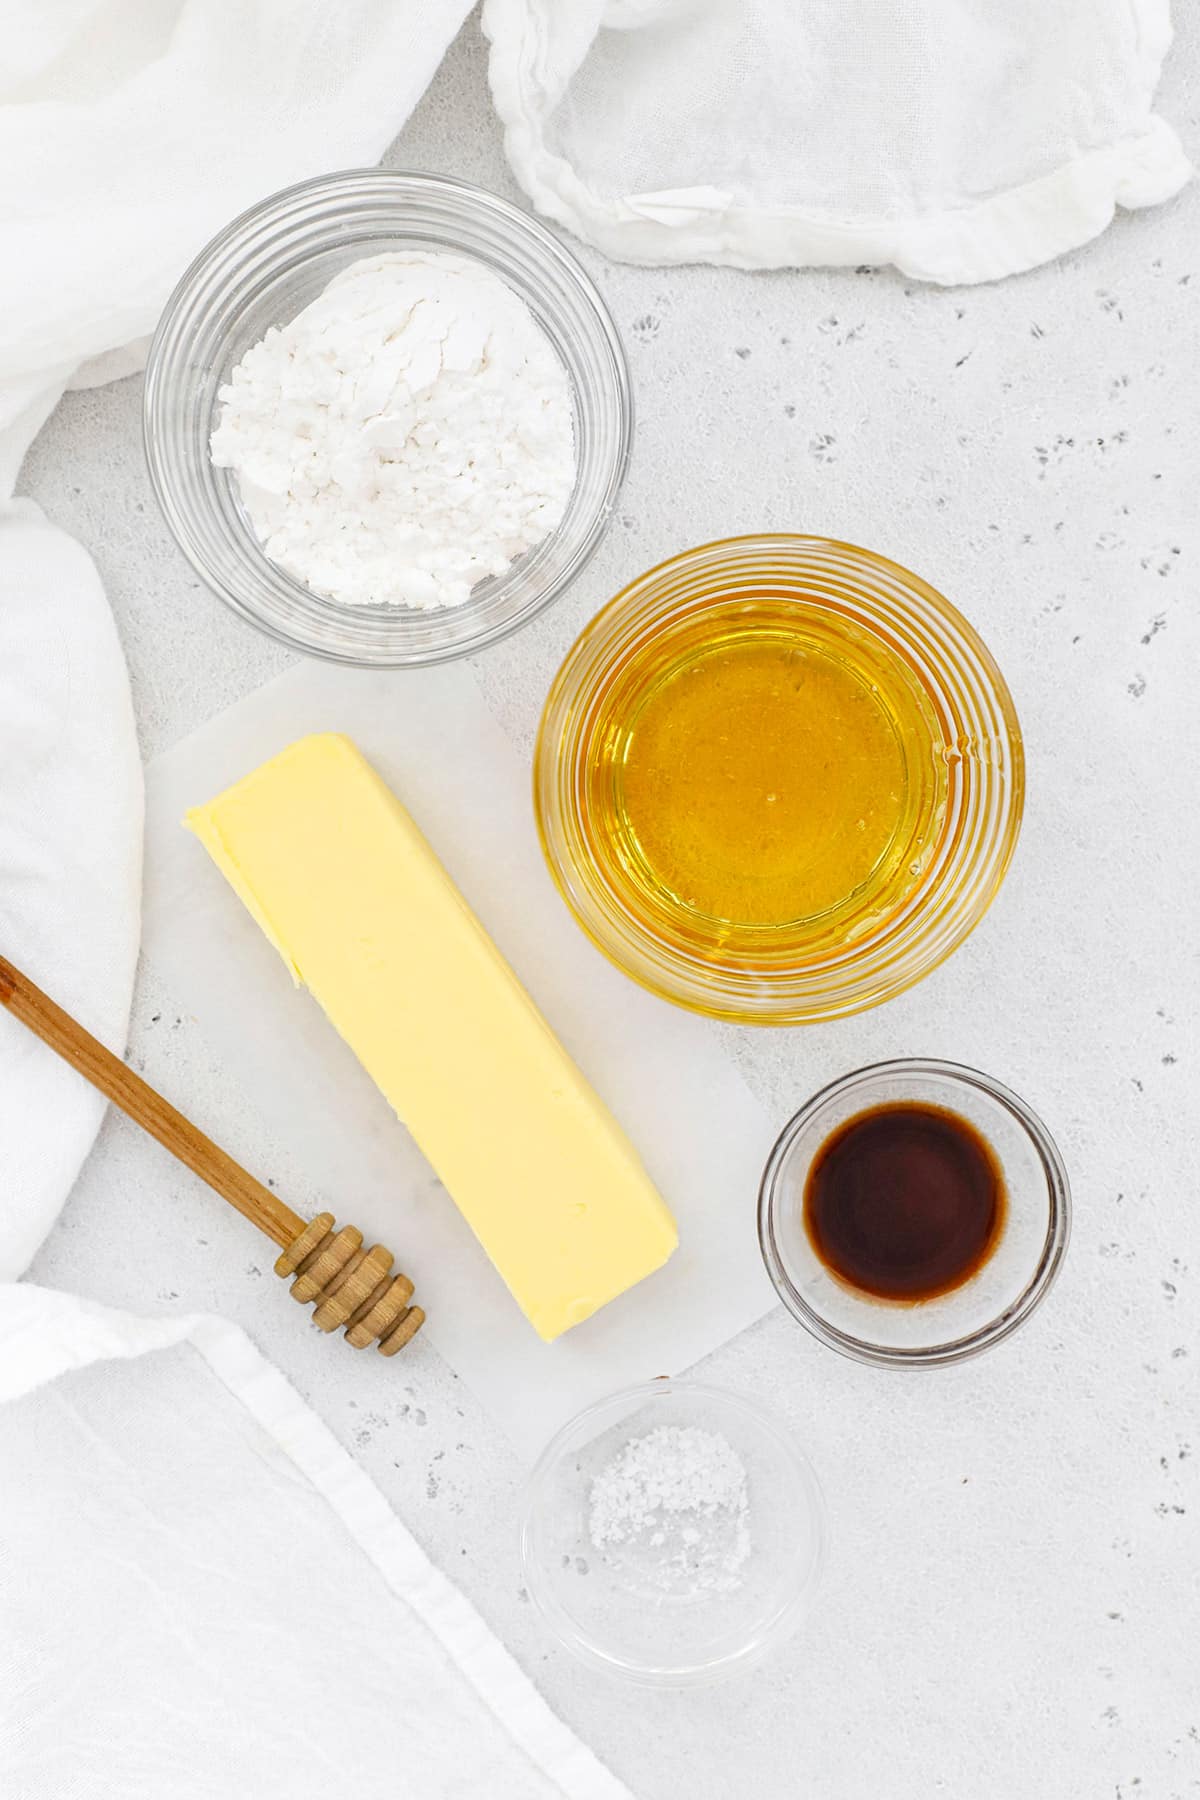
- Softened Butter. First, you’ll need softened butter. You don’t want it warm or shiny, and it shouldn’t be rock hard and cold. Softened butter looks like this. Use real butter (not dairy-free butter or margarine) for this recipe. Salted butter or unsalted butter works! It’s really up to you.
- Honey. Next up is honey. You can really play with the flavor of the honey butter based on what honey you use. Clover honey, orange blossom honey, and mesquite honey all taste slightly different, for instance. Lately, we’ve been loving this blend. Try local honey to get flavor & pollen that’s local to you!
- Powdered sugar. One of the best restaurant secrets you can use at home! Adding a little powdered sugar gives your honey butter the perfect texture and keeps it from getting greasy or too wet.
- Vanilla. Another little flavor trick. I love adding just a little vanilla extract to play up the sweetness and round out the flavor.
- Salt. A little pinch of salt adds balance and keeps whipped honey butter from leaning too sweet. If you’re using salted butter or are sensitive to salt, feel free to omit it.
GET THE TEMP RIGHT! Softened butter (sometimes referred to a room temperature butter) should be cold to the touch, and your finger should just make an imprint when pressed. The butter shouldn’t be shiny or greasy (that’s a sign it’s too warm)

How To Make Whipped Honey Butter, Step By Step:
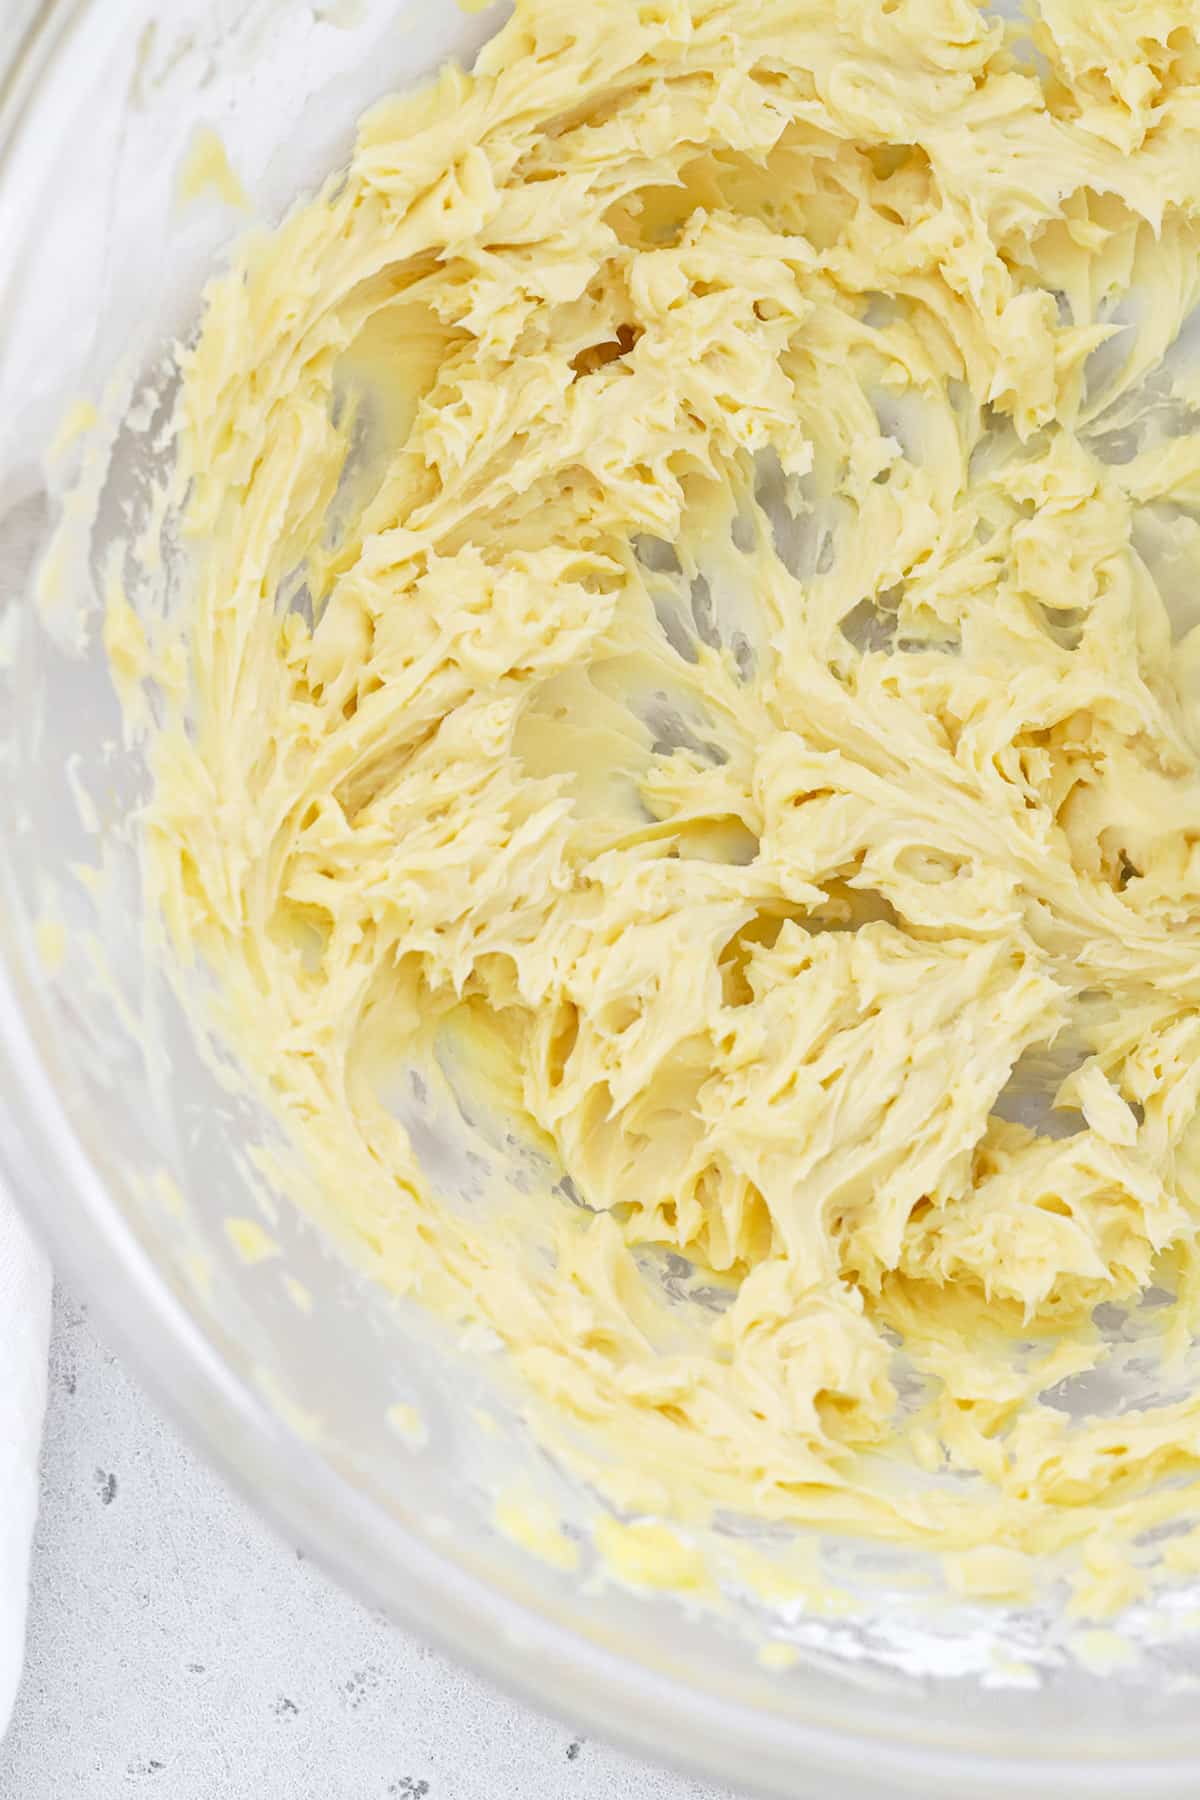
- Whip The Butter. Start by placing the softened butter in a large mixing bowl. Use a hand mixer to whip the butter for 2 minutes. (At first, it’ll kind of clump together and seem like it’s not working. Just keep at it! It’ll spread out and get fluffier as you go!)
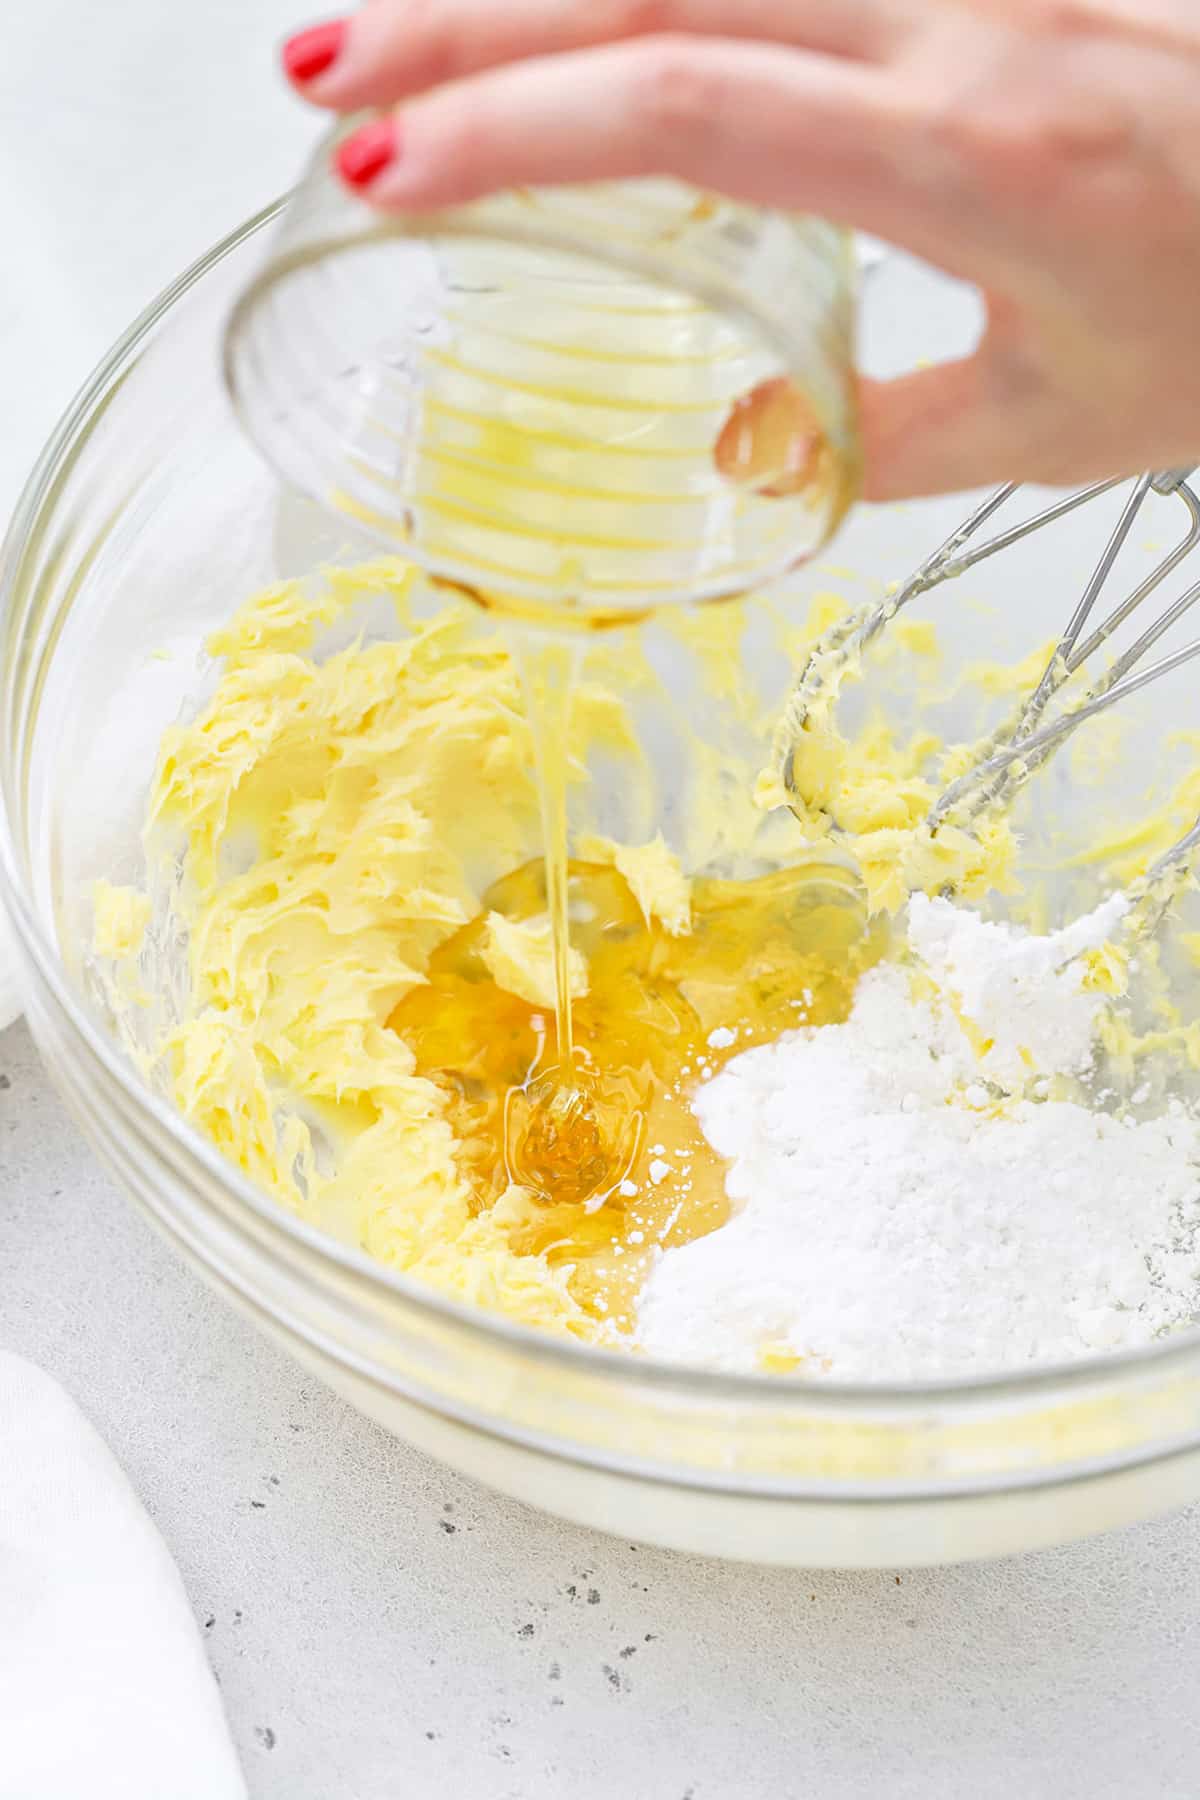
- Add The Rest Of The Ingredients. Scrape down the sides of the bowl and add honey, powdered sugar, vanilla extract, and salt (if using).
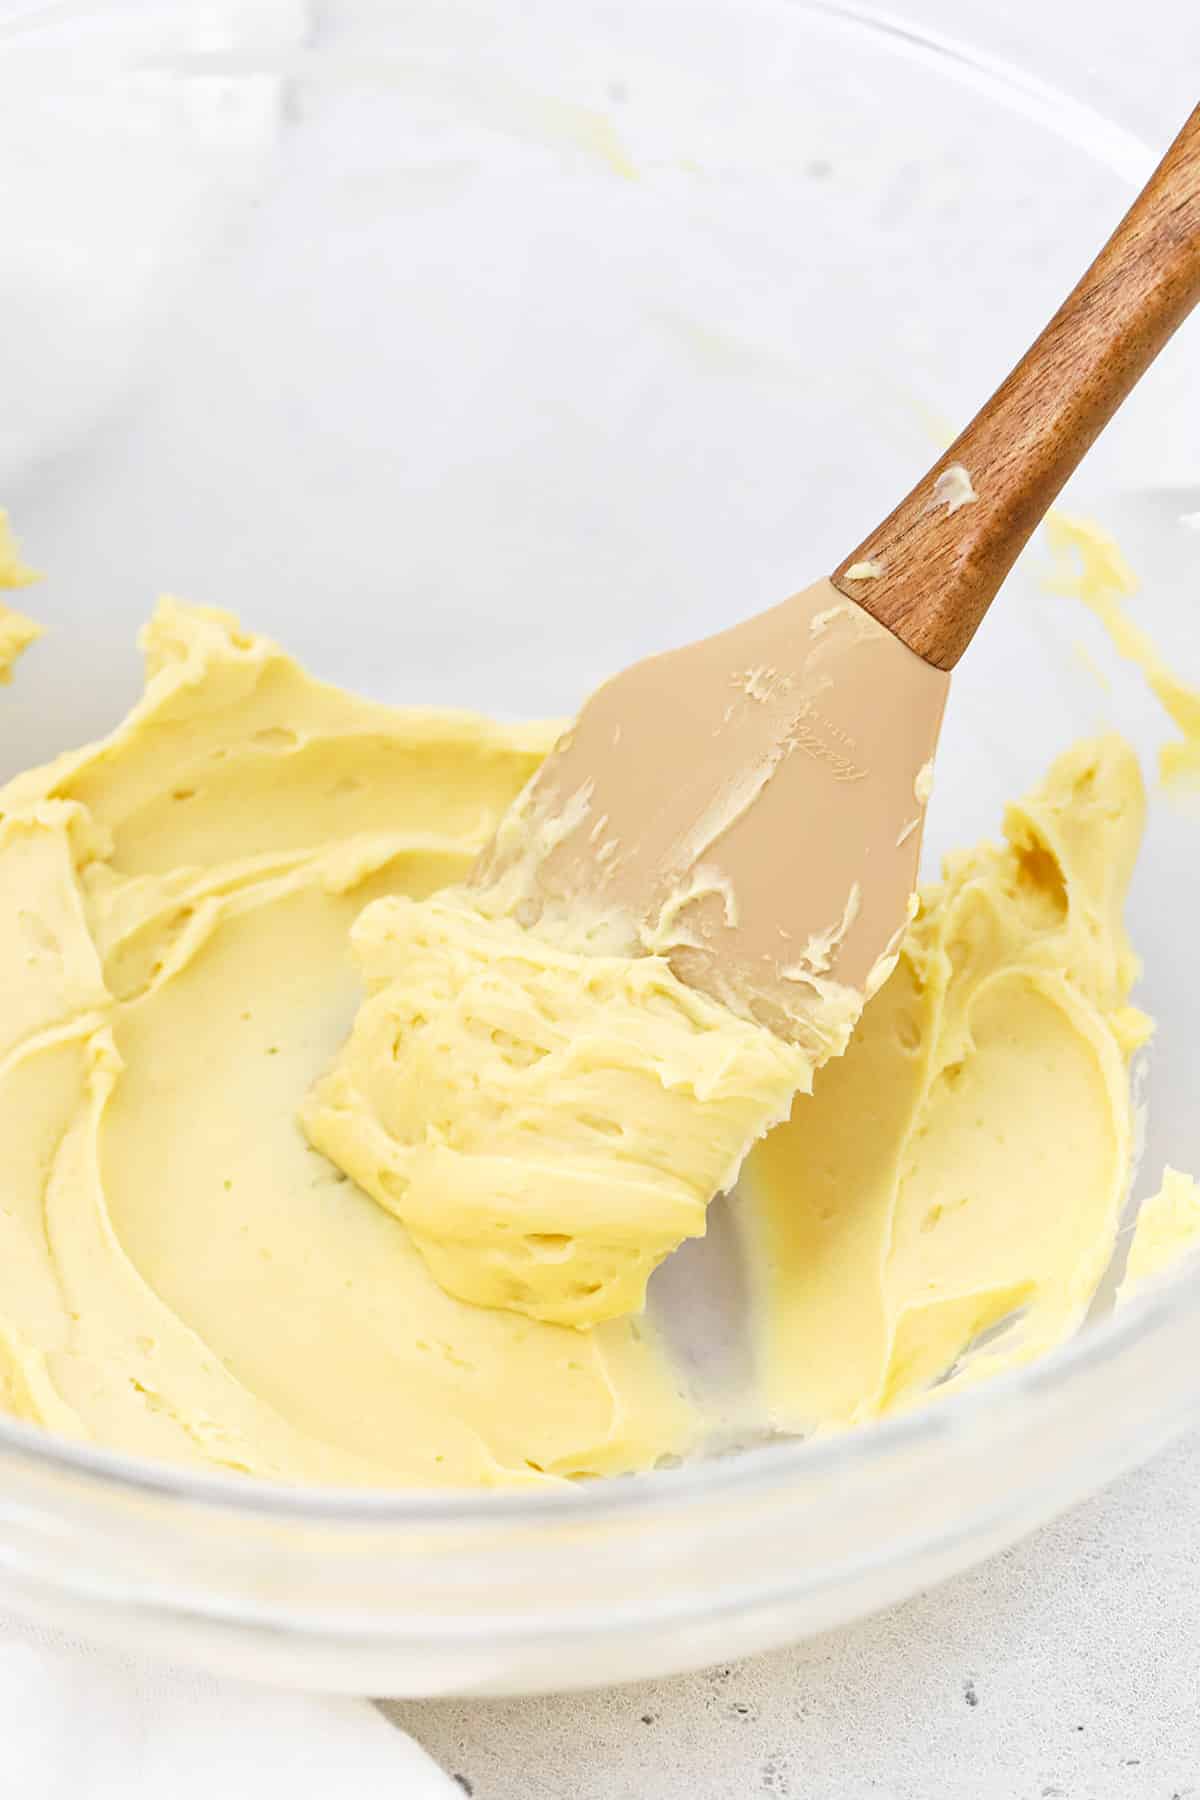
- Whip 2-3 Minutes. Beat the butter on medium speed for another 2-3 minutes, pausing to scrape down the sides as needed, until the honey butter is smooth, light, and fluffy. (Don’t rush this step, as incorporating air by whipping is what turns it from regular honey butter to whipped honey butter)
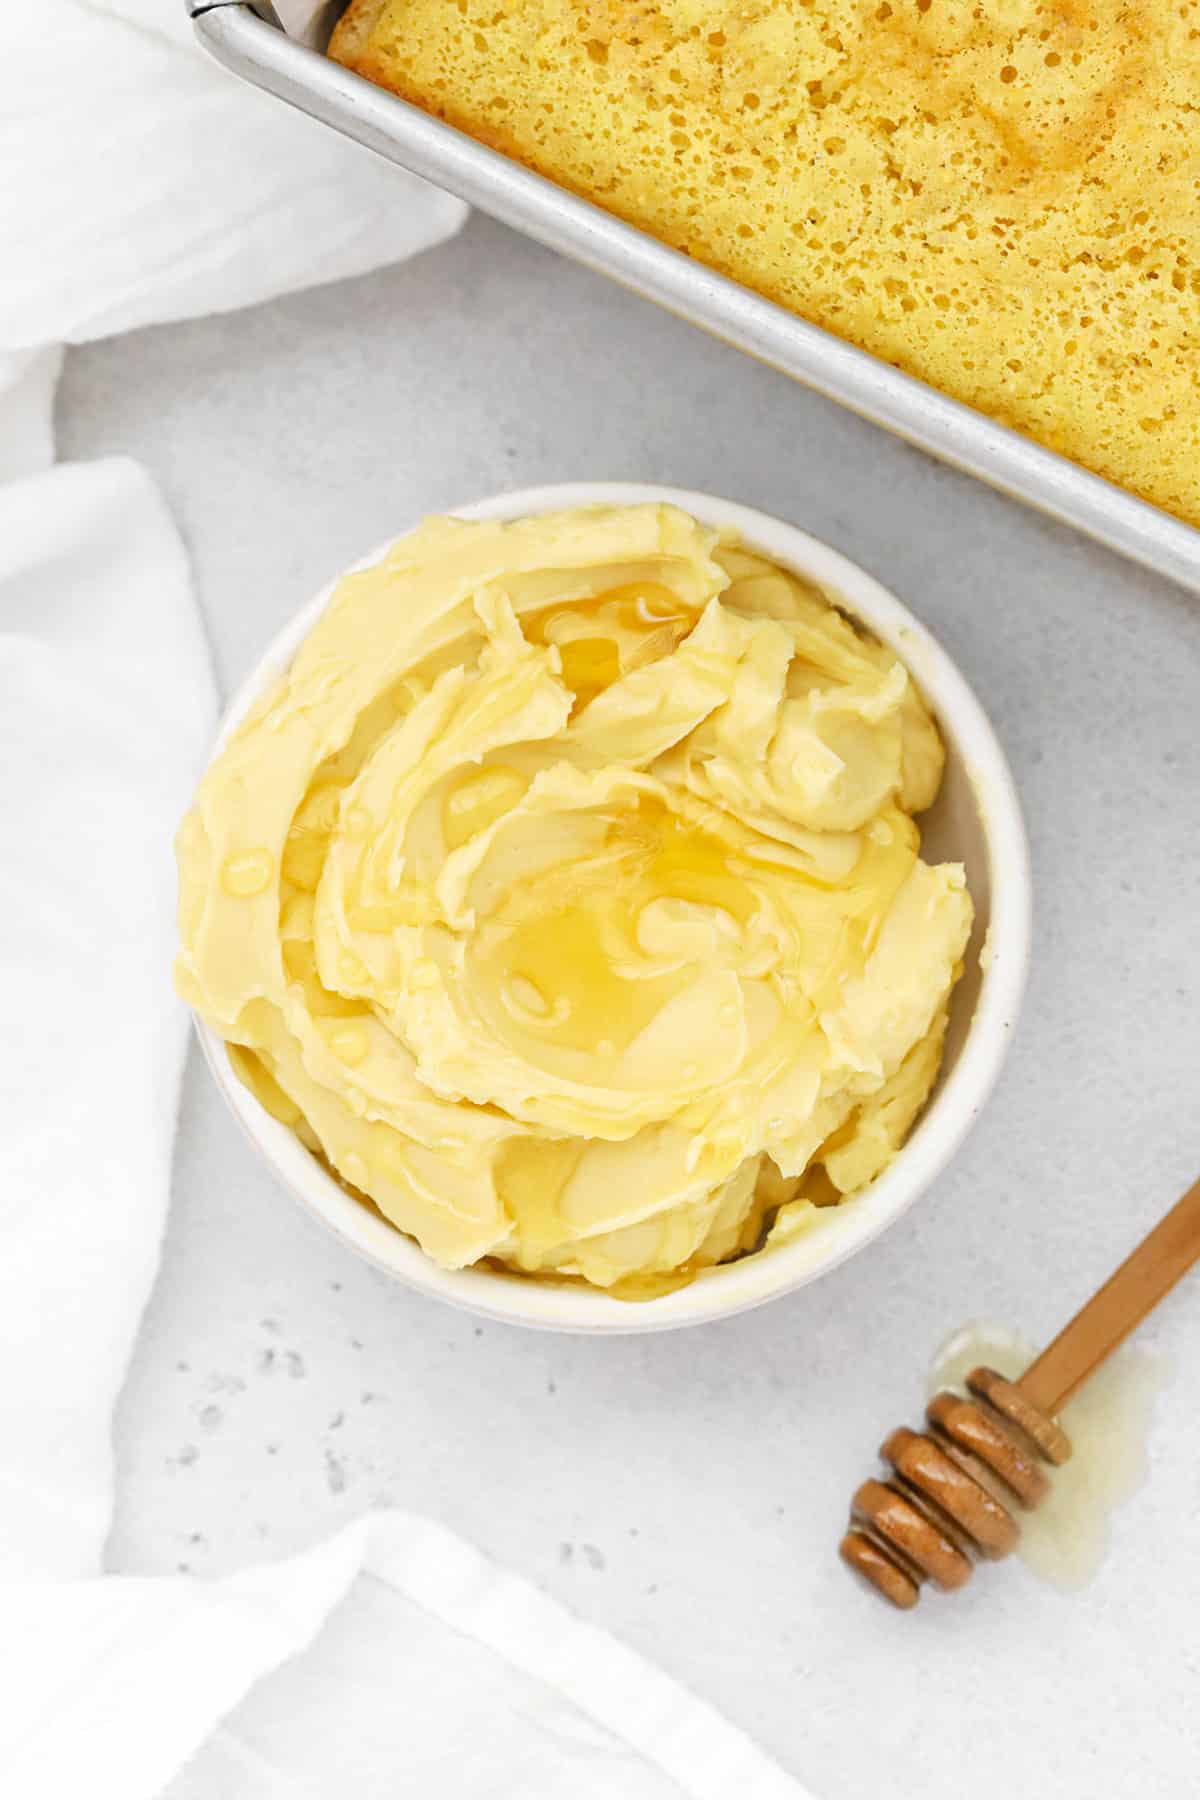
- Serve Or Store. Then, serve your homemade whipped honey butter with all your favorites or store in the refrigerator for later.
Yum! Here’s What To Serve With All That Honey Butter:
So what do you do with whipped honey butter? EVERYTHING. Jk, but LOTS OF THINGS. It’s one of those delicious spreads that’s good on so many carby faves:
- Fresh Rolls. Serve whipped honey butter with warm dinner rolls or bread to start off a meal.
- Biscuits! Add a schmear to you favorite biscuits. We love these easy gluten-free biscuits with honey butter!
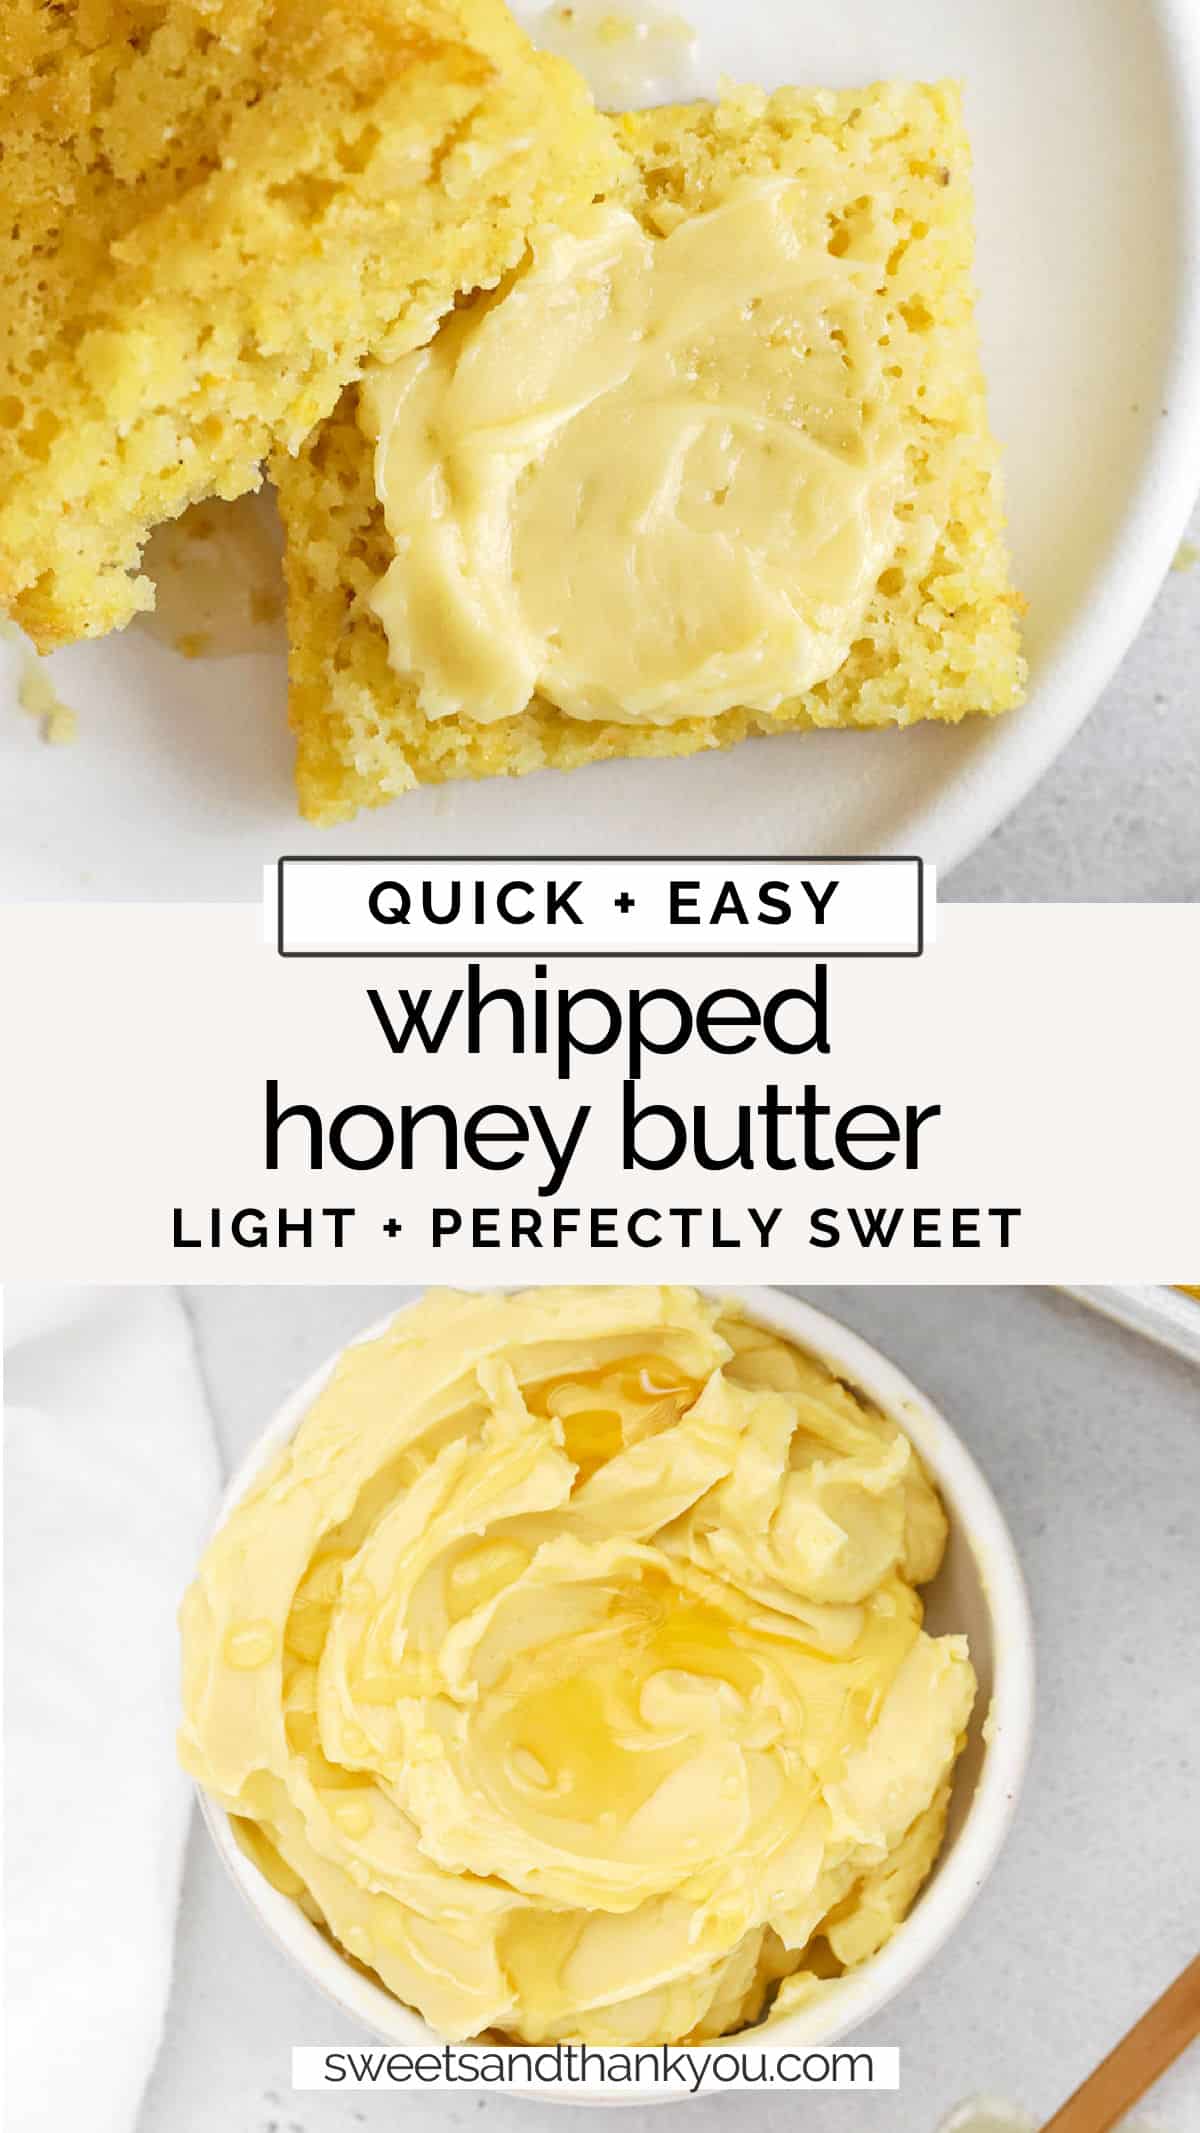
- Cornbread. Our fluffy gluten-free cornbread tastes INCREDIBLE with this whipped honey butter. They’re a match made in heaven.
- Baked Sweet Potatoes. Sounds weird, but trust me! Use a dollop of honey butter on baked sweet potatoes or vegetables like butternut squash for a delicious change of pace.
- Roasted Carrots. Or, toss roasted carrots in a little honey butter to finish them. The natural sweetness of the carrots plays beautifully with honey butter!
- Pancakes & Waffles. I love honey butter on gluten-free Belgian waffles or a stack of fluffy pancakes. YUM!
- Toast. Is there anything more comforting than a slice of honey toast? Whipped honey butter is incredible melted into all the nooks and crannies of a piece of toast. Yum!
- Popcorn. Sounds crazy, but it tastes kind of like kettle corn! Melt it in the microwave or on the stove and drizzle over freshly popped popcorn for a yummy treat.
- Banana Bread Or Muffins. Spread a thin layer of homemade honey butter over a warm slice of banana bread or a batch of muffins. It’s divine.
FAQ + Tips And Tricks For The BEst Whipped Honey Butter
How To Store Leftover Honey Butter: For best results, keep your whipped honey butter covered in the fridge up to 1 week. You can store it in an airtight container, a glass jar with a lid, or simply cover the bowl with plastic wrap or food wrap. Pull it out 20-30 minutes before using to allow it to soften back up. (It *will* keep on the counter for a few days, but I like it best in the fridge)
How Long Does Honey Butter Last? In the fridge, our honey butter recipe will easily keep for a week!
Does Honey Butter Have To Be Refrigerated? I recommend it, for best results, though it will keep on the counter 1-2 days.
Try It With Maple! Change up the flavor by using this same technique with pure maple syrup instead of honey. It makes a lovely whipped maple butter!
Is Creamed Honey & Honey Butter The Same Thing? No! Creamed honey is honey only, processed to control crystallization. Honey butter combines honey + butter (and a few extra ingredients sometimes!).
A Trick To Soften Butter Quickly:
If you accidentally forgot to pull out your butter in advance, you can soften the butter faster by dicing it into small cubes. Spread the cubes out the best you can to allow maximum airflow, and they’ll soften MUCH faster! (Again, you’re going for cool to the touch not warm + your finger should make a slight indent in the butter rather than passing all the way through or sinking in easily)
More Recipes To try:
- Fluffy Gluten-Free Cornbread
- Gluten-Free Belgian Waffles
- Easy Gluten-Free Biscuits
- Cinnamon Honey Butter (Whipped Cinnamon Butter!)
WE ♥


Easy Whipped Honey Butter
- Total Time: 5 minutes
- Yield: 1/2 cup 1x
- Diet: Gluten Free
Description
This easy whipped honey butter is delicious on all your carb-y faves! Try it on bread, toast, rolls, cornbread, pancakes, waffles, baked sweet potatoes, roasted carrots, popcorn, and more!
Ingredients
- 1/2 cup (4 oz., 8 tablespoons) butter, softened*
- 3 Tablespoons honey
- 1/4 cup powdered sugar
- 1/2 teaspoon vanilla
- One pinch (less than 1/8 teaspoon) kosher salt
Instructions
- Whip The Butter. Start by placing the softened butter in a large mixing bowl. Use a hand mixer to whip the butter for 2 minutes. (At first, it’ll kind of clump together and seem like it’s not working. Just keep at it! It’ll spread out and get fluffier as you go!)
- Add The Rest Of The Ingredients. Scrape down the sides of the bowl and add honey, powdered sugar, vanilla extract, and salt (if using).
- Whip 2-3 Minutes. Beat the butter on medium speed for another 2-3 minutes, pausing to scrape down the sides as needed, until the honey butter is smooth, light, and fluffy. (Don’t rush this step, as incorporating air by whipping is what turns it from regular honey butter to whipped honey butter)
- Serve Or Store. Then, serve your whipped honey butter with all your favorites or store in the refrigerator for later.
Notes
*Softened butter is cool to the touch but your finger can make an imprint when pressed. It shouldn’t be shiny or greasy looking, and should still mostly hold its shape. If you use butter that’s too warm, it’ll be looser, wetter, and won’t be as fluffy.
- Prep Time: 5 minutes
- Category: Condiment
- Method: No-Cook
- Cuisine: American