
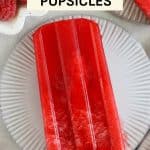


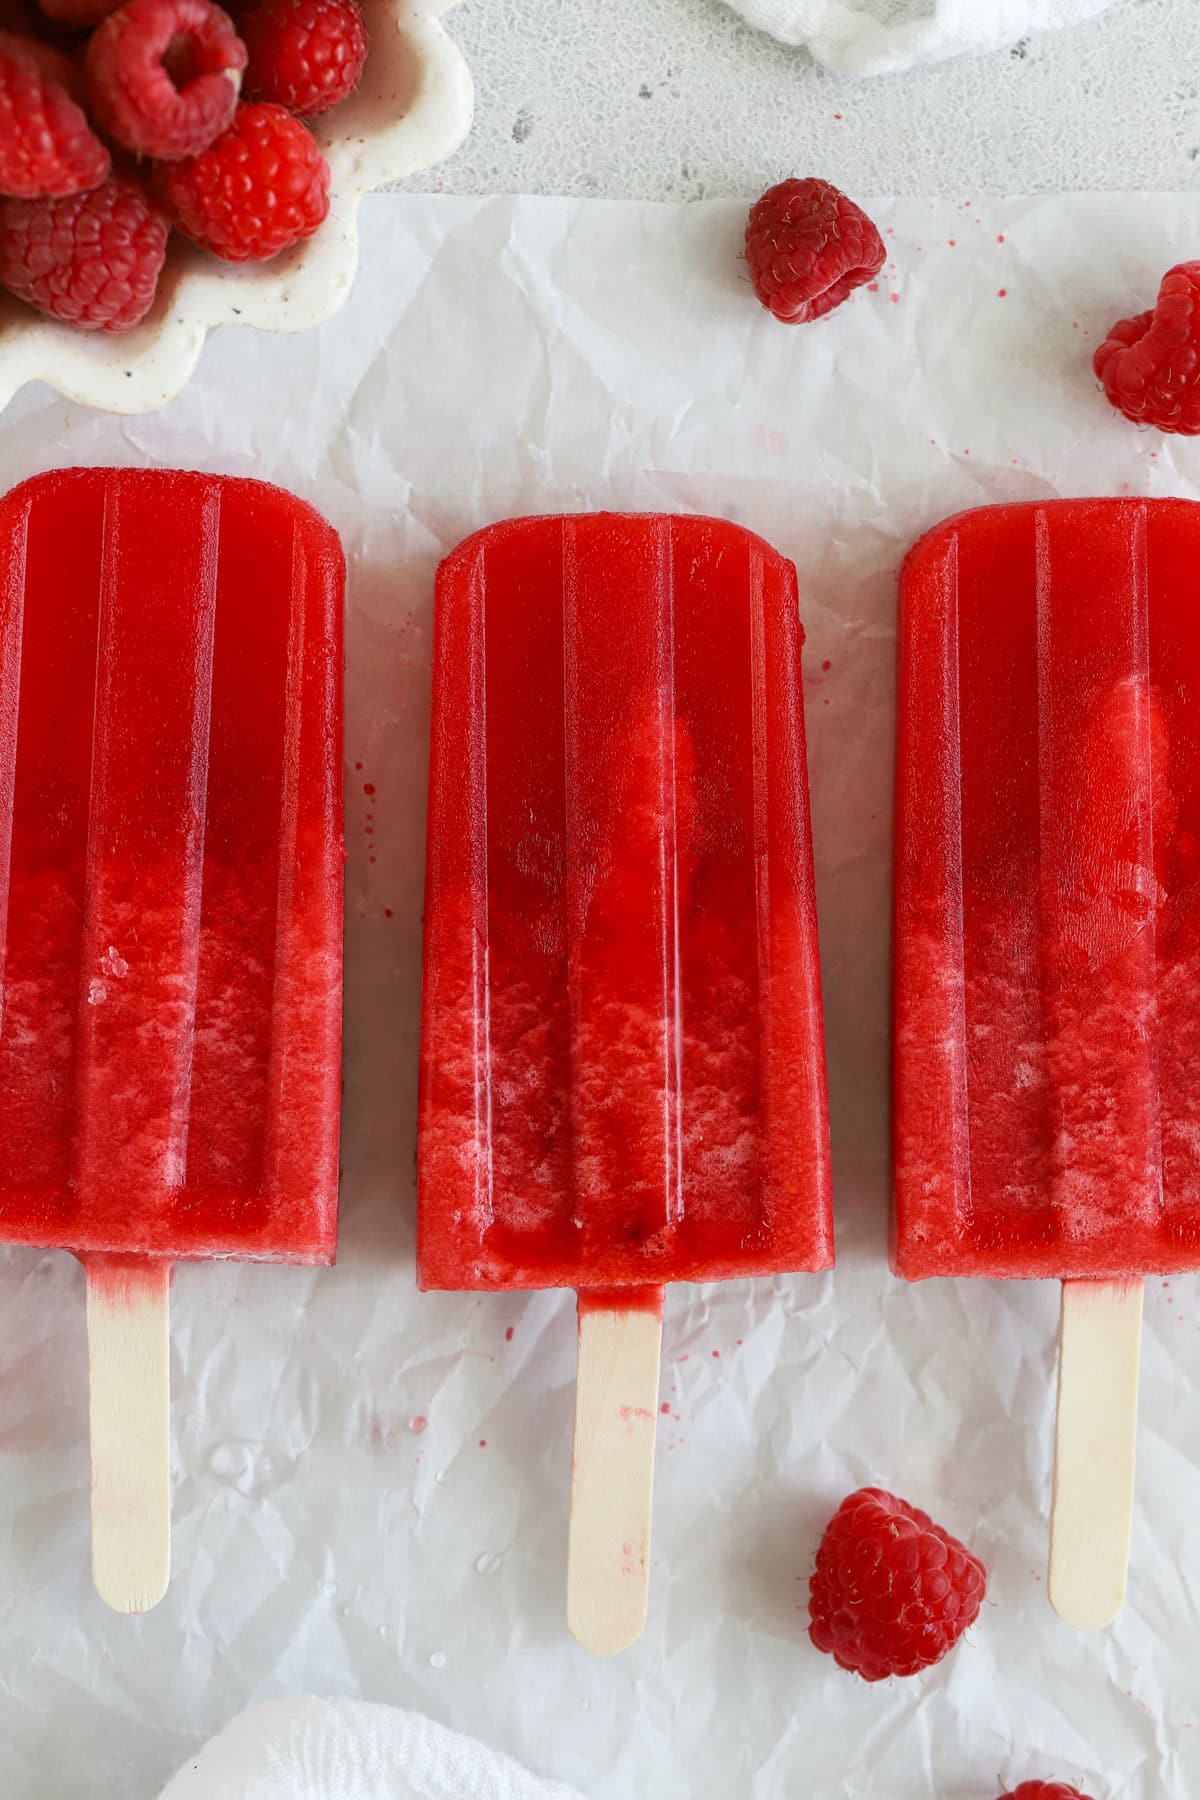
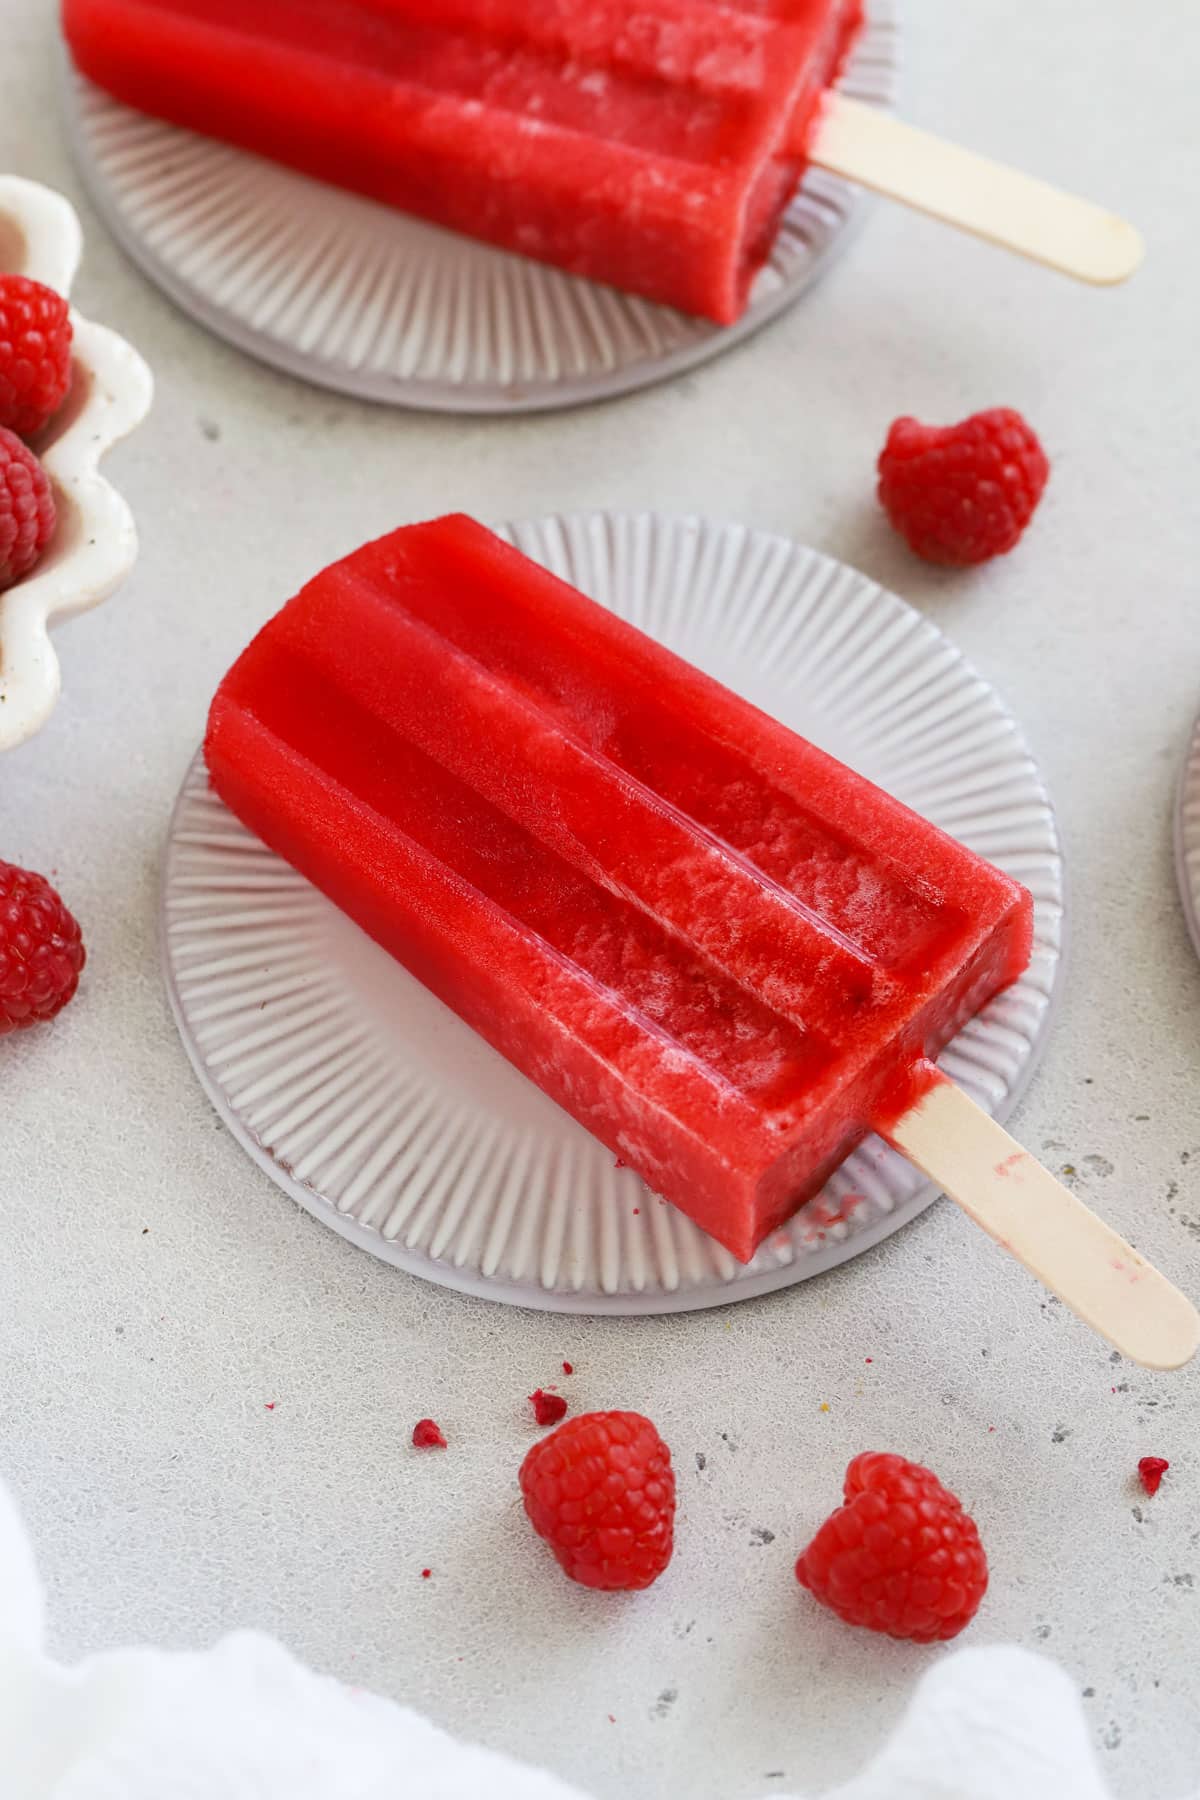
These naturally-sweetened Raspberry Sorbet Popsicles taste like a scoop of raspberry sorbet. Try them drizzled with chocolate for an even fancier treat!
I’m pretty sure my family lives on homemade popsicles in the summer. We had 122 days over 100 degrees last year (yes, that’s the real number. I checked. And I KNOW. HOLY HOT!!!), so I basically consider them a necessity.
I started making homemade popsicles when my kids were small for a lot of reasons:
- THEY’RE EASY & FUN TO MAKE. Making homemade popsicles is as easy as blending, pouring, and waiting while they freeze! This easy recipe is simple enough for kids to help and a great way to get kids in the kitchen.
- THEY’RE HEALTHIER! I love that my homemade popsicles are naturally sweetened and made with healthy ingredients like fresh fruit, and we can skip the artificial dyes, refined sugar, or artificial flavors.
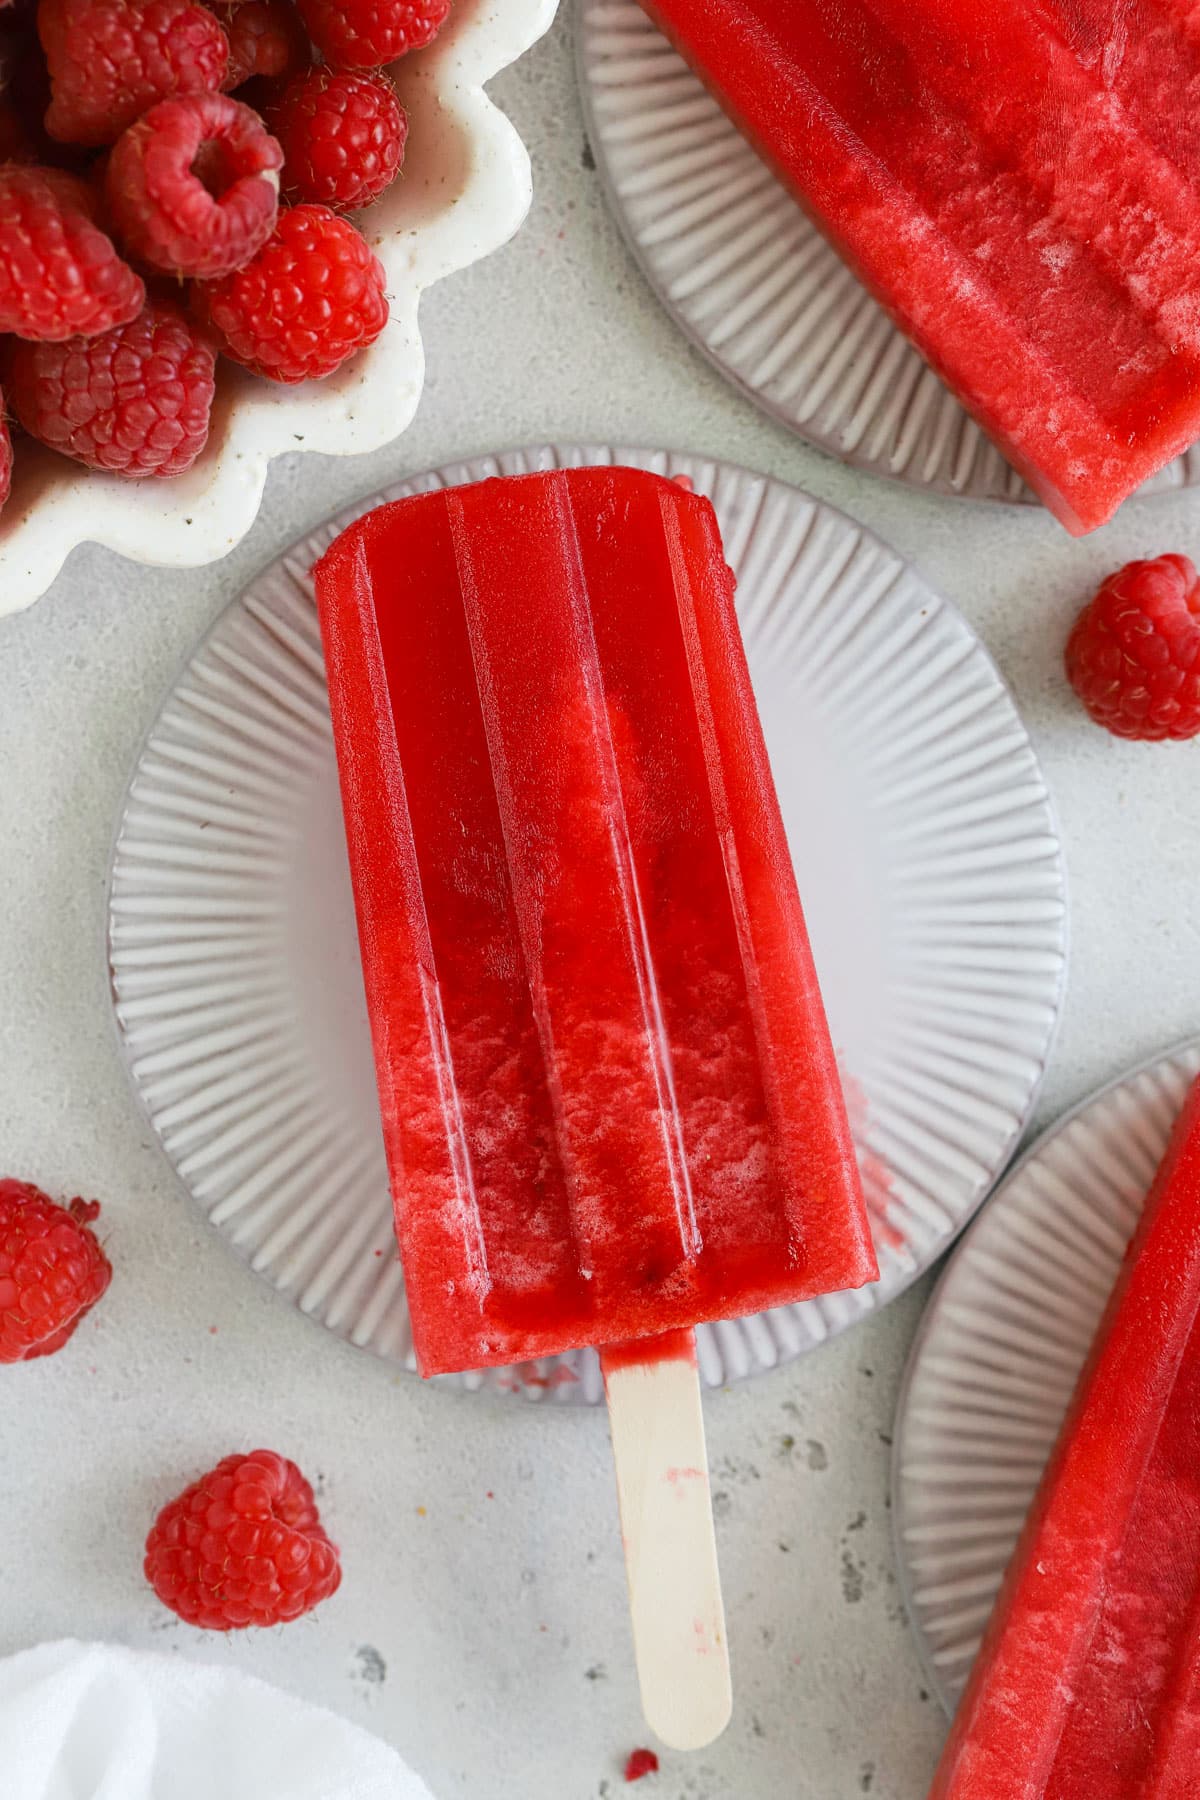
- THEY TASTE AMAZING. Seriously. The sweet fruity flavor is incredible! These taste like the sweetest, ripest fresh berries around.
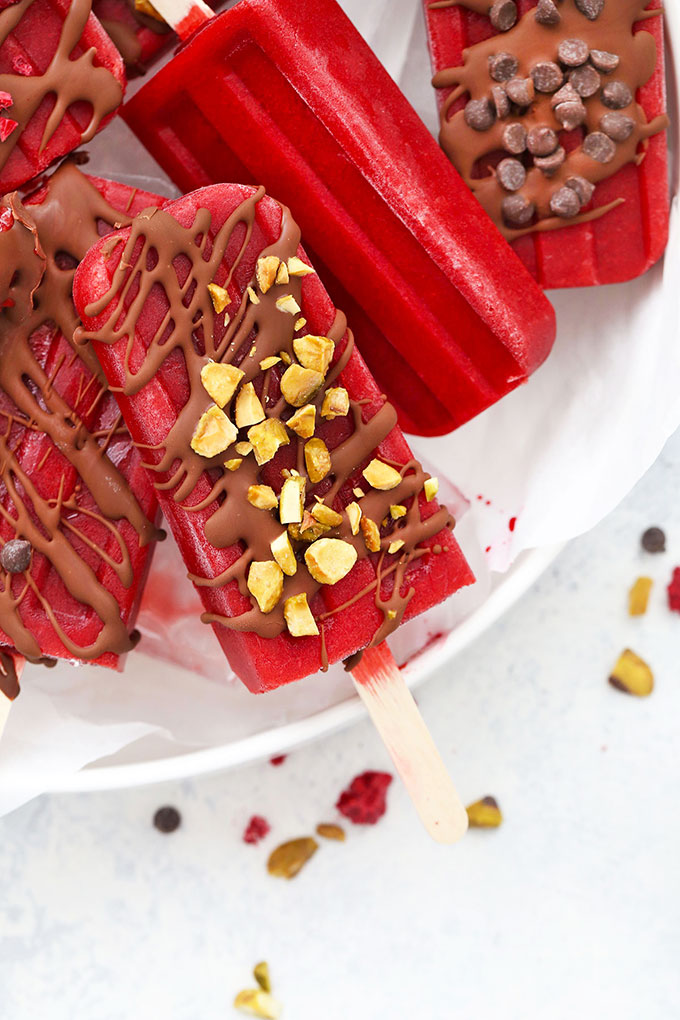
This healthy raspberry sorbet popsicles recipe is one of our favorites. They’re sweet, bright, and velvety smooth. And the satisfying crunch of the (optional) chocolate shell drizzle puts them over the top! Here’s all you need to get started on this sweet treat…
Gather Your Ingredients
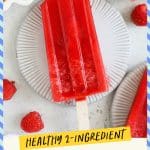
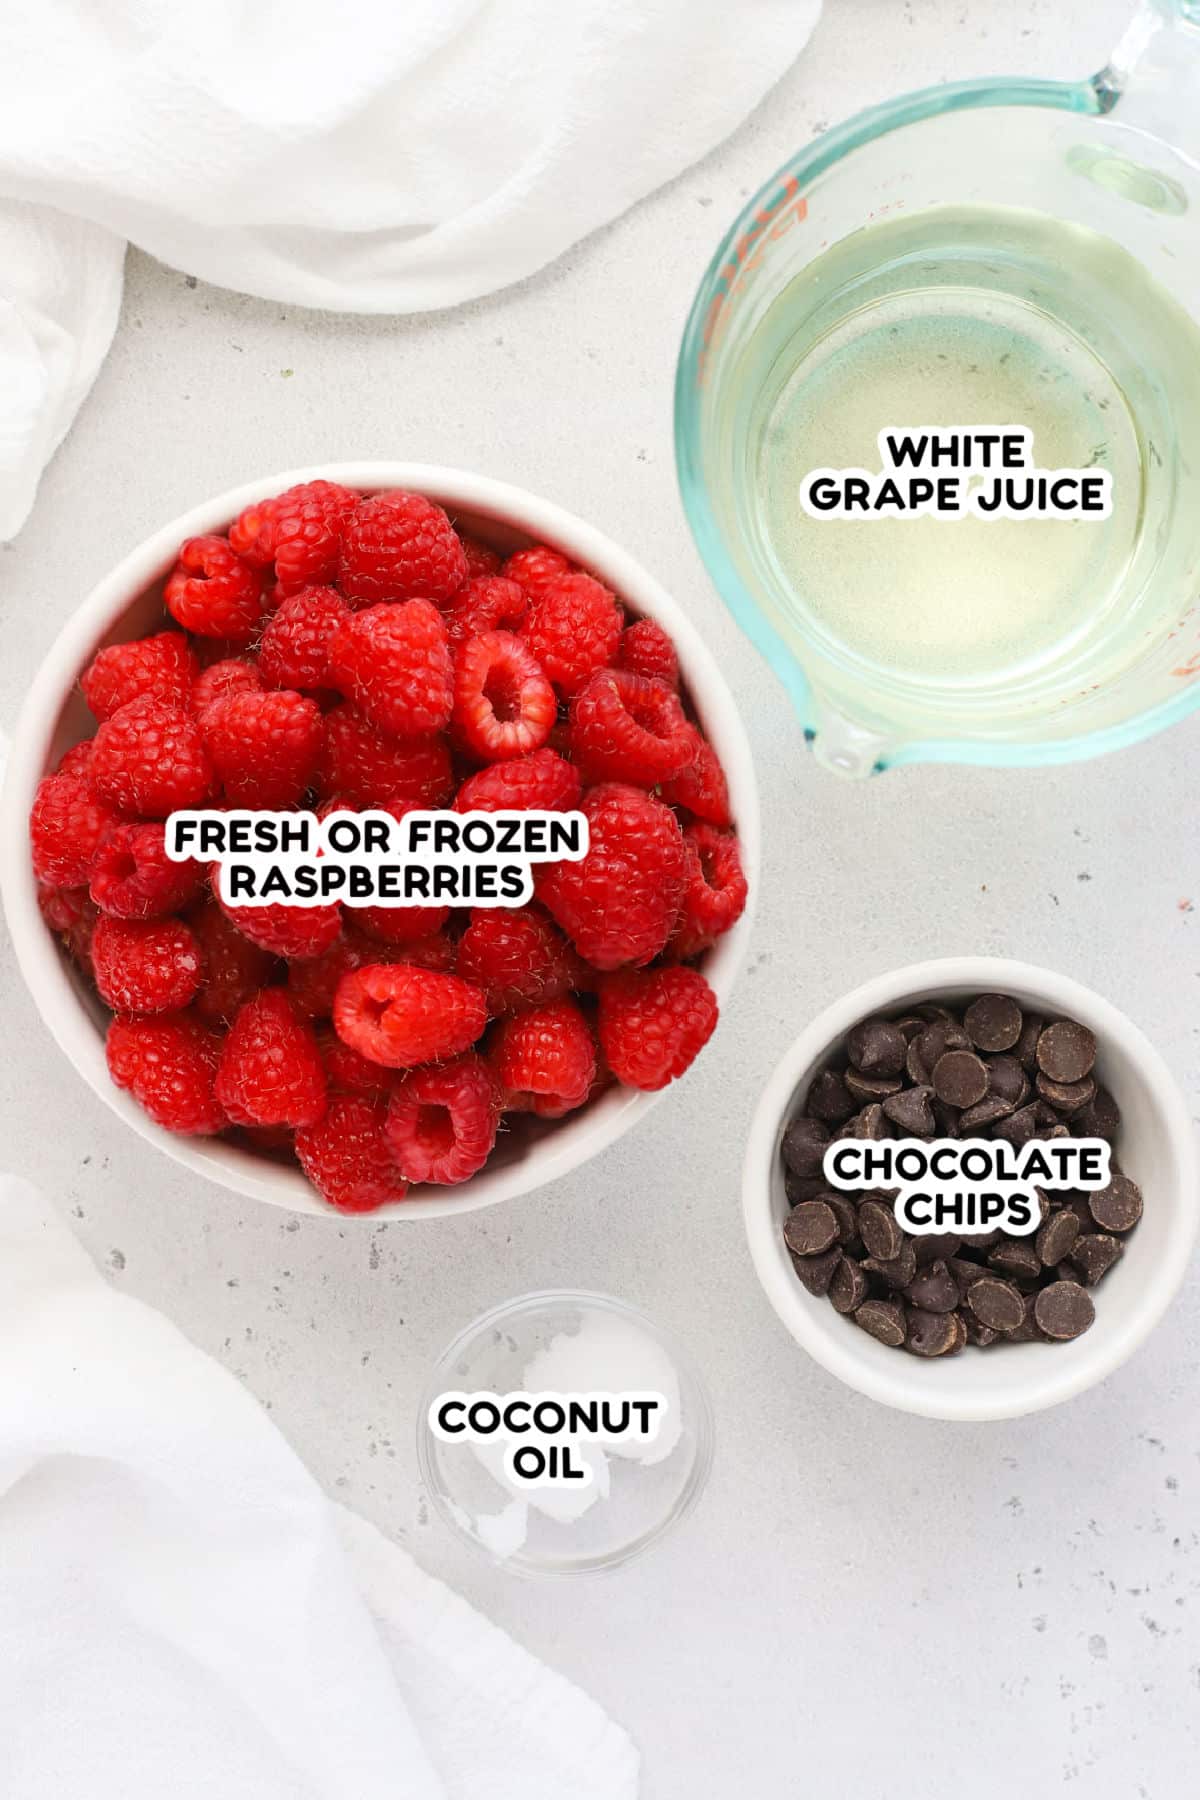
These healthy raspberry popsicles are so simple! You only need TWO ingredients if you make them without the chocolate drizzle and FOUR if you make them with the chocolate drizzle. Here’s what you need to get going:
How to Make Raspberry Sorbet Popsicles, Step By Step
As always, you can find the full recipe, with ingredient amounts, detailed instructions, and tips in the recipe card below!
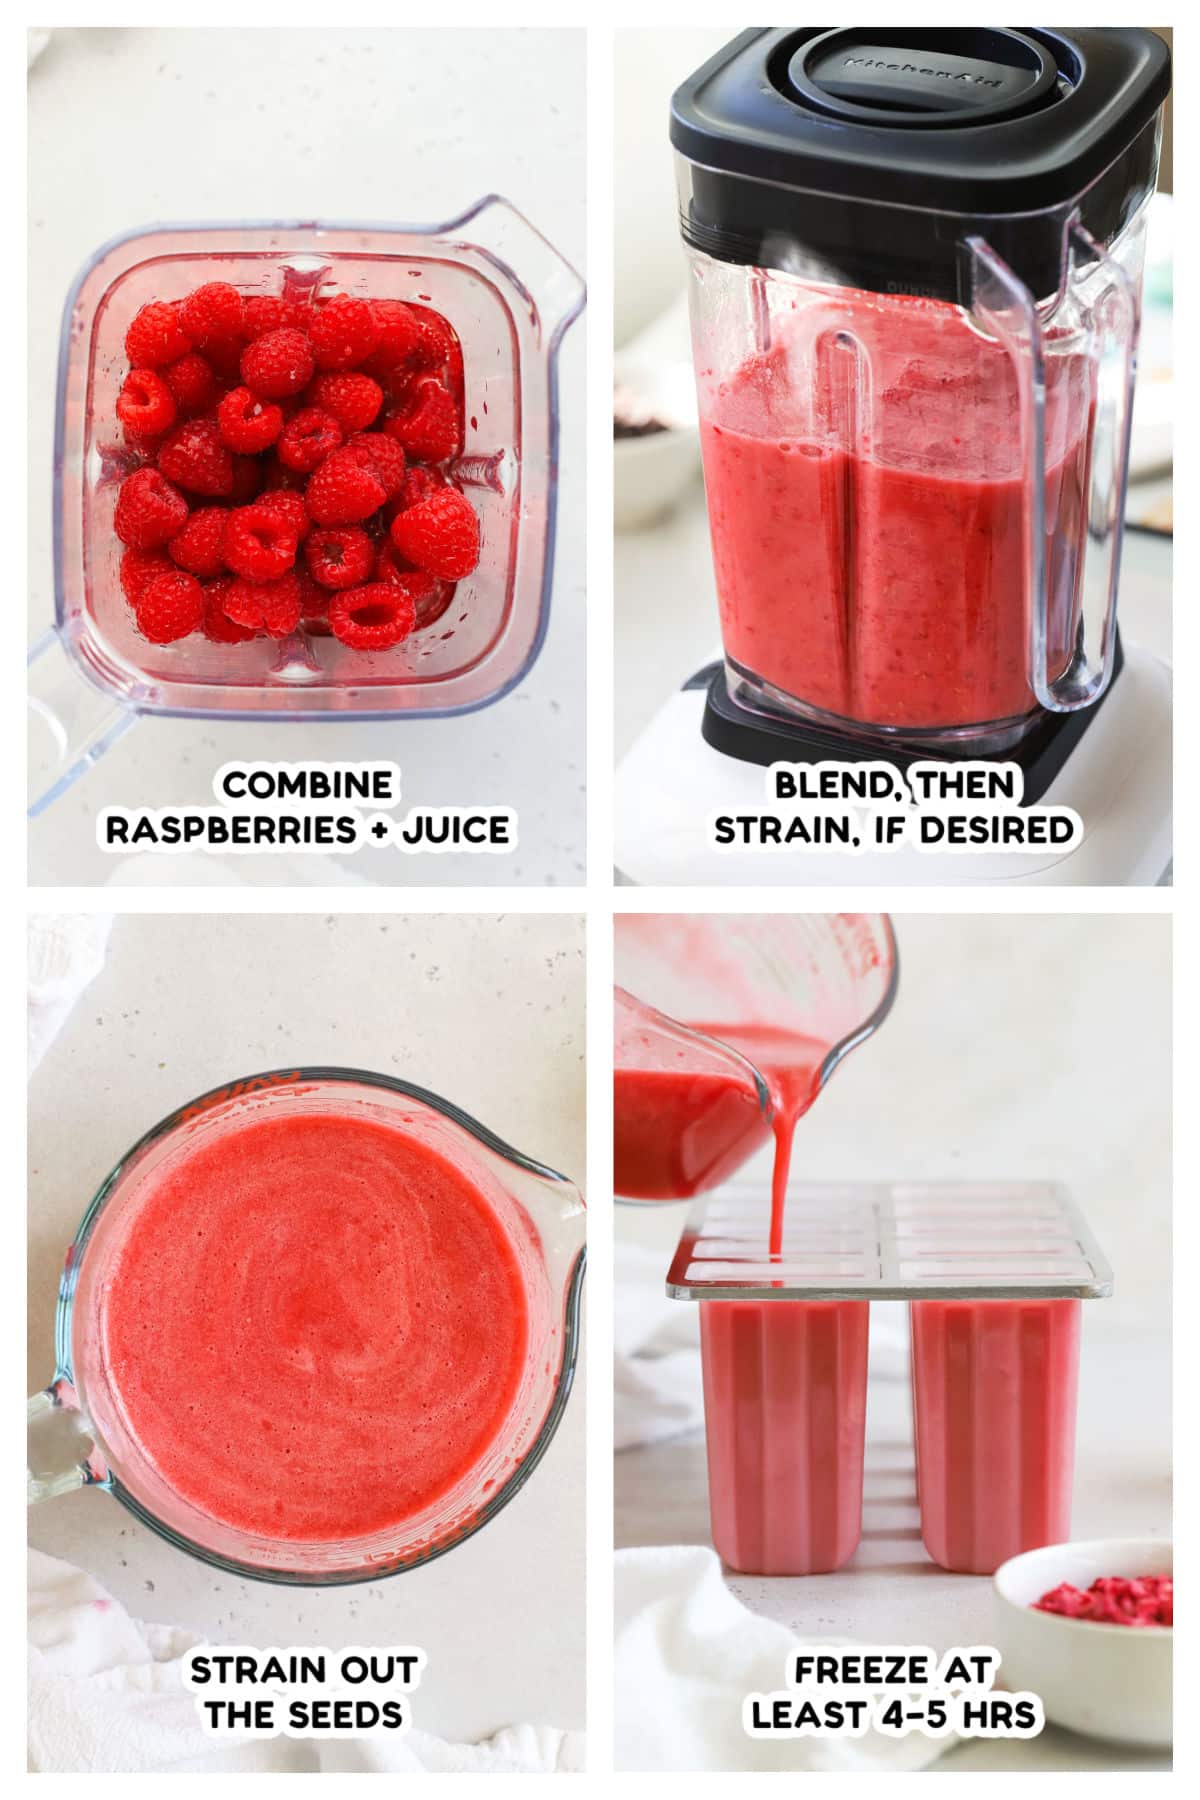
- Combine. In a blender or food processor, combine raspberries and white grape juice.
- Puree until as smooth as possible, pausing the blender as needed to scrape down the sides of the blender.
- Strain the raspberry purée through a fine mesh sieve to remove the seeds. (Even if the mixture looks smooth, the seeds get unpleasantly gritty in the freezer. It’s worth taking the time to strain it!)
- Freeze. Pour the strained popsicle mixture into your popsicle mold. Cover with a lid and insert popsicle sticks. Place on a level surface in your freezer and freeze for at least 4-5 hours, or until completely solid.
- Serve & Store. To release from popsicle mold, run the wells of the popsicle mold under cool water (not warm water or hot water, or they’ll melt!) for a few seconds and use a side-to-side motion to release popsicle from the mold. Store leftover popsicles in a single layer in an airtight freezer bag or freezer-safe airtight container in the freezer up to 2 weeks.
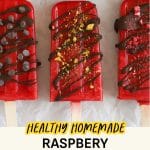
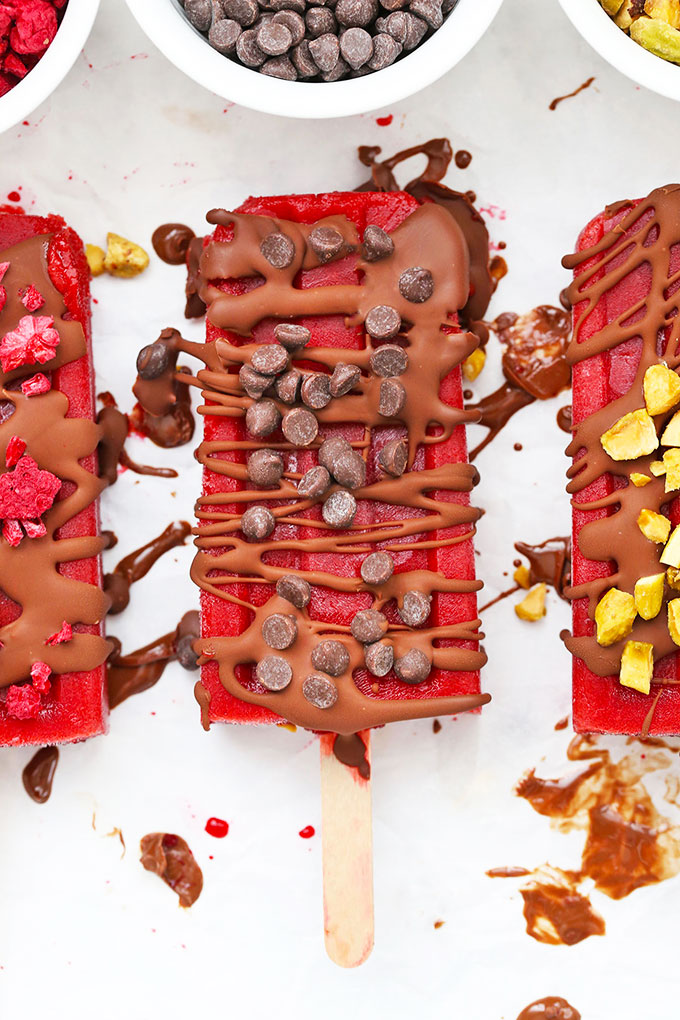
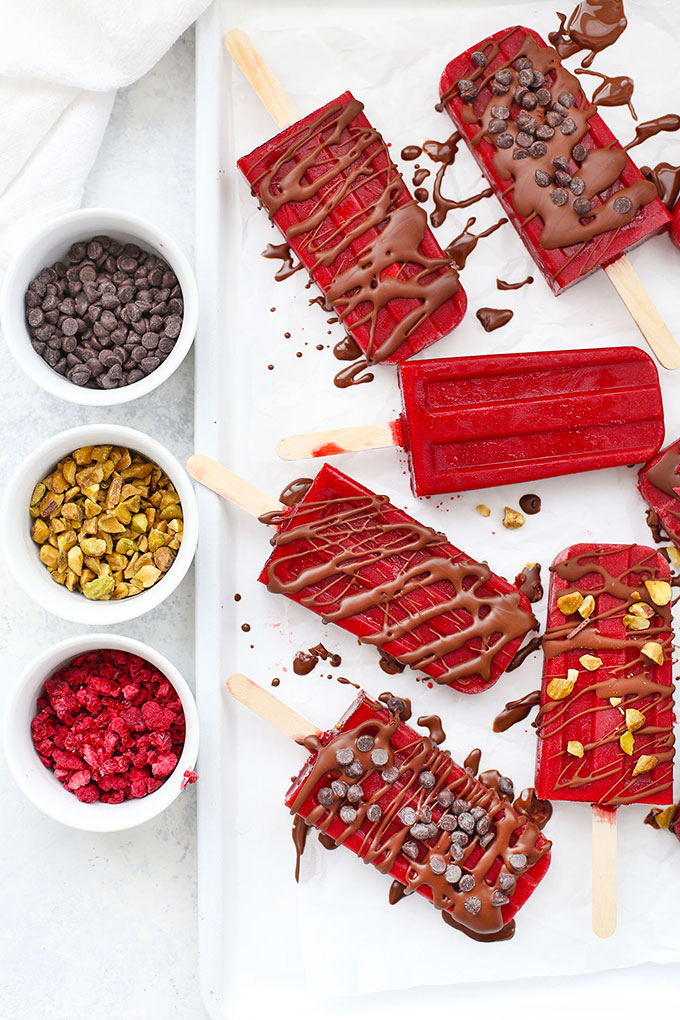
Try Drizzling Them With Chocolate & Toppings!
For an extra fun finish, try drizzling them with chocolate shell and sprinkling with toppings! Here’s how to do it:
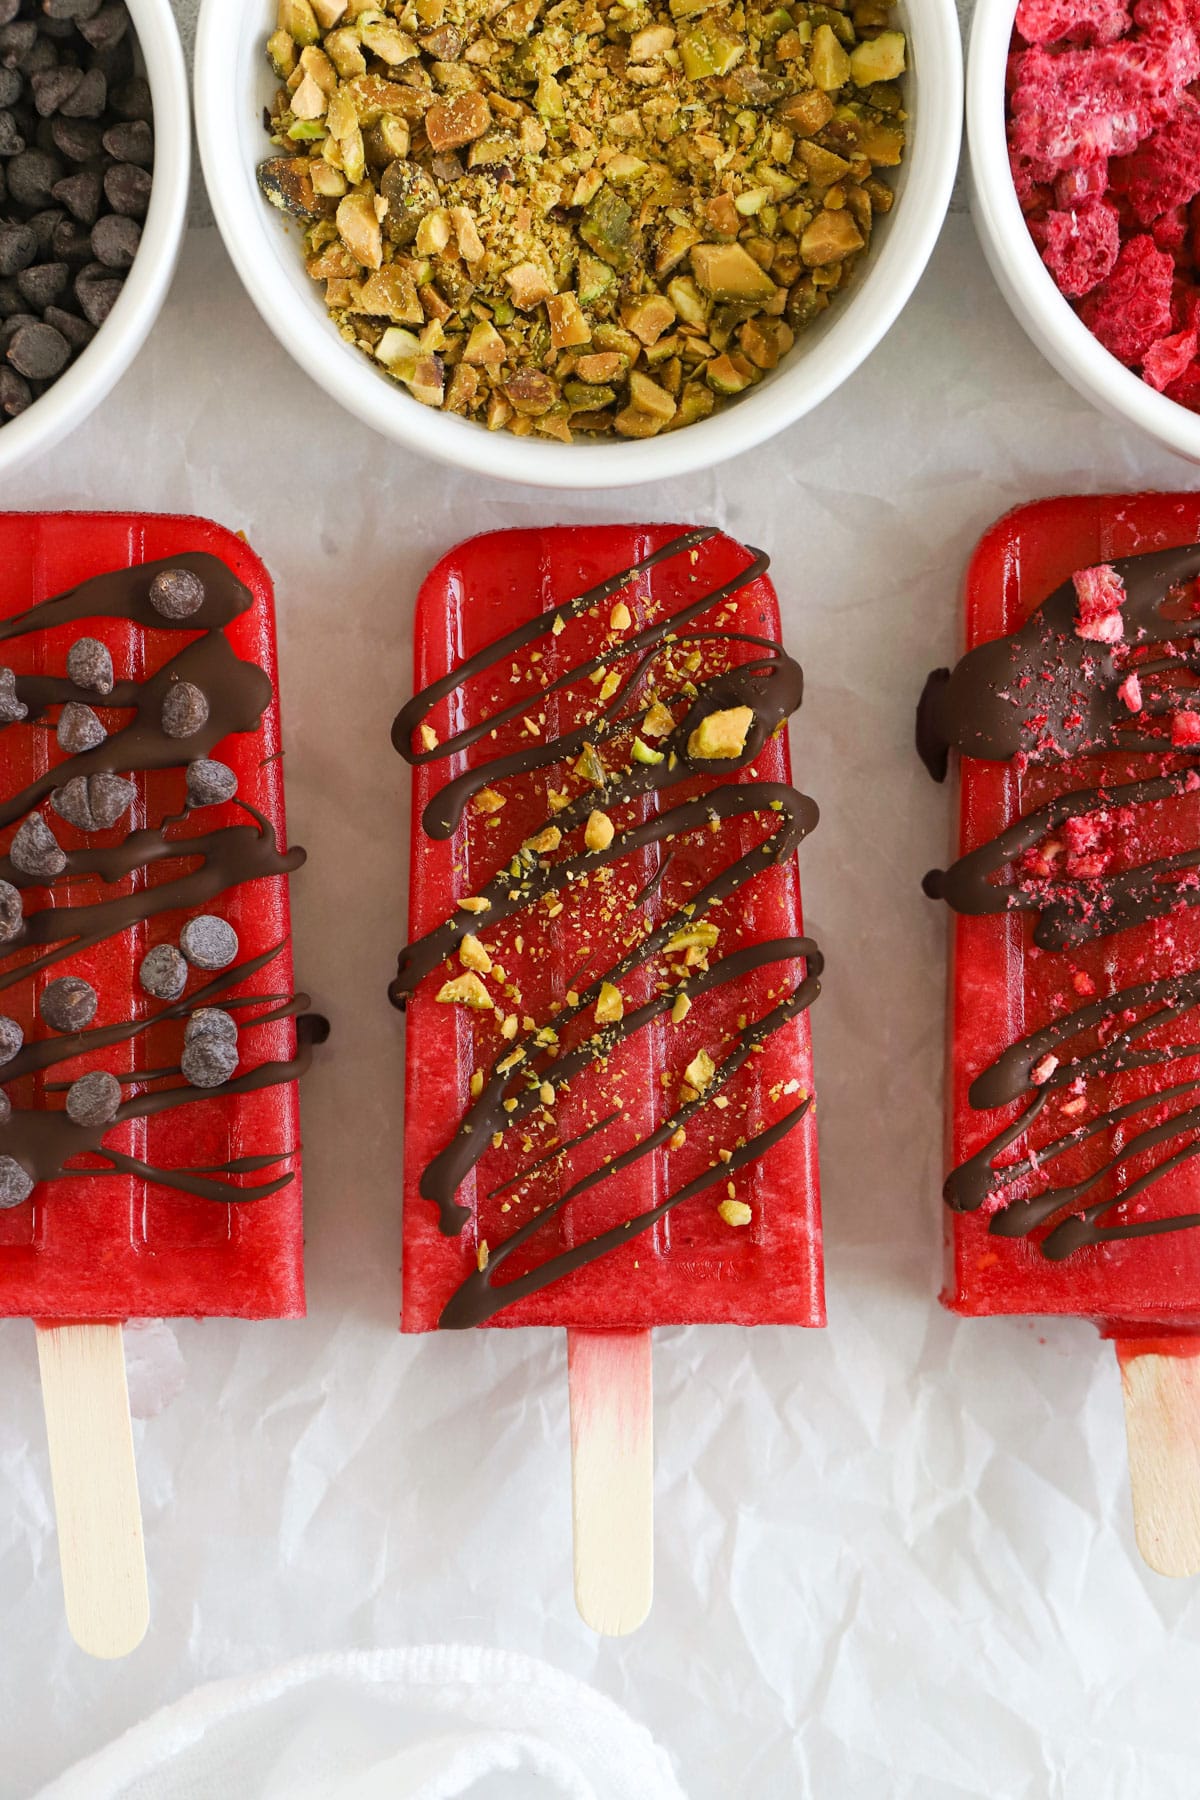
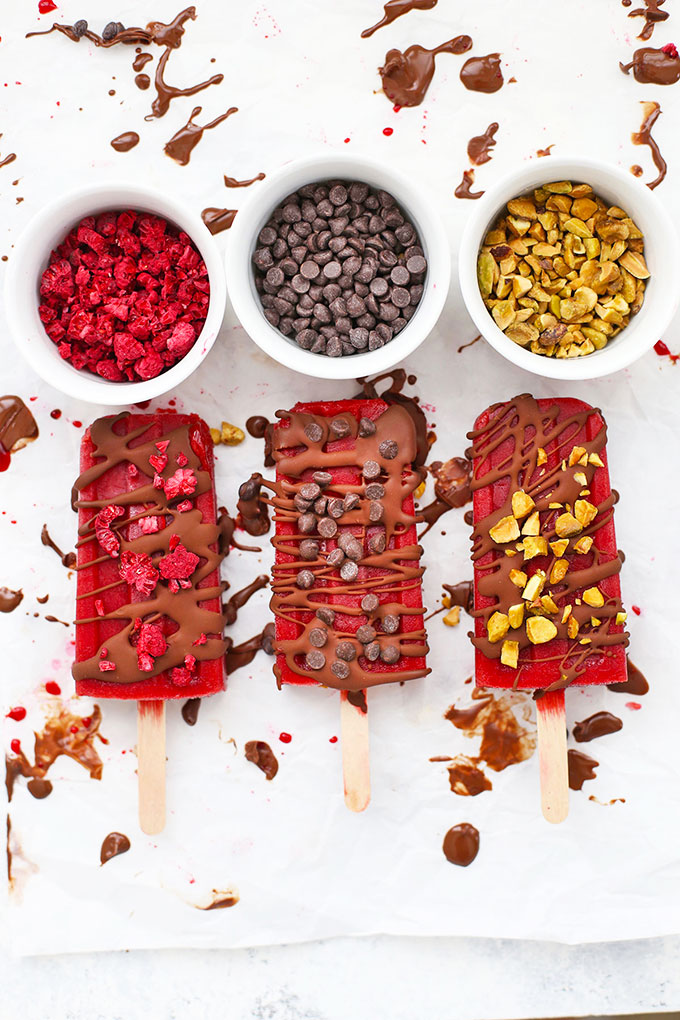
- Prep. Set out a baking sheet lined with parchment paper or a silicone mat. Have any toppings you plan to use close by, since you’ll need to work quickly when you get started. Some of my favorites are crushed freeze-dried raspberries, chopped pistachios, sprinkles, or mini chocolate chips.
- Melt. In a small microwave-safe bowl, combine chocolate chips and coconut oil. Gently melt in 10-20 second intervals, stirring in between each interval until the melted chocolate mixture is smooth and glossy.
- Drizzle. Remove a popsicle from the freezer and drizzle with chocolate shell. Immediately sprinkle with your desired toppings. The chocolate will harden with 30-60 seconds! Enjoy right away, or return them to the freezer until you’re ready to serve.
FAQ + Tips For The Best Raspberry Popsicles
THE BEST POPSICLE MOLD. Just in case you missed it above, this is my favorite popsicle mold. It comes with a lid to help hold the popsicle sticks in place, can balance well in the freezer, and doesn’t hold on to flavors the way a silicone mold does. I’ve quite literally made HUNDREDS of homemade popsicles over the years, and it never lets me down.
FRESH VS FROZEN BERRIES. You can use fresh raspberries OR frozen raspberries for these raspberry popsicles! One thing to note is that fresh raspberries can foam a bit in the blender. This won’t impact the flavor at ALL, but it may give the popsicles a less streamlined look. If you want them to look super uniform and polished, frozen raspberries are the better choice!
TO STRAIN OR NOT TO STRAIN. You don’t absolutely *have* to strain the seeds out of your sorbet mixture, but I recommend it for the best texture. I’ve made these with and without straining, and my kids FAR prefer them strained. I just pour the mixture through a fine mesh sieve (like this or this). All I’m left with is velvety smooth raspberry puree that freezes into perfect raspberry sorbet pops!
WANT THEM SWEETER? I find the natural sweetness of the raspberries and juice are usually enough for me, but if your raspberries are on the tart side, you can add a little drizzle of honey, pure maple syrup, or agave to the mixture, as needed. (Of course, some sugar or simple syrup will also work!) Just follow your taste buds!


Did You Make This Recipe?
Tell me all about it! Leave a star rating below when you try our Healthy Raspberry Popsicle recipe. I can’t wait to hear how it goes!
Healthy Raspberry Sorbet Popsicles (Paleo + Vegan)
Equipment
Ingredients
For the Raspberry Sorbet Popsicles:
- 1 pound raspberries (fresh or thawed from frozen*)
- 1-1 1/2 cups white grape juice (or apple juice)
For Optional Chocolate Shell Drizzle:**
- 1/2 cup chocolate chips (allergy-friendly, as needed!)
- 2 teaspoons coconut oil
- Optional toppings: mini chocolate chips, chopped nuts, sprinkles or crushed freeze-dried raspberries, to decorate
Instructions
FOR THE RASPBERRY SORBET POPSICLES:
- Combine. In a blender or food processor, combine raspberries and white grape juice.
- Puree until as smooth as possible, pausing the blender as needed to scrape down the sides of the blender.
- Strain the raspberry purée through a fine mesh sieve to remove the seeds. (Even if the mixture looks smooth, the seeds get unpleasantly gritty in the freezer. It's worth taking the time to strain it!)
- Freeze. Cover with a lid and insert popsicle sticks. Place on a level surface in your freezer and freeze for at least 4-5 hours, or until completely solid.
- Serve & Store. To release from popsicle mold, run the wells of the popsicle mold under cool water (not warm water or hot water, or they’ll melt!) for a few seconds and use a side-to-side motion to release popsicle from the mold. Store leftover popsicles in a single layer in an airtight freezer bag or freezer-safe airtight container in the freezer up to 2 weeks.
TO DECORATE WITH CHOCOLATE SHELL + TOPPINGS:
- Prep. When the raspberry popsicles are firmly frozen, set out a baking sheet lined with parchment paper or a silicone mat. Have any toppings you plan to use close by, since you'll need to work quickly when you get started. Some of my favorites are crushed freeze-dried raspberries, chopped pistachios, sprinkles, or mini chocolate chips.
- Melt. In a small microwave-safe bowl, combine chocolate chips and coconut oil. Gently melt in 10-20 second intervals, stirring in between each interval until the melted chocolate mixture is smooth and glossy.
- Drizzle. When the chocolate is melted, remove raspberry popsicles from freezer and place on prepared baking sheet. Drizzle with chocolate shell and immediately sprinkle with your desired toppings. The chocolate will harden with a minute or two! Enjoy right away, or return them to the freezer until you're ready to serve.
Notes
- FRESH VS FROZEN BERRIES. You can use fresh raspberries OR frozen raspberries for these raspberry popsicles! One thing to note is that fresh raspberries can foam a bit in the blender. This won’t impact the flavor at ALL, but it may give the popsicles a less streamlined look. If you want them to look super uniform and polished, frozen raspberries are the better choice! If using frozen berries, you’ll need 1.5 (10 oz) bags of frozen raspberries. I thaw mine before blending to speed things up.
- WANT THEM SWEETER? I find the natural sweetness of the raspberries and juice are usually enough for me, but if your raspberries are on the tart side, you can add a little drizzle of honey, pure maple syrup, or agave to the mixture, as needed. (Of course, some sugar or simple syrup will also work!) Just follow your taste buds!
Video
Nutrition
Nutrition facts are an estimate only and will vary based on brands and amounts used.
Find it Online:
https://www.onelovelylife.com/raspberry-sorbet-popsicles/Recipe originally shared June 2019. Updated with improved recipe notes, step by step photos, and new video and republished May 2026. Here are some of our original photos:

I love these popsicles so much! I have always been fond of raspberry, and these popsicles brought me so much joy as I remembered those flavors. These are also such a great way to cool off in the summer heat!
These taste just like raspberry sorbet! I tried the chocolate variation and couldn’t get enough!