


How to Deep-Clean Your Kitchen: A step-by-step cleaning checklist to clean your kitchen! Perfect for spring cleaning! Don’t miss the free printable list to tackle your own kitchen!

Anyone else getting spring cleaning vibes?
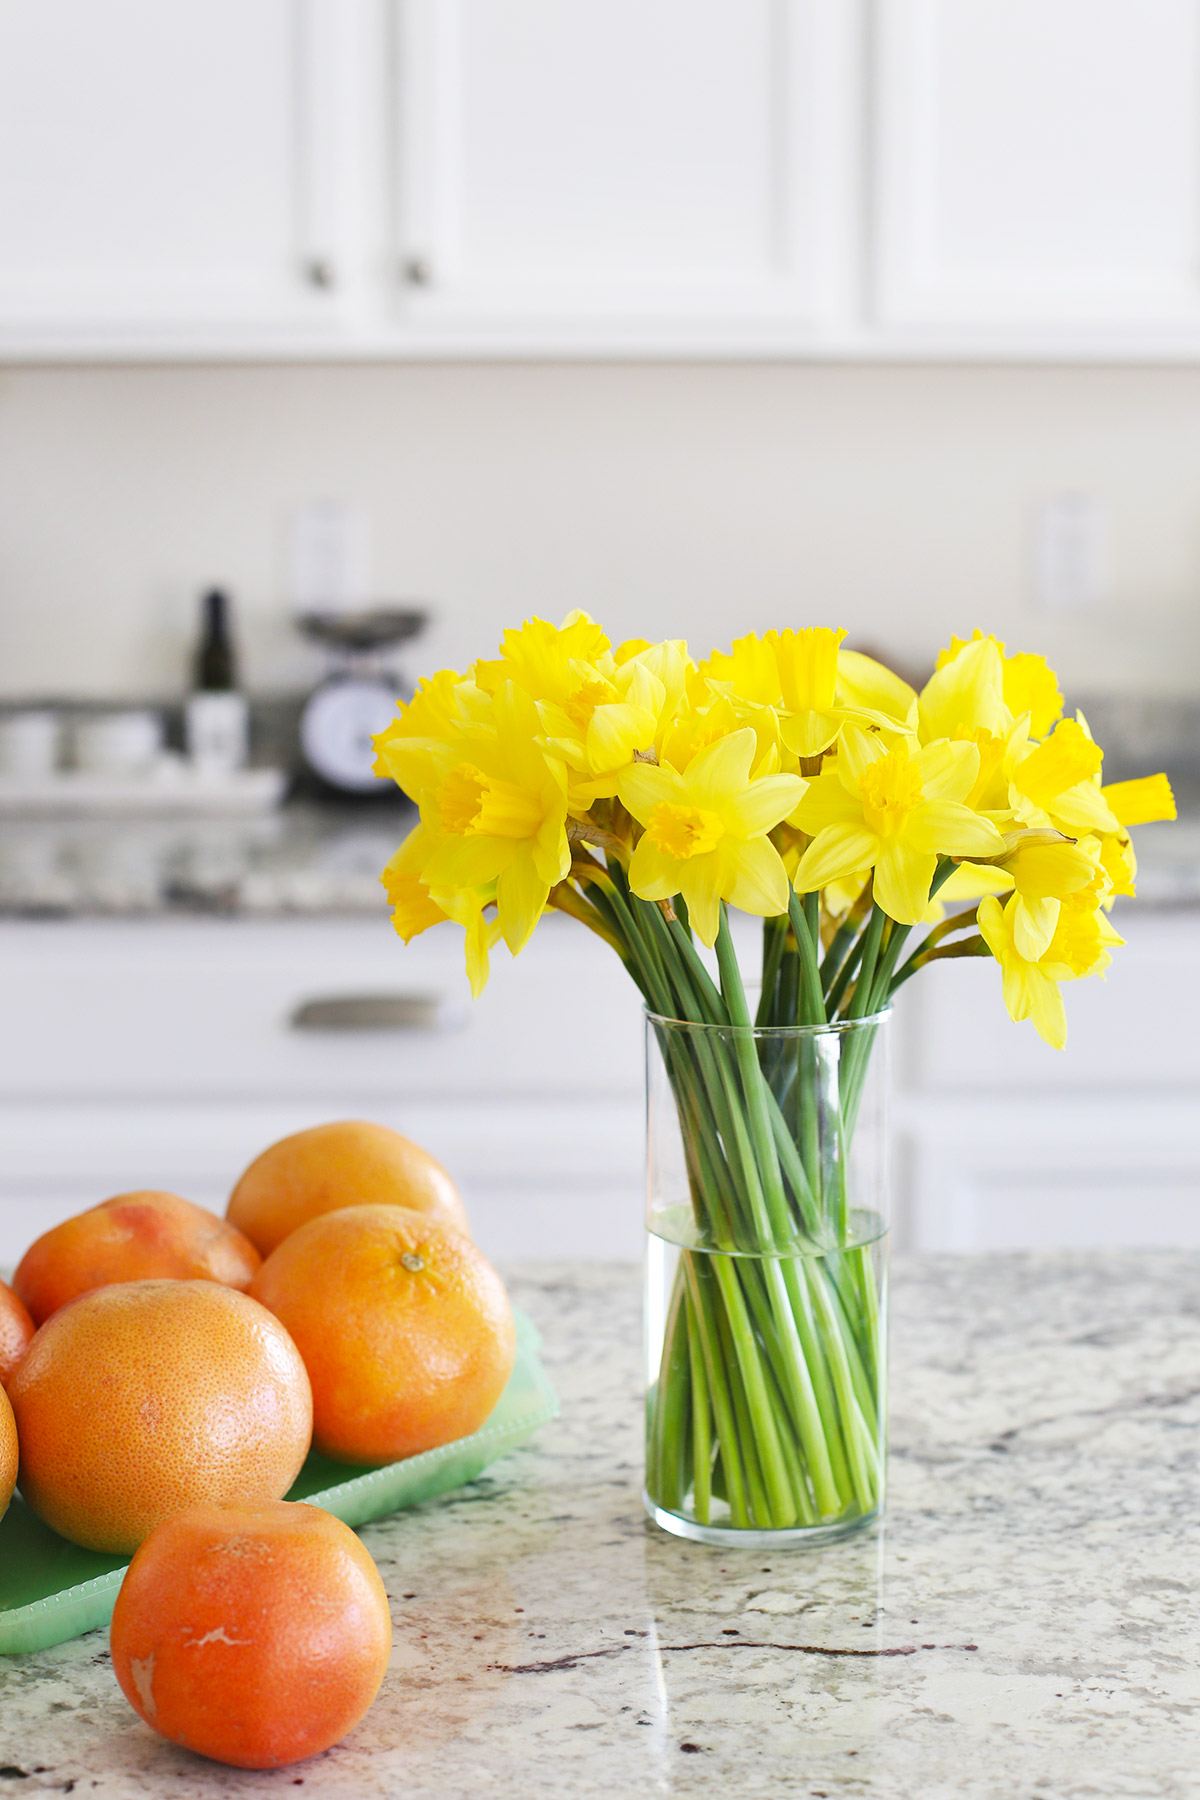
There’s nothing like a sparkling clean kitchen, amiright? It feels so much more inviting than a messy one to me.
Honestly, my kitchen was WAY past due for a good deep cleaning, so after tackling my own kitchen, l thought I’d walk you through my kitchen cleaning process so you can deep clean your kitchen too.
The BEST news is, I’ve broken it down into sections, so you can tackle the whole kitchen at once, or just tackle one section at a time–whichever works best for you.
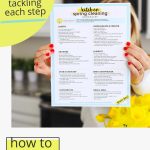
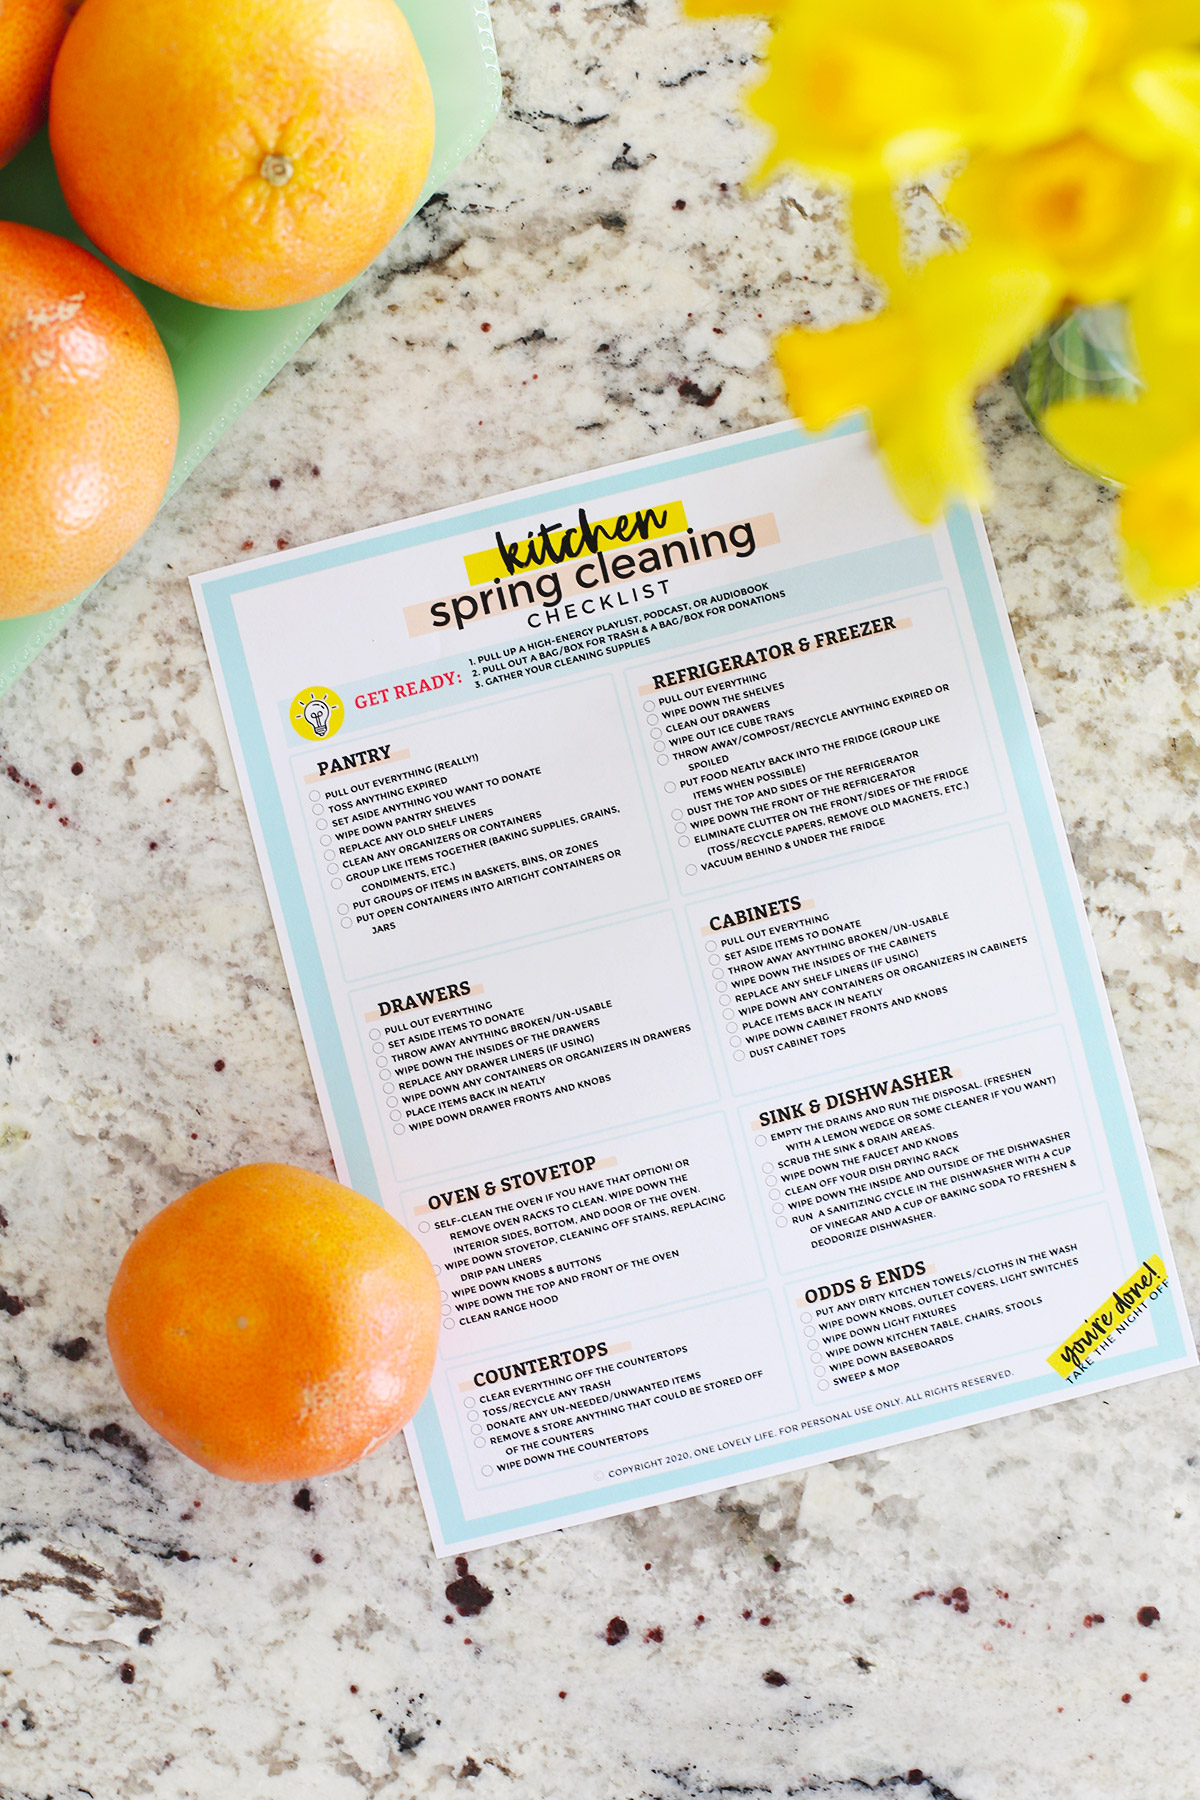
Plus, I’ve got a free printable kitchen cleaning checklist to make it even easier. Let’s get started, shall we?
Get Ready To Deep Clean The Kitchen
For a good kitchen deep clean, I recommend gathering a few things before you get started…
- PULL UP A HIGH-ENERGY PLAYLIST, PODCAST, OR AUDIOBOOK. It’s way more fun to clean if you have something good to listen to (or someone to talk to!)
- PULL OUT A BAG/BOX FOR TRASH & A BAG/BOX FOR DONATIONS. This will simplify your cleaning process. You can easily get things ready to donate, toss, or recycle as you go!0
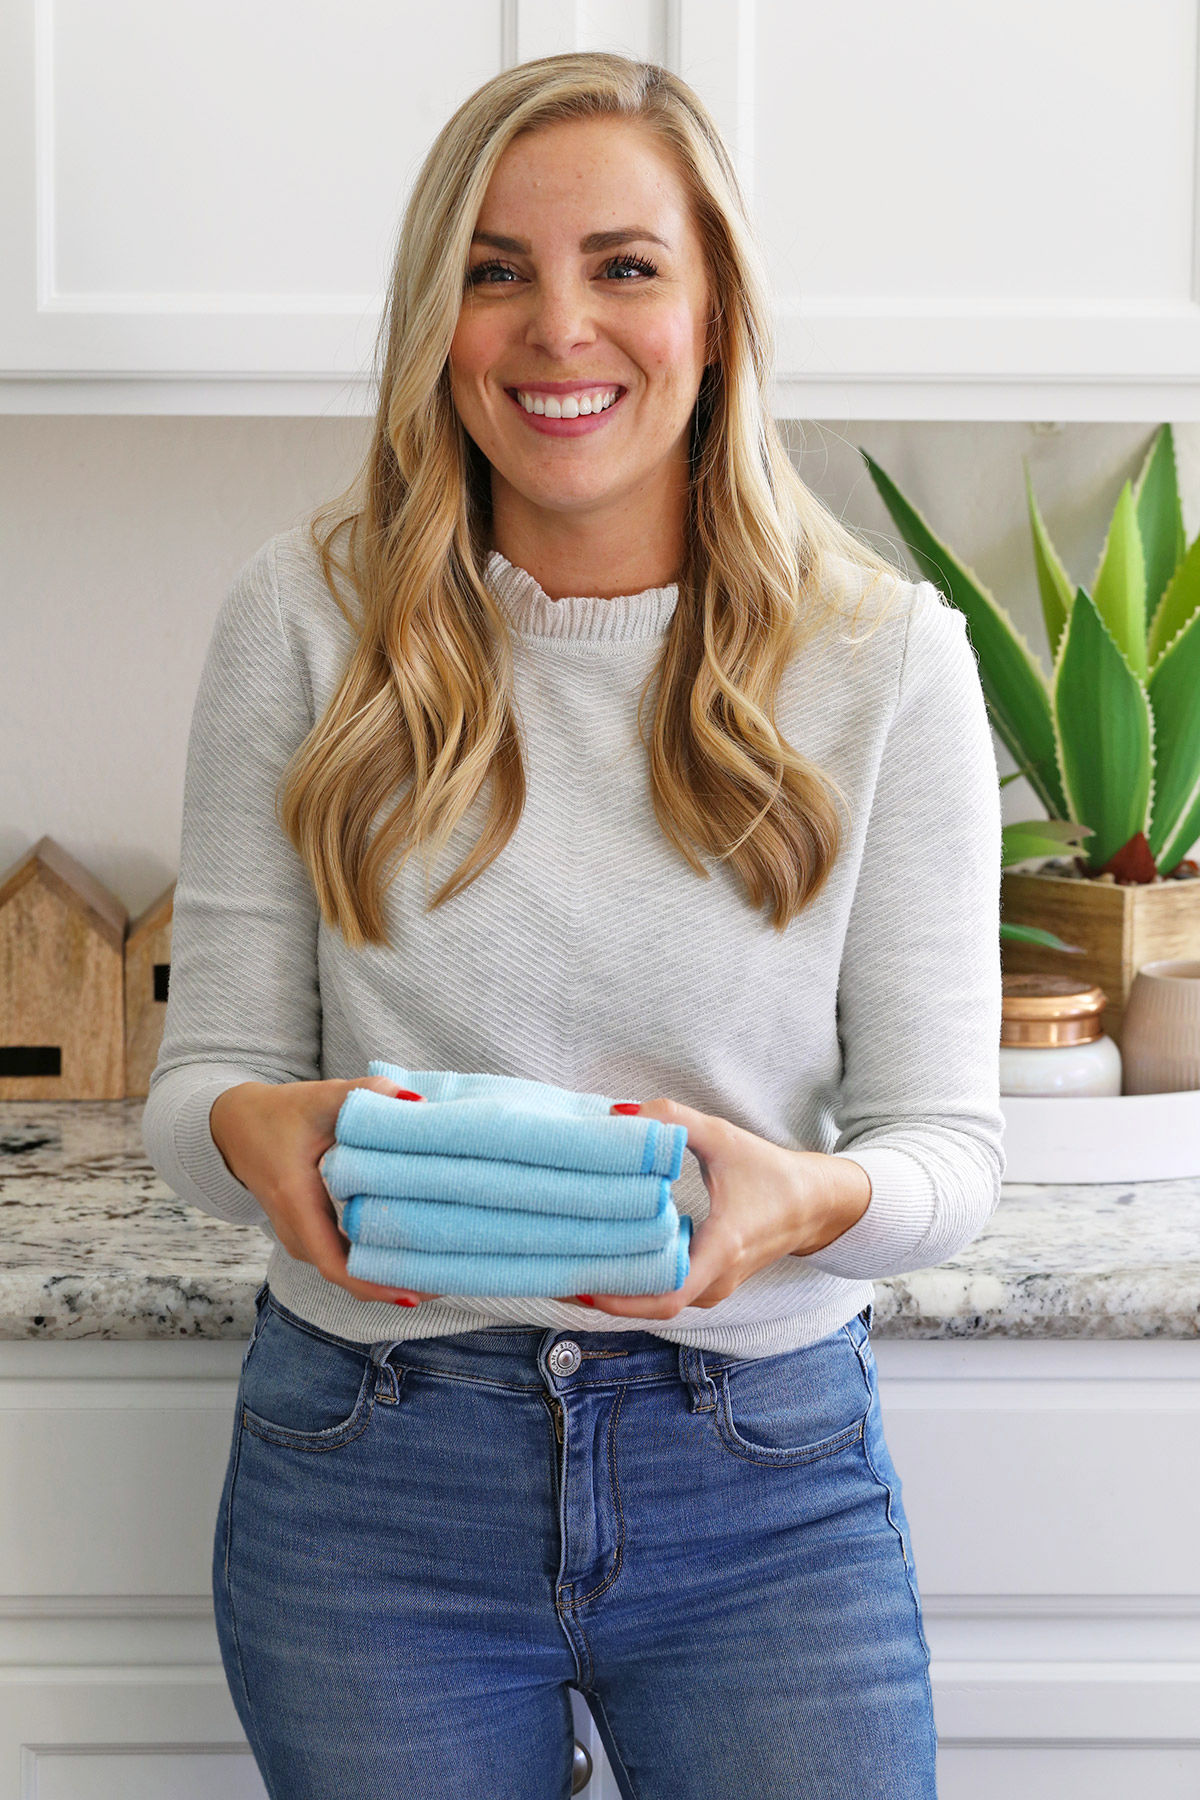
- GATHER YOUR CLEANING SUPPLIES. I love microfiber cleaning cloths for just about everything. They wash well and save paper towels!
- OPTIONAL: PRINT OUT MY FREE KITCHEN CLEANING CHECKLIST. My kitchen cleaning checklist makes it easy to go step-by-step so you can do as much or as little as you have time for without forgetting anything!
Deep Clean Your Pantry
First up, is the pantry. Whether you’ve got one cupboard or a whole walk-in pantry (or two!), the pantry can be a good place to start (since at least at my house it gets messy fast!).
- PULL OUT EVERYTHING (REALLY!). This will make it easy to see what you have and to reorganize with fresh eyes. If you just keep everything where it is, you may not find or clean everything.
- TOSS ANYTHING EXPIRED. Such a bummer, but if you’ve got anything expired, you’ll want to toss it.
- SET ASIDE ANYTHING YOU WANT TO DONATE. Or, if you have things that are still good, but your family doesn’t want to eat, you can set it aside to donate later.
- WIPE DOWN PANTRY SHELVES. While everything is out, you can give the pantry shelves a good scrub.
- REPLACE ANY OLD SHELF LINERS. I like these plastic ones because I can wash them and reuse them (mine have lasted through our last 3 houses!). They also protect the shelves from scratches, stains, and scuffs.
- CLEAN ANY ORGANIZERS OR CONTAINERS. If you’ve got baskets full of crumbs or bins that have smudges, now’s a good time to tackle them.
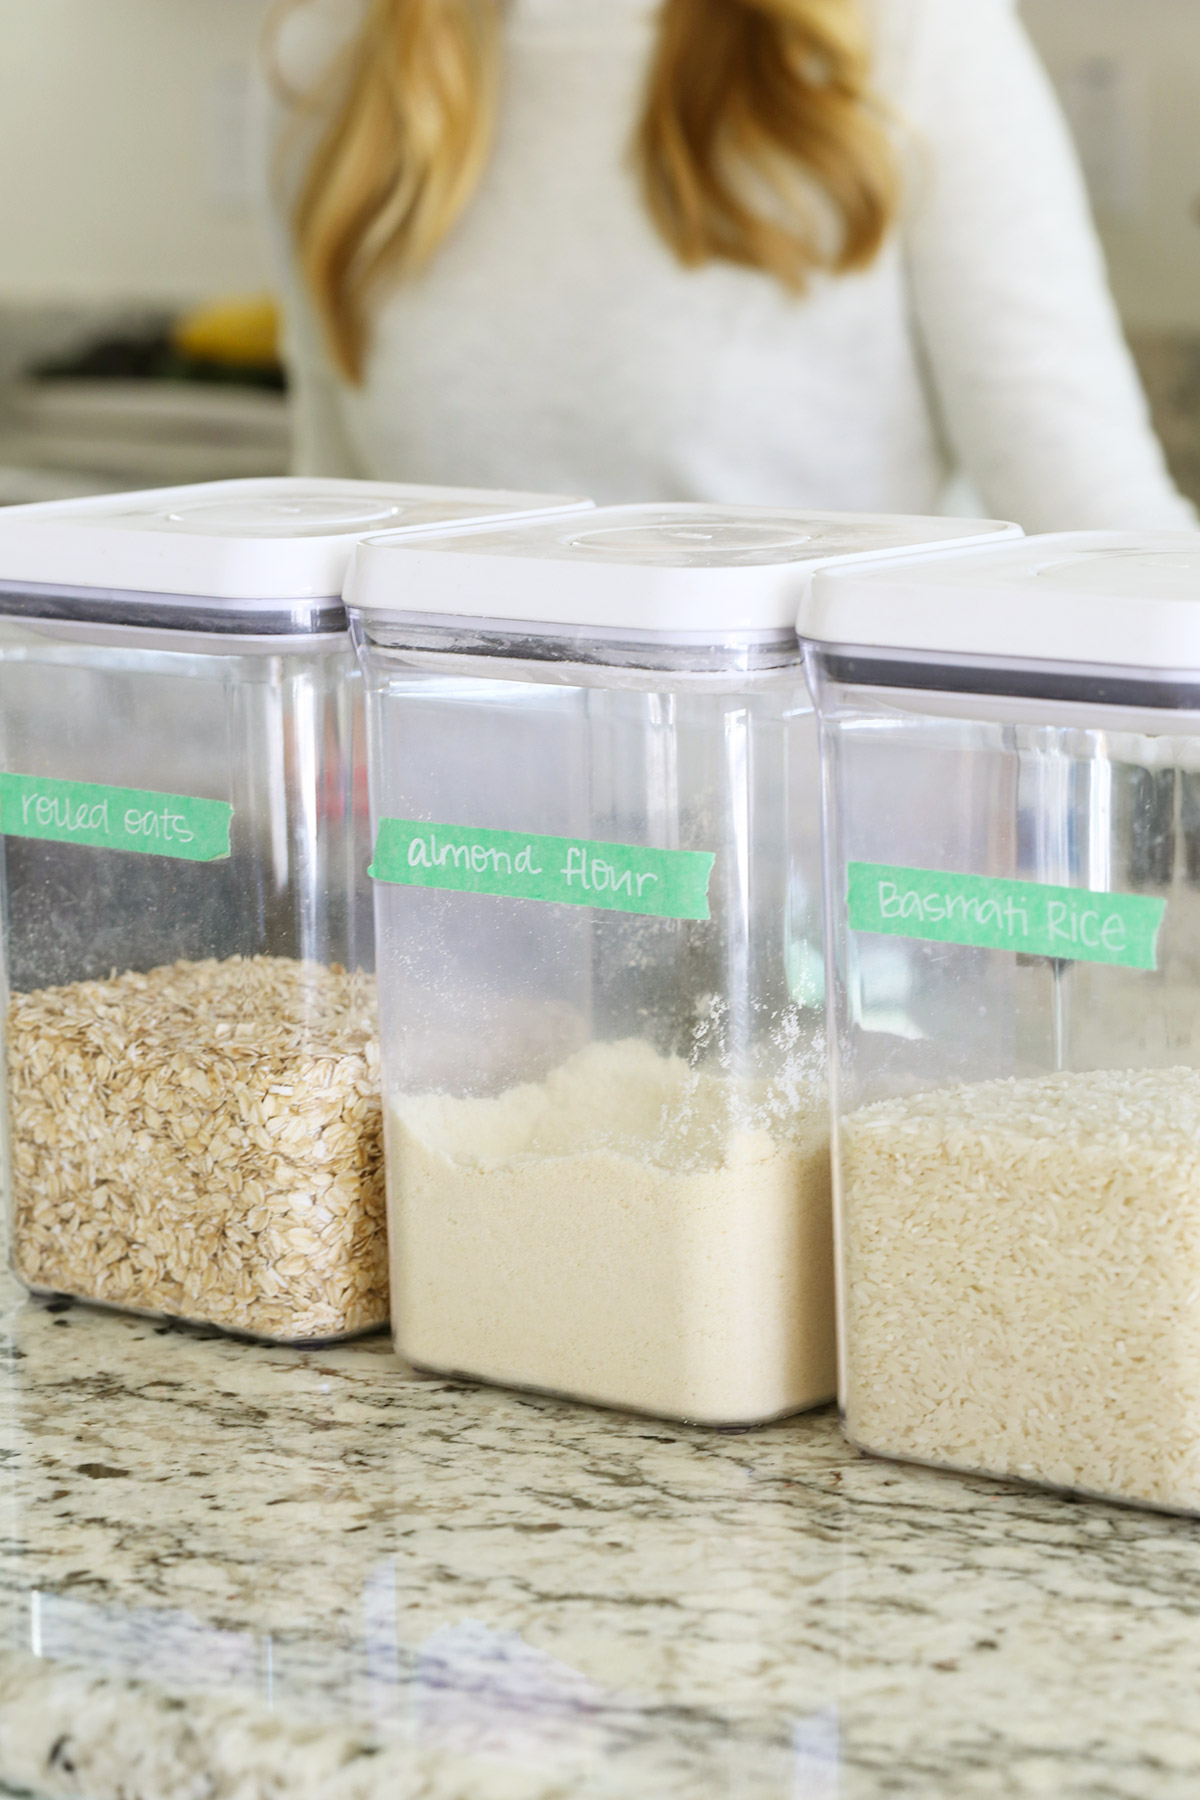
- GROUP LIKE ITEMS TOGETHER (BAKING SUPPLIES, GRAINS, CONDIMENTS, ETC.). When you put everything back, I recommend grouping like items together in baskets (or loose, if you prefer) to make things easy to find and store. Put school lunch/snack things together, baking supplies together, pasta & rice together, etc.
- PUT GROUPS OF ITEMS IN ZONES. Once you’ve grouped like items, you can put them back on the shelves in zones that make sense. (Put frequently used items in easier to reach spots!)
- PUT OPEN CONTAINERS INTO AIRTIGHT CONTAINERS OR JARS. If you have any open containers, the items will actually stay fresher in airtight containers or glass jars. I’ve built up my collection of bins like this and this over time. (TJ Maxx, HomeGoods, and Ross often have them at a discount!) I also love good old-fashioned glass jars for things like dried beans, chia seeds, baking soda, etc.
Deep Clean Your Refrigerator + Freezer
- PULL OUT EVERYTHING. Again, this will give you the best look at what you have on hand and make it easier to clean.
- WIPE DOWN THE SHELVES. I love microfiber cloths for getting streak-free glass shelves and picking up little crumbs in the fridge & freezer.
- CLEAN OUT DRAWERS. After cleaning the drawers, I usually line my produce bins with a clean kitchen cloth or paper towel to absorb any moisture and help catch spills if something goes bad.
- WIPE OUT ICE CUBE TRAYS. When was the last time those got cleaned? (Mine: 😬)
- THROW AWAY/COMPOST/RECYCLE ANYTHING EXPIRED OR SPOILED. If it’s expired or spoiled, it’s time for it to go.
- PUT FOOD NEATLY BACK INTO THE FRIDGE (GROUP LIKE ITEMS WHEN POSSIBLE). Again, grouping like items makes it easy to find things. You can use bins like this if you like, but I usually just group like items.
- DUST THE TOP AND SIDES OF THE REFRIGERATOR. I sometimes use a vacuum first to get the biggest dust bunnies, then I follow up with a duster or microfiber cloth.
- WIPE DOWN THE FRONT OF THE REFRIGERATOR. Again, a microfiber cloth will help you get a streak-free shine on stainless appliances.
- ELIMINATE CLUTTER ON THE FRONT/SIDES OF THE FRIDGE (TOSS/RECYCLE PAPERS, REMOVE OLD MAGNETS, ETC.) It always feels to good to clean off the papers and extras that accumulate!
- VACUUM BEHIND & UNDER THE FRIDGE. If you can, use a vacuum to clean the coils, back grate, and floor behind/under the fridge the best you can. If helps if you can pull the fridge out a bit first.
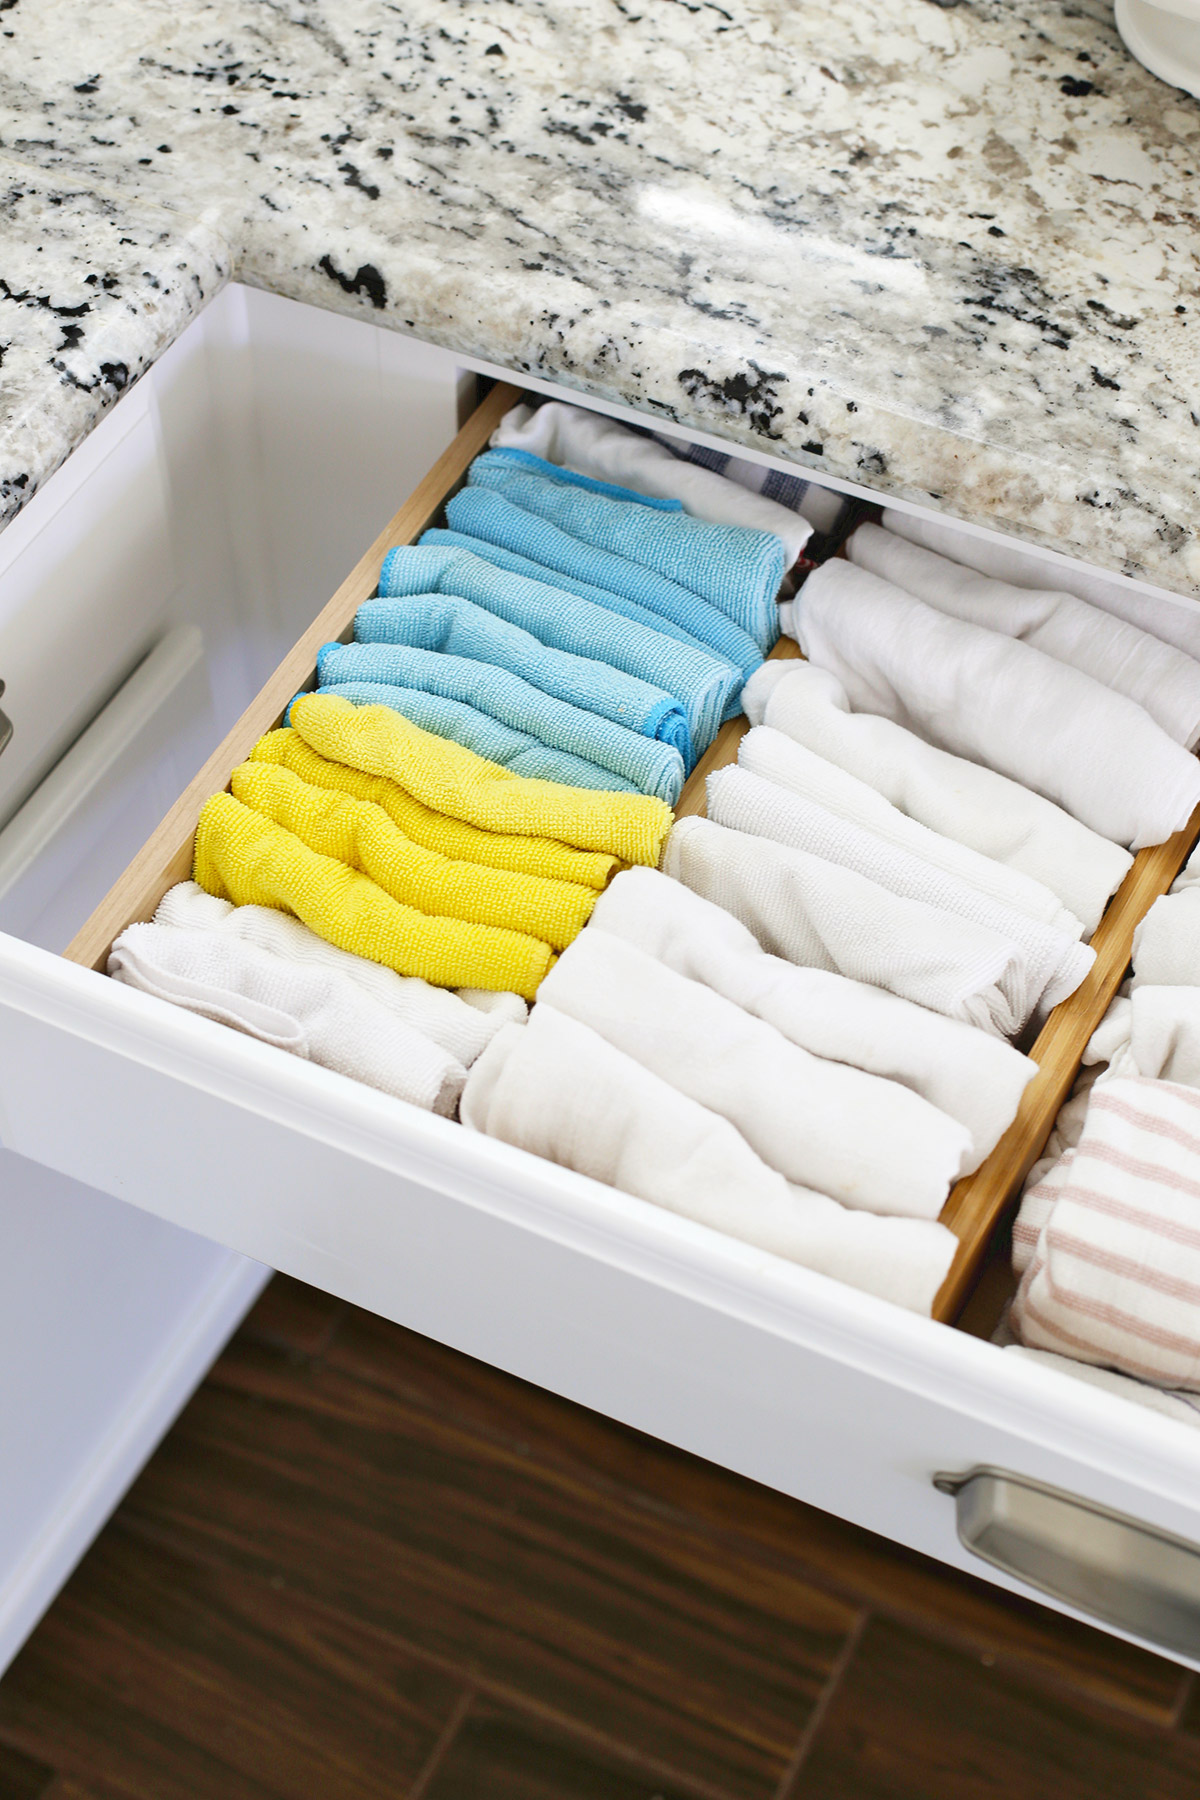
Deep Clean + Organize Your Kitchen Drawers
- PULL OUT EVERYTHING. (Anyone else sensing a first step theme?)
- SET ASIDE ITEMS TO DONATE. Have spare spatulas or a spoon you never use? Donate them!
- THROW AWAY ANYTHING BROKEN/UN-USABLE. If it’s not in good enough shape to donate, and you’re not using it, it’s probably time to toss it.
- WIPE DOWN THE INSIDES OF THE DRAWERS. A damp microfiber cloth makes that a cinch.
- REPLACE ANY DRAWER LINERS (IF USING). I like the same liners I use for my cabinets and pantry. They help things like cutlery organizers not slip around so much, and I can wipe them off if there are ever crumbs or spills.
- WIPE DOWN ANY CONTAINERS OR ORGANIZERS IN DRAWERS. (Why is my silverware tray always full of crumbs!?)
- PLACE ITEMS BACK IN NEATLY. Group like items together (could you put all your baking tools together? Get an organizer for your kitchen utensils? Use a drawer divider to separate bins or organizer kitchen towels?)
- WIPE DOWN DRAWER FRONTS AND KNOBS. I’m a terrible broken record, but microfiber cloths are great for this job. They can wipe of crumbs, dust, grease, splatters, and smudges!
Deep Clean + Organize Your Kitchen Cabinets
- PULL OUT EVERYTHING. You’ll have a fresh, clean start when you’re done!
- SET ASIDE ITEMS TO DONATE. Is there a pan or container for leftovers you never use? Do you have two or three of something you don’t need?
- THROW AWAY ANYTHING BROKEN/UN-USABLE. Scratched nonstick cookware can actually be dangerous, so it’s a good idea to toss it if it’s ruined. Or if you have a bunch of extra Tupperware lids that don’t match any of your containers…toss ’em!
- WIPE DOWN THE INSIDES OF THE CABINETS. Get all the crumbs and dust outta there!
- REPLACE ANY SHELF LINERS (IF USING). I like these for protecting both the cupboard and my pots from getting scratched.
- WIPE DOWN ANY CONTAINERS OR ORGANIZERS IN CABINETS.
- PLACE ITEMS BACK IN NEATLY. I LOVE this pan organizer for my pans and this lid organizer for wrangling my pan lids. It’s SO MUCH BETTER than creating a giant pots and pans avalanche every time I cook! I also like using simple white baskets in the cupboard for wrangling food storage lids and any other smaller items. (Or food items, if your cabinets are your pantry! Been there.)
- WIPE DOWN CABINET FRONTS AND KNOBS. Clean, fresh cabinets look so nice!
- DUST CABINET TOPS. If you can, give the tops of your upper cabinets (or open shelving), a good dusting!
Deep Clean Your Oven + Stove
- SELF-CLEAN THE OVEN IF YOU HAVE THAT OPTION. But don’t run it if your oven is old as there can be some risk.
- IF NOT, HERE’S HOW I MANUALLY CLEAN MY OVEN. First, I remove the oven racks so I have a nice, big space to work. Then, I follow this tutorial from Martha Stewart, who knows everything. All you need is baking soda & vinegar! For stubborn stains on the inside of the door, I use the kit I’ll talk about in the next bullet…
- CLEAN THE OVEN DOOR. For my oven door, I love this tutorial from Table for Two. It’s awesome!
- WIPE DOWN STOVETOP, CLEANING OFF STAINS, REPLACING DRIP PAN LINERS. It’s not a natural product, but I SWEAR by this kit for cleaning a flat ceramic cooktop. I’ve also just used the tools with a baking soda paste and had great results. The razor scraper and scubber are AWESOME and have helped me get off ALL kinds of stains. I even use these tools on the inside of my oven door for stubborn stuck-on gunk.
- WIPE DOWN KNOBS & BUTTONS. Is it just me, or do these get weirdly dirty? Give them a good wipe down so they shine!
- WIPE DOWN THE TOP AND FRONT OF THE OVEN. The top ledge of the oven often collects grease and dust–go ahead and give it a wipe! Then, wipe down the front of the oven.
- CLEAN RANGE HOOD. Give the outside of your range hood a little wipe down, too. Also, if it’s been ages since you’ve changed or cleaned a range filter, it might be time.
Deep Clean Your Sink + Dishwasher
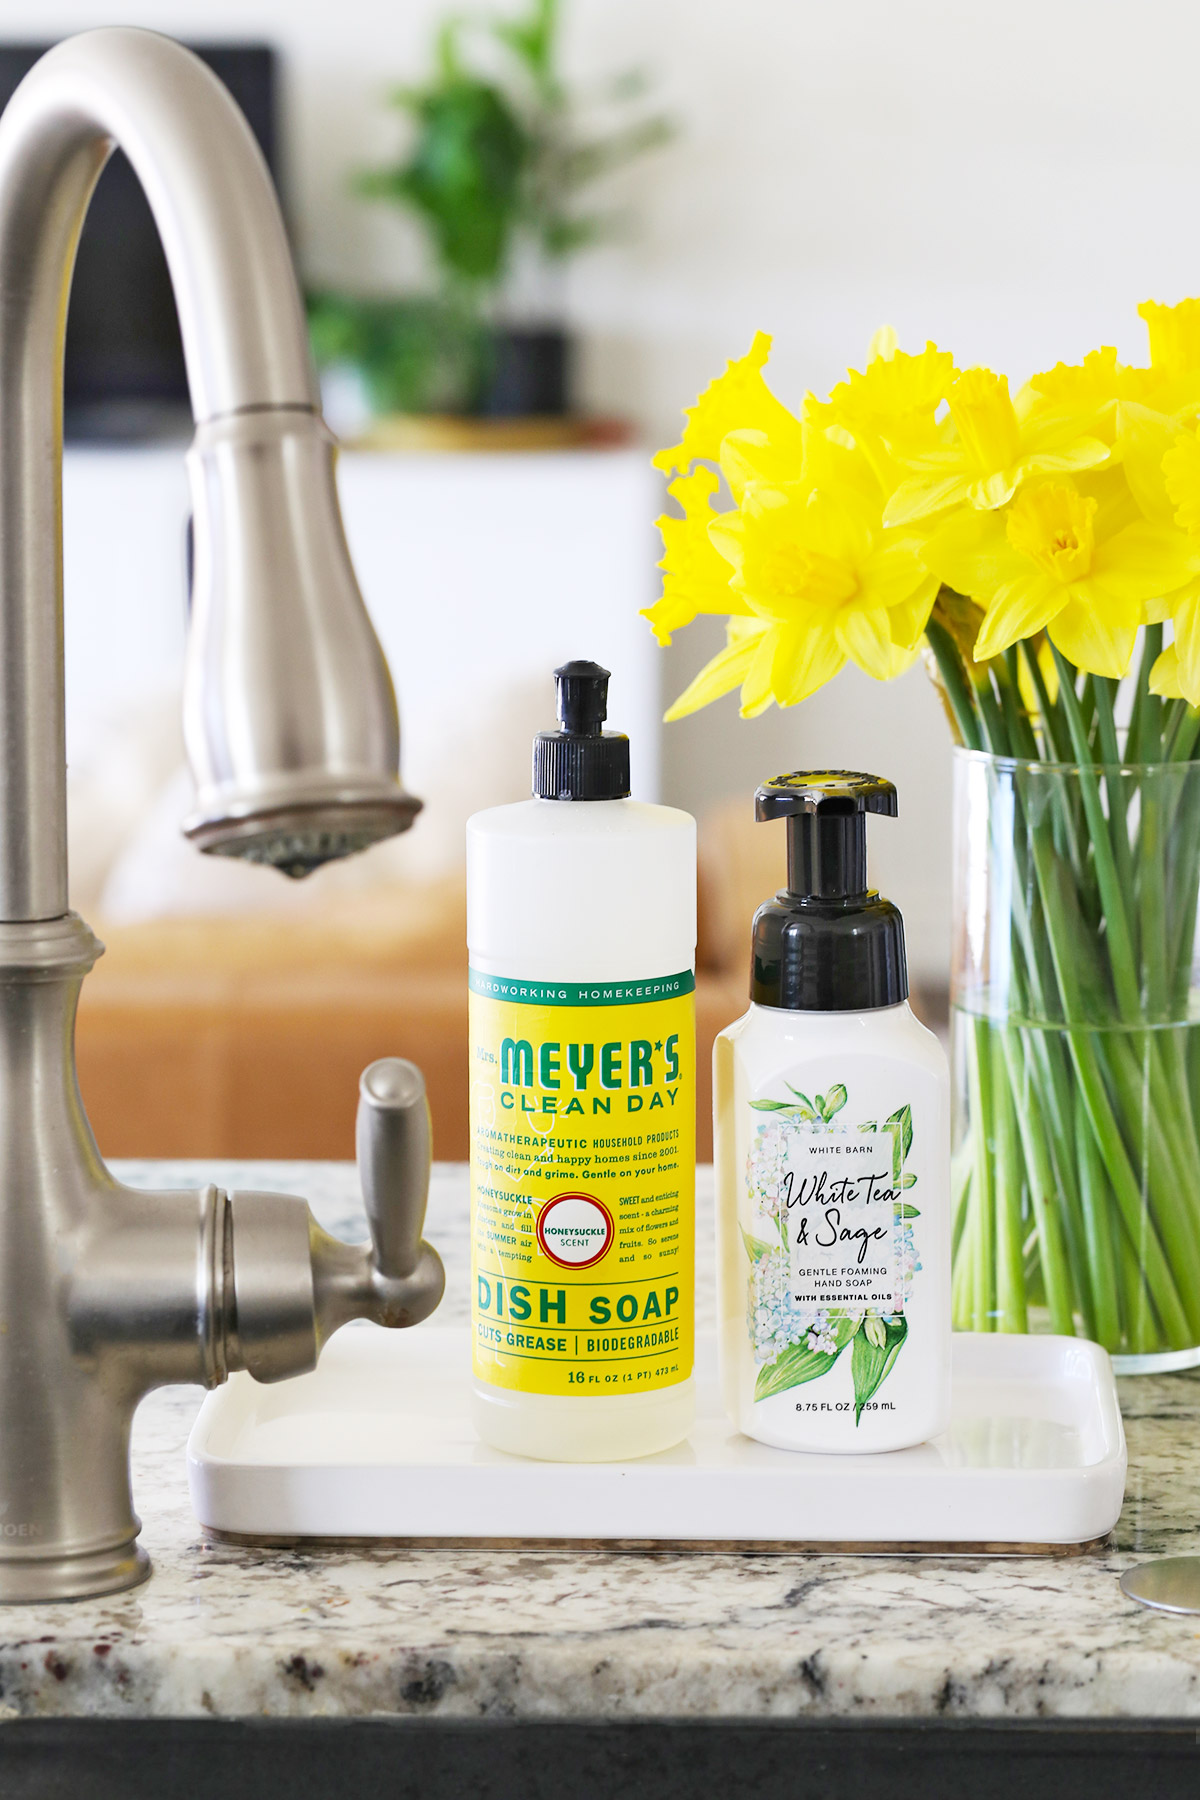
- EMPTY THE DRAINS AND RUN THE DISPOSAL. If it’s been a while, you may consider using some drain cleaner (this one’s natural!) to break up any stuck-on gunk in the pipes or freshen up the disposal by putting a small wedge of citrus peel and running the disposal.
- SCRUB THE SINK & DRAIN AREAS. Baking soda is a great natural abrasive cleaner that won’t scuff up porcelain sinks. I like using baking soda and dish soap with a microfiber cloth, then scrubbing like crazy and rinsing. After rinsing and wiping it down, you can decide if you want to wipe it down with a disinfectant cleaner. Note: DON’T use an abrasive sponge or steel wool on metal or coated sinks as it can scuff and scratch.
- WIPE DOWN THE FAUCET AND KNOBS. A clean cloth will work wonders!
- CLEAN OFF YOUR DISH DRYING RACK. I hardly ever remember to clean my dish drying rack… now’s the time!
- WIPE DOWN THE INSIDE AND OUTSIDE OF THE DISHWASHER. I use this method most of the time for a deep clean. It’s amazing what a difference it makes to give it a good scrub!
- RUN A CYCLE IN THE DISHWASHER WITH A CUP OF VINEGAR TO FRESHEN & DEODORIZE DISHWASHER. Place a large cup or a cereal bowl upright on the top or bottom rack of your dishwasher and fill with a cup or two of white vinegar. Then, run the dishwasher without detergent. The vinegar can help break up build-up, neutralize odors, and clean stains. (You can also run a cycle with a dishwasher/de-scaling pod to break up any hard water residue. This is the one we’ve tried. This is a more natural option that gets great reviews. We have CRAZY hard water, so I have to do these every few months.)

Clean The Countertops
- CLEAR EVERYTHING OFF THE COUNTERTOPS. You’re on the last step! Clearing the clutter will help you really decide what you want to keep on the countertop rather than just cleaning around everything. Plus, you can *really* wipe everything down when the counters are empty!
- TOSS/RECYCLE ANY TRASH. Any random papers? Bits of trash? Spoiled fruit? Have a broken appliance you’ve been meaning to fix or replace? Let’s take care of that.
- DONATE ANY UN-NEEDED/UNWANTED ITEMS. Is there anything you don’t *love* that’s just been sitting on the counter forever? Time to donate it, or…
- REMOVE & STORE ANYTHING THAT COULD BE STORED OFF OF THE COUNTERS. Visually, rooms feel bigger and cleaner when there’s less visual clutter. Getting things off the countertop is a great way to make your kitchen feel bigger and cleaner! Try to reserve counter space for things you use *all* the time or bring you a lot of joy to look at.
Tackle The Odds & Ends
- PUT ANY DIRTY KITCHEN TOWELS/CLOTHS IN THE WASH. You’re in the home stretch! Put all those cleaning cloths and any dirty kitchen towels in the wash.
- WIPE DOWN KNOBS, OUTLET COVERS, LIGHT SWITCHES. Wipe down any remaining forgotten spots–any last knobs, doorknobs, outlet covers, light switches, etc.
- WIPE DOWN THE LIGHT FIXTURES. If you’ve got hanging pendant lights or a chandelier in your kitchen/dining area, now’s a great time to give it a good cleaning. Turn off the light and let it cool down, then dust it and wipe it down the best you can.
- WIPE DOWN KITCHEN TABLE, CHAIRS, STOOLS. Especially if you’ve got kids, chairs, tables, and stools all tend to get grimy or crumb-y with time. Give everything a quick once-over and it’ll be looking fresh! (This is actually a great job for kids to do since it doesn’t involve a lot of skill or precision.)
- WIPE DOWN BASEBOARDS. If you really want to go for it, grab an old toothbrush or a microfiber cloth and wipe down your baseboards. (I’m sure your mom will notice the next time she visits.😉)
- SWEEP & MOP. Last, but not least, give your kitchen a sweep (or use a hard-floor vacuum, like we do! It’s a game-changer!) and then give it a good mop. We love this mop for our ceramic wood-look tile. It sanitizes and really gets in there to get the job done!
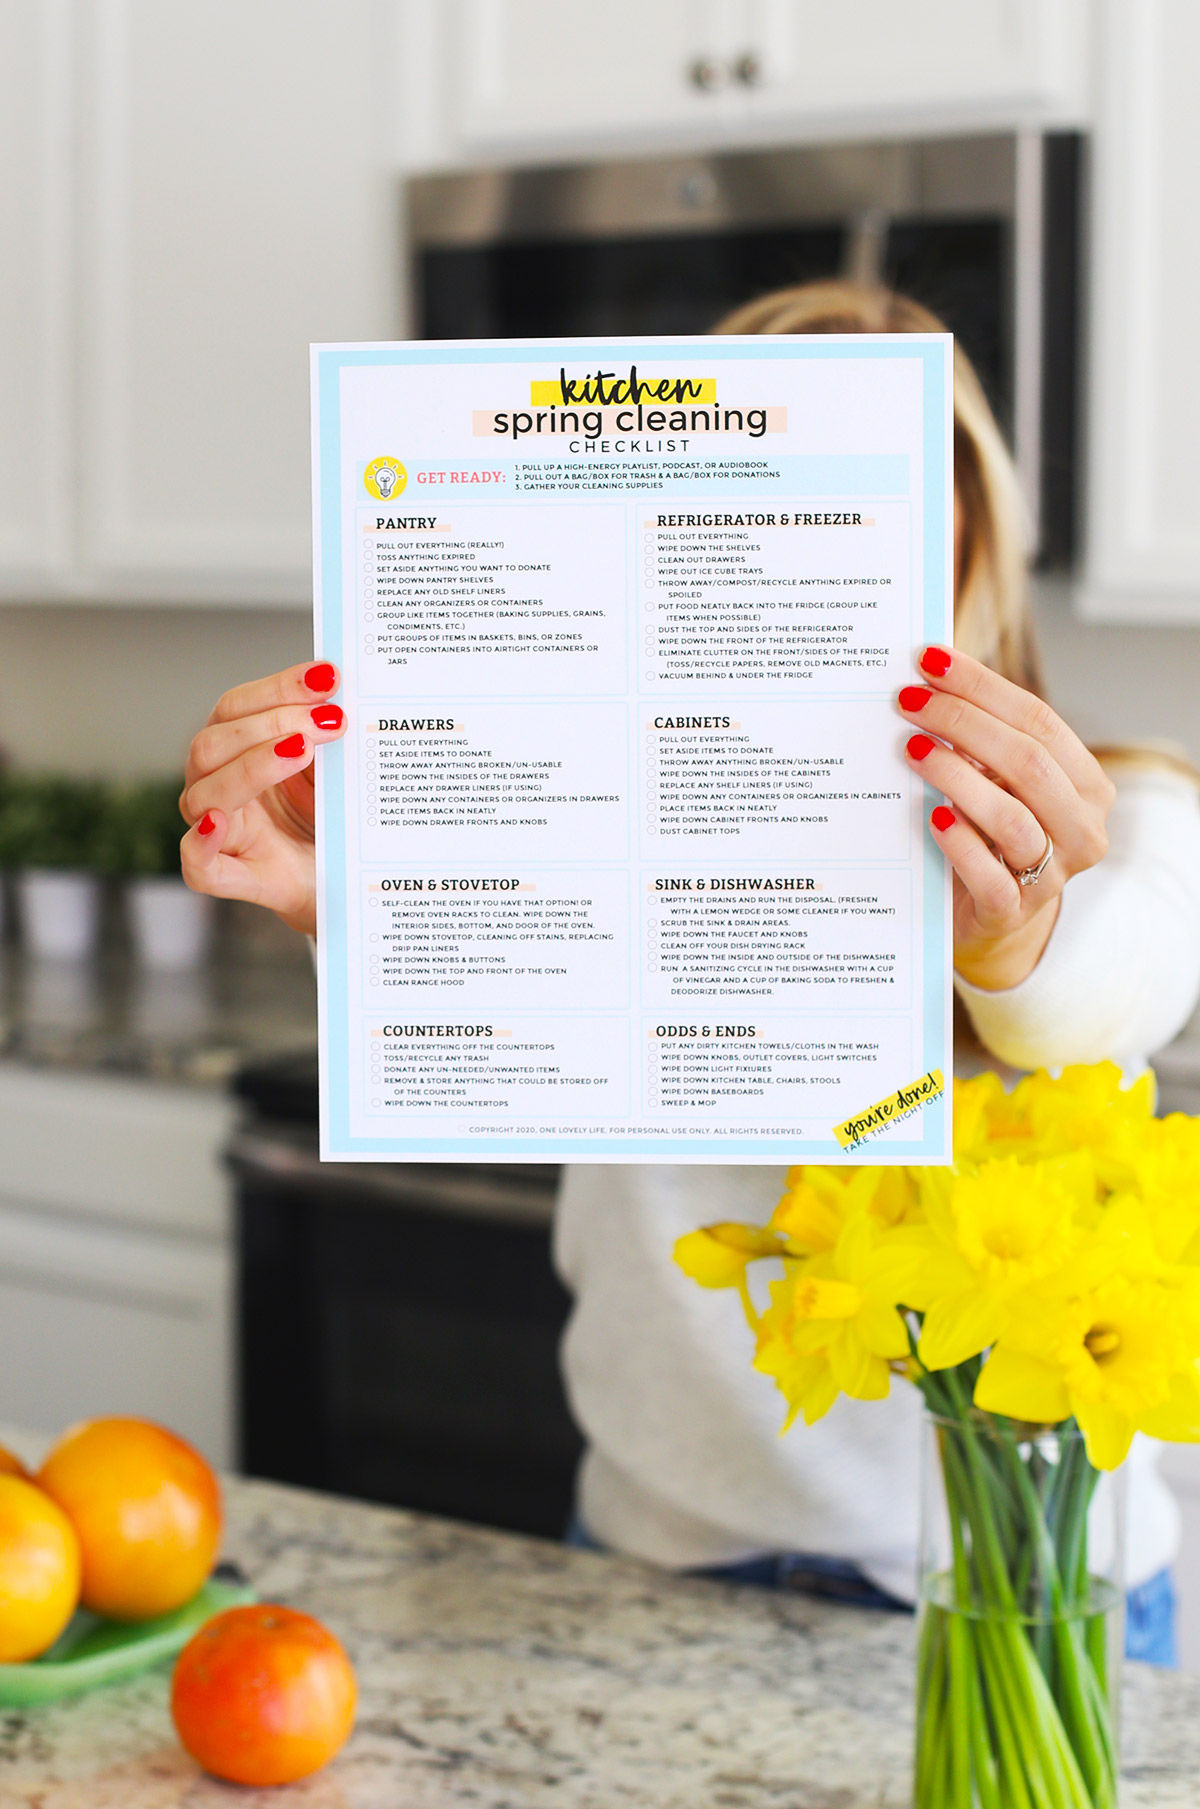
Get A Free Printable Kitchen Cleaning Checklist
You can follow the step-by-step options in the blog post here, but to make things even easier, I’ve made a free printable checklist you can download and print out to simplify the process. You can sign up for my newsletter here and get the free kitchen cleaning checklist sent right to your inbox.

Get Our Kitchen Cleaning Checklist!
SIGN UP BELOW & WE’LL SEND IT RIGHT TO YOUR INBOX!
Originally shared March 2020. Updated March 2023.
Thank you for this! I needed a guide to keep me on track. Just finished a kitchen deep clean and it feels amazing.
YAY! I’m so glad to hear that! There’s nothing like that clean kitchen feeling.
Just writing to thank you for this helpful post. I happened upon it this morning while mentally preparing to deep clean my kitchen. You see, after a long, dry spell, we are hosting a group for Thanksgiving dinner next week, and even though my husband and I keep our kitchen clean and tidy, I have not actually “deep cleaned” it since the holidays before the pandemic (about three years ago – oh gosh). Anyway, I guess it’s time to turn on some music and face the music. Thank goodness I already cleaned the oven yesterday. Once again, thank you so much for the step by step list.
I’m SO glad it’s helpful Cami! Cheering you on! It’s such a big project!
CAN NOT GET THE KITCHEN CLEANING CHECKLIST!! PLS HELP
Kim – Hi! I’d love to help! Did you fill out the form and submit your email address? I’m not seeing this email address listed as a current subscriber. Once you sign up, the checklist goes right to your email 🙂
I was also trying to get on the subscriber list but when I signed up it says account no longer active and not taking new subscribers
Anne – Would you mind trying again? The links look fixed to me! So sorry for the trouble.
Thanks for the printable! Its not spring but fall cleaning is a good a time as any while we prepare for Thanksgiving gatherings, Christmas deco and (Gute Rusch as the Germans say) Slide into the New Year.
Yay! So glad it’s helpful for you Cheryl! 🙂
I totally need to do this! Deep cleaning is not my strong point, so it will be so nice to work through this list this week!
It’s not mine either, so a list like this always helps me stay on track. I hope it’s helpful for you, too! 🙂