
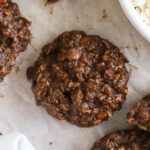
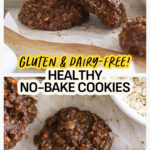
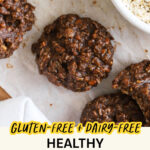
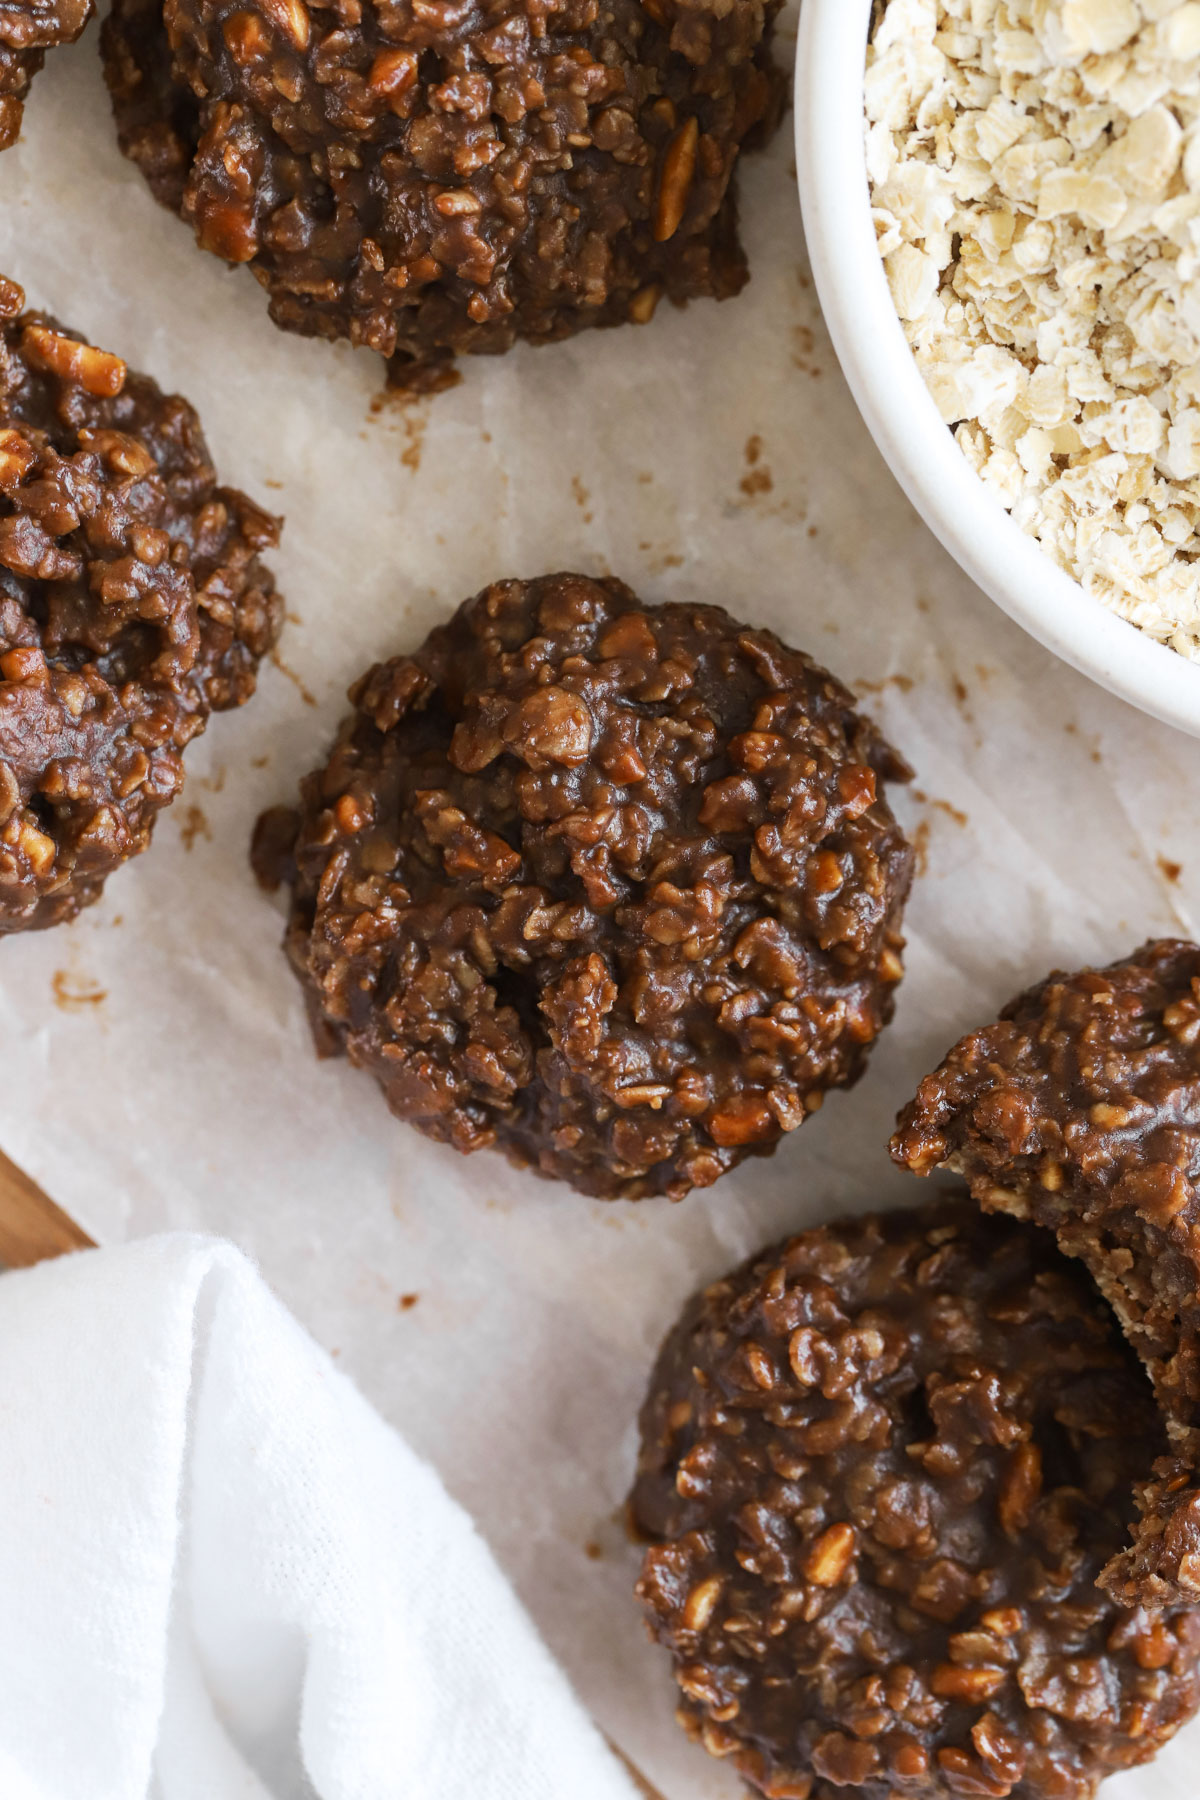
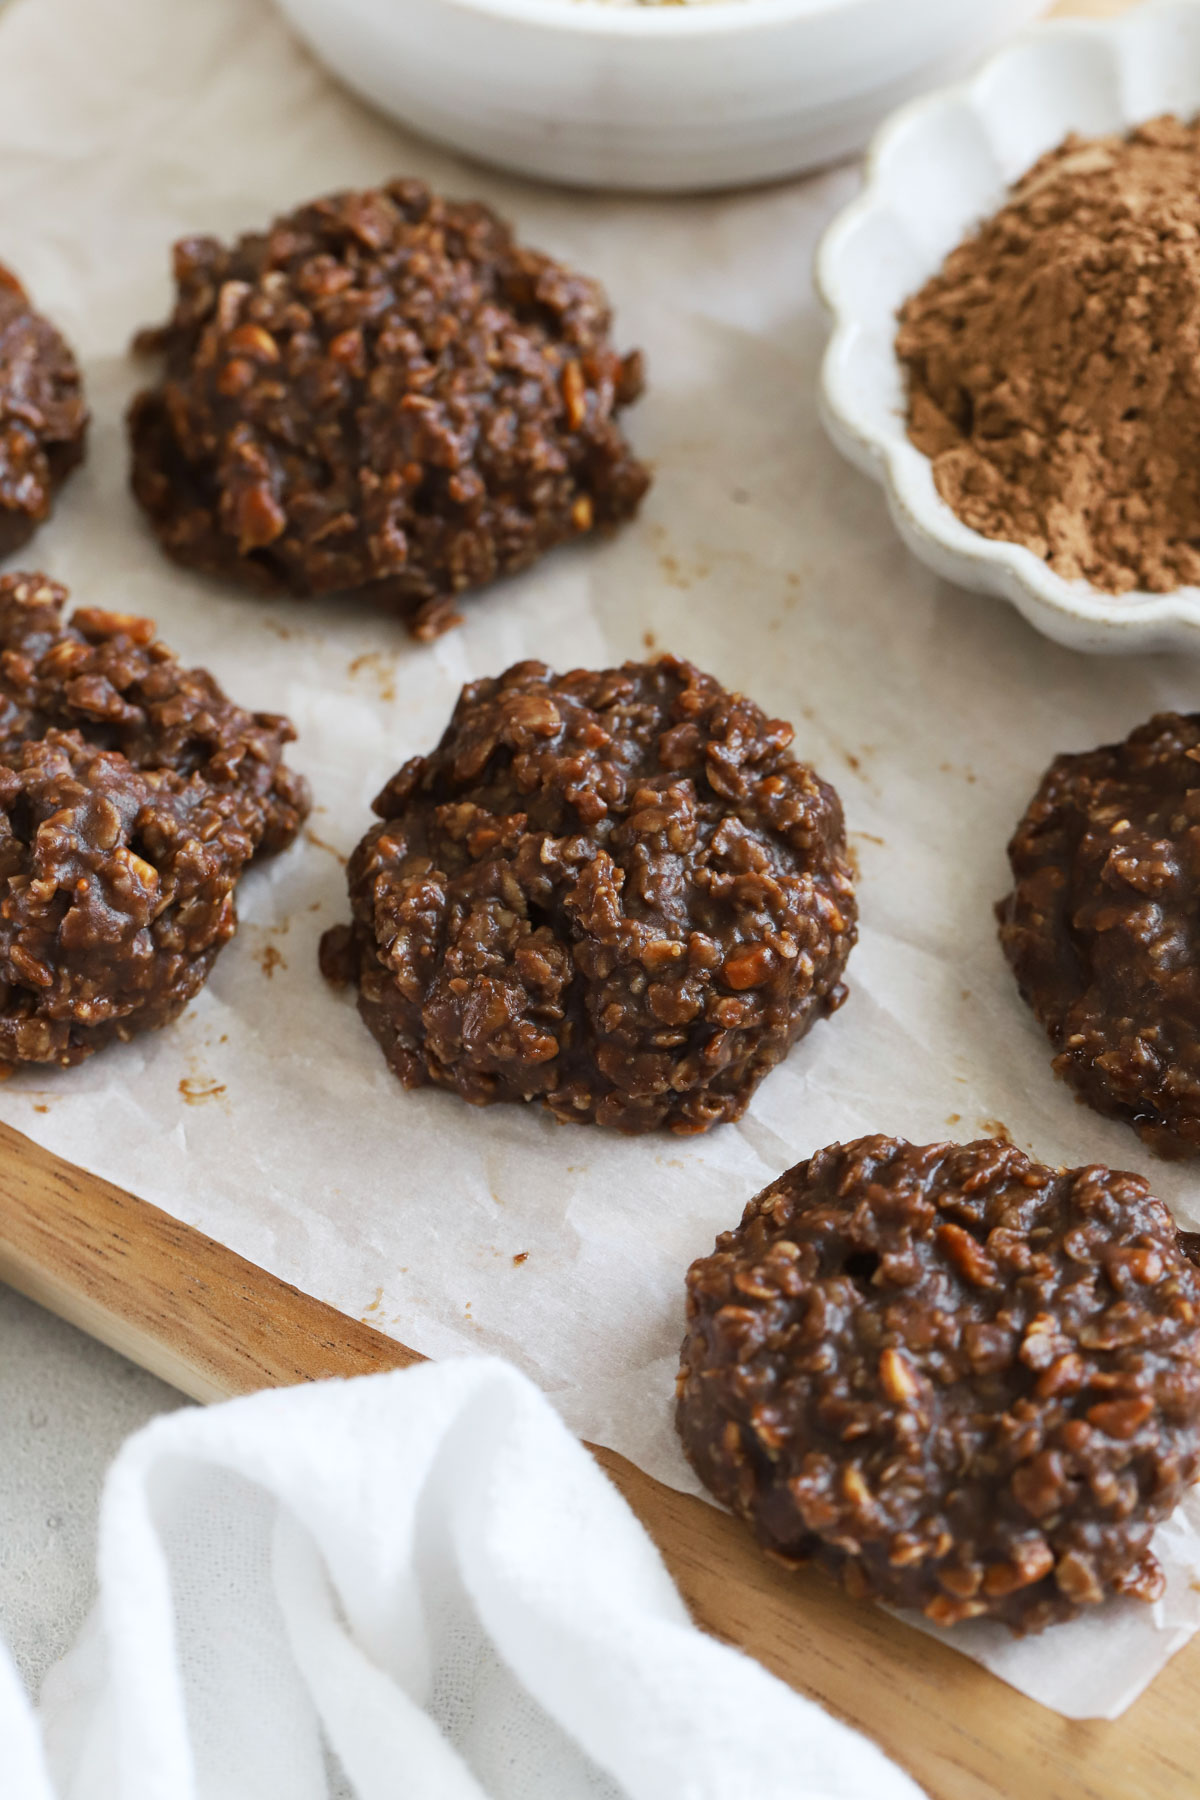
This healthy no-bake cookies recipe has all the classic chocolate peanut butter flavor you love, simply made with healthier ingredients. They’re gluten-free dairy-free AND naturally sweetened, and a great recipe for your next chocolate craving!

This Healthy Cookie Checks All The Boxes!
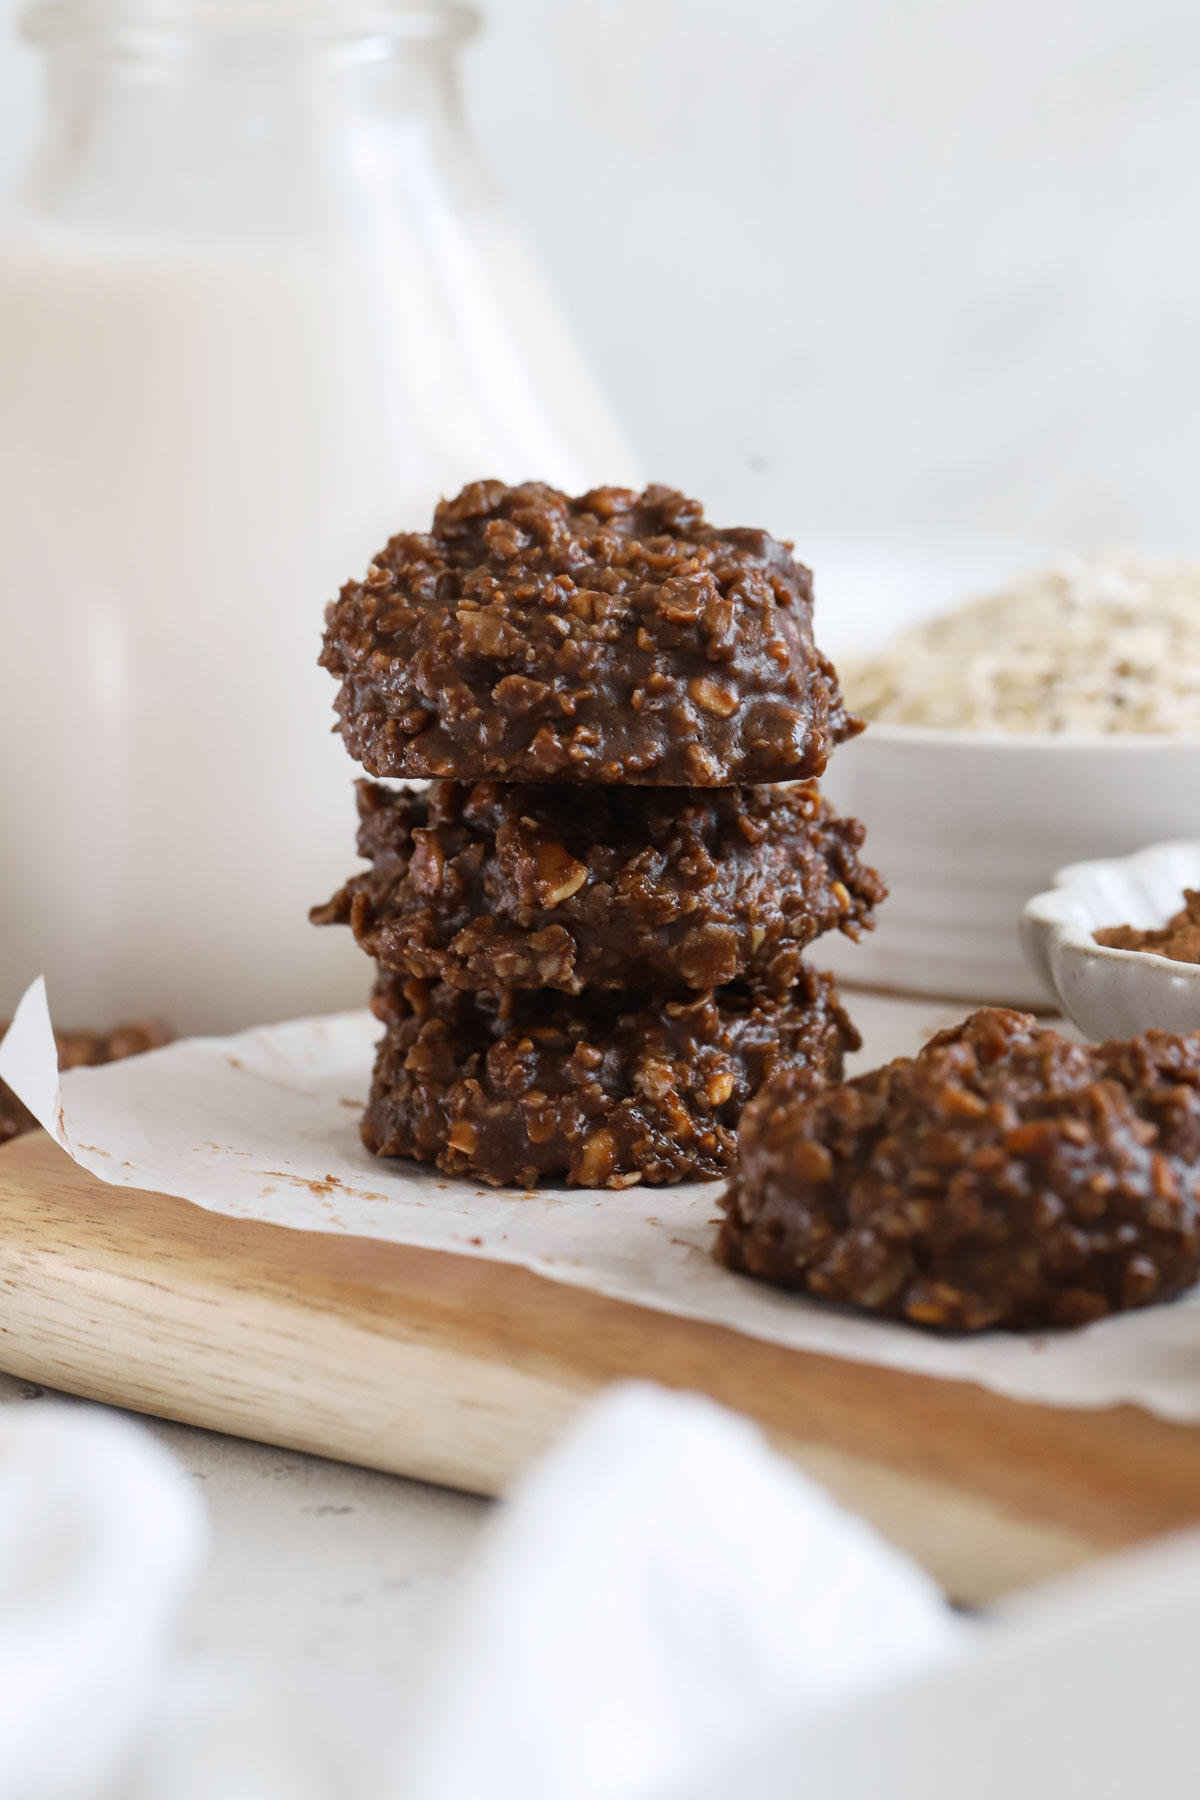
If you grew up eating classic no-bake cookies, you’ll get the hype. These no-bake cookies might be made with more nourishing ingredients, but they’ll still hit that nostalgic craving. There’s so much to love!
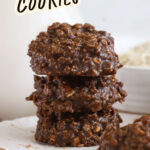
They’re as nostalgic as they are delicious. Even if they’re not the cutest cookie on the block–ha! I hope you love them as much as I do!
Happy baking! xo, Emily
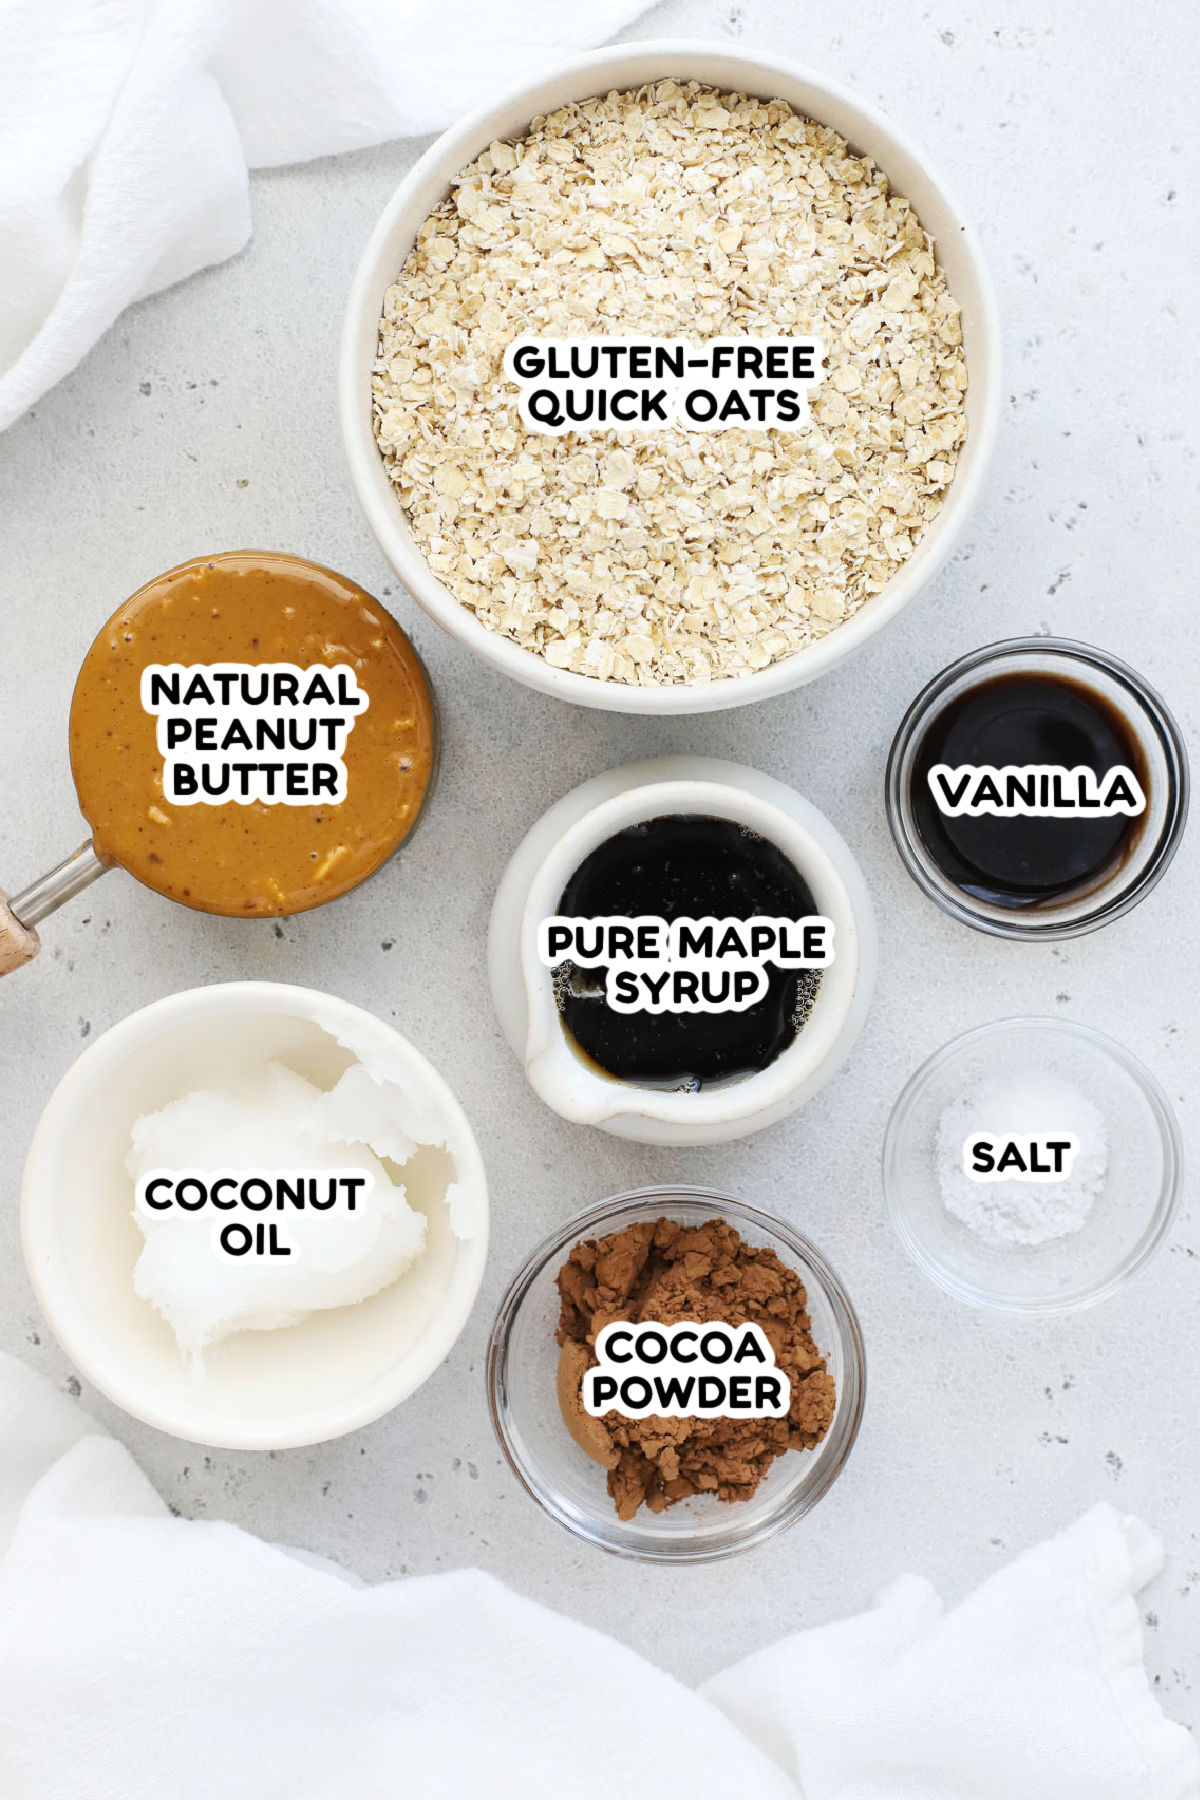
Gather Your Ingredients
Here’s how we make this childhood favorite a bit healthier:
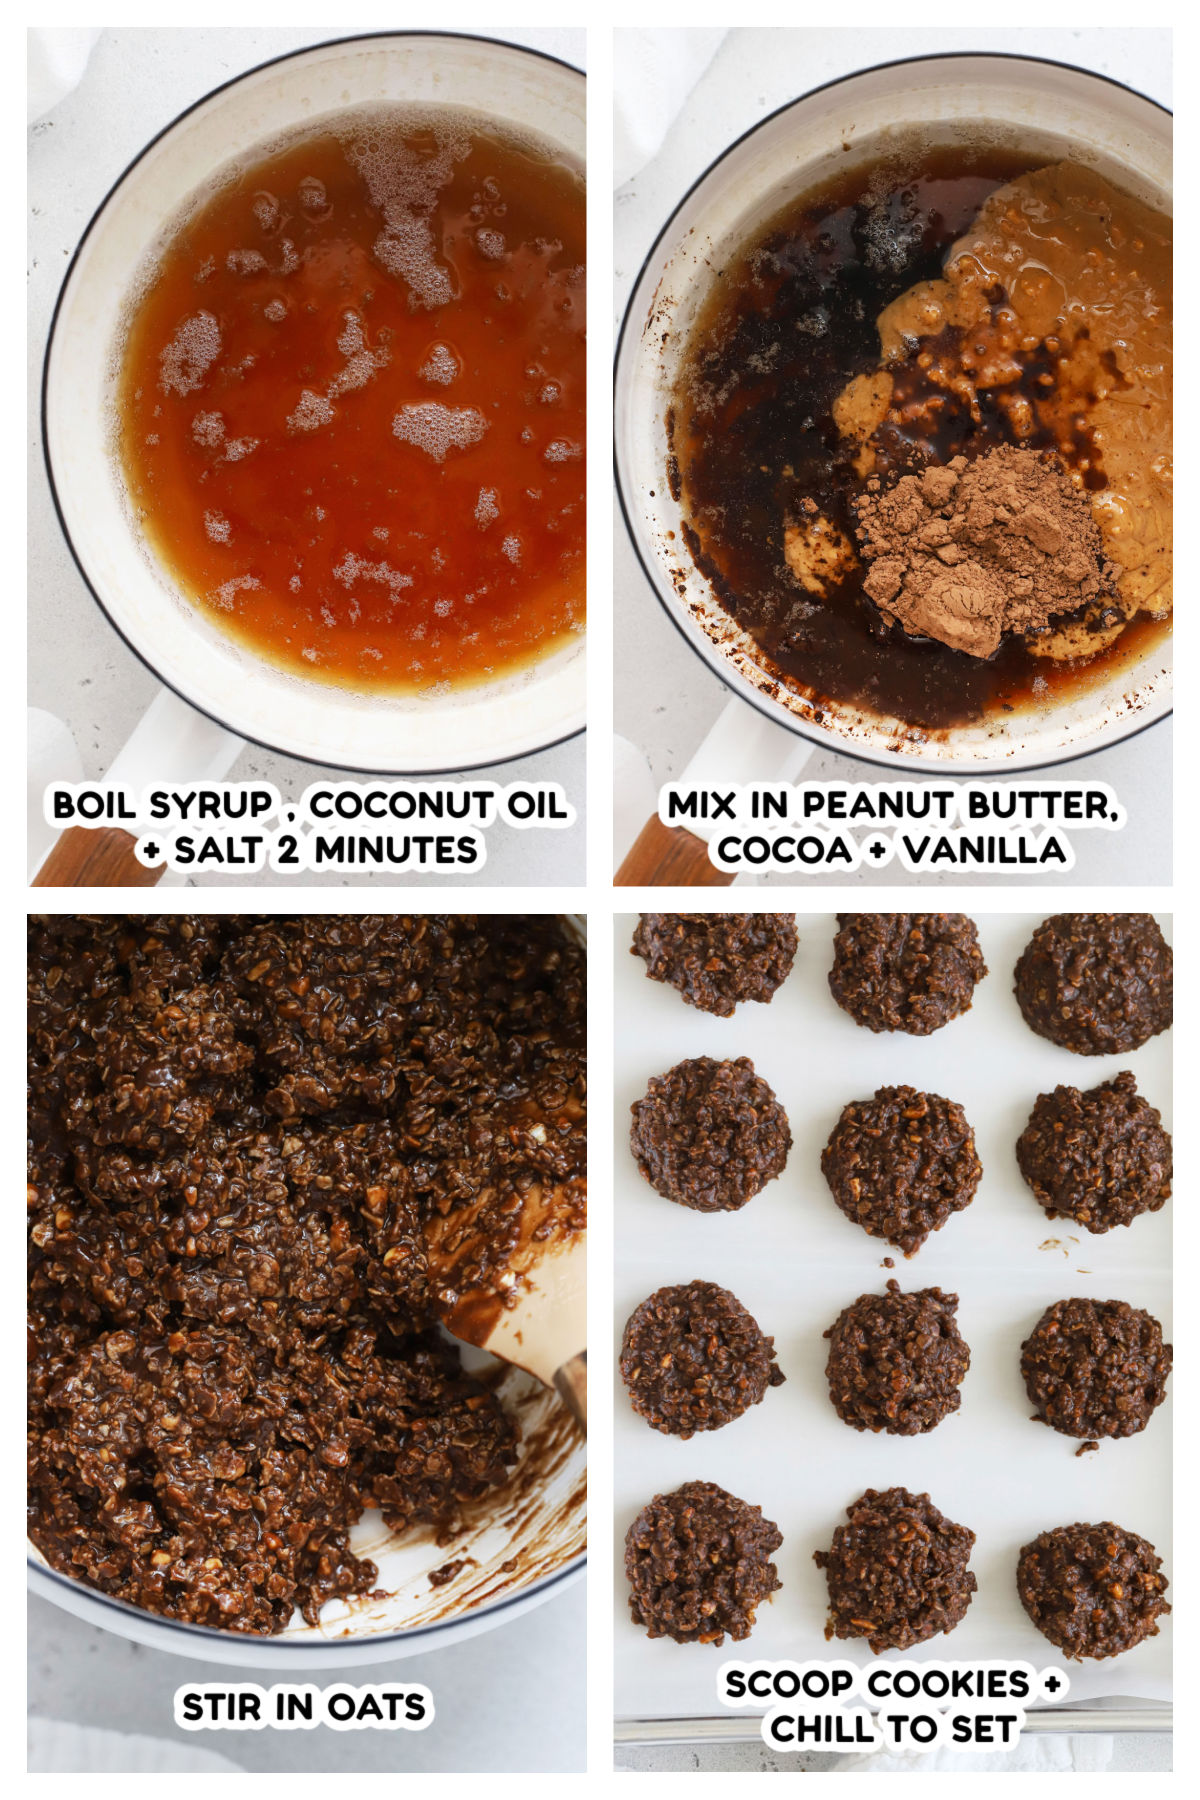
How To Make Healthy No-Bake Cookies, Step By Step
As always, you can find the full recipe with ingredient amounts, detailed instructions, and tips in the recipe card below.
- Prep Your Station. Line a baking sheet with parchment paper or a reusable silicone baking mat and set aside. Make sure your ingredients are close by and ready to go, since this recipe moves quickly once you start.
- Boil The Cookie Base. In a large saucepan, gently melt coconut oil, syrup, and cocoa powder together over medium heat, stirring regular. Continue stirring until the mixture comes to a boil, with bubbles all across the surface. Boil 2 minutes, whisking or stirring constantly, then remove from heat.
- Stir In The Remaining Ingredients. When the pan is removed from the heat, Add peanut butter, vanilla extract, and salt. Stir to combine. Add oats and stir to coat evenly in the chocolate mixture.
- Scoop. Use a medium cookie scoop to measure 1 1/2 TBSP scoops of the cookie mixture onto your prepared baking sheet. Gently pat down slightly with the back of a flexible spatula, if needed. (You want little mounds)
- Chill To Set. Place the pan in the refrigerator until the cookies are set, about 1 hour. Store leftover cookies in an airtight container in the refrigerator up to 1 week, or freeze in freezer bags up to 2 months.
Are Healthy No-Bake Cookies Really Healthier?
Calorie-wise, these healthy no bake oatmeal cookies are similar to my classic no bake cookies. However, the macronutrient breakdown (carbs, protein, fat) of those calories looks a lot different:
HEALTHY NO BAKES – 170 Calories, 9.8g fat, 17.3g carbs, 3.7g protein, 8.5g sugar, 2.3g fiber
CLASSIC NO BAKES – 139 Calories, 4.6g fat, 22.9g carbs, 1.9g protein, 15g sugar, 1.4g fiber
So, the healthy no bakes have about 25% fewer carbs, almost 1/2 the sugar content, more protein, and more fiber than the classics, all of which makes them easier on your blood sugar and more satiating overall. So, I’d say–yes! This easy recipe is a healthier version.
FAQ + Tips And Tricks For The Best Healthy No-Bake Cookies
DON’T OVER-BOIL. I know a watched pot never boils, but an unsupervised pot will over-boil. These healthy no bake cookies will go grainy and crumbly fast if you boil them much longer than directed. Once you see bubbles coming up across the surface of your mixture, you know they’re boiling. Let it go 2 minutes from that point.
LINE THE PAN! Use parchment paper or a reusable silicone baking mat to line your baking sheet. It’ll make removing the cookies MUCH easier after they’ve set.
USE A COOKIE SCOOP. I use a medium cookie scoop (1 1/2 Tbsp) and I usually get 12-14 cookies from my batch. You can use a larger scoop for fewer cookies or a smaller scoop for more cookies.
HOW TO STORE. These healthy no bake cookies keep best in the refrigerator, and they’ll last about 1 week in an airtight container in the fridge. If you need to, you can freeze them.
CAN’T DO PEANUT BUTTER? Other readers have made these with cashew butter or sunflower seed butter. I haven’t tried them myself, but these might be a good place to start.


Did You Make This Recipe?
Tell me all about it! Leave a star rating below when you try our gluten-free Healthy No-Bake Cookies recipe. I can’t wait to hear how it goes!
Healthy No-Bake Cookies (Gluten Free & Vegan)
Equipment
Ingredients
- 3 Tablespoons Coconut Oil (Can Sub Vegan Butter or Butter)
- 1/2 cup Natural Peanut Butter (Creamy or Chunky)
- 1/2 cup Pure Maple Syrup
- 3 Tablespoons unsweetened cocoa powder or cacao powder (NOT Dutch Processed)
- 1 1/2 teaspoon Vanilla Extract
- 1/4 teaspoon Kosher Salt
- 1 1/2 cups Gluten-Free Quick Oats (Can use rolled, if needed–see notes)
Instructions
- Prep Your Station. Line a baking sheet with parchment paper or a reusable silicone baking mat and set aside. Make sure your ingredients are close by and ready to go, since this recipe moves quickly once you start.
- Boil The Cookie Base. In a large saucepan, gently melt coconut oil, syrup, and cocoa powder together over medium heat, stirring regular. Continue stirring until the mixture comes to a boil, with bubbles all across the surface. Boil 2 minutes, whisking or stirring constantly, then remove from heat.
- Stir In The Remaining Ingredients. When the pan is removed from the heat, Add peanut butter, vanilla extract, and salt. Stir to combine. Add oats and stir to coat evenly in the chocolate peanut butter mixture.
- Scoop. Use a medium cookie scoop to measure 1 1/2 TBSP scoops of the cookie mixture onto your prepared baking sheet. Gently pat down slightly with the back of a flexible spatula, if needed. (You want little mounds)
- Chill To Set. Place the pan in the refrigerator until the cookies are set, about 1 hour. Store leftover cookies in an airtight container in the refrigerator up to 1 week, or freeze up to 2 months.
Notes
- Peanut Butter. This recipe is formulated to work with natural peanut butter (made with JUST peanuts or peanuts and salt). If you use a traditional peanut butter spread (like JIF or Skippy), the cookies will not spread.
- Oats. If you’re gluten-free, make sure to buy certified gluten-free oats. I recommend quick oats for the best texture, but rolled oats can be used. Cookies made with rolled oats may not spread as much and will have a chewier texture.
Video
Nutrition
Nutrition facts are an estimate only and will vary based on brands and amounts used.
Find it Online:
https://www.onelovelylife.com/healthy-no-bake-cookies/These cookies were originally posted April 2019. Recipe has been updated with improved notes, step-by-step photos, and new video and republished June 2026.
Sometimes I absolutely crave these cookies. I love that they can deliver chocolatey goodness without warming my entire house in the summer. Love them.
I started making these using the written recipe and mixed the peanut butter in step 2, then saw that I was supposed to mix it in step 3. Then I looked at the video to see when it should be mixed in – step 3. They taste great, but are pretty soft. I will make them again, but mixing the peanut butter in step 3. I’m thinking that they will be firmer. They are yummy!
100% recommend!!! They are delicious, nutrient dense, and a great source of fuel for high intensity activity. My skiers approve!
Yaaay! So glad you loved them Brittany!
I made these for my daughter who is trying to eat less sugar. She loved them.
I would like to add some shredded coconut. Any suggestions on how best to do this.
Thanks
Linda – I can’t guarantee results, since I haven’t tested it this way, but if I were going to add coconut, I’d remove some of the oats and add an equal amount of coconut. (So, if you removed 1/2 cup oats, you’d add 1/2 cup coconut). I’d love to know how it goes if you give it a try!
I reduced the oats by 1/4 cup and added 1/2 cup of unsweetened shredded coconut and they turned out well.
I think next time I will use almond butter. Although I do like peanut butter, I found it a bit too much. Not awful, just a personal taste preference.
Sounds like a great plan for next time!
Can the rolled oats be replaced with quick oats? 1:1?
You’re welcome to give it a try! I’d love to know how it goes if you do 🙂
Can something other than maple syrup be used? I would like to make these sugar free.
Crystal – I haven’t tested this with any sugar free substitutes. I’m sorry!
These turned out great! The kids loved them. I pulled them off 20 seconds before the two minutes as the mixture was getting thicker. They formed perfectly! It’s really hard to get the time right , if your off just a little on the time they can come out dry or too sticky! So glad to have found the vegan option, thank you!
Amanda – I’m so glad you loved them, and way to go trouble-shooting in the moment!
Really excited about finding this easy, simple, and healthy recipe! First one I found and realized I had all the ingredients in the house! Thank you for sharing, my husband and I are very excited for this late night snack!
YES! I’m so glad to hear that. I love how simple and straightforward this recipe is. Hope you LOVED THEM! 🙂
What could be a reason of mixture (coconut oil, peanut butter, maple syrup and cocoa) getting too dense? I got it right the first time, but every other time the mixture was too dense and I couldn’t put even a cup of oats, also when combined with oats it was just falling apart. I added water to make it more liquid, but I guess I put too much or too little of something?
Oh dear! I’m sorry that happened! I’d love to help. What kind of peanut butter are you using? If it’s got more than peanuts (or peanuts + salt) in it, that *could* be the problem, as peanut butters with sweeteners or oils tend to be thicker and more dense.
I am using an organic peanut butter with only peanuts in it. And it is rather smooth, so no salt, sugar or any additives. And it is not crunchy. I put three tbsp, as I assumed that’s equal to a 1/2 of a cup of peanut butter, maybe that could be wrong?
Max – Ooh, this helps! Sounds like the perfect kind of peanut butter to use. The trouble is the amount. 1 cup = 16 Tbsp, so 1/2 cup = 8 Tbsp. It just wasn’t quite enough peanut butter! That’ll be an easy fix for next time! 🙂
Can you offer any substitutes for the rolled oats?
Daureen – They’re the main component of these, but you could possibly get away with shredded coconut or chopped nuts. The results won’t be quite the same texturally or from a flavor standpoint, but if you’ve got an oat allergy/intolerance, they’d probably be your best bet for a substitute 🙂
Thank you.
I saw a recipe using quinoa flakes instead of oatmeal. Problem is, they are hard to find. Any suggestions for artificial sweetener that isn’t a “tol”-diabetic and the “tols” are very unfriendly with me.
Marge – I don’t bake with alternative/artificial sweeteners, so I’m not a great resource for this–I’m so sorry! This recipe will only really work with the syrup listed.
Monkfruit syrup?
Can you use Sunbutter?
I haven’t tried them with sunbutter, but I don’t see a reason they wouldn’t work! I’d love to know how it goes if you give them a try! 🙂
What is sunbutter
Sunbutter is sunflower seed butter. It’s nut free, so it’s a good choice for folks with allergies. 🙂
I altered it a little due to health needs. I used sunbutter instead of peanut butter, rice bran oil instead of coconut oil, carob powder instead of cocoa powder, 1/3 cup maple syrup. It is really good.
I’m so glad they worked out for you!