


Our easy gluten-free focaccia recipe has a perfect crispy crust & tender, fluffy center. It’s the easiest gluten-free bread around! (Vegan-Friendly!)
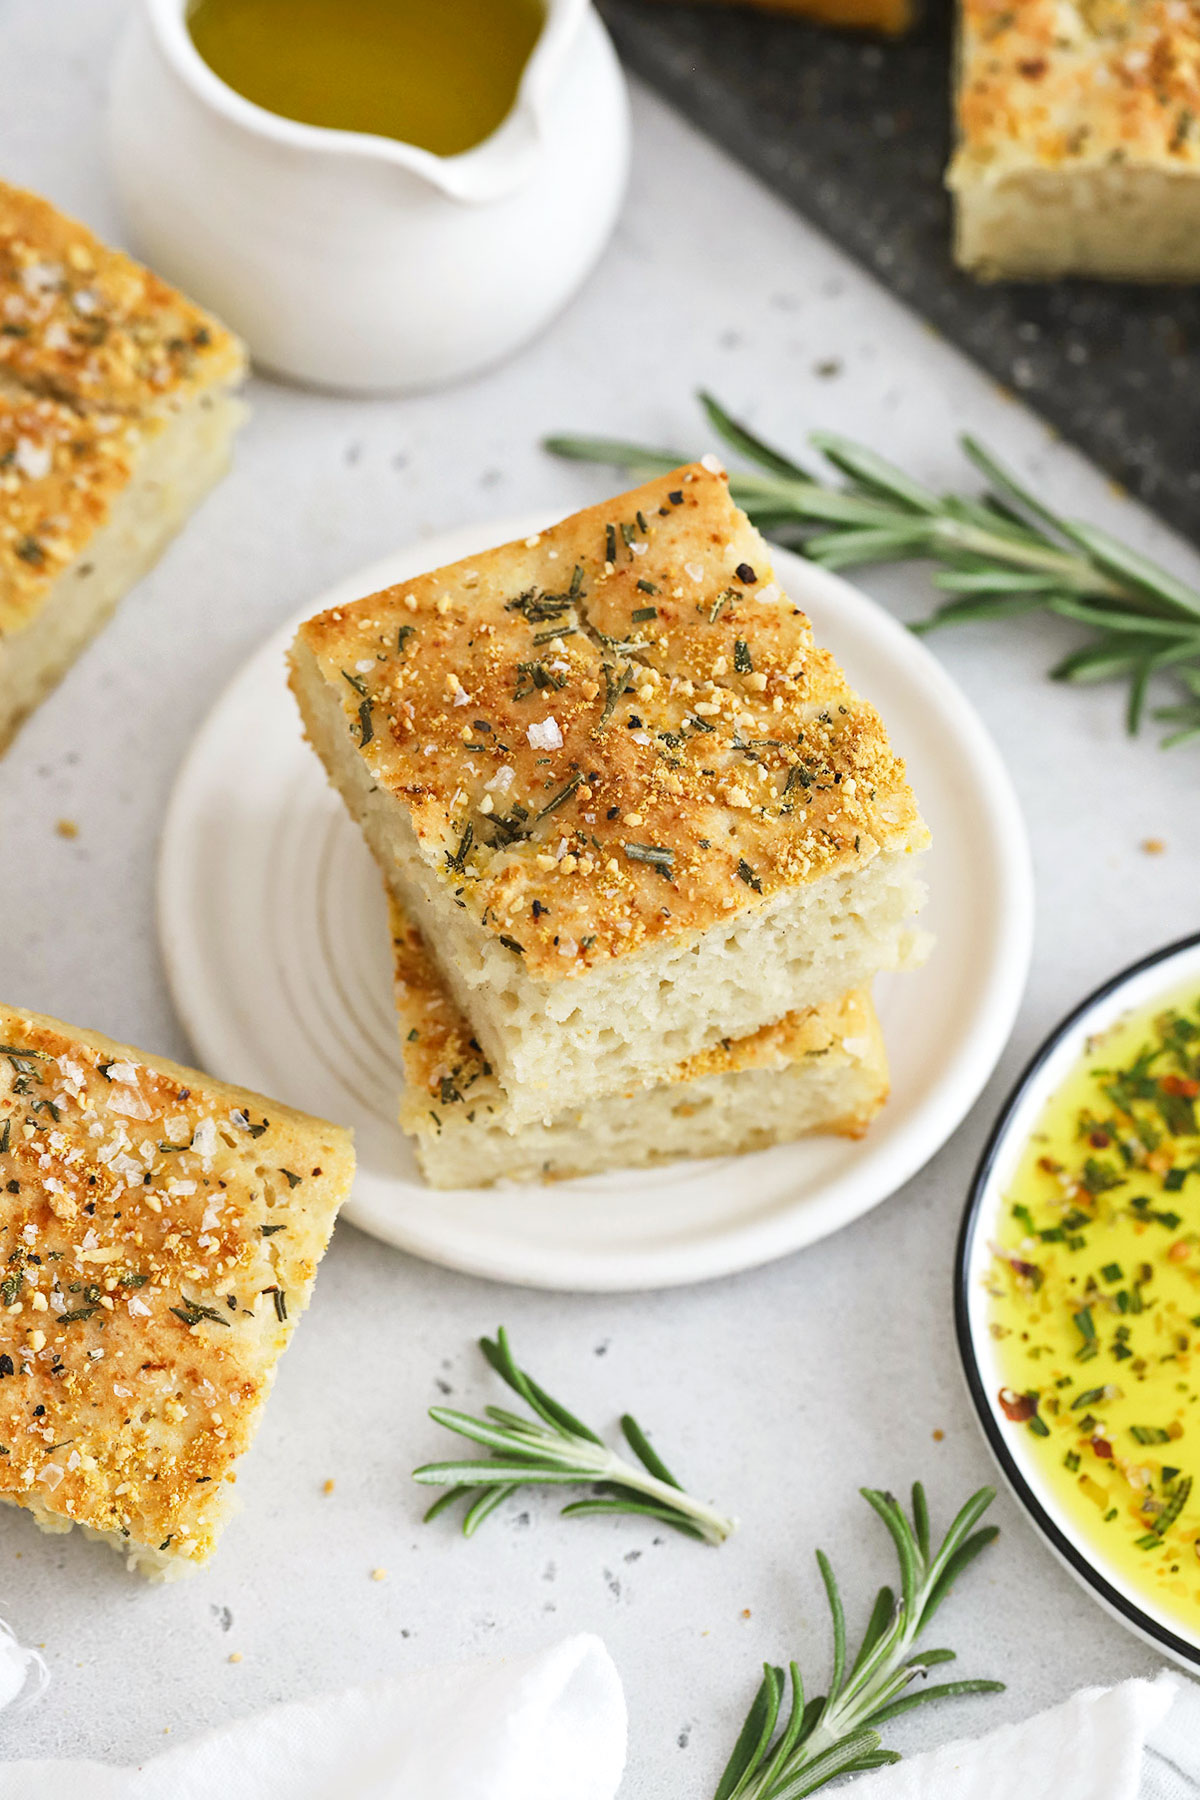
This delicious gluten-free rosemary focaccia has been one of our top posts for the last several years, and it’s better than ever, thanks to updated, more thorough directions & helpful tips!
Before we went gluten-free a decade ago, I used to bake bread all the time. But gluten-free bread is a totally different ballgame! Since there’s no gluten, gluten-free bread dough can be trickier to work with and takes a little extra skill & know-how to get just right.
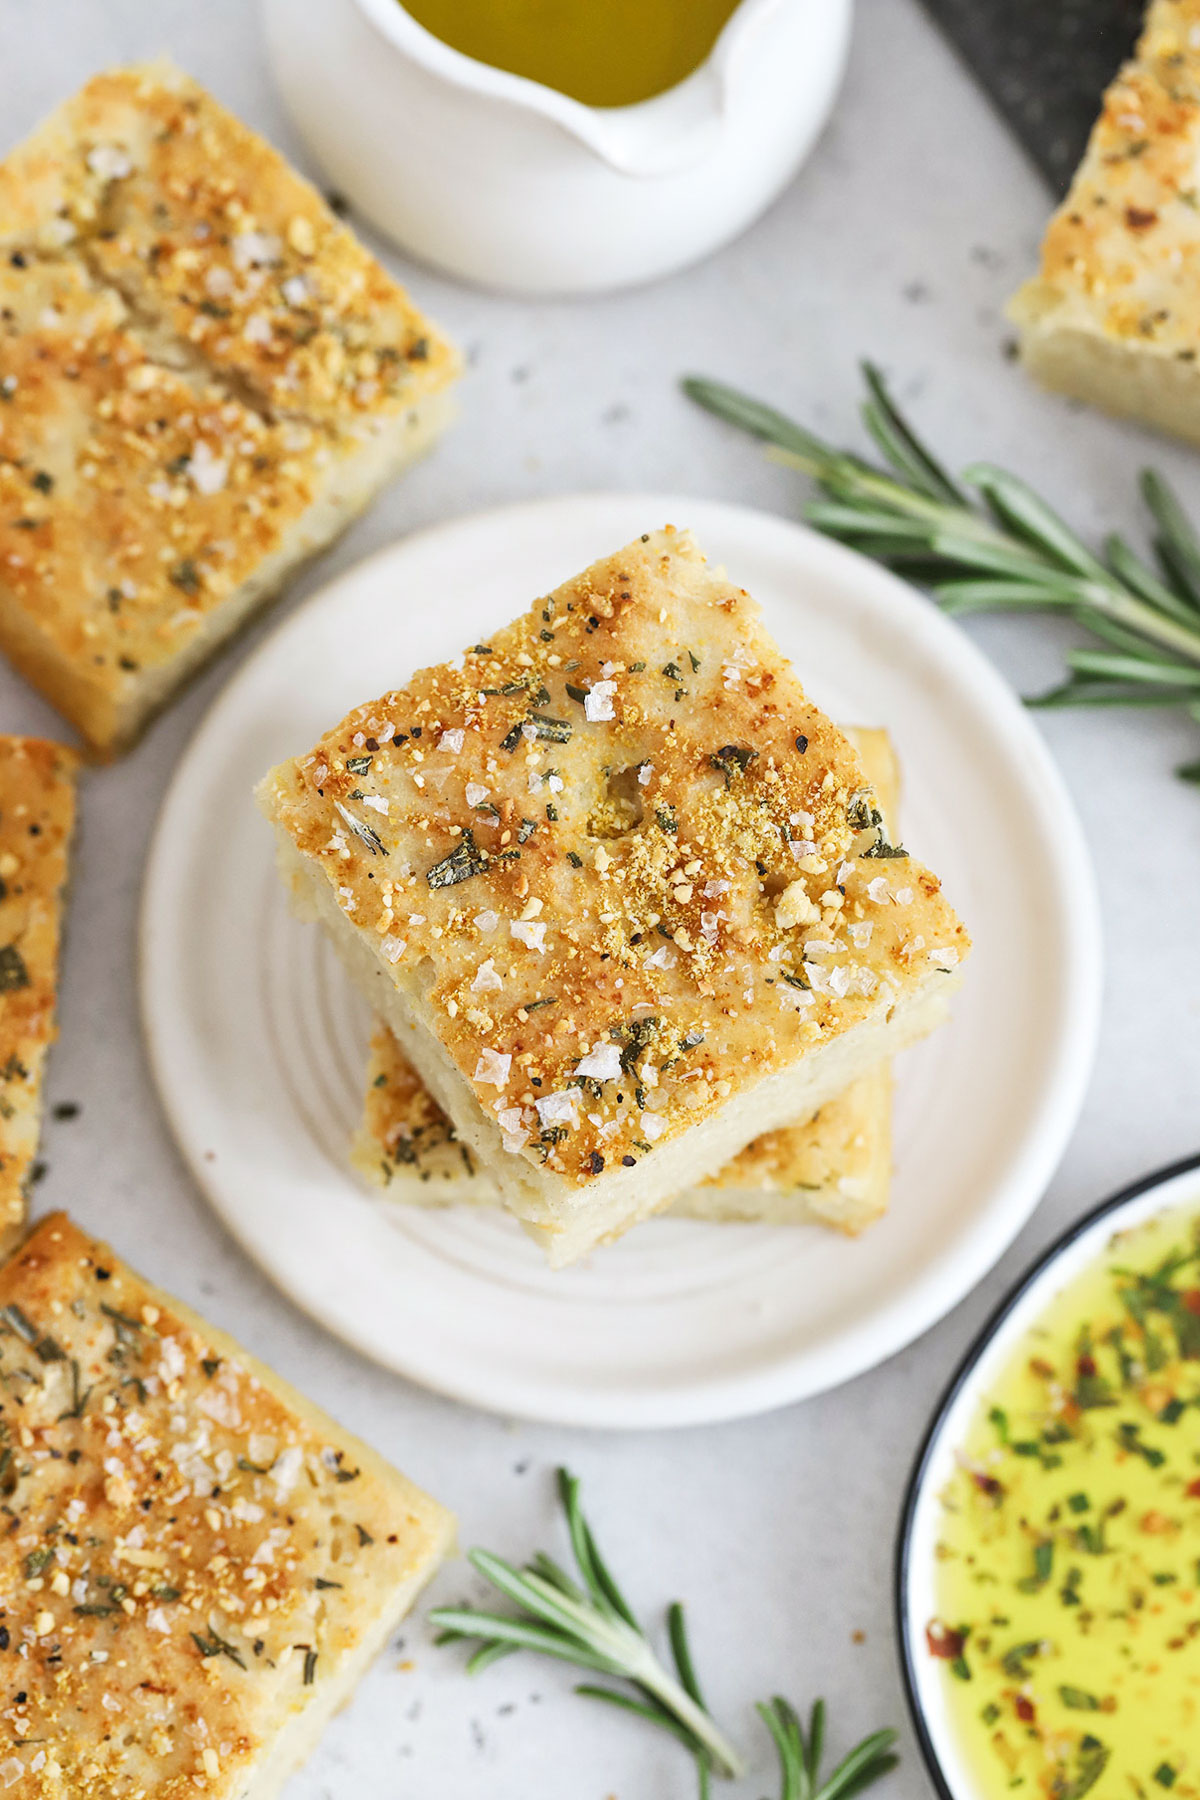
But do you know what’s probably the easiest gluten-free bread recipe around? Focaccia! This gluten-free focaccia bread recipe has a crisp, golden top and bottom, a soft & pillowy center, and just the right seasonings. It’s enough to send me into a swoon!
If you’re new to gluten free baking or haven’t made gluten-free bread recipes before, don’t worry! We’ve got everything you need to be successful. You’ll be baking loaf after loaf of this delicious Italian bread in no-time!
Lets jump in, yes? The carbs are calling!
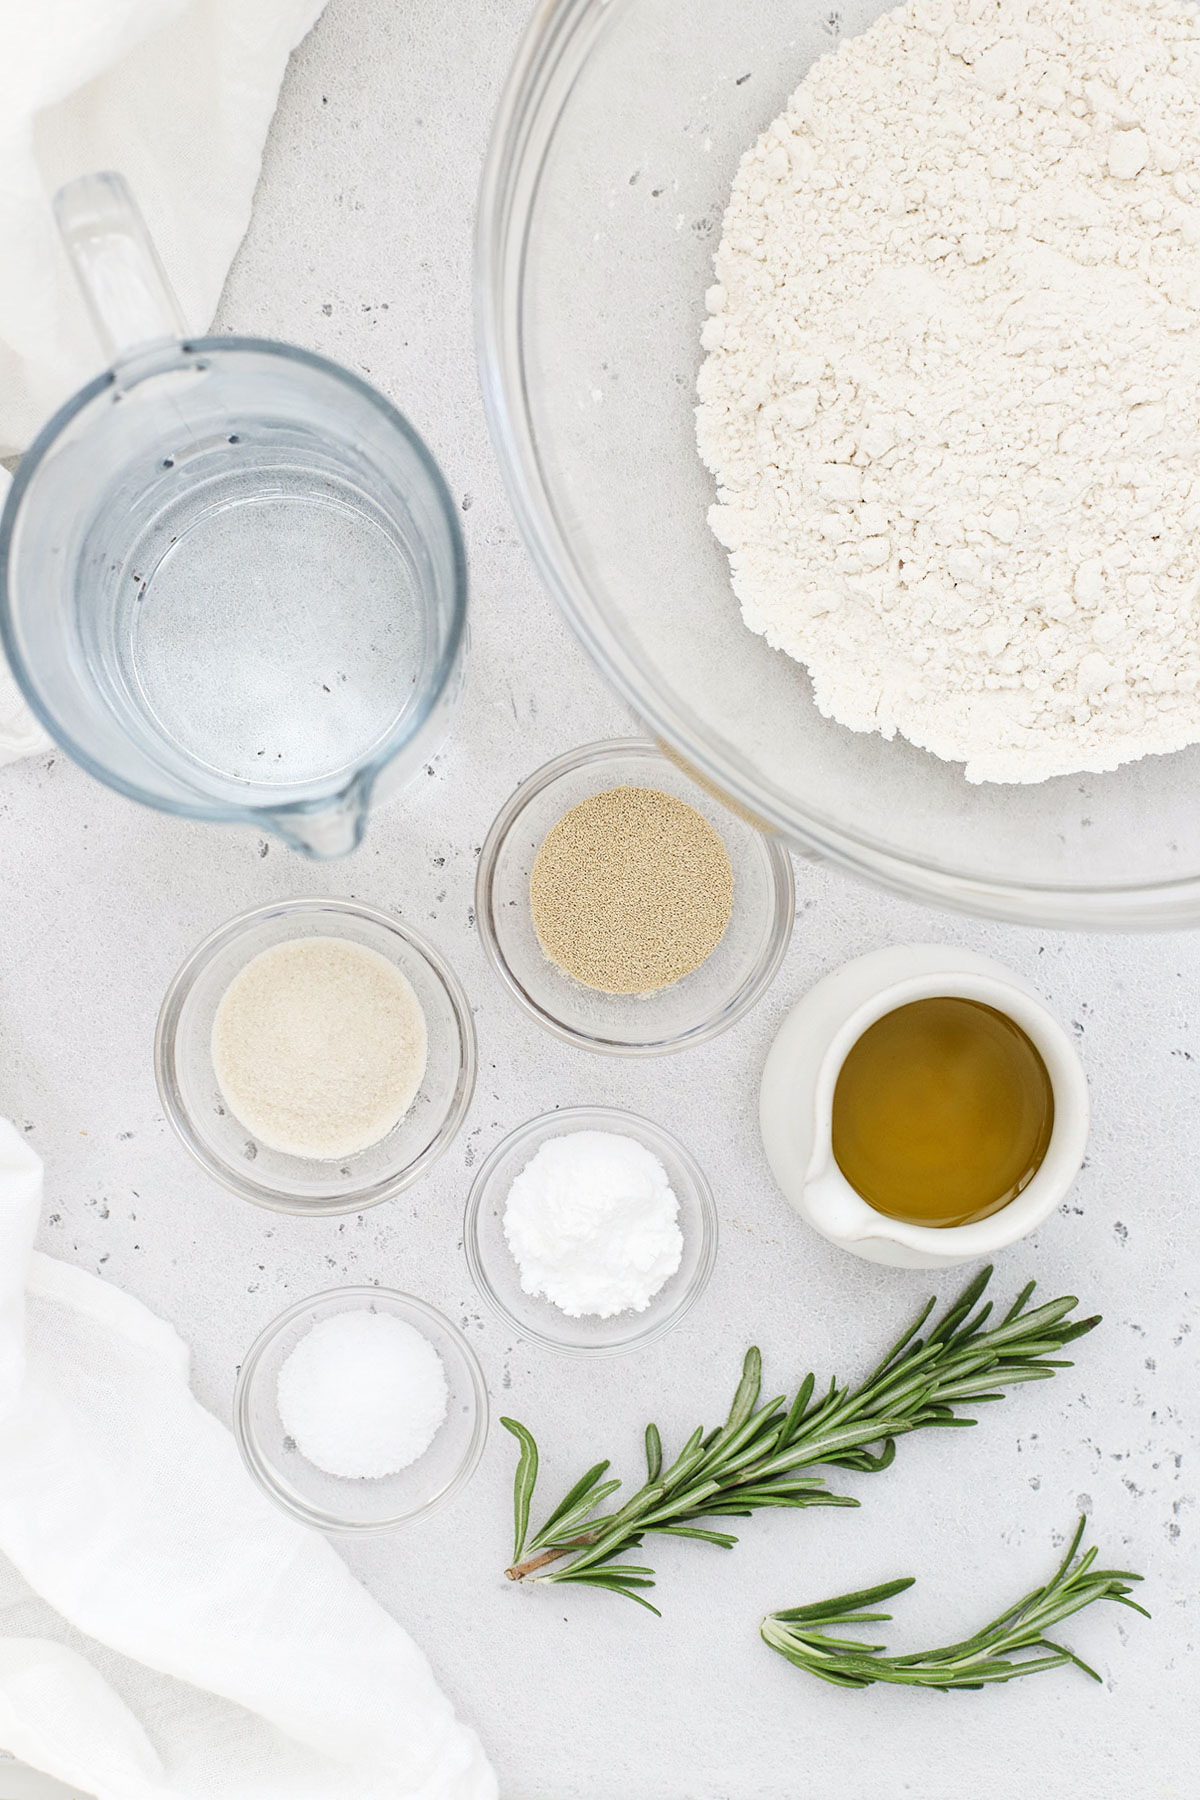
Simple Ingredients For Gluten-Free Focaccia
- Gluten-Free Flour. You’ll keep things simple with a 1:1 gluten-free flour blend. We HIGHLY RECOMMEND King Arthur Measure For Measure Baking Flour with xanthan gum because it gets nice and golden on top and has the best texture inside. I have also tried it with Bob’s Red Mill 1-to-1 gluten free baking flour with decent results, though the Bob’s Red Mill blend usually doesn’t get quite as crisp or “done” as the King Arthur Blend, and some readers report their focaccia stays wet or gummy in the center when they use the Bob’s Red Mill blend.
- Baking Powder & Salt. Using baking powder with the yeast gives this focaccia a little extra lift and really improves the texture. Then, salt comes in to make the flavor amazing!
- Warm Water. Ideally, the water will be between 120-130 degrees to help activate the yeast. I recommend an instant read thermometer for best results, but you can use the touch test, too. If the water is too warm to comfortably keep your finger in it for a few seconds, it’s too hot!
- Honey or Sugar. Adding a little honey or sugar not only helps with the flavor of this bread, but it also helps activate the yeast. Don’t skip it!
- Active Dry Yeast. We’ve made this with instant yeast and regular yeast. Instant yeast will bloom and rise faster (great when you’re short on time!), and regular dry yeast works well, too.
- Olive Oil. You’ll need plenty of extra virgin olive oil for this focaccia recipe! You’ll use some in the dough, some on the pan, some on top, and some to dip!
- A Few Toppings. Then, you’ll top the focaccia with a few little extras before baking. I like a mix of fresh rosemary, parmesan cheese (or vegan parmesan cheese), flaky salt, and black pepper.
How To Make Gluten-Free Focaccia Step By Step
As always, you can find the full recipe, with ingredient amounts, detailed instructions, and tips in the recipe card below!
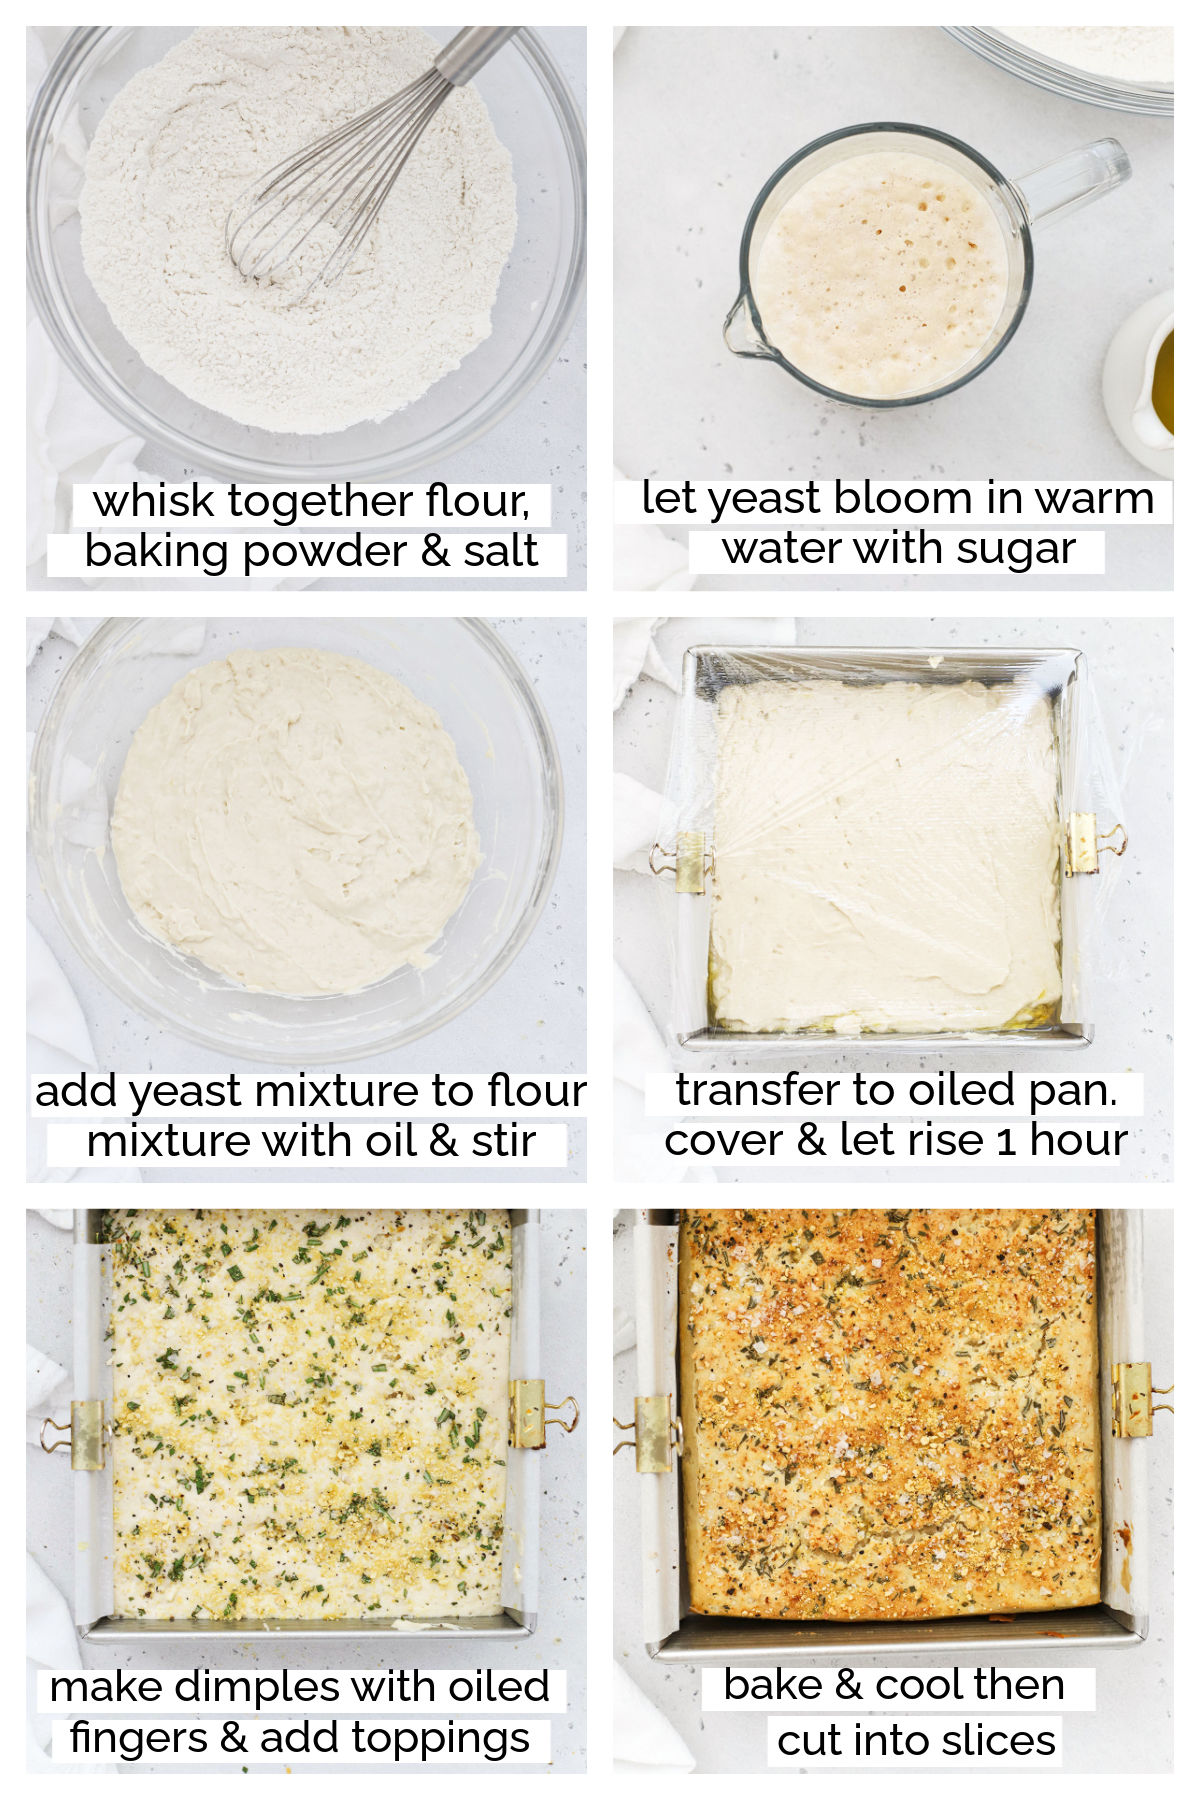
- Combine Dry Ingredients. In a large mixing bowl, whisk together flour, salt, and baking powder. Set aside.
- Warm The Water. Warm your water in the microwave or on the stovetop until it’s warm but not hot. (Ideally, the temperature should be between 120-130 degrees F, but you can use the touch test to tell if it’s ok. If the water is too warm to put your finger in comfortably for several seconds, it’s too hot)
- Bloom The Yeast. Add yeast and honey or sugar to the warm water. Stir to combine, then let it bloom by setting it aside to rest for for 3-5 minutes. (It’ll start to look foamy on top)
- Combine Wet Ingredients & Dry Ingredients. Pour 2 Tablespoons olive oil and the the water/yeast mixture over the flour mixture and stir to combine. Note that the dough will actually be more like batter than dough. You will not knead it.
- Transfer To The Pan. Line an 8×8 or 9×9 metal baking pan with parchment paper. Drizzle 2-3 Tablespoons of olive oil onto the parchment. Gently transfer the focaccia dough to the prepared pan and pat it out or spread it with a spatula. (I usually find it easiest to dip my fingertips into the oil and pat it out by hand). Drizzle the top of the dough with 1 more Tablespoon of olive oil.
- Let The Dough Rise. Cover the pan with plastic wrap or a clean dish towel and set it to rise in a warm place for at least 30 minutes if using rapid rise yeast and about an hour if you use regular yeast. The batter/dough will be roughly double in size.
- Preheat The Oven. During the last 20 minutes of the rise time, preheat the oven to 400 degrees F.
- Dimple The Dough. Coat your fingertips with olive oil and use greased fingers to poke several holes in the dough to form the characteristic “dimples” of focaccia. I find this easiest if I drizzle the surface of the dough with a little olive oil first, then use my fingertips to gently spread the oil before making the dimples. (Try not to smash the dough down)
- Add Toppings. Sprinkle the surface of the dough with fresh rosemary, parmesan or vegan parmesan (if using), coarse sea salt and pepper.
- Bake at 400 degrees 25-30 minutes, or until golden brown. Remove from oven and let cool at least 10-12 minutes before slicing and eating. Store leftover focaccia in an airtight container at room temperature 2-3 days, or store in the freezer and freeze up to 2 months.
ANOTHER OPTION FOR SHAPING: We used to make this rosemary focaccia free-form, by letting the dough rise in a bowl, then pouring it out onto a parchment lined baking sheet on top of 2 Tablespoons of olive oil. I’d shape the dough into roughly an 8×10 shape, then top and bake as directed. This will give you a more organic look, but the focaccia will be much thinner. In the last few years, I’ve exclusively made it in a square pan for a higher rise.
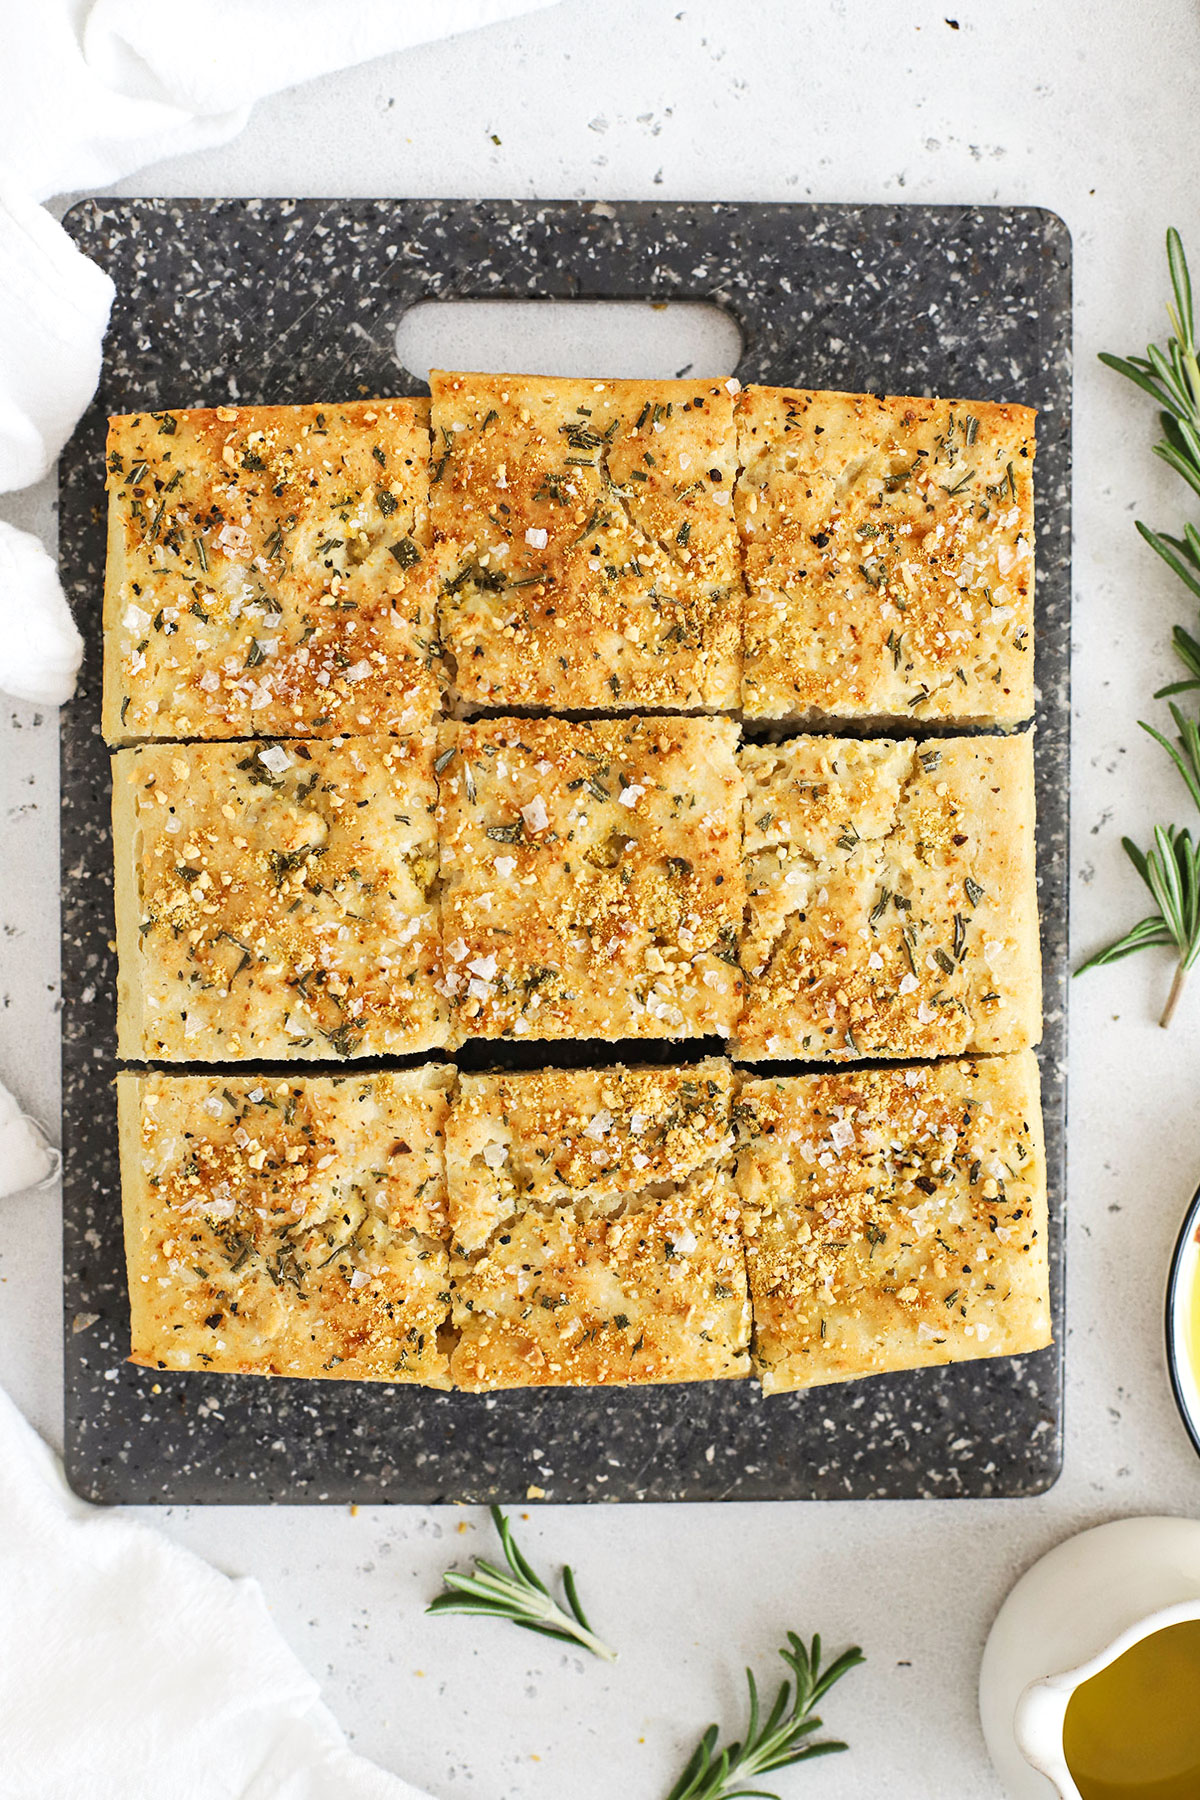
A Few Tips To get This Recipe Just Right
Use Fresh Ingredients
It might seem silly, but it’s important to know you’re using fresh ingredients. If you’re using old baking powder or old yeast, this bread WILL NOT rise no matter what you do. Use this quick test to check your baking powder to see if it’s still active, and watch for the foaming, bubbling reaction in the recipe instructions to make sure your yeast is still active.
Know How To Handle The Dough
If you’ve ever baked with wheat-based flours (white all-purpose, wheat, bread flour, etc.) you’ll be able to tell right away that gluten-free focaccia “dough” is really more like batter. It’s not pliable (there are no gluten or wheat proteins to give it that structure!), and you won’t knead it–you can’t! It’ll be a rather sticky, wet batter instead of a cohesive, stretchy dough. Don’t panic, and DON’T add extra flour!
Use Parchment On Your Pan
Your gluten-free focaccia batter will be sticky, and it can stick to the baking sheet if you don’t prep it. A surefire way to keep your dough from sticking to the pan is to use parchment paper, then drizzle the olive oil on top of it, as directed. I highly recommend you don’t skip the parchment. If you don’t like using parchment paper, at least use a reusable silicone baking mat to help prevent sticking.
Don’t Skimp On Olive Oil. Seriously.
Don’t do it! I know it’ll feel like a lot (especially on the baking pan), but I promise the olive oil is essential for the texture of the interior and exterior of gluten-free focaccia bread. Olive oil helps give that gorgeous crispy crust on the exterior and keeps things light on the interior. I promise your results will not be as good if you try to skimp on the olive oil. It’ll be more dry and spongy. And it won’t get the same gorgeous color. Trust me!
FAQ + More Ideas For This Gluten-Free Focaccia
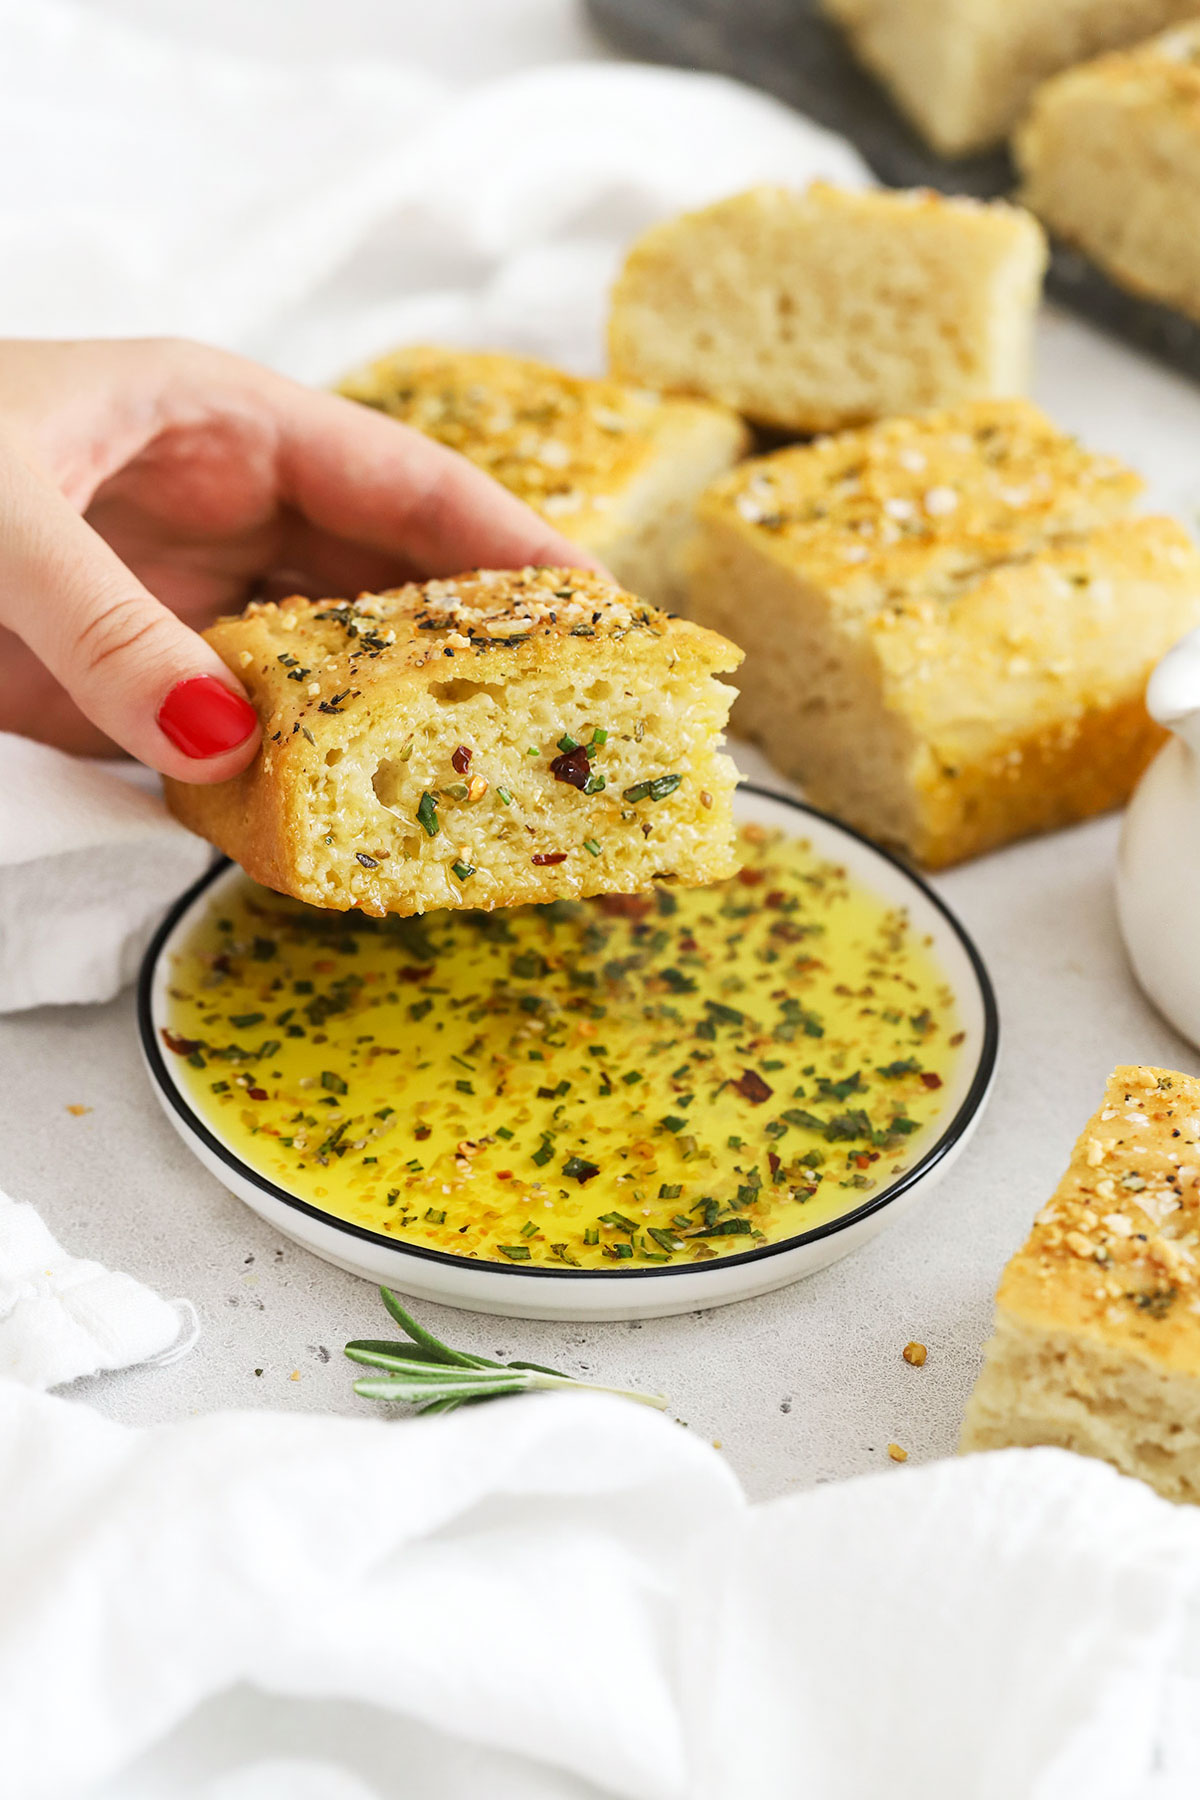
HOW TO SERVE FOCACCIA – I’ve got to say it: my favorite way is when it’s burn-your-mouth hot from the oven. But. After it’s had enough time to actually cool down somewhat, my favorite way to enjoy gluten-free focaccia is dipped in olive oil. We love to make a seasoned dipping oil to serve with it! (It’s also great with marinara sauce!)
HOW TO STORE FOCACCIA – Like most gluten free baked goods, this gluten-free focaccia bread is best enjoyed in 1-2 days. I store mine wrapped tightly or in an airtight bag with extra air pressed out in the refrigerator, then heat it up in the oven (you can use the microwave or a toaster oven) before serving again.
MORE FOCACCIA TOPPINGS TO TRY. Part of what’s so fun about making this focaccia is choosing the toppings! Since this recipe was originally published in 2019, I’ve had dozens and dozens of readers send me their focaccia photos! Play around with the toppings! Readers have tried:
- Sun-Dried Tomatoes
- Caramelized Onions
- Roasted Garlic
- Olives – black, green, Kalamata, Castelvetrano, etc.
- Edible Flowers
- Fresh Herbs – sage, basil, rosemary, dill, parsley, thyme, etc.
- Dried Herbs & Spices – dried oregano, Italian seasoning, dried basil, red pepper flakes, etc.
- Different cheeses – asiago, parmesan, aged white cheddar, and more!


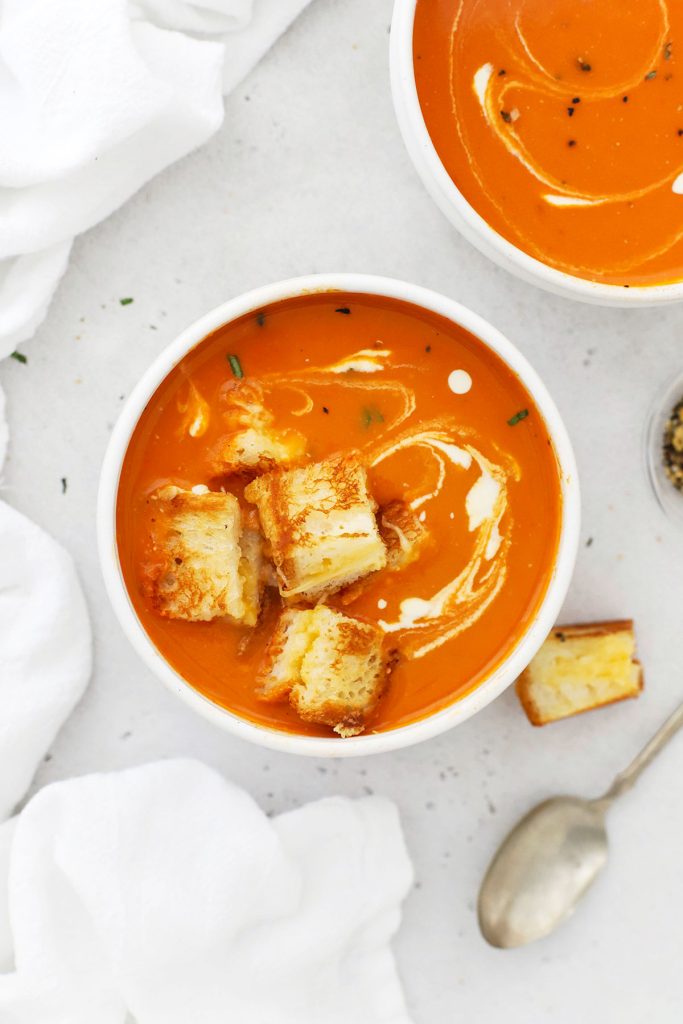

Or, try it with: Autumn Squash Soup, Gluten-Free Caesar Salad, or Italian Chopped Salad!
Did You Make This Recipe?
Tell me all about it! Leave a star rating below when you try our Gluten-Free Focaccia recipe. I can’t wait to hear how it goes!

Gluten-Free Focaccia with Rosemary
Ingredients
For Gluten Free Focaccia:
- 2 1/2 cups 300 grams gluten free 1:1 flour (I highly recommend King Arthur Flour Measure-for Measure flour)*
- 2 teaspoons baking powder
- 1 1/2 cups warm water ideally 120-130 degrees F.
- 1 1/4 oz. package instant or rapid rise yeast (2 1/4 teaspoons)
- 1 Tablespoon sugar honey, or agave
- 1 teaspoon kosher salt
- 4 Tablespoons olive oil divided
For Topping:
- 1 Tablespoon fresh rosemary
- 1-2 Tablespoons vegan parmesan or Parmesan cheese
- 1/2 teaspoon flaky sea salt like Maldon
- 1/4 teaspoon black pepper
Instructions
- Combine Dry Ingredients. In a large mixing bowl, whisk together flour, salt, and baking powder. Set aside.
- Warm The Water. Warm your water in the microwave or on the stovetop until it’s warm but not hot. (Ideally, the temperature should be between 120-130 degrees F, but you can use the touch test to tell if it’s ok. If the water is too warm to put your finger in comfortably for several seconds, it’s too hot)
- Bloom The Yeast. Add yeast and honey or sugar to the warm water. Stir to combine, then let it bloom by setting it aside to rest for for 3-5 minutes. (It’ll start to look foamy on top)
- Combine Wet Ingredients & Dry Ingredients. Pour 2 Tablespoons olive oil and the the water/yeast mixture over the flour mixture and stir to combine. Note that the dough will actually be more like batter than dough. You will not knead it.
- Transfer To The Pan. Line an 8×8 or 9×9 metal baking pan with parchment paper. Drizzle 2-3 Tablespoons of olive oil onto the parchment. Gently transfer the focaccia dough to the pan and pat it out or spread it with a spatula. (I usually find it easiest to dip my fingertips into the oil and pat it out by hand). Drizzle the top of the dough with 1 more Tablespoon of olive oil.
- Let The Dough Rise. Cover the pan with plastic wrap or a clean dish towel and set it to rise in a warm place for at least 30 minutes if using rapid rise yeast and about an hour if you use regular yeast. The batter/dough will be roughly double in size.
- Preheat The Oven. During the last 20 minutes of the rise time, preheat the oven to 400 degrees F.
- Dimple The Dough. Coat your fingertips with olive oil and use greased fingers to poke several holes in the dough to form the characteristic “dimples” of focaccia. I find this easiest if I drizzle the surface of the dough with a little olive oil first, then use my fingertips to gently spread the oil before making the dimples. (Try not to smash the dough down)
- Add Toppings. Sprinkle the surface of the dough with fresh rosemary, parmesan or vegan parmesan (if using), coarse sea salt and pepper.
- Bake at 400 degrees 25-30 minutes, or until golden brown. Remove from oven and let cool at least 10-12 minutes before slicing and eating. Store leftover focaccia in an airtight container at room temperature 2-3 days, or store in the freezer and freeze up to 2 months.
- Our original instructions called for making this focaccia free-form on a baking sheet. This produces a more organic shape, but a thinner dough. If you prefer to follow the old instructions, mix up the dough as directed, but let the dough rise in the mixing bowl covered with plastic wrap. Pour 2 Tablespoons of olive oil on a baking sheet lined with parchment and shape the dough into an 8×10 rectangle. Top & bake the bread as directed.
Notes
- CHOOSE THE RIGHT FLOUR. I *highly* recommend King Arthur Flour Measure-for-Measure flour for this recipe. Bob’s Red Mill 1:1 flour is my other favorite, but will not get as light, as browned, or as “done” in the center as King Arthur Flour. Some readers report their focaccia stays wet or gummy in the center with Bob’s.
- FOR A YUMMY DIPPING SAUCE: Pour 1/3 cup olive oil over granulated garlic, coarse salt, pepper, red pepper flakes, and rosemary, oregano, and/or basil. I usually use 1/4 tsp dried flaked garlic, 1/2 tsp fresh rosemary, 1/4 tsp oregano, 1/4 tsp coarse salt, 1/4 tsp pepper, and 1/4 tsp red pepper flakes
Video
Nutrition
Nutrition facts are an estimate only and will vary based on brands and amounts used.
Originally posted June 2019. Fully updated with video, photos, and updated instructions Aug 2023.
hello can I make the dough a day ahead of time and bake the next day? would much rather eat this fresh out of the oven but won’t have time to make the dough on thanksgiving
Hi Emily! I don’t recommend making the dough in advance. It *does* reheat really well once baked, so you can pop it back in the oven (in the pan!) for 5-10 minutes right before eating!
Used gluten free flour for the first time today and made this recipe. OMG- so, so good. The recipe I found on Pinterest said to use King Arthur’s flour but researched the best GF flours and saw Pamela’s or Cup4Cup. Found Pamela’s at my local Kroger and went for it. Served tonight and my son said it was the best focaccia he ever had. We discussed the things that could be done with the dough throughout the meal. Will definitely be trying more recipes from this site.
I’m SO glad it was a win for you Jayne!
I have made this recipe 3 times now. First time was a complete success and everyone loved it. Second and Third times, not so much. I am not getting a batter like consistency as mentioned; mine was very thick, almost like I didn’t use enough water, but I did. My yeast is not blooming like your picture; I am using fresh yeast, rapid raise.
Any suggestions would be greatly appreciated
Hi, Tracey! I’m sorry you’re running into trouble. I’d LOVE to help!
A few things to check:
1. Measuring The Flour Ideally, you want to weigh it, but if you don’t have a scale, you’ll want to use the scoop and level method, where you spoon flour into the measuring cup and level it off, rather than scooping WITH the measuring cup. Using the measuring cup to scoop can pack extra flour into the measuring cup which can throw off the dough’s texture.
2. Water Temperature. If the water is too hot, it can kill the yeast. If it’s too cold, it can prevent the yeast from activating properly. An instant read thermometer can help you get the temperature just right.
3. Brand of Flour. Which brand of flour are you using? We love and recommend King Arthur Measure-For-Measure gluten-free flour. Other brands can weigh more or behave slightly differently depending on the blend of flours used in their mix.
4. Yeast. You mentioned you’re using rapid rise yeast that’s fresh. Great! Rapid rise yeast, sometimes blooms differently than dry active yeast. Is the bread rising at all? If yes, then you’re probably just fine, even if it doesn’t bubble and bloom like my photo. If not, then there’s likely an issue with the yeast–either it’s being killed by the water being too hot, not activating because the water is too cold, or not blooming because it’s not as fresh as it seems.
5. Altitude. Are you at high altitude? High altitude changes the chemistry of baking, so it can have a significant impact on the rise & bake of your baked goods. I find these tips from King Arthur to be super helpful!
I ABSOLUTELY LOVE THIS RECIPE!!! I WOULD RATE IT 1000 STARS IF I HAD ENOUGH STARS!!!!
This is easy to make and tastes like focaccia. have shared with friends who have also loved it.
So glad it was a win for you!!!
This was an AMAZING recipe!! I cooked it 375 for an extra 15 minutes to cook at the same temp as my lasagna. Everyone gave it rave reviews – and I was the only GF person. I also used the oil olive dipping sauce, which was also phenomenal!
This review!!!! You completely made my day Karissa!
I’m not sure what I did wrong but mine was SUPER runny batter. Should I use less than 1.5 cups of water?
Hi Allie! I’d love to help, but I need more information. Here are a few things to check:
1. Flour – What brand of flour did you use? How did you measure the flour? Did you weight it? We highly recommend a kitchen scale when possible so you get an accurate results, and we recommend using the scoop and level method if you don’t have a kitchen scale.
2. Water – Did you use a liquid measuring cup for your water? And you’re sure you measured accurately? Did you check the water temperature? If it was too hot, it can make the batter seem thinner than it is (and it can also kill the yeast).
3. Altitude Are you baking at high altitude? This can impact your bakes. These tips from King Arthur can help!
This was my second time making gluten-free bread and the recipe was SO easy to follow and the instructions were very clear. It came out perfectly and is the best gluten-free bread I have tried to date! Thank you, I will 100% make this again.
I am SO GLAD TO HEAR THAT!!! My goal was that it would be really easy to make and follow the directions. I’m SO glad you loved it!
This recipie is AMAZING. I turned this bread into a pizza and it was so thick and fluffy. It tasted like a true deep dish pizza! Make this bread either as a focaccia or as a pizza and you will be so impressed. Thank you for this magic recipie!
YAY! I’m so glad you loved it!!!
Just made this bread, I used a 8×8 glass pan at 375 for 10 minutes longer because I didn’t have a metal pan. I turned it into a pizza with the toppings going on halfway through the cooking and it was AMAZING. This recipie is magic. Make this today!