
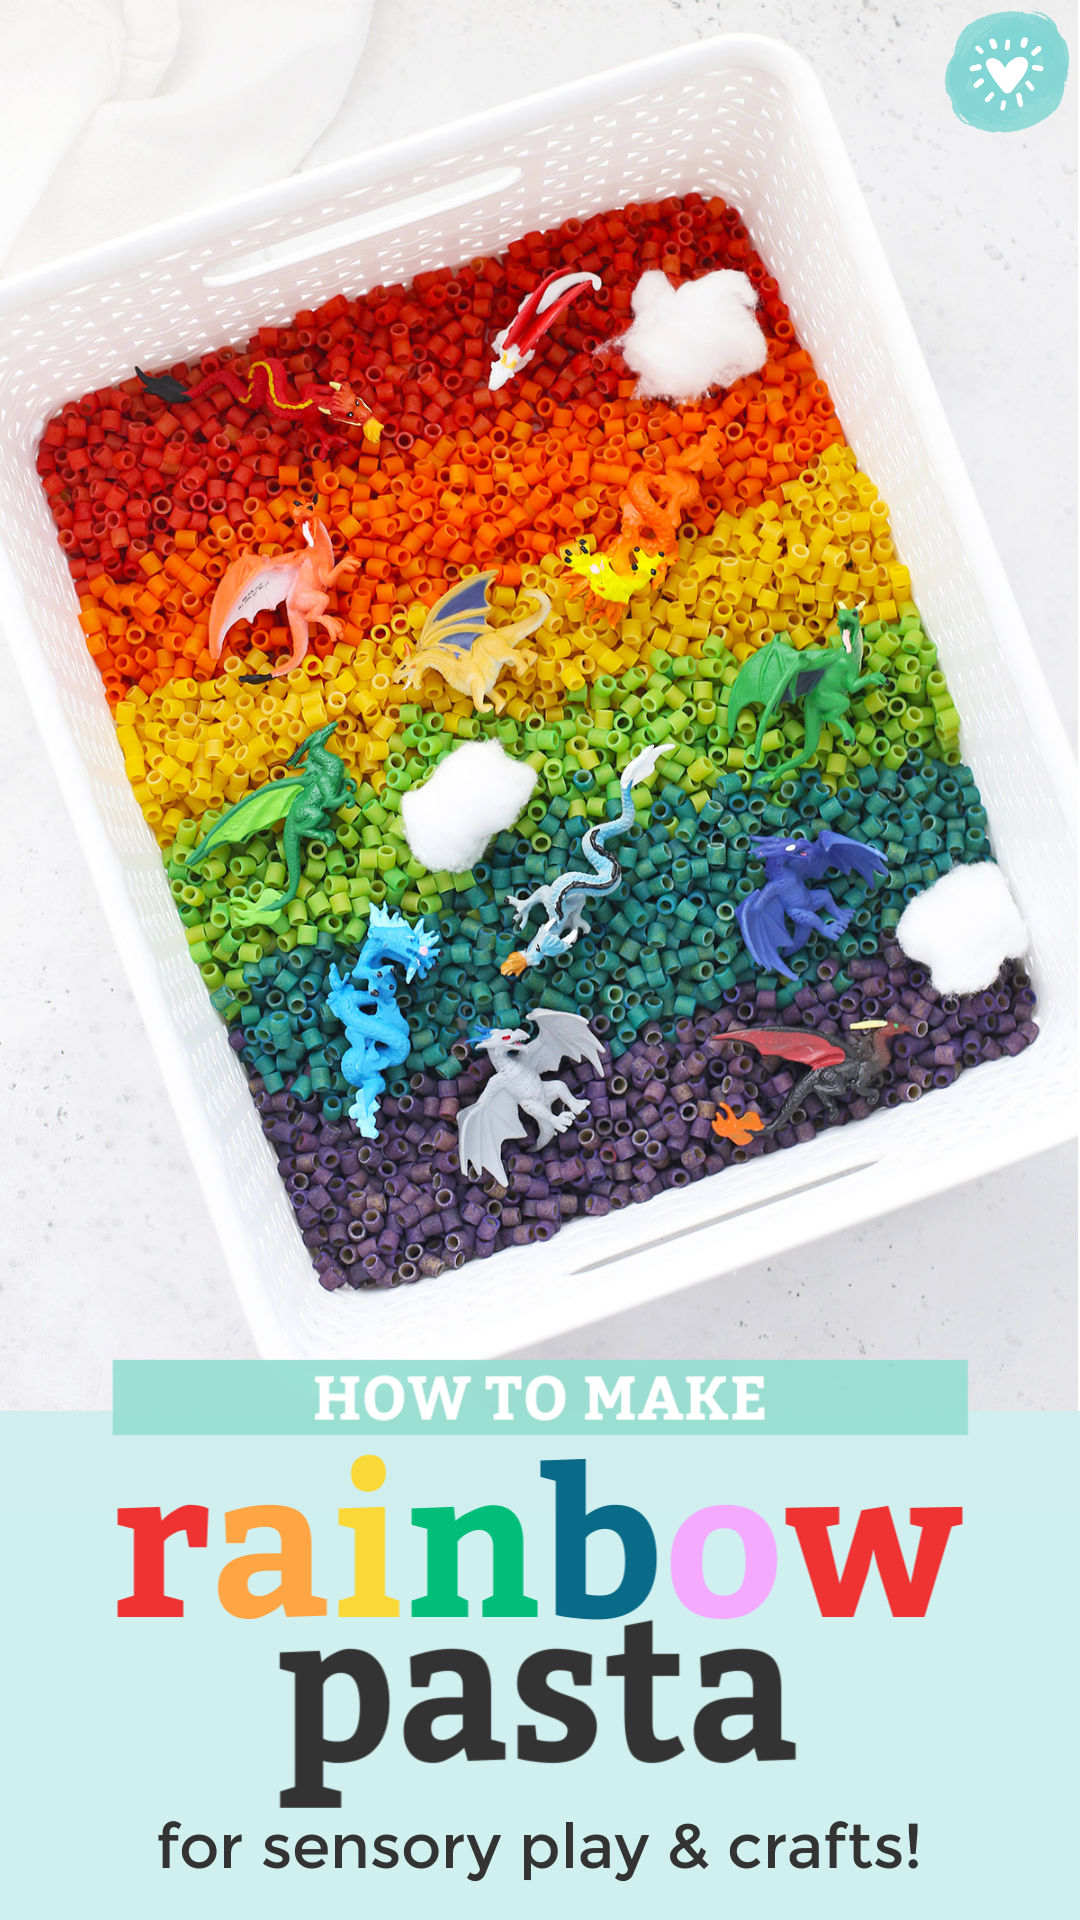
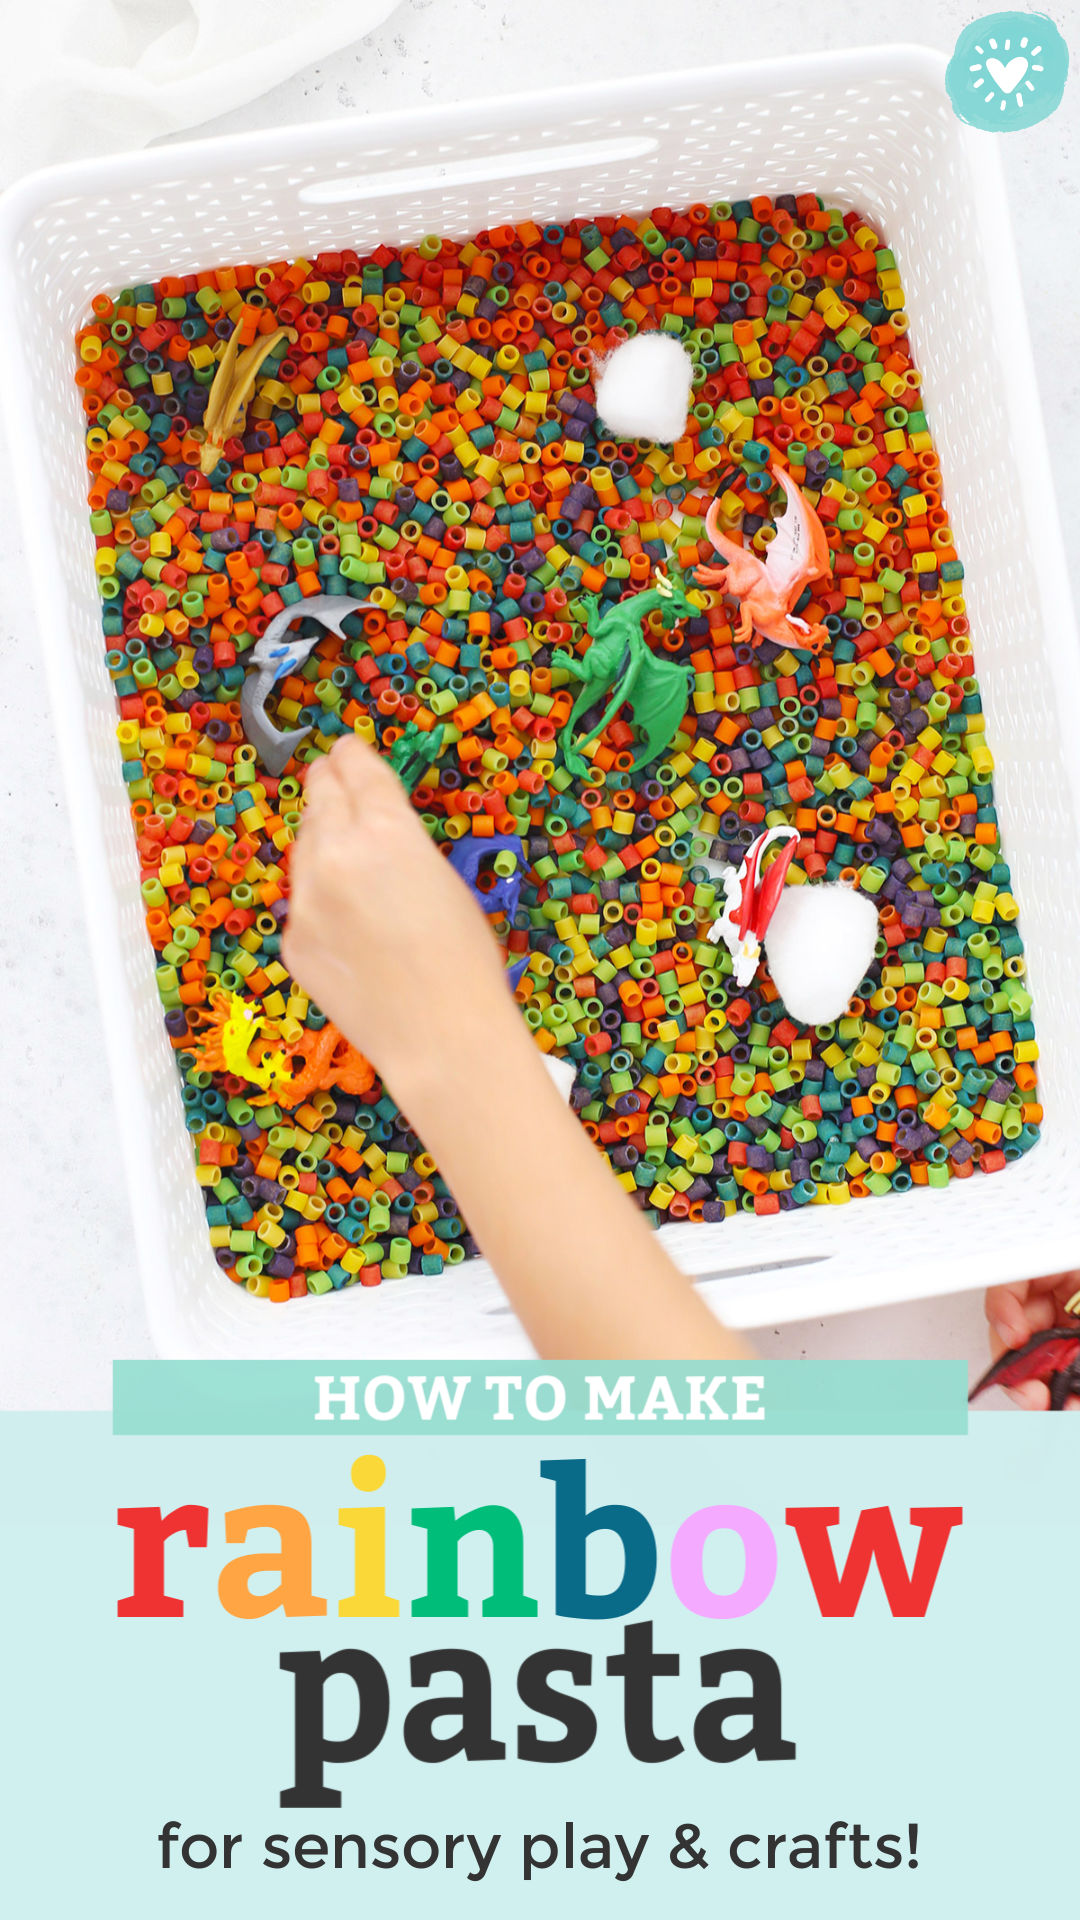
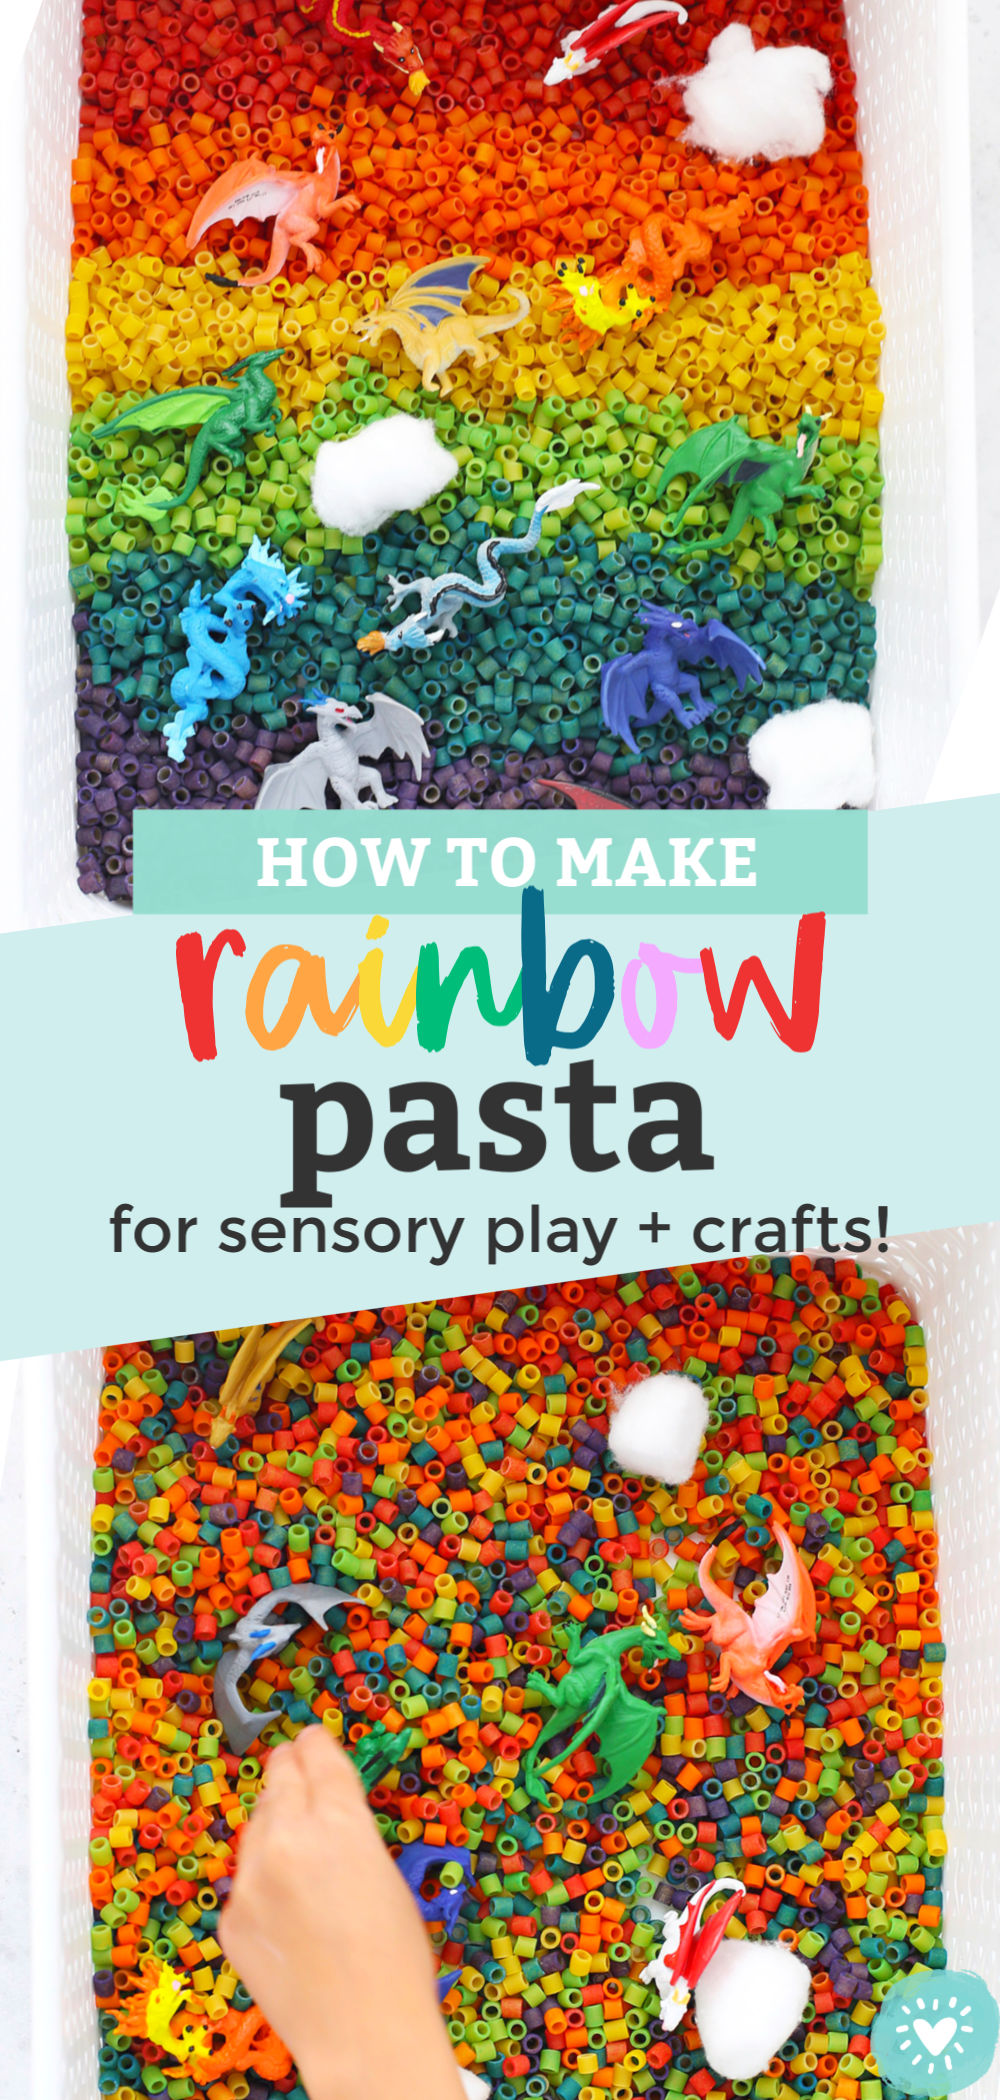
How to Make Rainbow Pasta for Sensory Play – The BEST way to dye pasta so it’s vibrant, bold, and beautiful. Perfect for crafts & sensory bins!
Another week spent at home means another week of coming up with ideas for keeping my kids busy, entertained, and engaged. (Anyone else? Everyone else?)
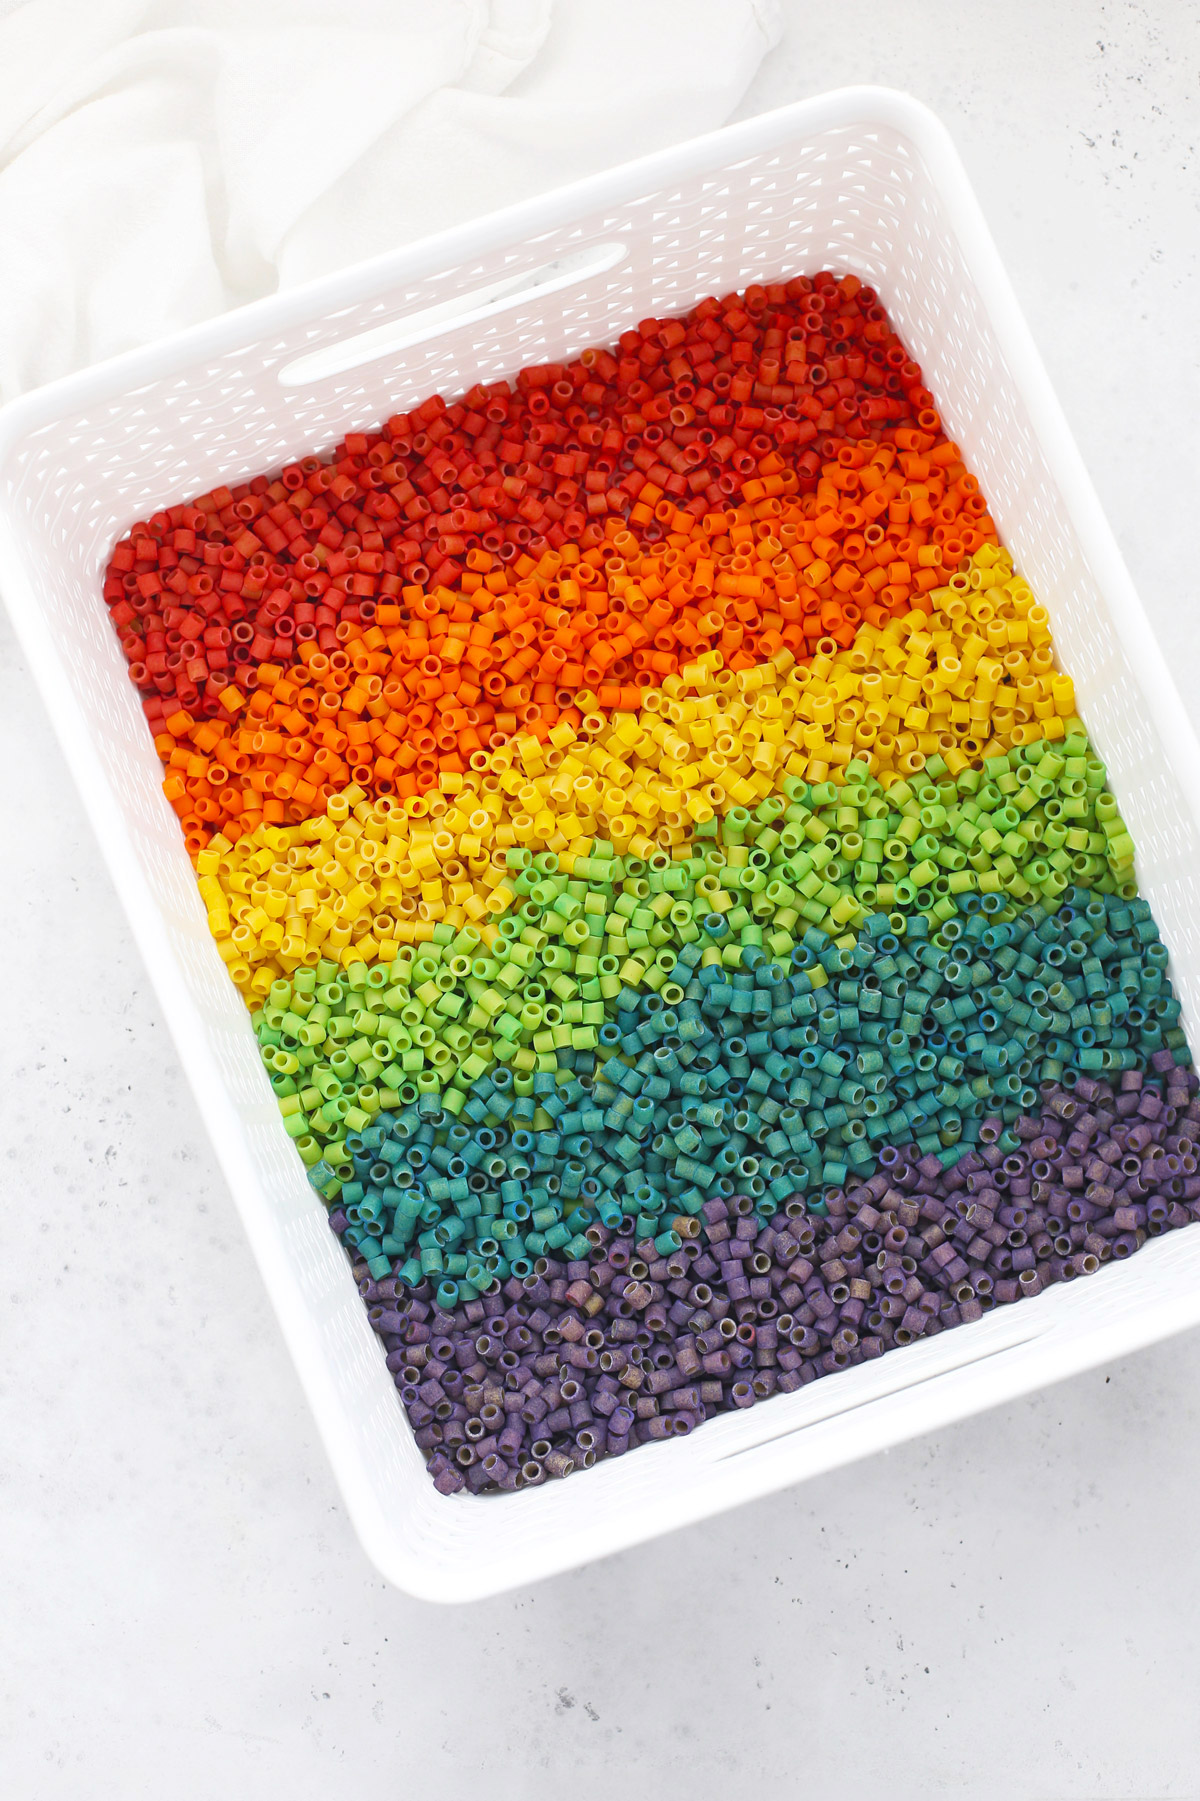
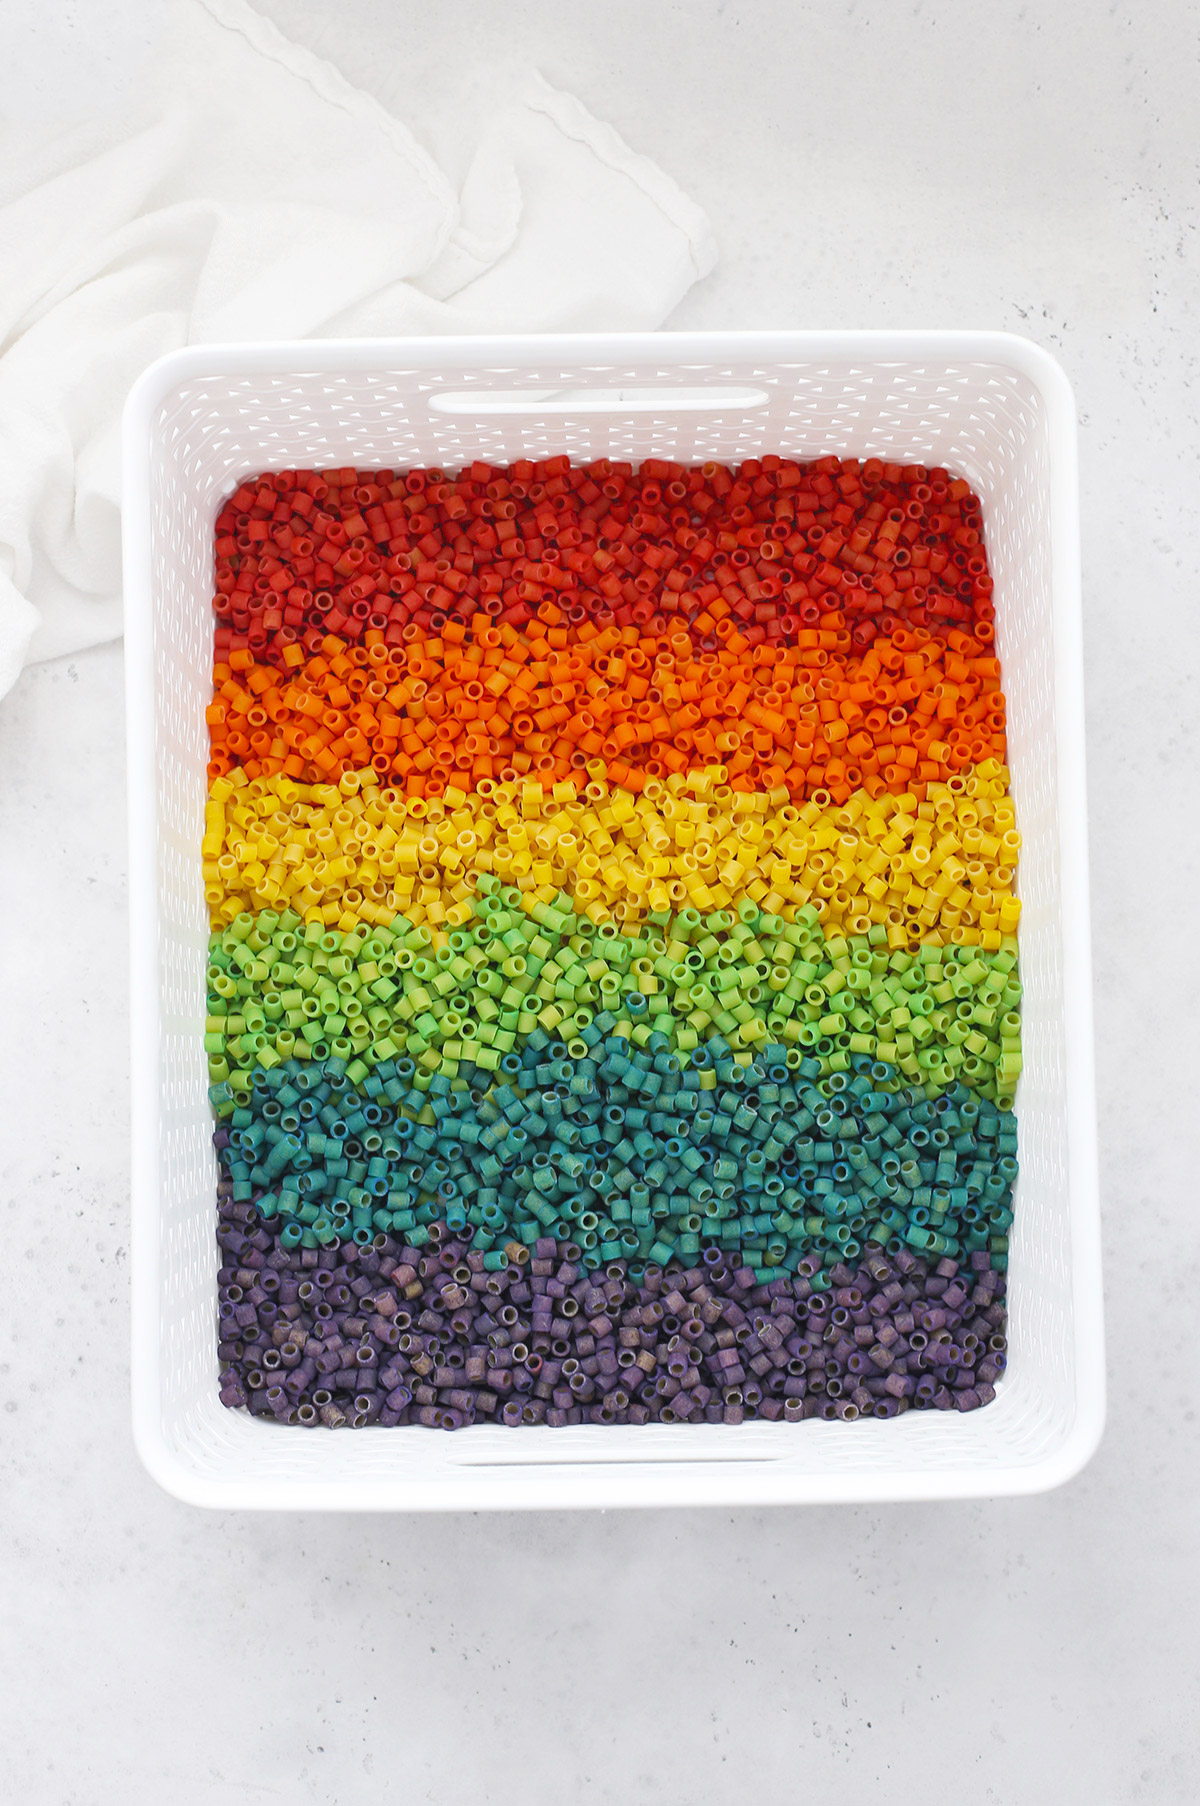
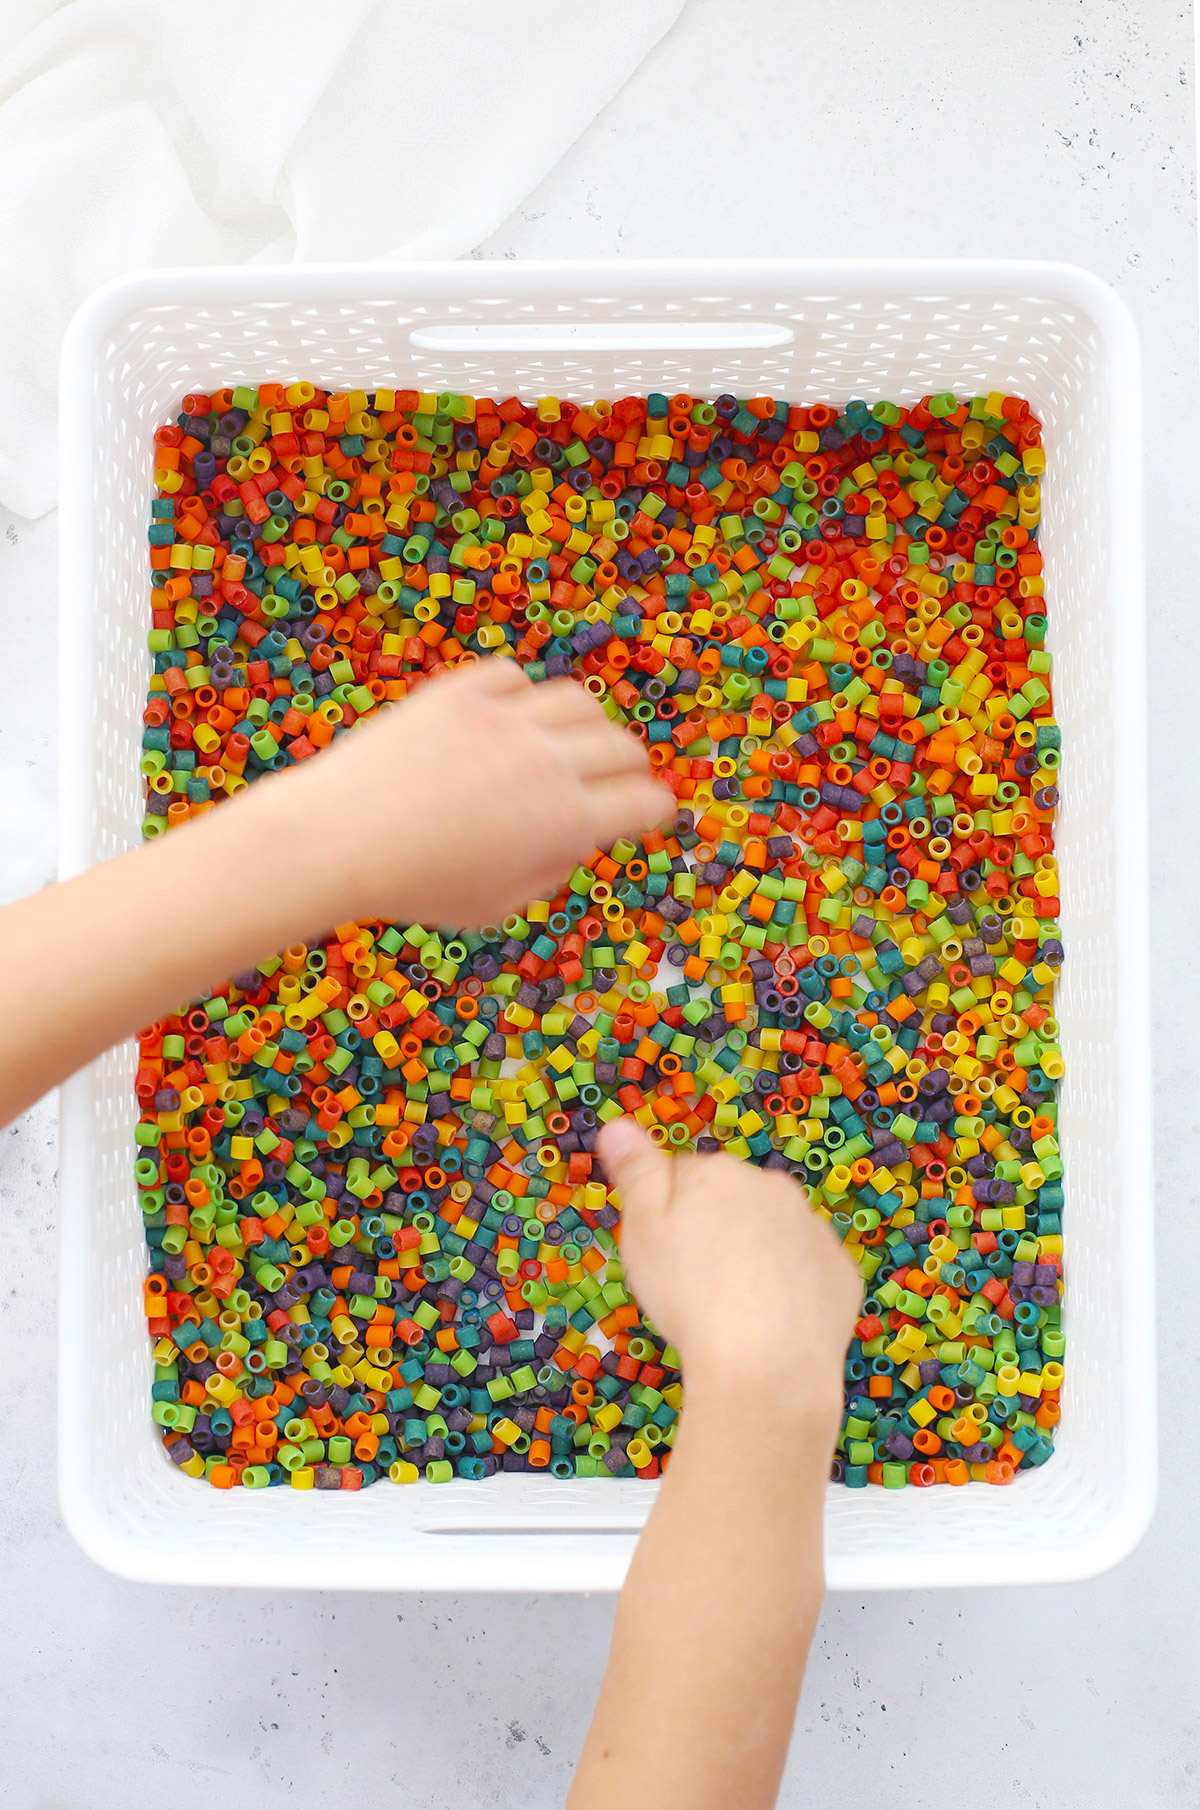
Last week we had TONS of fun putting together a rainbow pasta sensory bin. There are TONS of different ways to play and explore with rainbow pasta (and I’ve got a list down below in the post!), but I also love that making the rainbow pasta is another fun way to get everyone involved.
I’ve tried a lot of methods for dyeing pasta, rice, and beans over the years with varying levels of success, but a friend recently suggested THE ONE. *The* way to dye pasta so it’s vibrant, bold, and beautiful.
Turns out, the secret to pretty rainbow pasta is pretty simple…

HOW TO DYE PASTA FOR SENSORY PLAY SO IT’S VIBRANT
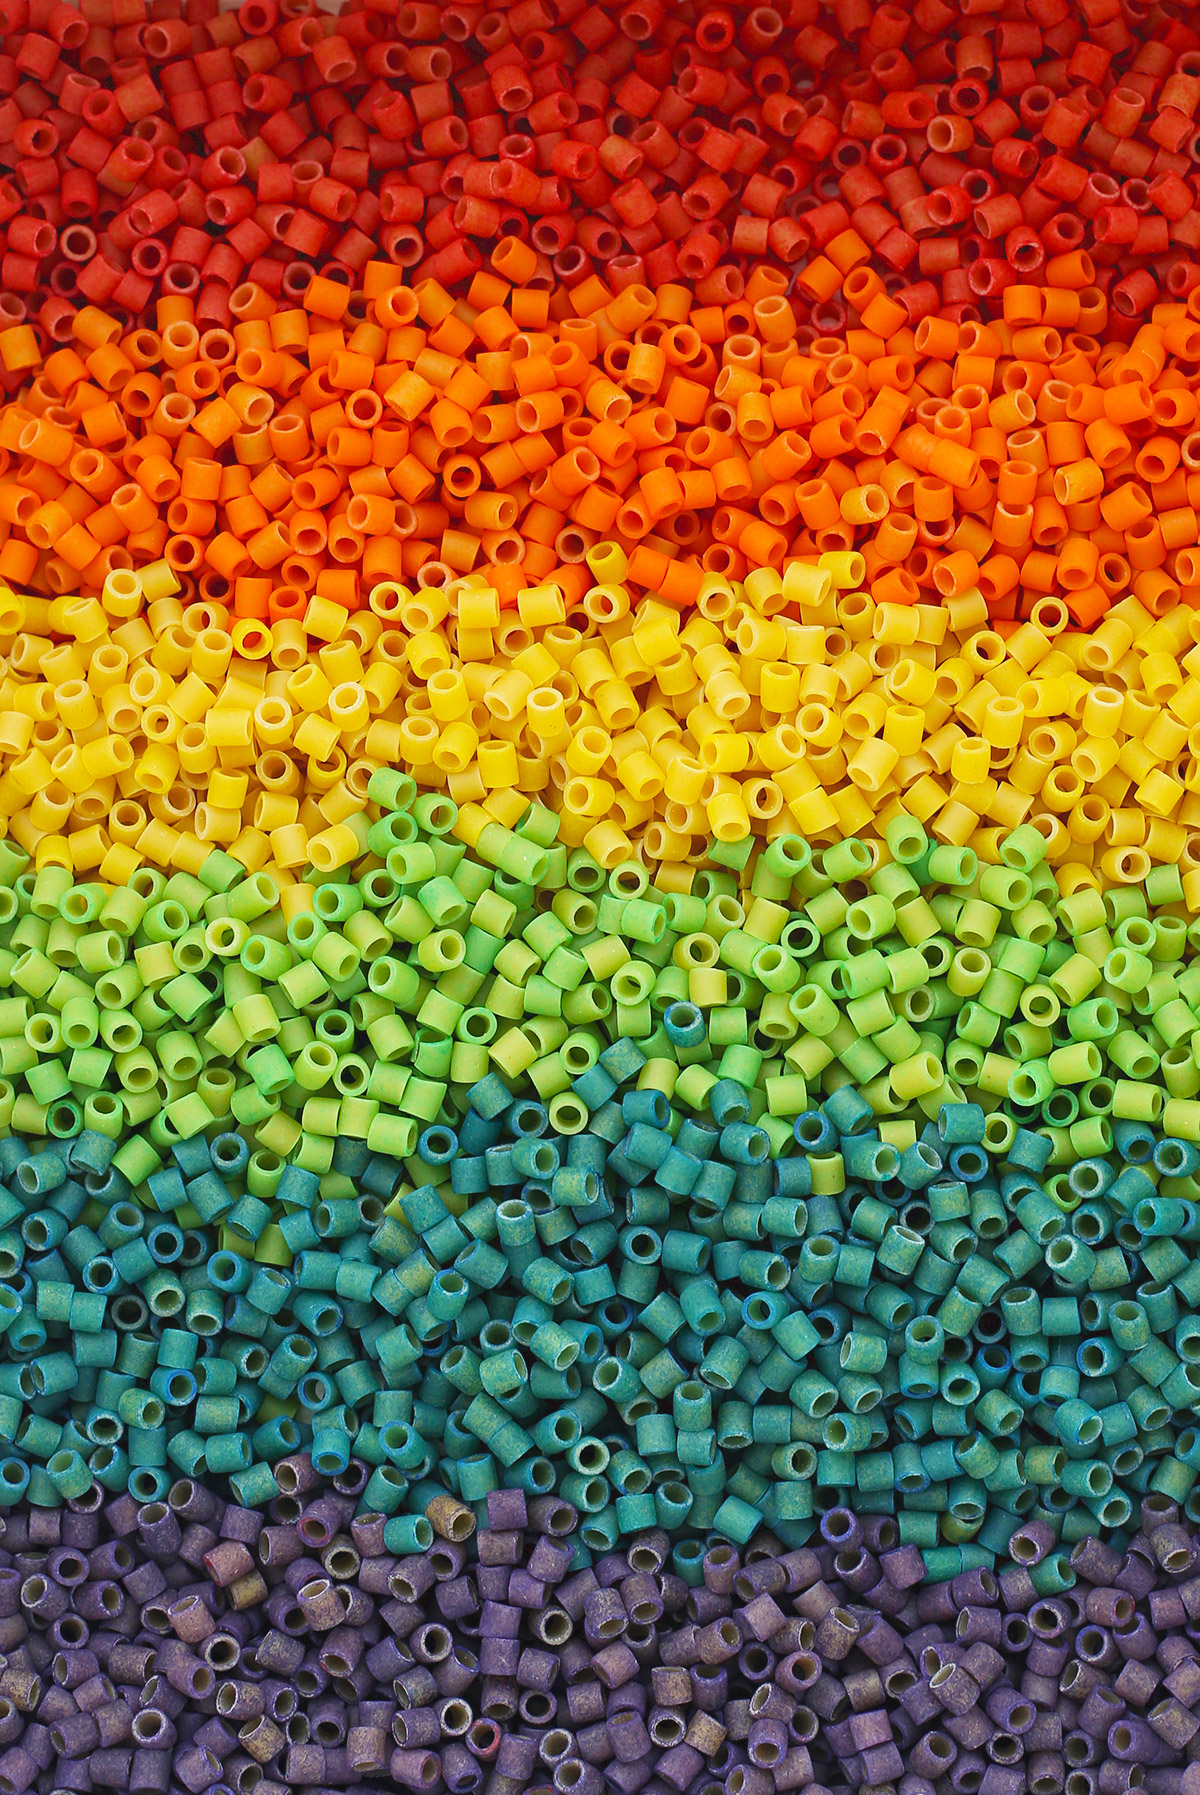
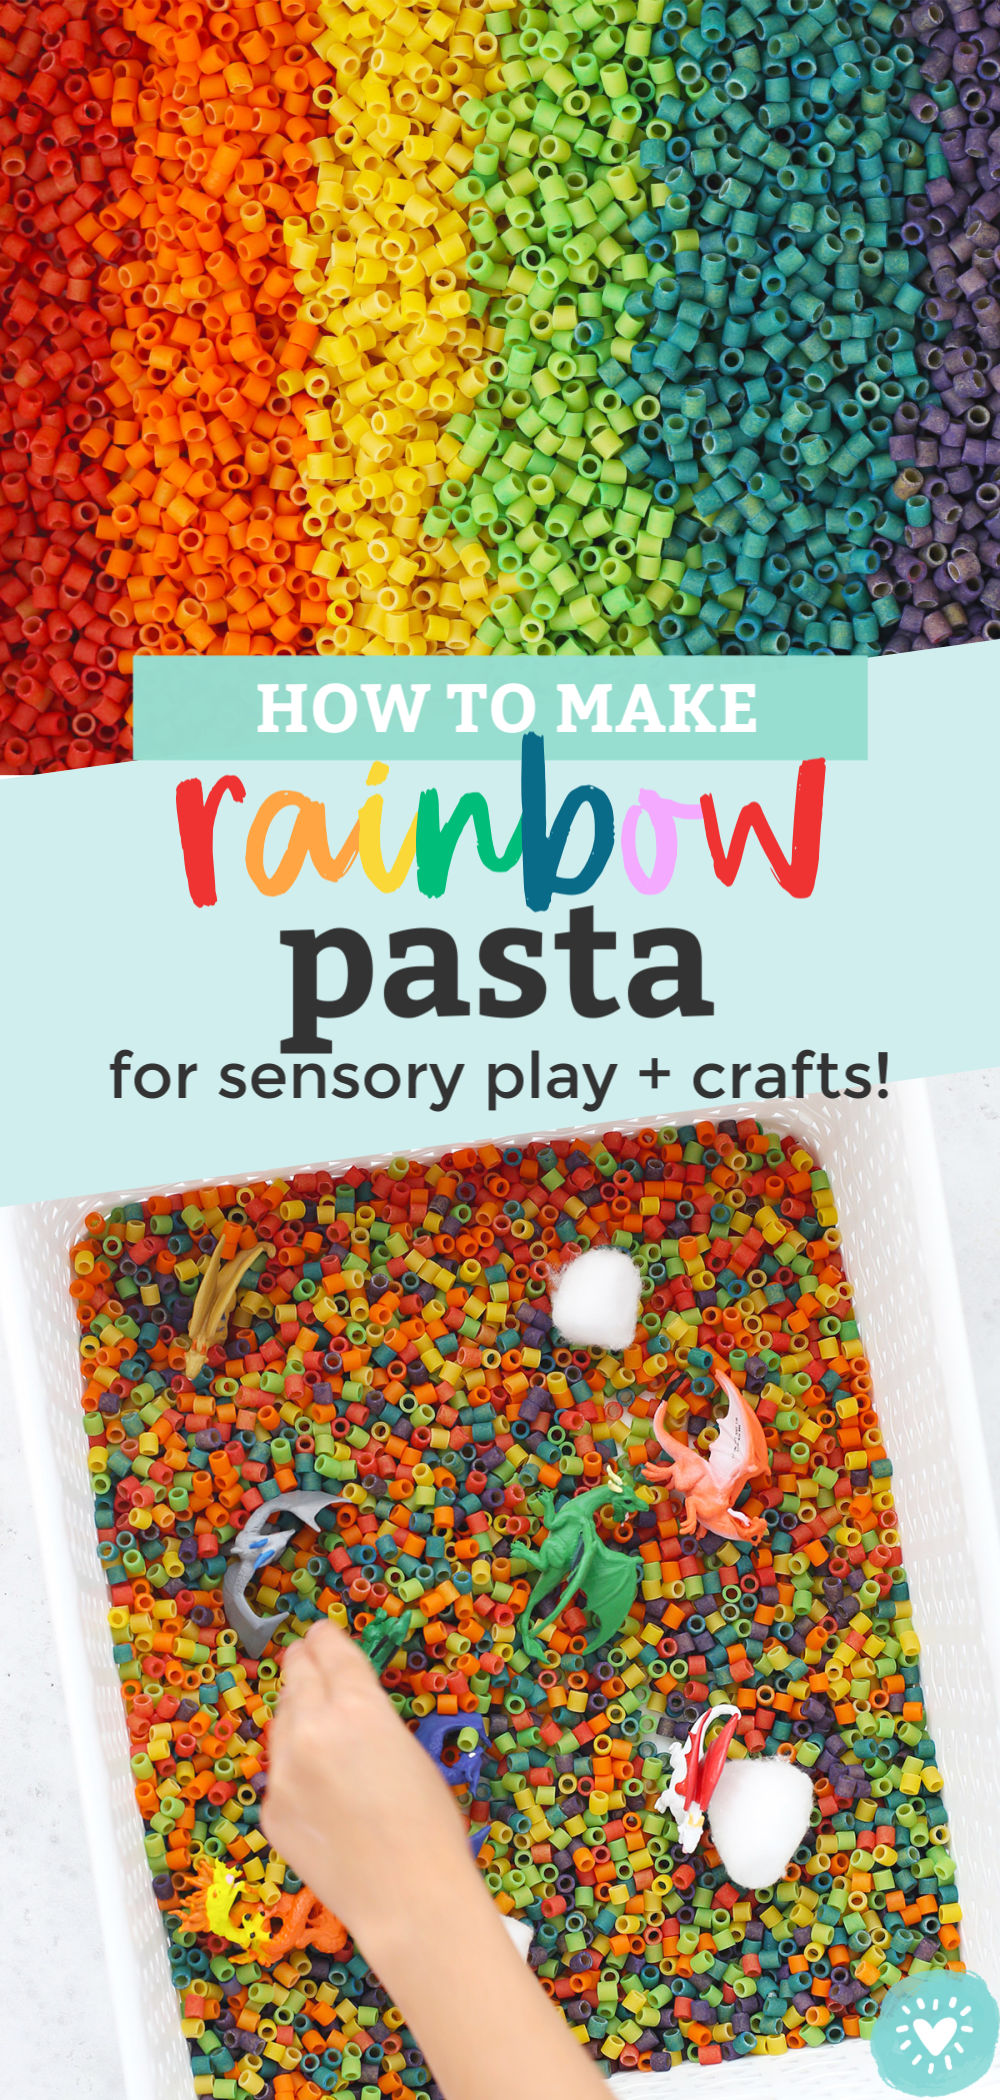
THE TRICK IS TO… use liquid watercolors! Liquid watercolors like THIS OR THIS (the kind of watercolors that come in a tube rather than on a palette) will give you really pigmented dye that stays in place, even with busy little hands.
While it will make the pasta inedible, dyeing the pasta with liquid watercolors will give you the long-lasting, highly pigmented results that make for awesome sensory play.
(If your child is still putting things in their mouths, scroll down to the FAQ below for an idea for you!)
WHAT YOU NEED TO MAKE RAINBOW PASTA:
- UNCOOKED PASTA. You can use nearly any shape, but we enjoy playing with small or tube-shaped pasta best. (Ditalini is what you see in our photos).
- LIQUID WATERCOLORS. These watercolors are sold in tubes (not on palettes), and they won’t stain your skin or clothes! (Here’s an Amazon option, if you prefer that!)
- PLASTIC BAGGIES OR SMALL CONTAINERS. I try to avoid plastic bags as much as possible, but they really work well for this job. If you prefer, you can use a jar with a lid or small container instead, though it may take a little more paint and work to get your pasta coated well. (See the next section for how we can make the whole batch only using 2 bags)
- PARCHMENT OR WAX PAPER (OR OLD NEWSPAPER). Then, a little sheet of parchment or waxed paper (or an old piece of cardboard, paper bag, or newspaper) to spread the rainbow pasta out on to dry.
HOW TO DYE PASTA WITH LIQUID WATERCOLORS
- DIVIDE PASTA INTO EVEN AMOUNTS based on how many colors you plan to do (I did 2 (16oz) boxes of pasta and divided it into 6 groups to make 6 colors. (If you plan to make more colors or fewer colors, you’ll want to divide it evenly.)
- PUT PASTA INTO A PLASTIC BAG.* Seal the top securely and try to press out most of the air (leave some air to allow the pasta to move more freely).
- ADD A GOOD SQUEEZE OF LIQUID WATERCOLOR. We used between 2-3 tsp. of liquid watercolors per bag. (I recommend starting with 1 tsp. at a time and going from there–you can always add more!) Note: if you’re using larger pasta, like ziti or penne, you will need more color than if you’re using smaller pasta.
- SEAL THE BAG AND WORK THE DYE INTO THE PASTA by massaging and shaking the bag. My kids love this job!
- ADD MORE WATERCOLOR IF NEEDED. If you want the pasta more intensely colored, feel free to add a bit more watercolor to the bag and keep working it in.
- SPREAD THE DYED PASTA OUT ONTO WAX PAPER TO DRY. Spread the rainbow pasta out onto a sheet of waxed paper or parchment paper to dry.
- REPEAT WITH REMAINING PASTA + COLORS! Then, just repeat the process with each color & section of pasta.
*PRO TIPS TO CUT DOWN ON WASTE: You can minimize the number of bags you use by dyeing the pasta in color order. We did YELLOW, then ORANGE, then RED in one bag and GREEN, then BLUE, then PURPLE in another bag.
If you really want to go the distance, you can also wash out any remaining paint from the bag as long as it’s wet. Then, you can re-use the bag for other crafting purposes. (I wouldn’t use it for food.)
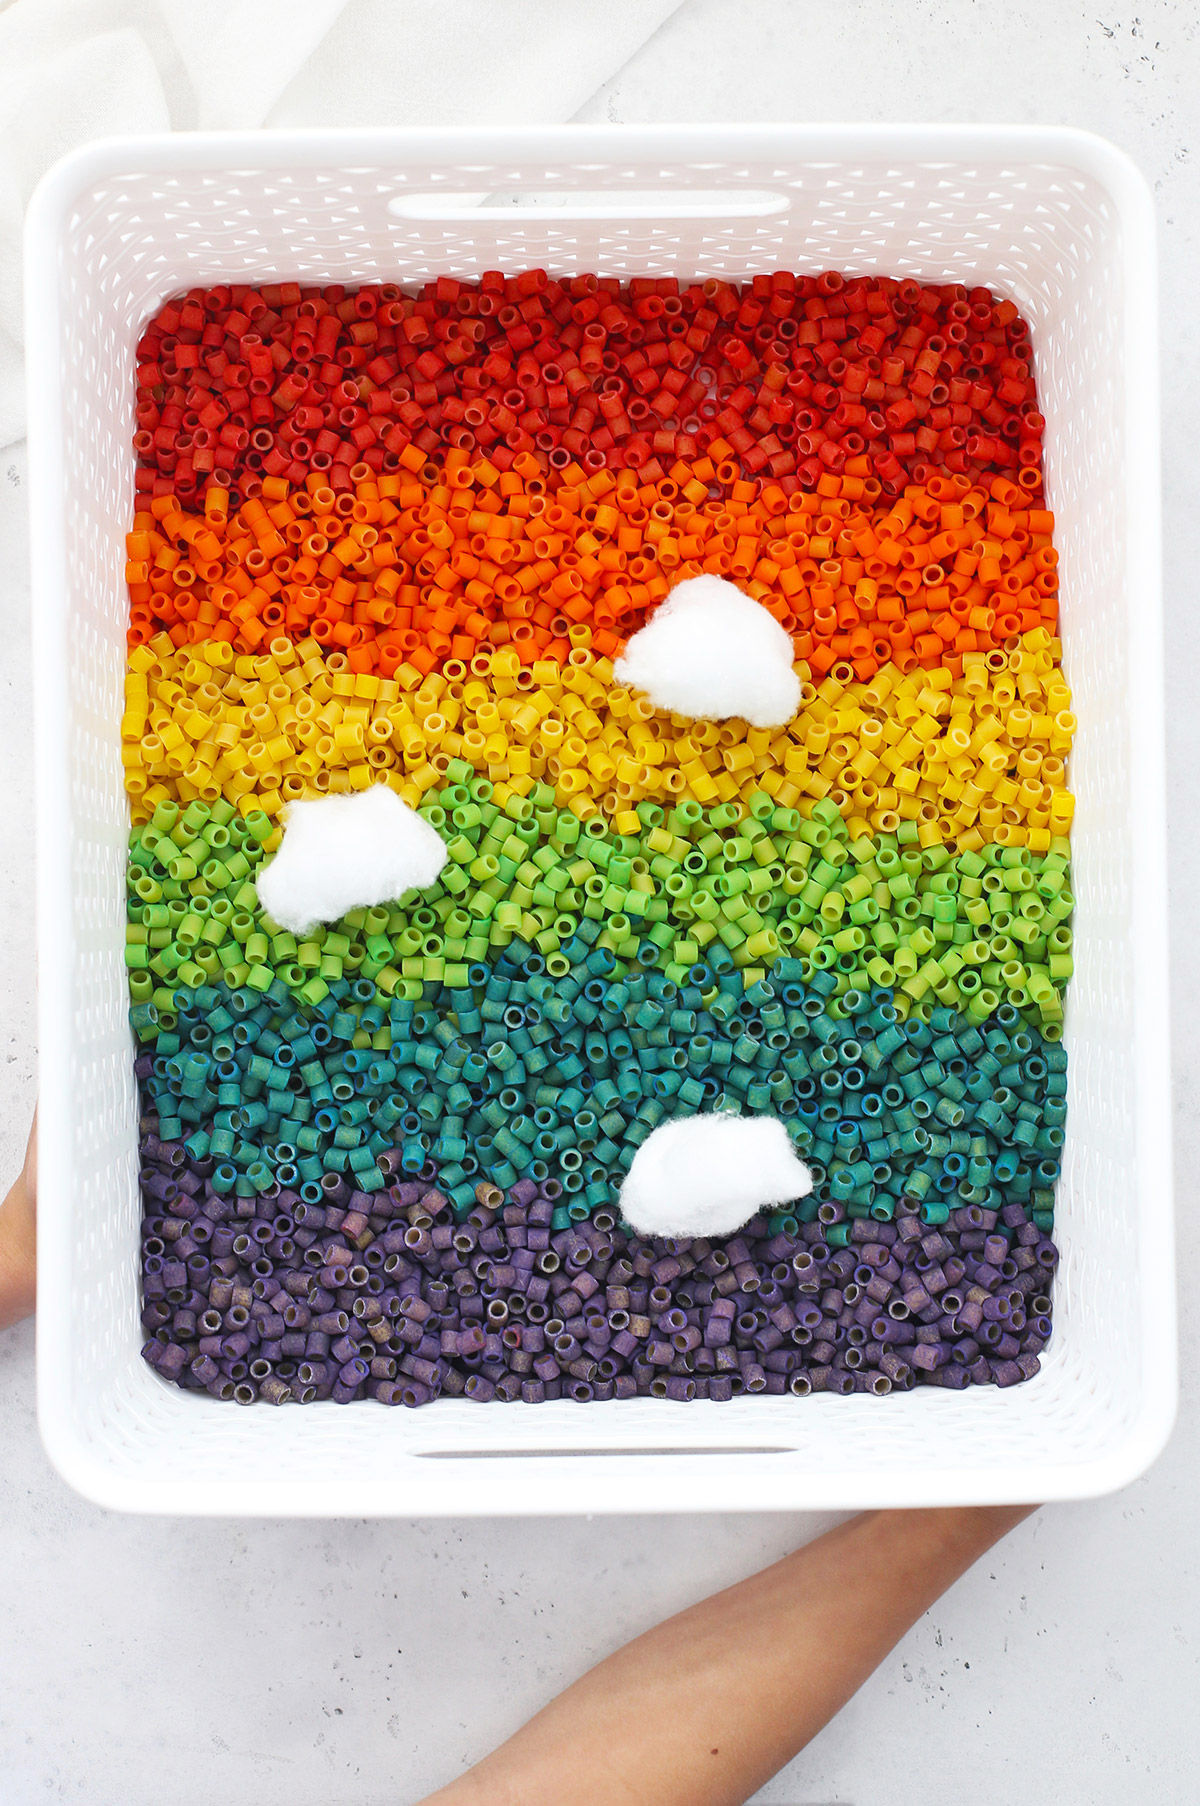
IDEAS FOR PLAYING WITH RAINBOW PASTA:
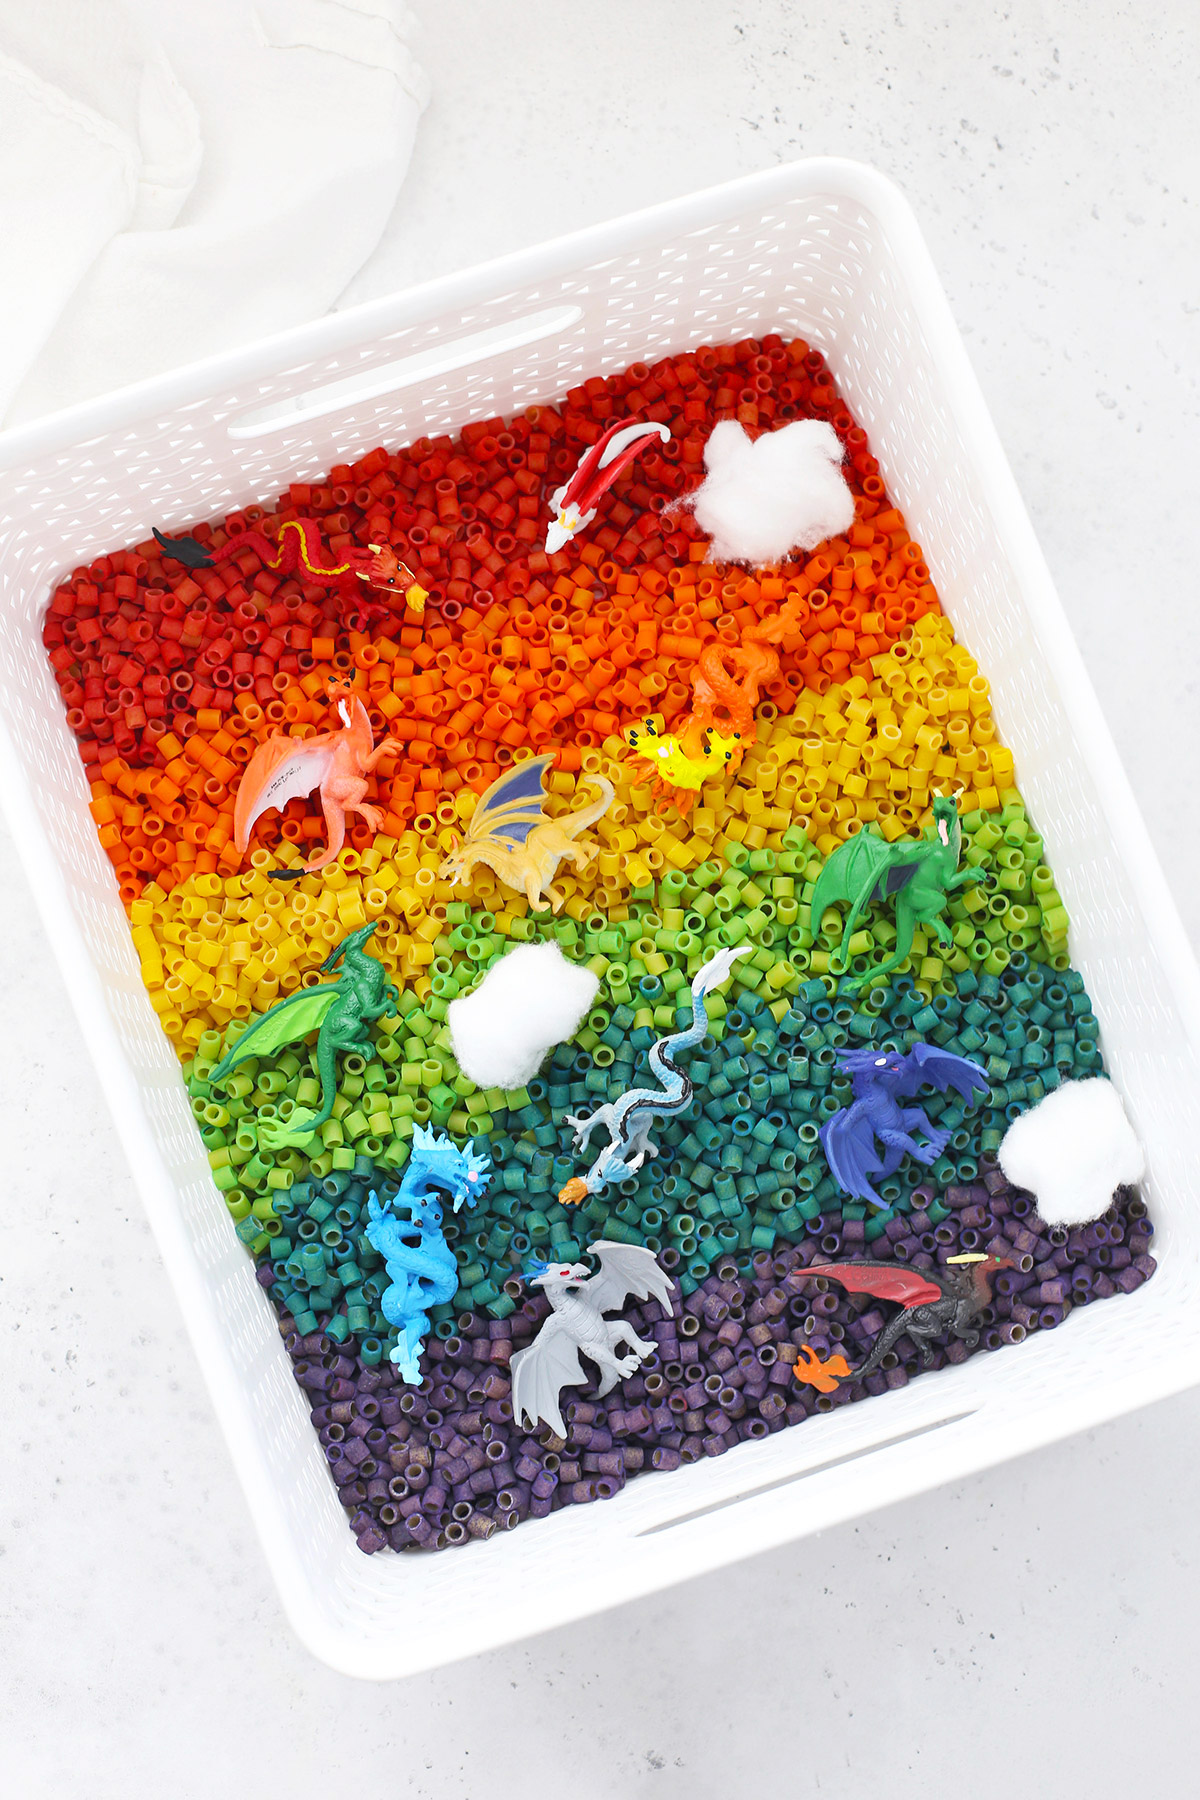
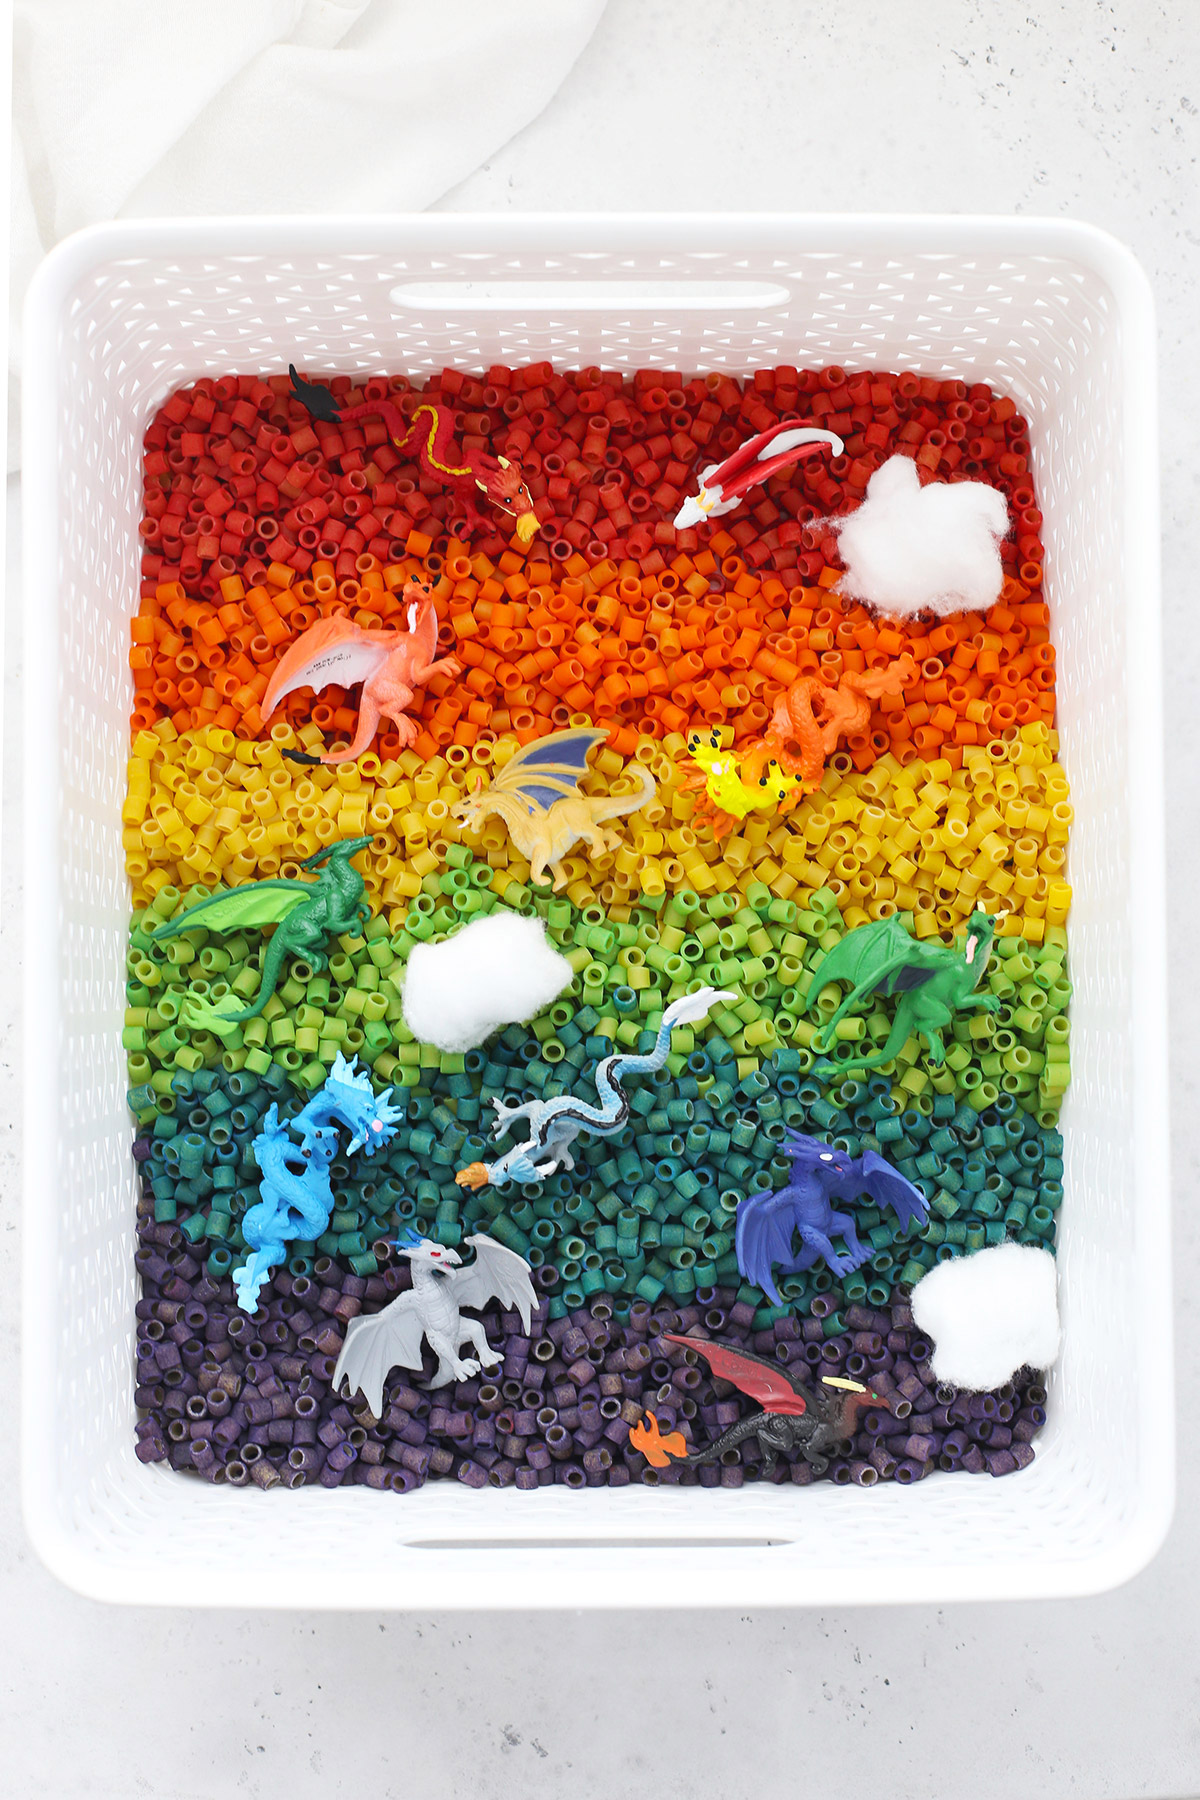
- ADD ANIMALS OR FIGURINES TO CREATE A SCENE. Try using colorful dragons, safari or jungle animals, butterflies, ocean animals, dinosaurs, etc.
- PRACTICE MEASURING & SCOOPING. You could even give a child a “recipe” to follow with different colors of pasta. (1/2 cup red pasta + 2 Tbsp. blue pasta + 1 Tbsp. yellow pasta, etc.)
- STRING ONTO PIPE CLEANERS OR STRING. Use pipe cleaners, string, or yarn to make bracelets, necklaces, etc.
- PRACTICE MAKING PATTERNS. Practice simple patterns for little ones (ABA), or get more intricate for older kids (ABCDE). Or, start a pattern on a pipe cleaner and have your child continue the pattern.
- USE DIFFERENT TOOLS TO GRAB & MOVE THE PASTA. Tongs, grabbers, chopsticks, spoons, clothespins, ladles, funnels, etc.
- RUN A BAKE SHOP OR RESTAURANT and use the different colors of pasta for different dishes, or scoop the pasta into dishes or reusable muffin liners to create menu items.
- USE COOKIE CUTTERS to make different shapes with the rainbow pasta. (Fill with pasta, then lift and see if you can get the pasta to hold its shape.)
- SORT BY COLOR into cups, bowls, or silicone muffin cups. Make rainbows or different shapes by color!
- COMBINE WITH PLAY DOUGH. You can also use your rainbow pasta to decorate play dough cookies, cakes, etc.

FAQ + TIPS & TRICKS FOR DYEING RAINBOW PASTA
HOW LONG WILL RAINBOW PASTA LAST? Because it’s uncooked, it will last for a long time (months and months). Depending on how often you play with it & how rough your kids are, the pasta may crack and break, but it shouldn’t spoil.
HOW DO YOU MAKE BLACK? With lots and lots of purple! Just keep adding purple and it’ll get dark enough to get a black look. (Black pasta looks super cute for Halloween paired with orange, green, and purple pasta!)
CAN YOU MAKE PASTELS? Not really, with this method. We’ve found the rainbow colors really stand out more when they’re bright and vibrant. All our attempts to make pastel dry pasta have been a bit muddy and flat, since the natural yellow tones of the pasta muddy things up a bit.
WHAT’S THE BEST WAY TO STORE RAINBOW PASTA? Once you’ve dyed the rainbow pasta and it has dried, you’ll want to keep your rainbow pasta dry. You can put it in an airtight baggie or a container with a lid (we like this one).
TIPS FOR LITTLE ONES. If your child is still putting things in their mouths, you’d be better off using an edible method for dying pasta, like this one.
LOOKING FOR MORE FUN IDEAS FOR KIDS? YOU MIGHT LIKE:
- How to Make an Animal Sensory Bin
- 100 Activities to Do with Kids
- How to Make an Ocean Sensory Bin with Water Beads
- Easy Recipes to Cook with Kids
Hi! I tried this today with bow tie pasta and the black tube of watercolor you recommended. I couldn’t get the color to spread onto the whole pasta. I added rubbing alcohol thinking if I thinned it out it would get into the creases more…. Nope 🫢 so I’m thinking rounder smaller pieces like you recommended would be better but do you have any tips for this particular shape of pasta?
Hi! The small pasta definitely coats easier, but to try to save the bow ties, I’d honestly just try repeating the process to add more paint. You’ll likely just need more paint to coat everything. My fingers are crossed for you!
Thank you!!!!! Also this is silly but we aren’t cooking the pasta first right?? I mean I assumed not but now I feel silly and decided to ask! So I did add more paint and they’re super duper pigmented but also gummy. Fingers crossed for over night! Can’t wait to try smaller pasta. Thanks so much.
Hi! If the pasta is still gummy, you can try dehydrating it in the oven at 250 degrees for 30-60 minutes. Otherwise, you might just have to wait for the smaller pasta. 🙂