
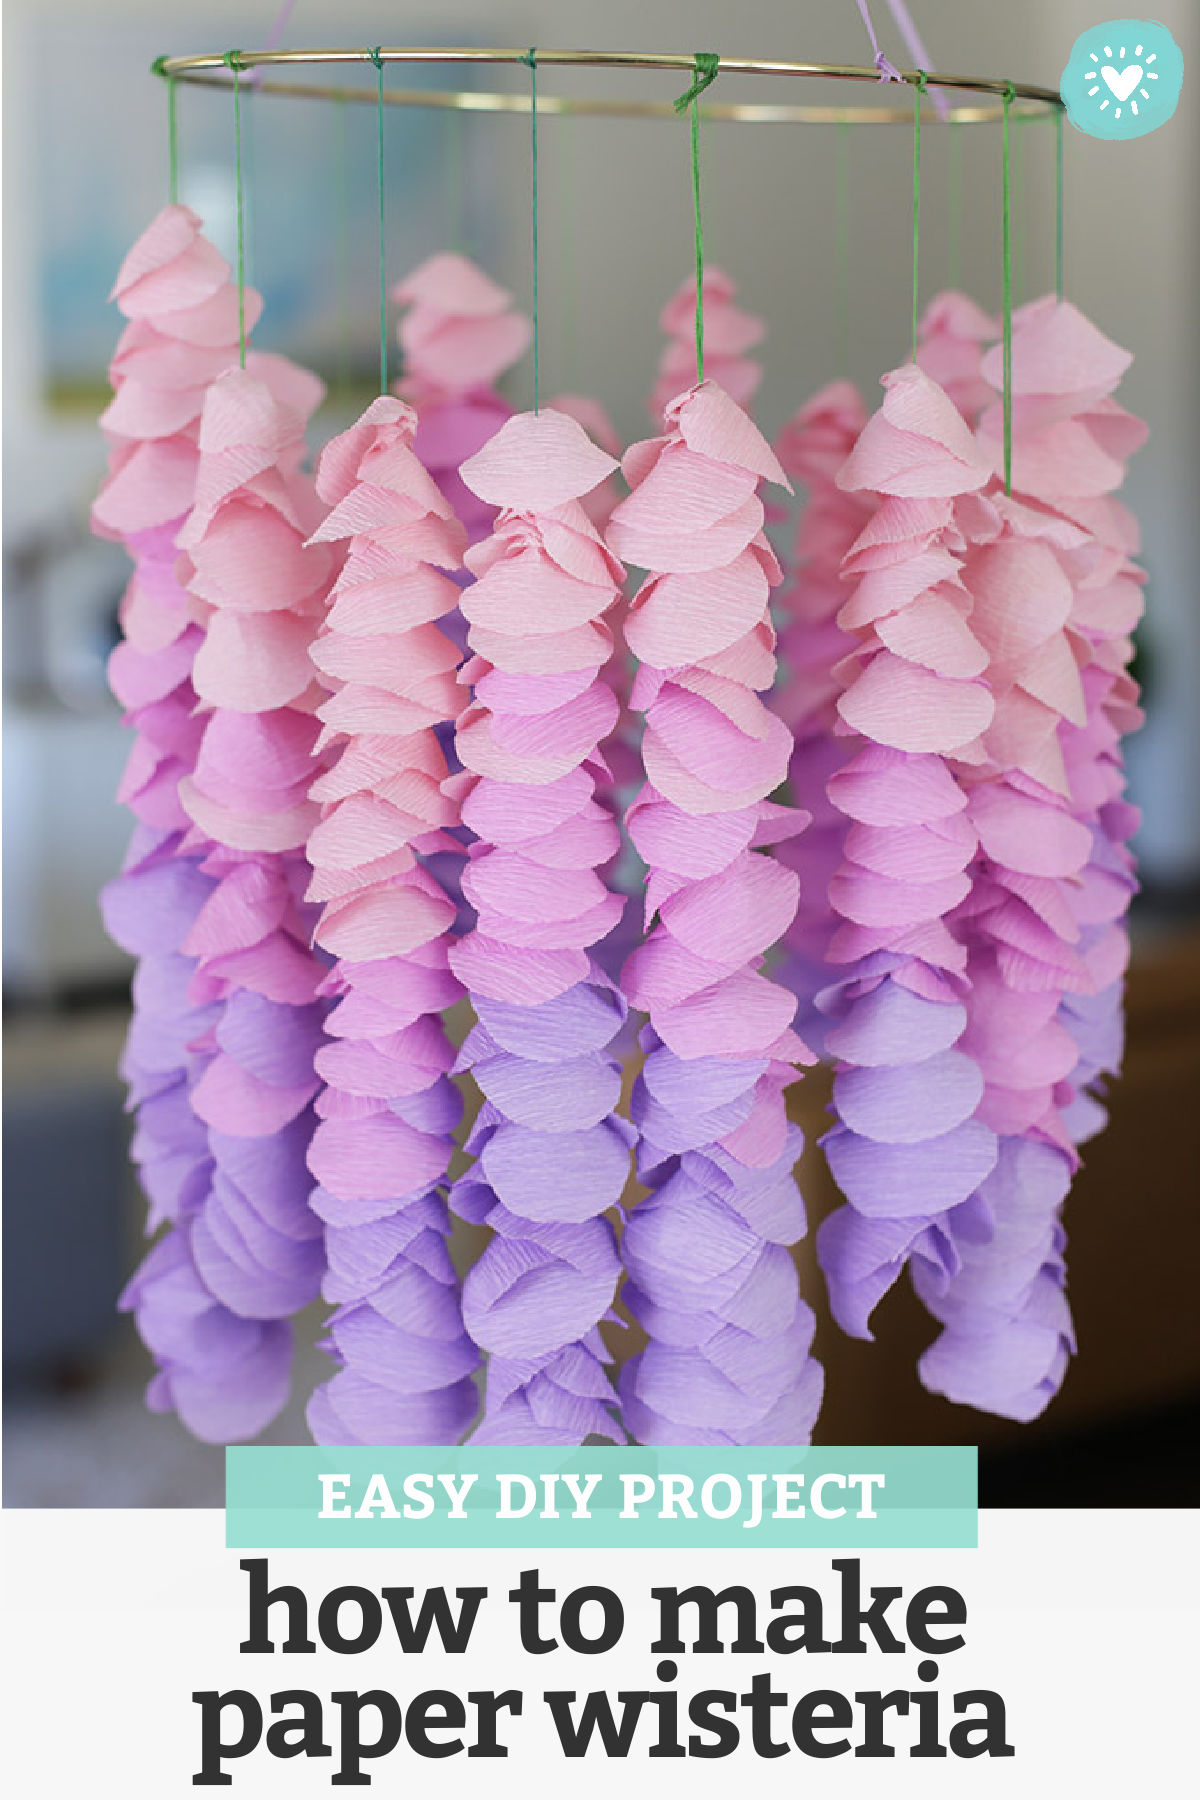
How to Make Crepe Paper Wisteria – This is one of those glorious DIYS that *looks* so much more complicated than it is. Easy, inexpensive DIY’s are my jam.

Now that we’re done with the winter holiday season (and St. Patrick’s Day is such a short window), I’m feeling all kinds of spring-y vibes. I made a crepe paper leaf garland for some bright, happy green, but wanted something colorful and floral around the table.
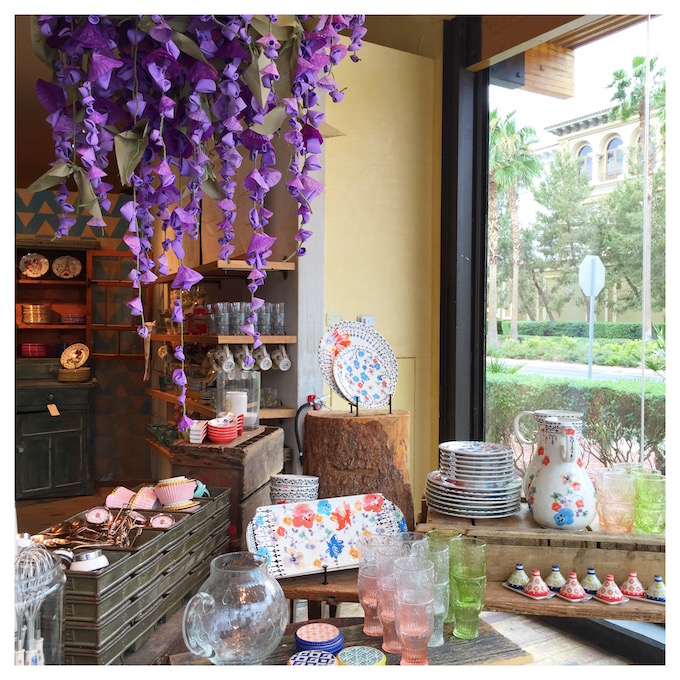
I’ve done a lot with tissue paper (since it’s just so darn inexpensive) but this was my first time working with crepe beyond the cheap-o paper streamers I’ve bought for parties. Real crepe (sold in rolls about 20-inches wide) is much higher quality, maintains its stretch, and is thicker than the stuff you buy at party shops. I ordered a few rolls from here in an ombre purple-pink palate for some dimension. You could certainly use other colors (or all one color, or just two colors, etc.), but I went with purple and a lavender-y pink that are lovely. Surprisingly, the rolls are only about $1.30 each, so even with paying shipping the end result is very inexpensive!
Here’s how I made it…
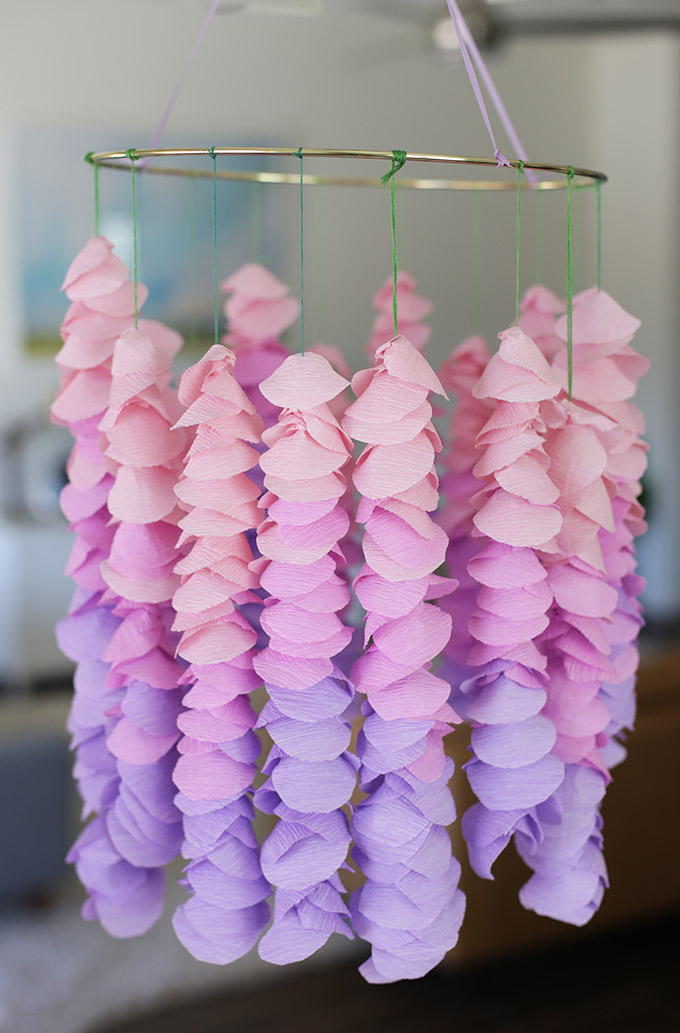
PAPER + MATERIALS I USED FOR THIS PROJECT:
- Lilac Crepe (my dark color)
- Taffy Pink Crepe (my medium color)
- Carnation Pink Crepe (my light color)
- Embroidery Thread
- 12-Inch Hoop or 14-Inch Hoop (sometimes called a Macrame hoop)
- Command Hook
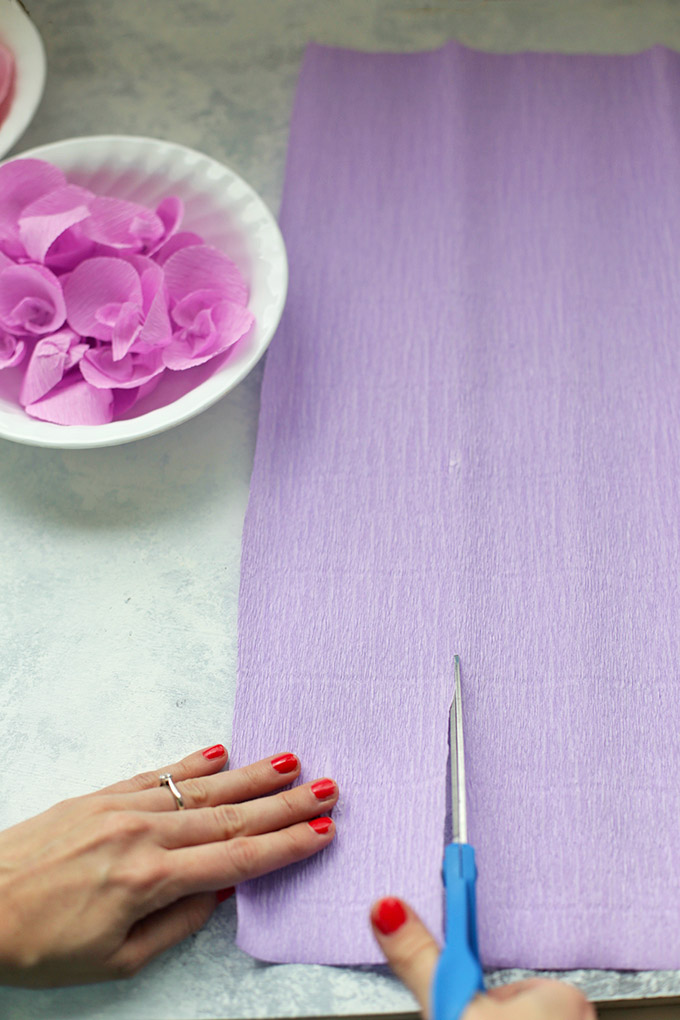
1. CUT CREPE PAPER INTO STRIPS.
Cut 3-4″ wide strips of crepe. You’ll use these to make several petals at a time.
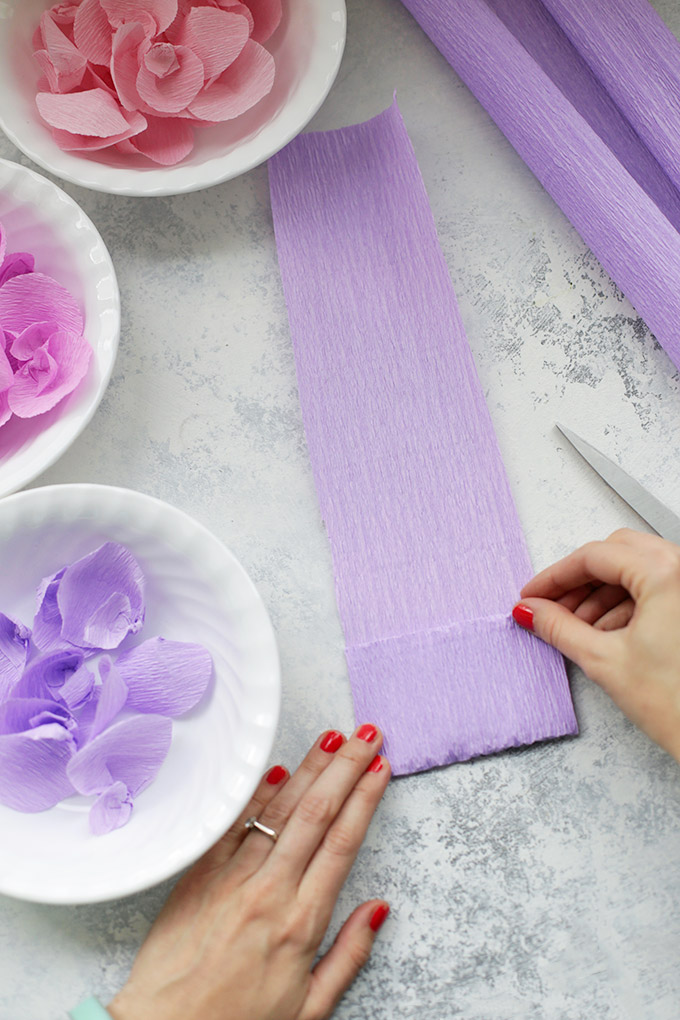
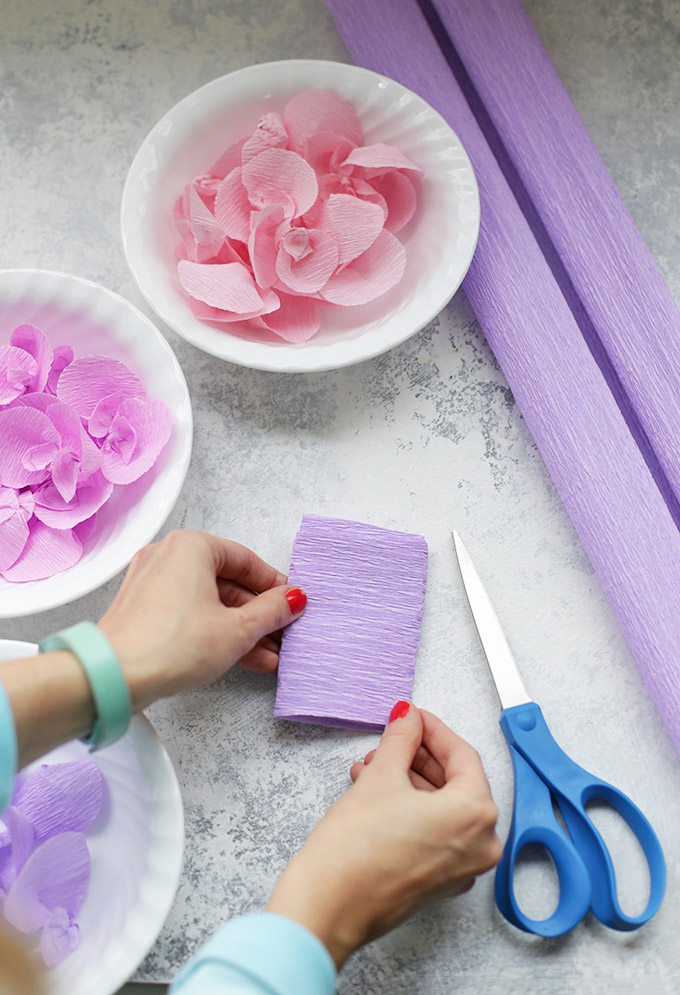
2. FOLD THE CREPE PAPER INTO A NEAT RECTANGLE
Fold about 2-2.5″ lengths all the way across until you have a neat rectangle (it’s okay if there’s a tiny bit leftover at the end). This will help you be able to cut multiple petals at a time and make it easier to keep sizing consistent.
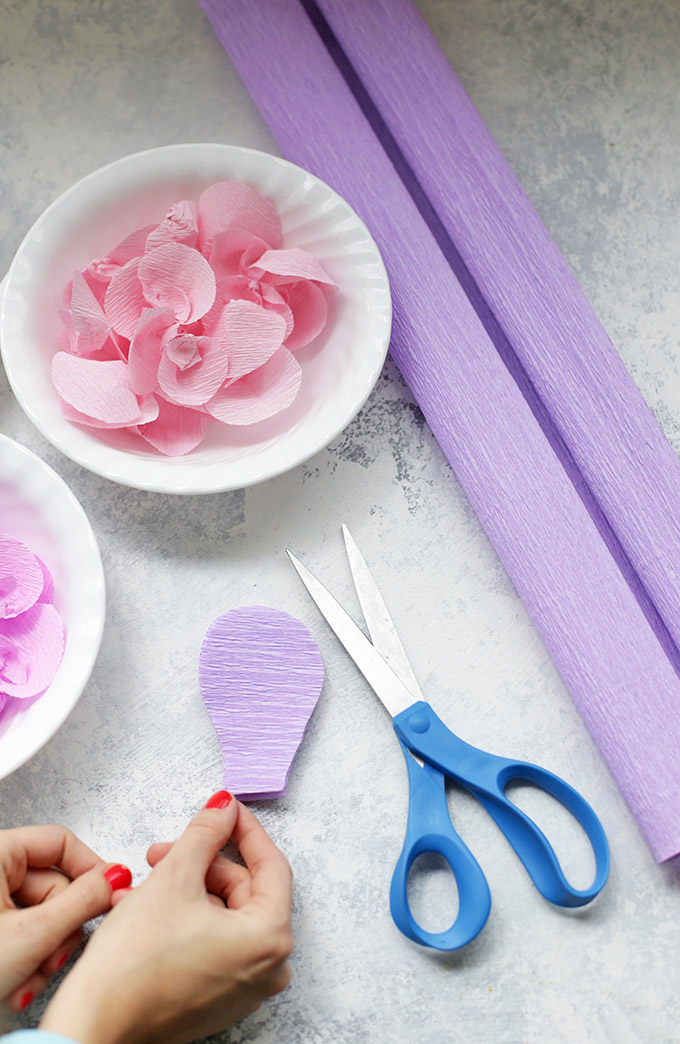
3. CUT OUT A BALLOON SHAPE TO MAKE PETALS.
I didn’t use a template for this, figuring that if each set of petals was slightly different in shape it could only add to the effect. I also made sure to cut so that the grain (the lines) went horizontally across the width of my balloon shapes. This helped as I was shaping petals. If you accidentally do it vertically, it will still work, but you may not have as much control over shaping the petals.
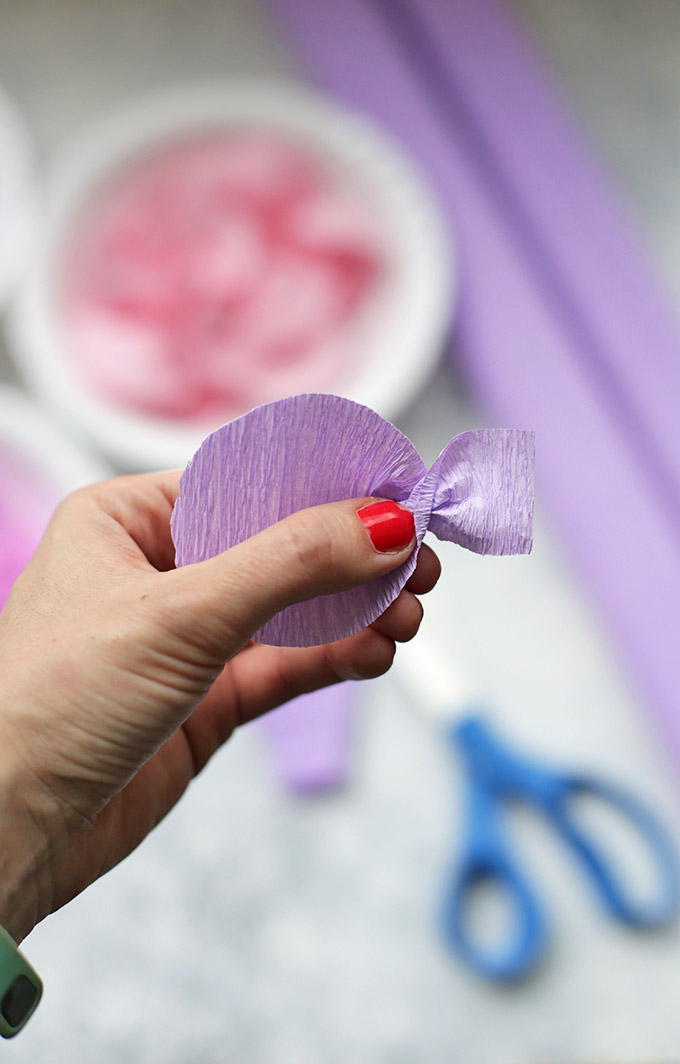
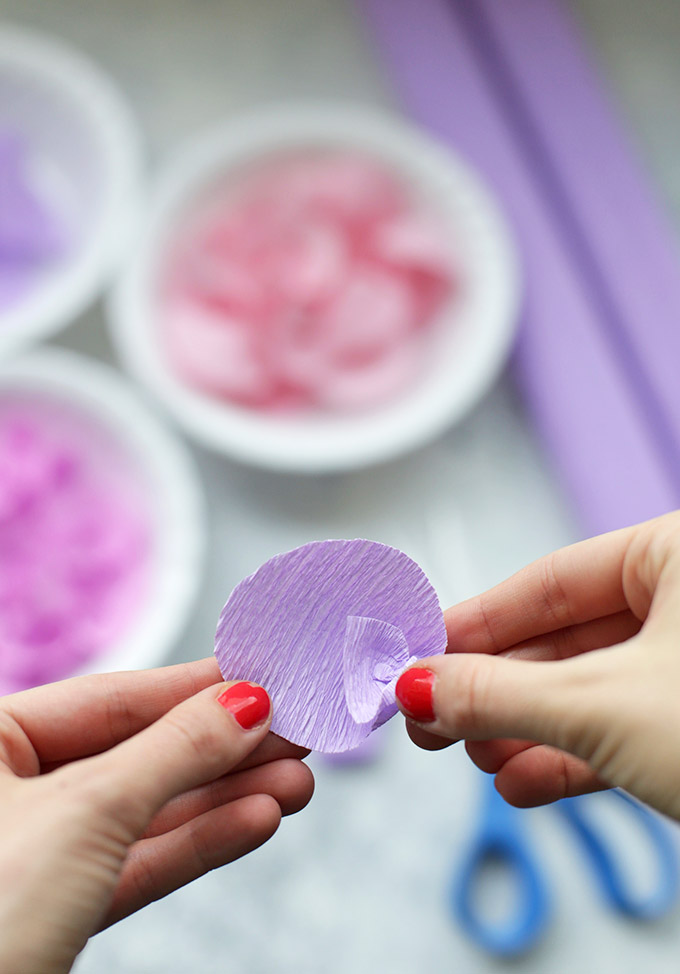
4. TWIST AND FOLD THE PETALS.
Twist the narrow end of the “balloon” 2-3 times. Fold the twist inward on itself toward the center of the petal. Gently shape the petal into a curve.
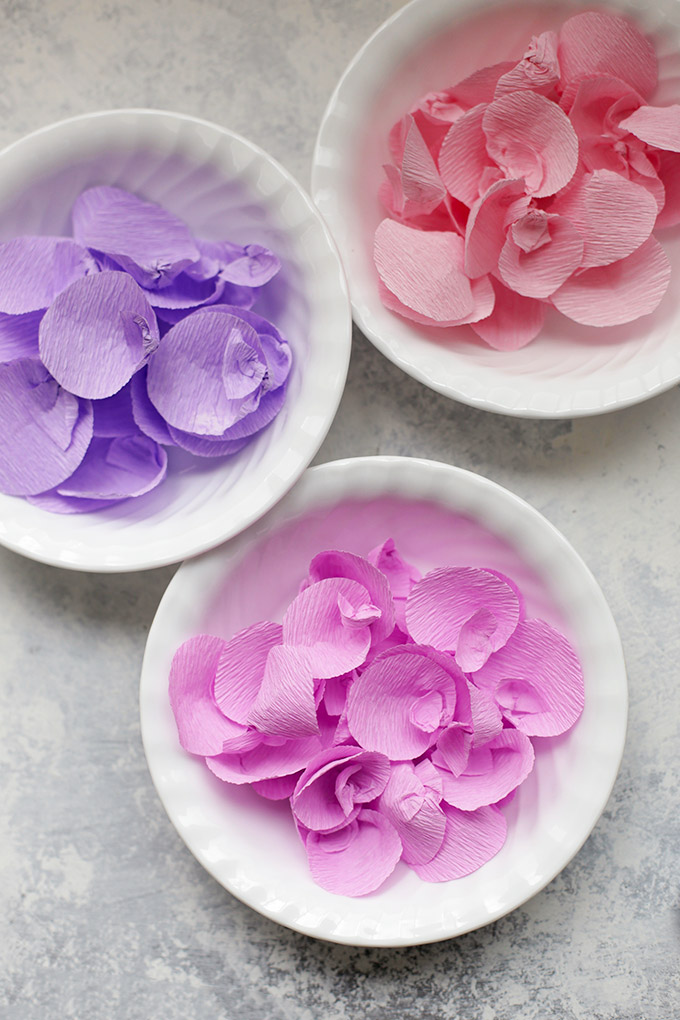
5. REPEAT, REPEAT, REPEAT.
Keep going until you have plenty of petals in every color you plan to use. I wanted each strand to be slightly different, so for some, I used 12 dark purple, 10 medium purple, and 8-9 pink. For others, I used 10 dark, 15 medium, and 12 light.
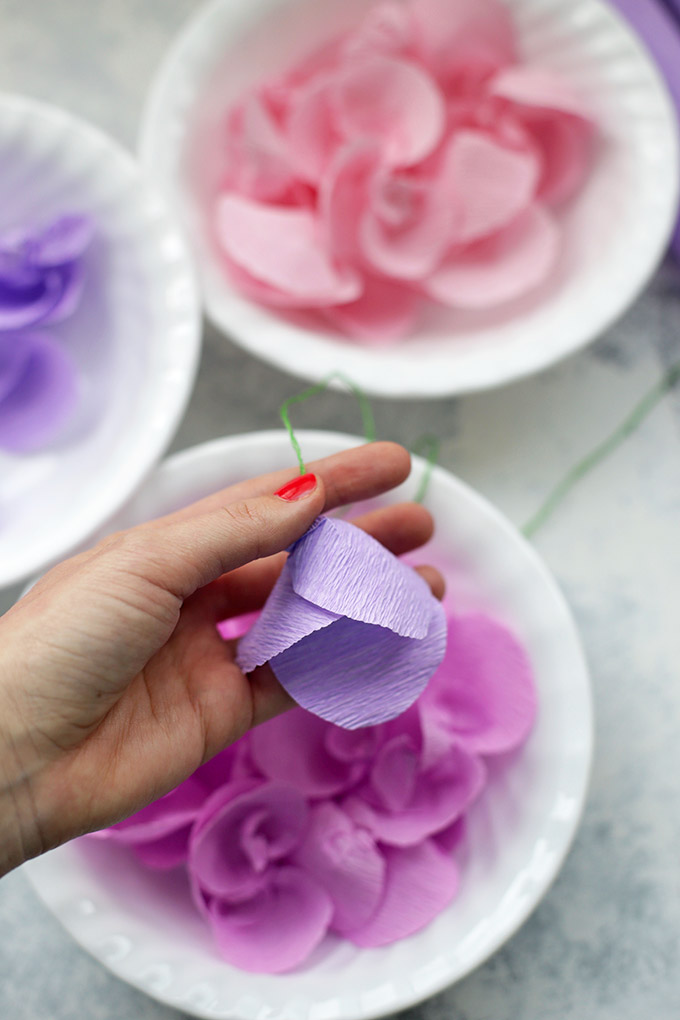
6. THREAD THE PETALS.
Cut a length (as long as you like–I did about 15-20 inch lengths) of embroidery thread (you can also just use a double strand of regular thread). Thread your needle and tie a knot at the end.
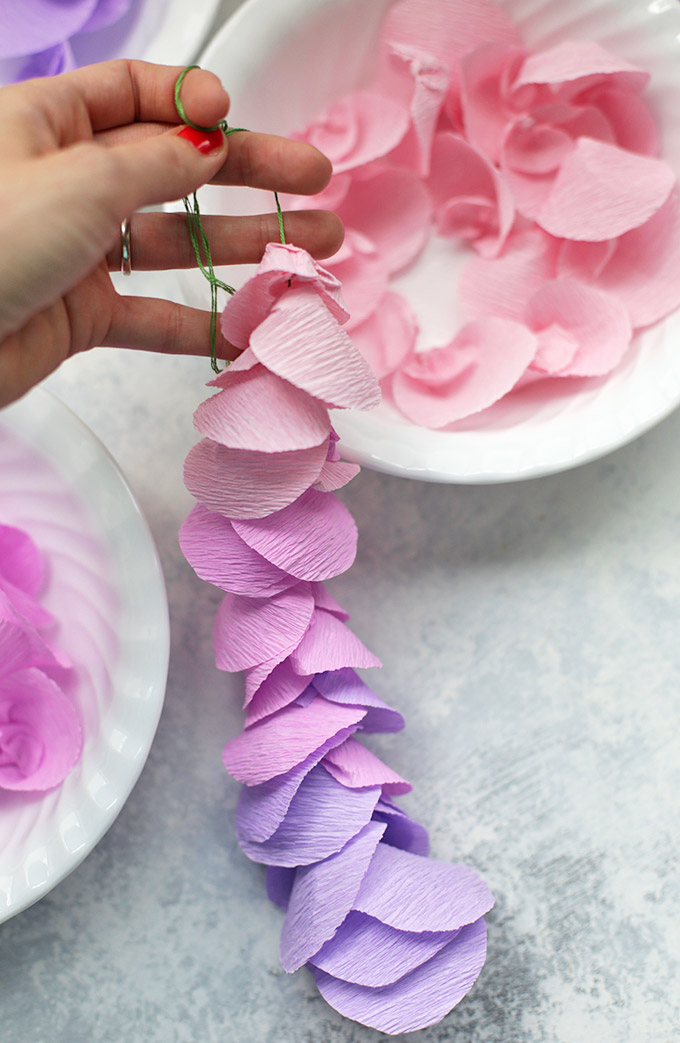
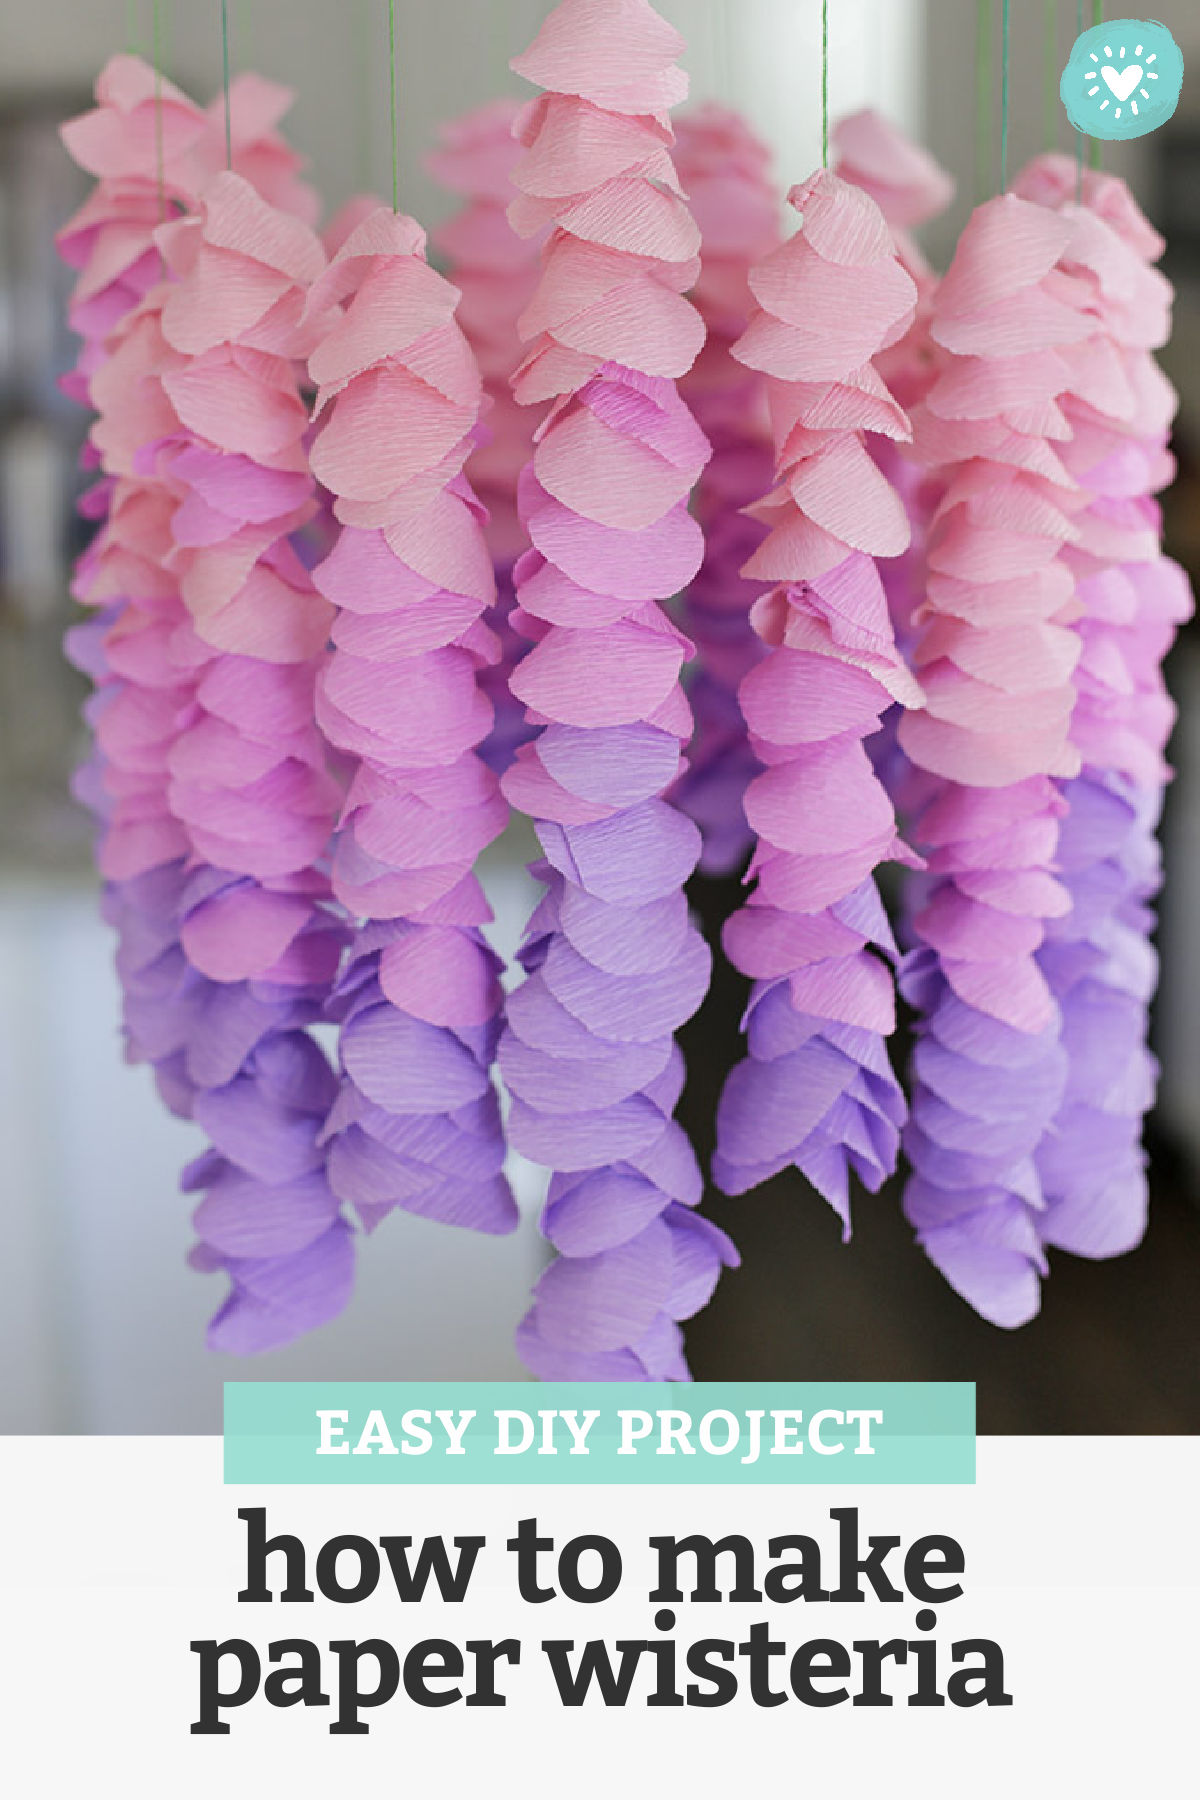
Poke the needle through the “knot” you created by twisting and folding. The petal should open downward, so start with the darkest color you plan to use and work your way up to the top. Repeat with all the petals. Arrange petals facing opposite directions to create more dimension (rather than stacking them perfectly one on top of the other).
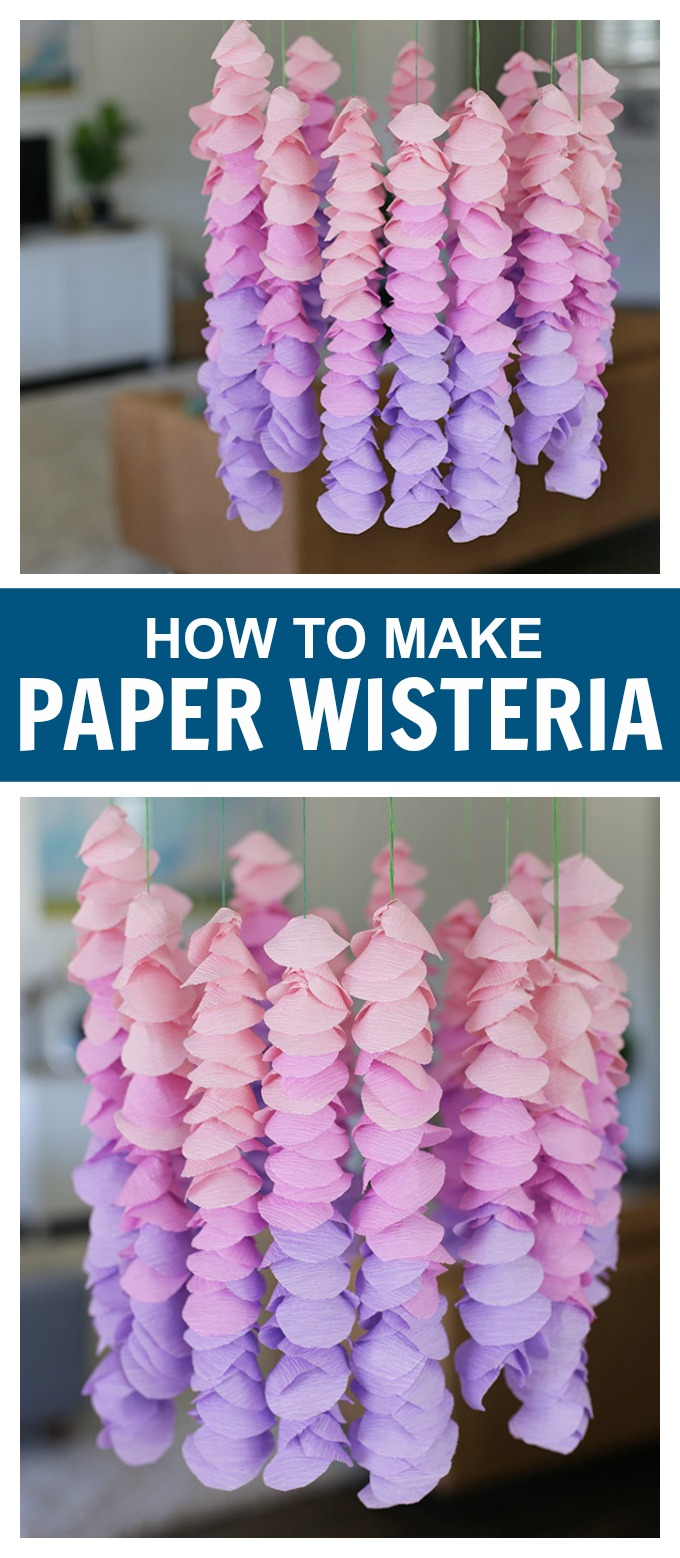
When you get near a transition between colors (i.e. dark to medium or medium to light), overlap a few petals. For instance, you may go dark-medium-dark-medium-medium-medium-medium, etc.) to create a more gradual transition/ombre effect. You don’t have to do this, it’s just my personal preference. You can see how it looks above.
7. MAKE LOTS OF STRANDS!
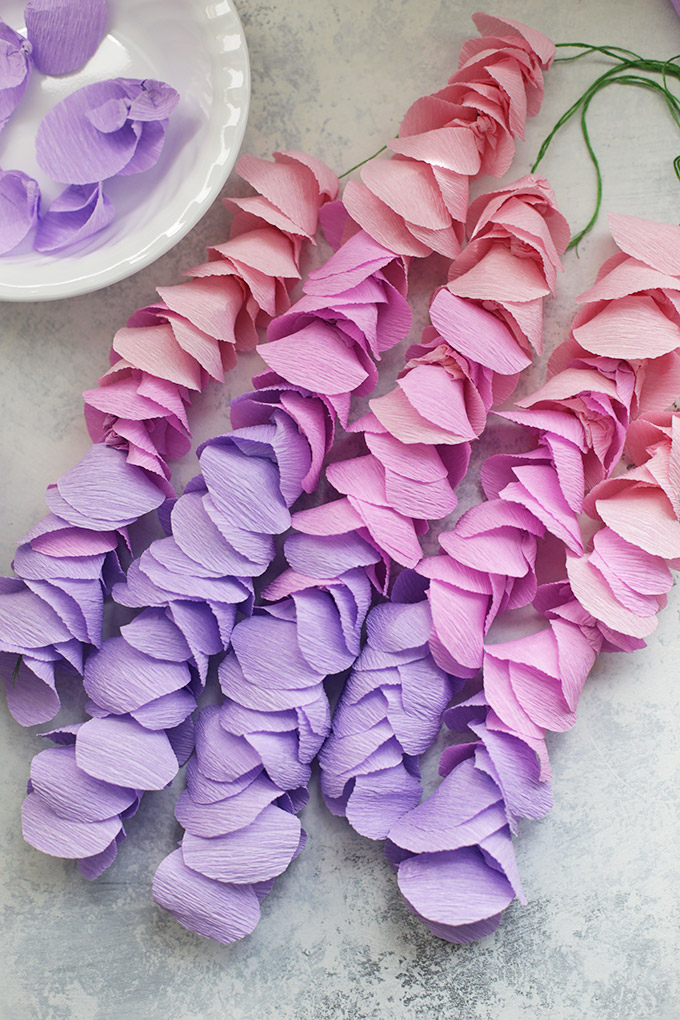
Continue threading petals on the strands, and make enough strands that you have a nice cluster.
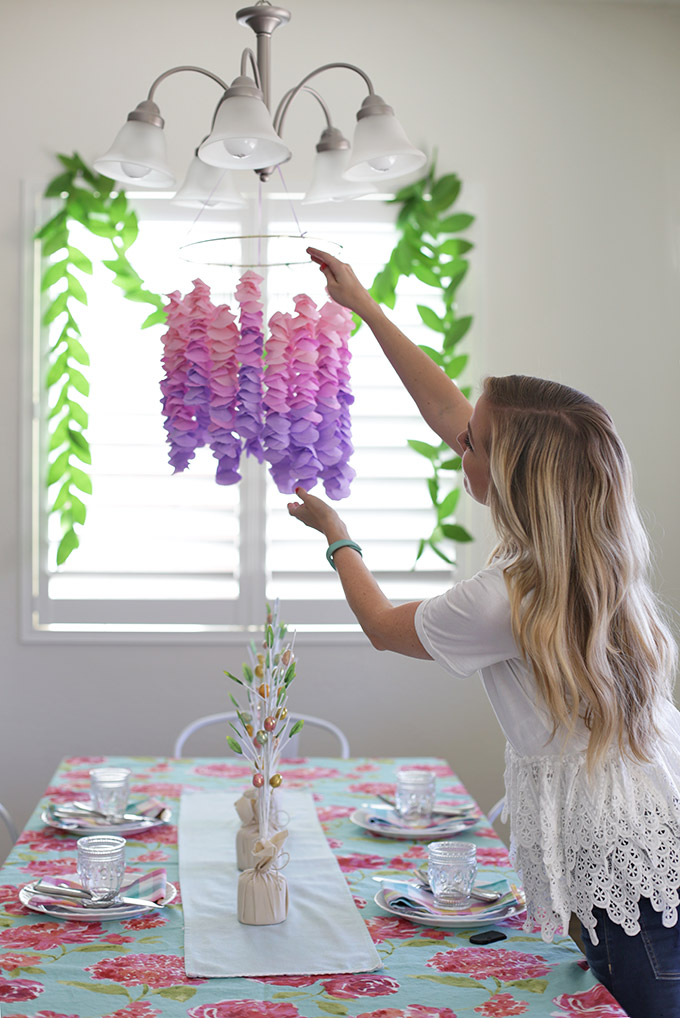
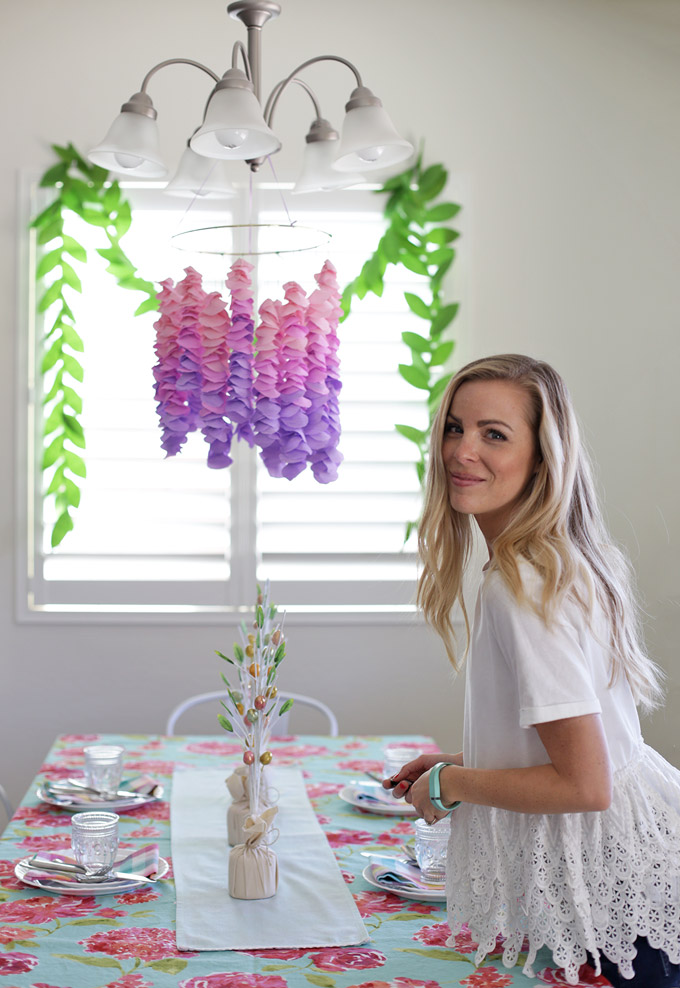
8. TIE TO A CRAFT HOOP
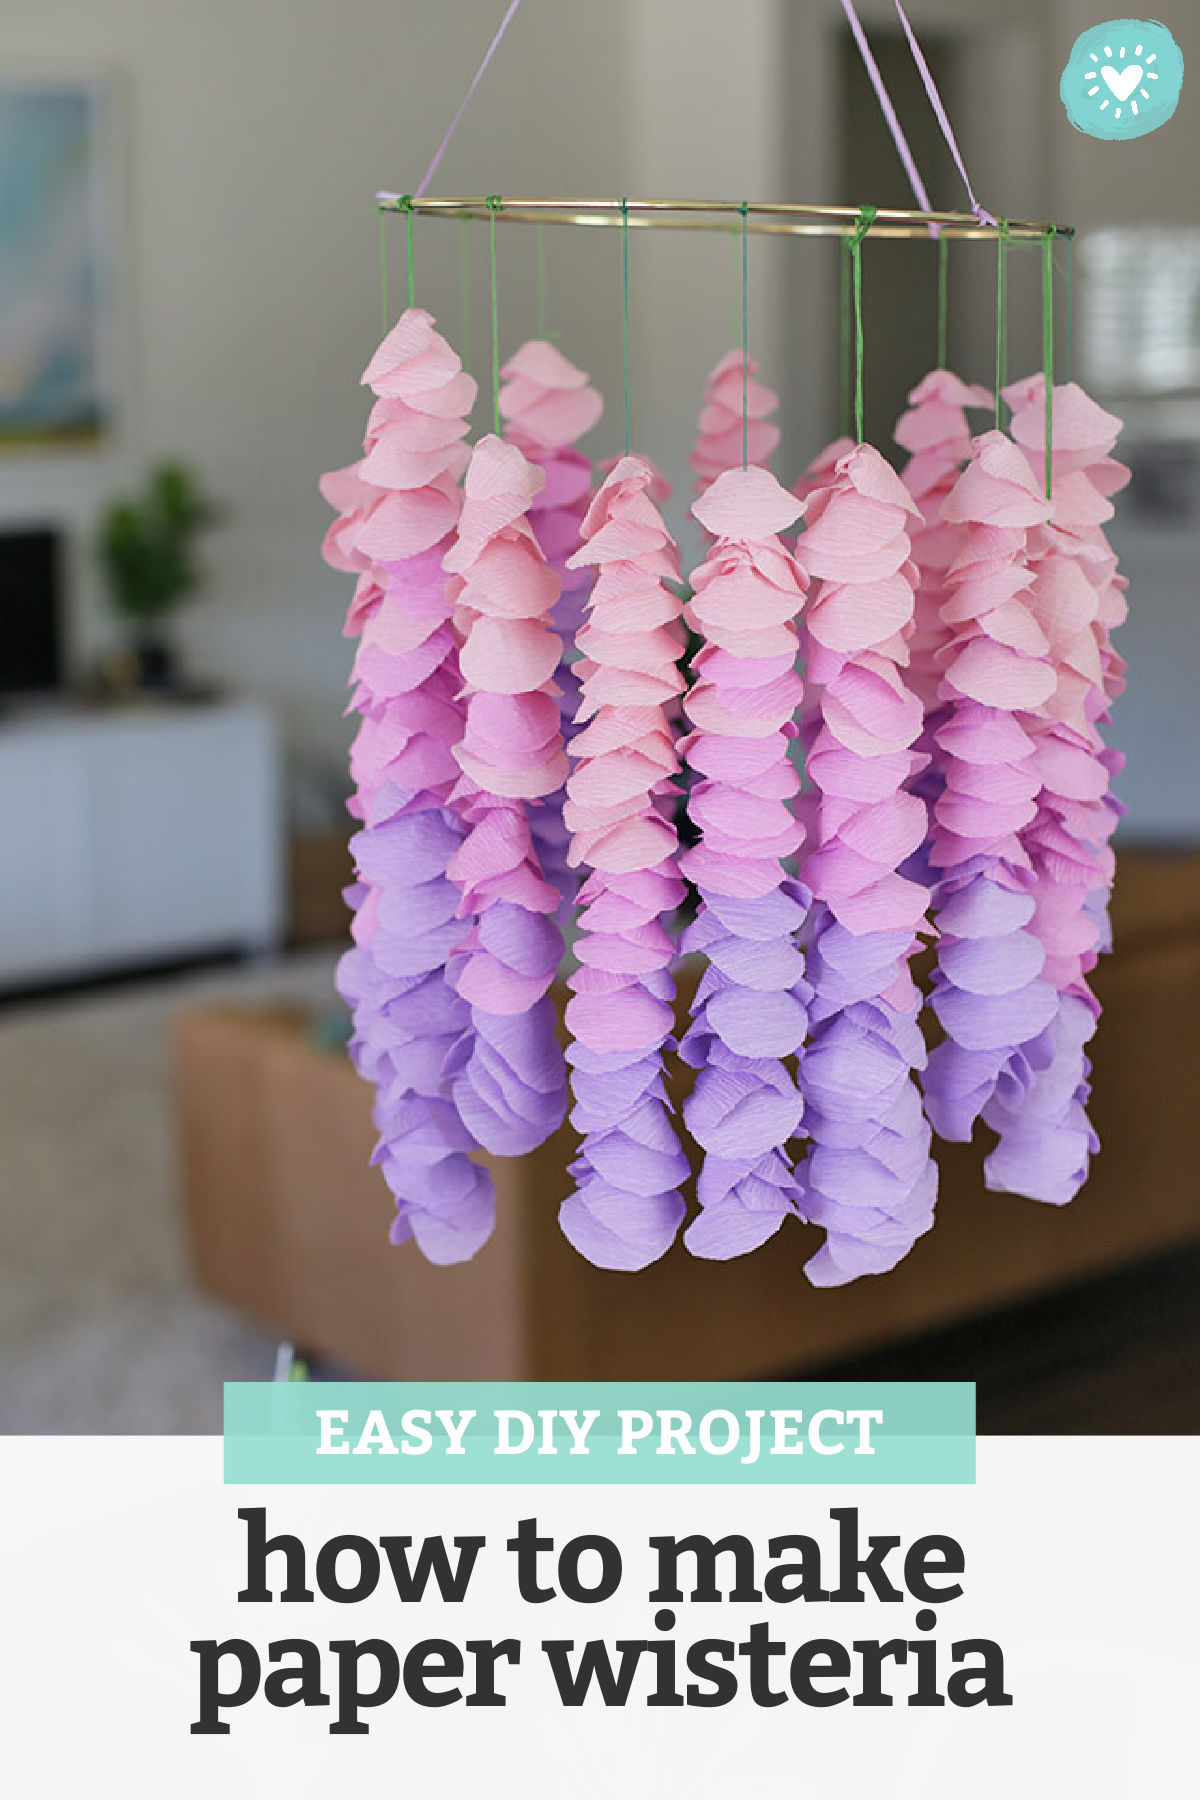
(I used a 12-inch hoop, but you could use a 14-inch hoop if you want a bigger one) and arrange at varying heights. Hang from a chandelier (or from a command hook hung from the ceiling). Alternatively, you can hang the strands directly from your chandelier. My friend Anna said she thought they’d look lovely tied to a bar or branch in a nursery. I LOVE THAT IDEA!!!
Very beautiful! I’ve got to try this!
Also wanted to ask, where did you get your blouse??? or t-shirt? I love it.
Me encantó. Trataré de hacerlo. Gracias por publicarlo y compartirlo con nosotras. Un abrazo.
El gusto es mio! 🙂
It’s nice I make it once
Wow looks lovely…
Thank you so much!
Lovely
Thank you!
I am going to make these for my wedding!! Super excited to get started
Thank you for the easy to follow instructions xx
Oh yay! Congratulations! I hope you love it!
Woow it’s a cool idea. Thanks Emily…
My pleasure!
I have a lot of coffee filter petals left over from my daughter’s wedding. So I am going to try using them, they are the same shape, a little narrower at the bottom. I dye my own coffee filters and after they dry I fold then into an 1/8 then cut and you get 8 petals from each coffee filter. The coffee filters are $1 at the dollar tree. The paint is apple barrel diluted with water. I put it in an clean marshmallow fluff plastic jar then put a couple filters in the paint, close the lid tightly a shake to cover the filter. It is so inexpensive $1 for the Pack of 1 00 filters and $.50 for the paint from Walmart. They are so durable if the get wrinkled just spray a mist of water and they come right back. They don’t tear easily and will last for years.
I made a lot of roses so I had to mist them a bit, because they were getting packed in bags to use at the wedding.
I hope this is helpful for other crafters who may have these items already at home.
What a great tip! Thank you so much for sharing Trudy!
This very Nice and lovely l love it and gonna try out how donyou meid thé green leafs thank you Katrien
I used this tutorial! 🙂
Hi! I want to do this for my wedding. How can i attach it to an arch? Thank you!
Heather – How fun! I’ve never attached it to an arch, but I’d imagine you could tie it onto the arch with thread 🙂 If it’s a steep arch, you may want to add extra support with clear tape.