

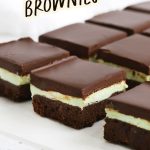
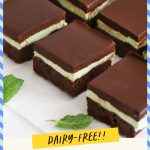

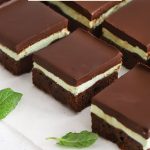
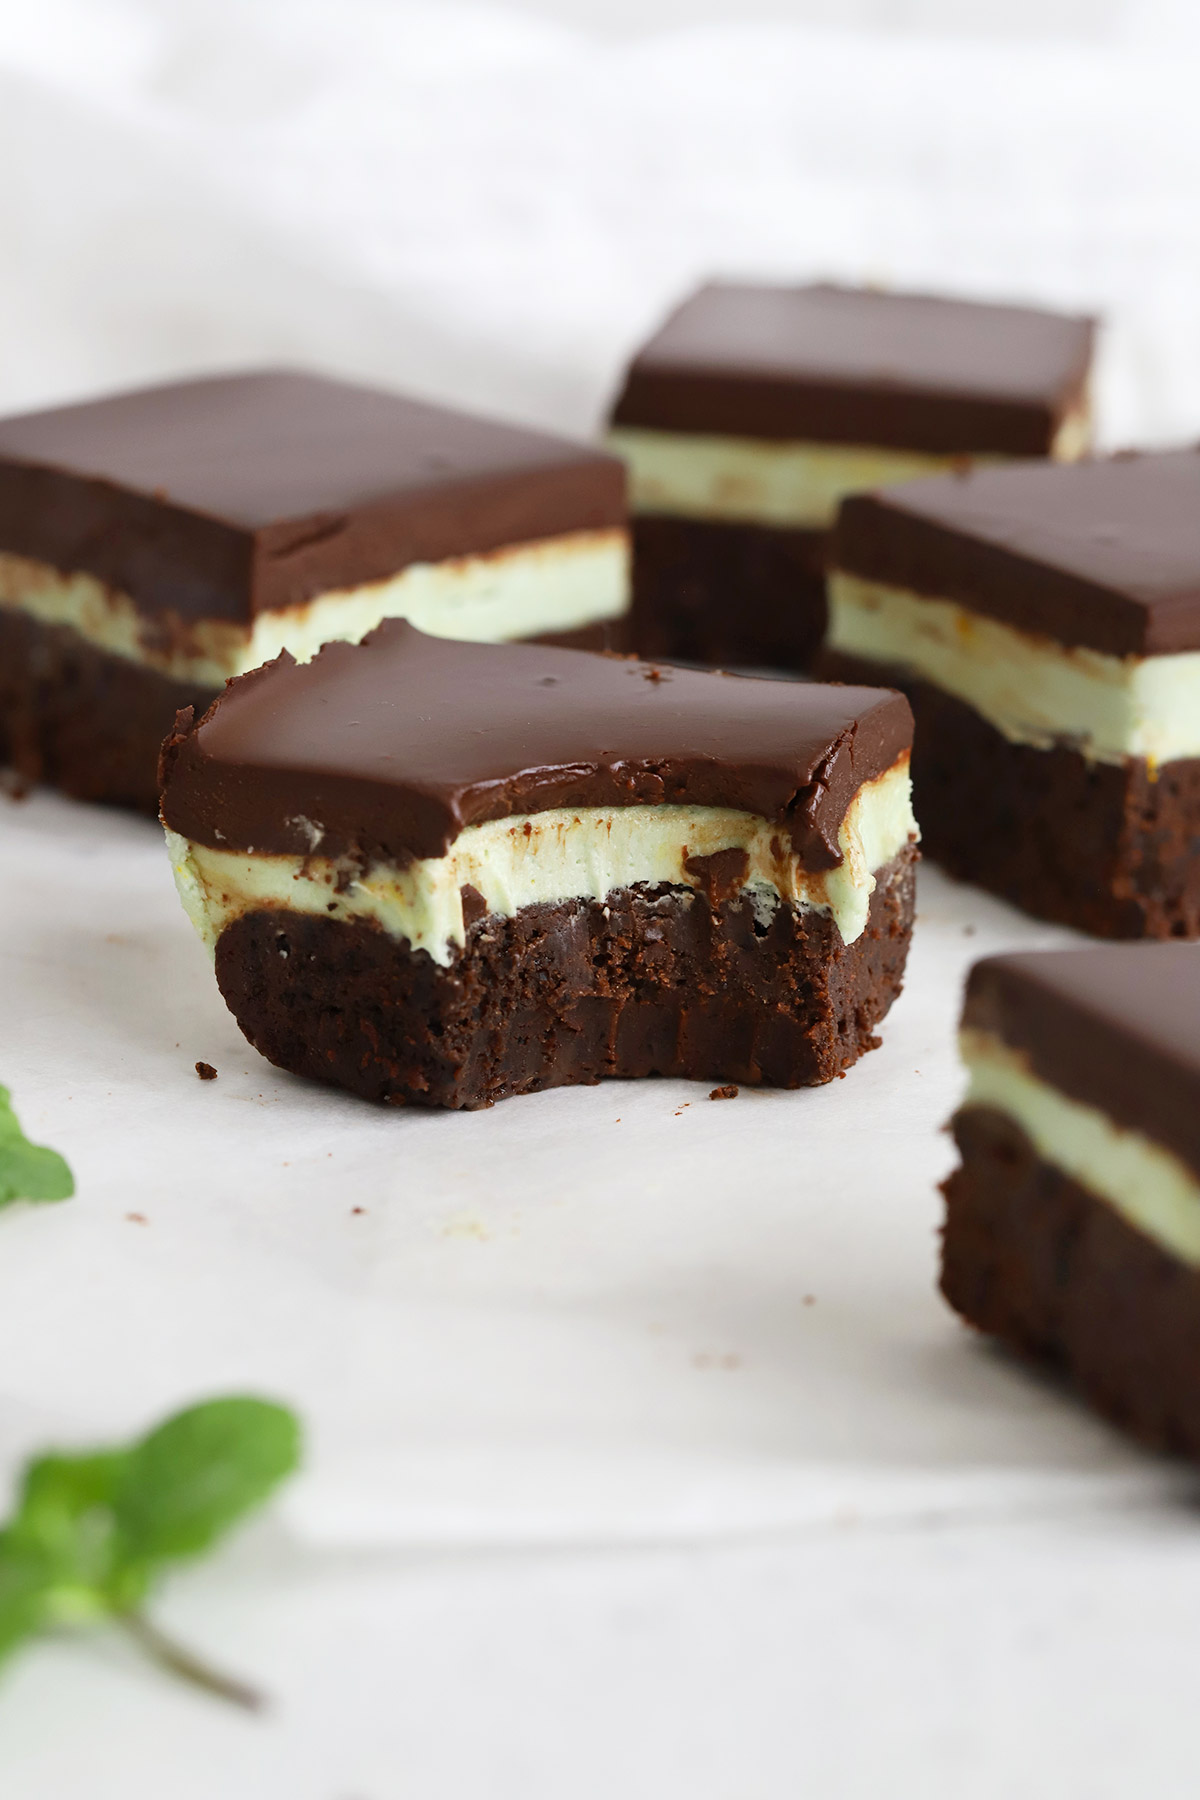
Let’s make Gluten-Free Mint Brownies! These fudgy gluten-free brownies topped with mint buttercream and chocolate ganache make the perfect retro treat! (Dairy-Free option)

Calling all chocolate mint lovers! These gluten-free mint brownies were made for YOU!
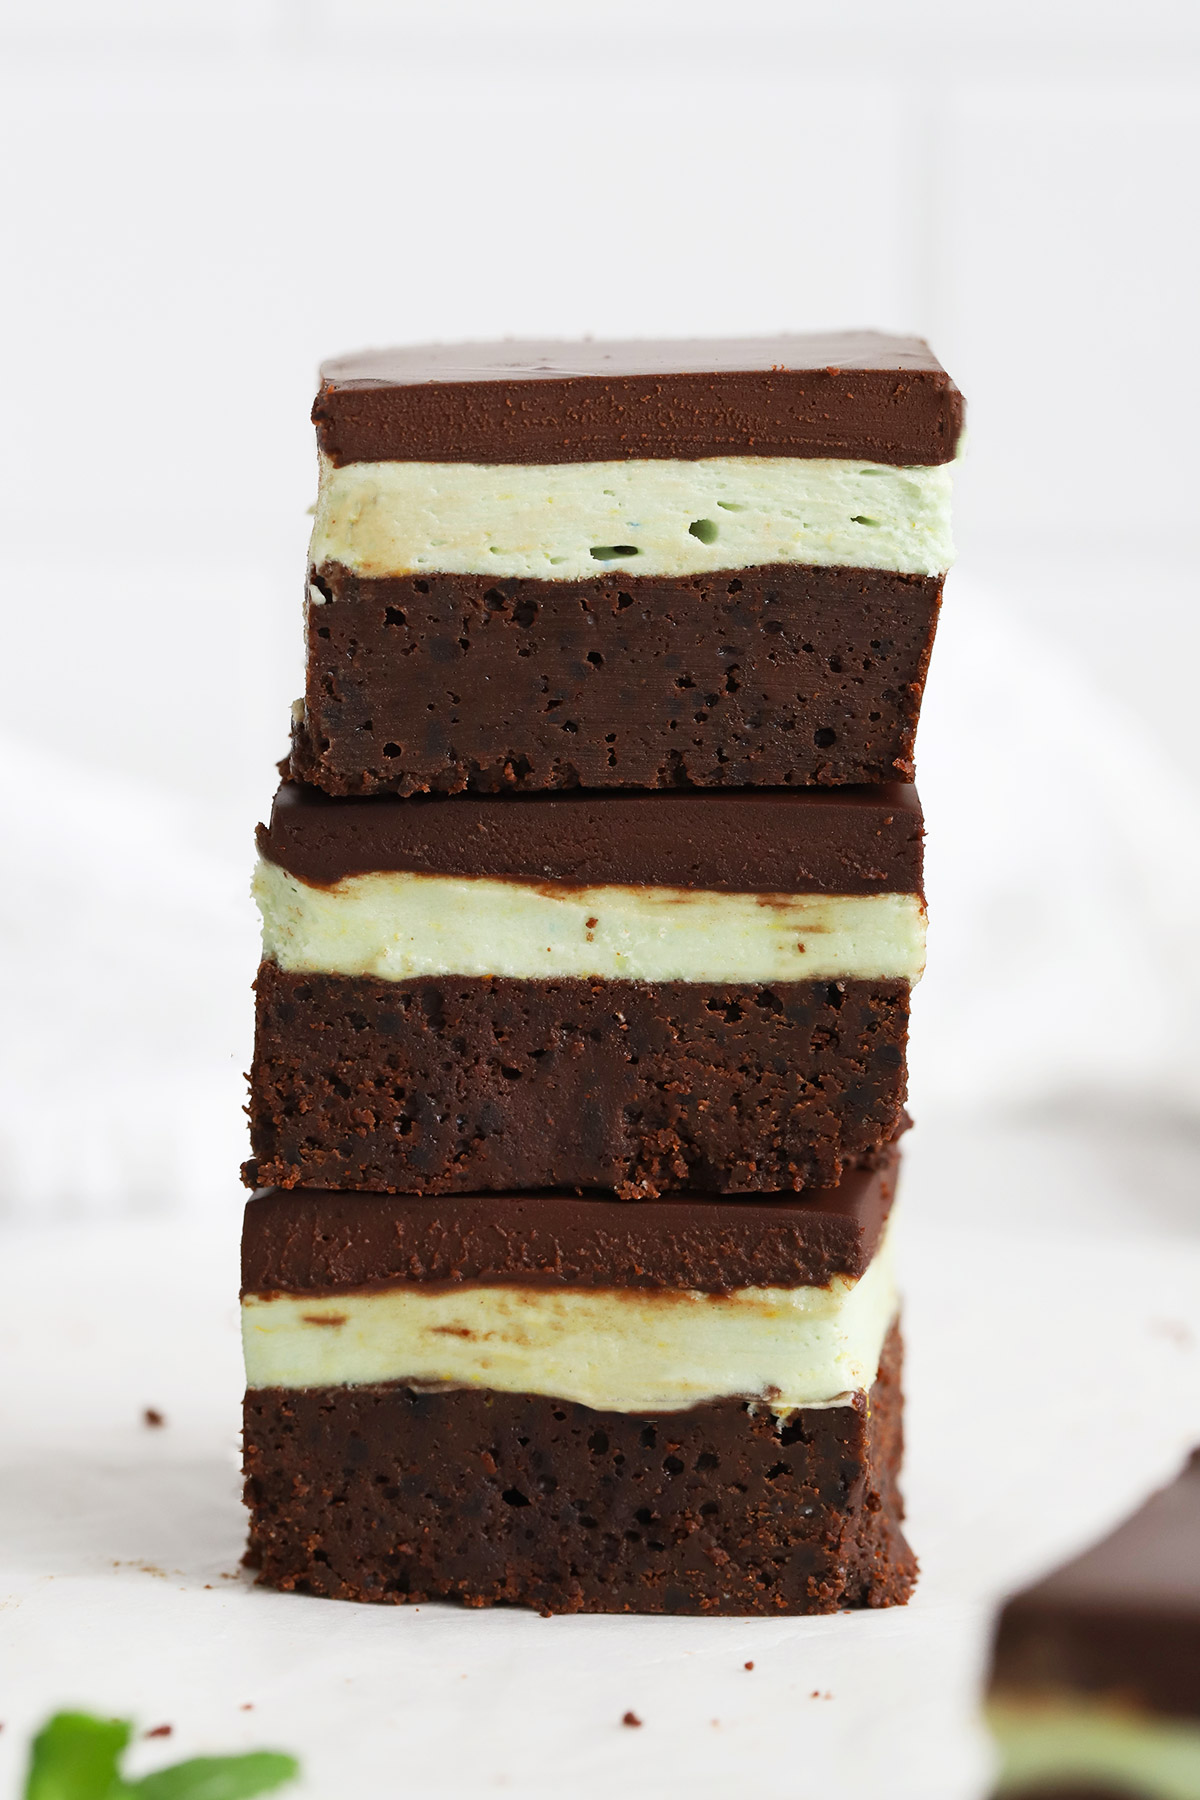
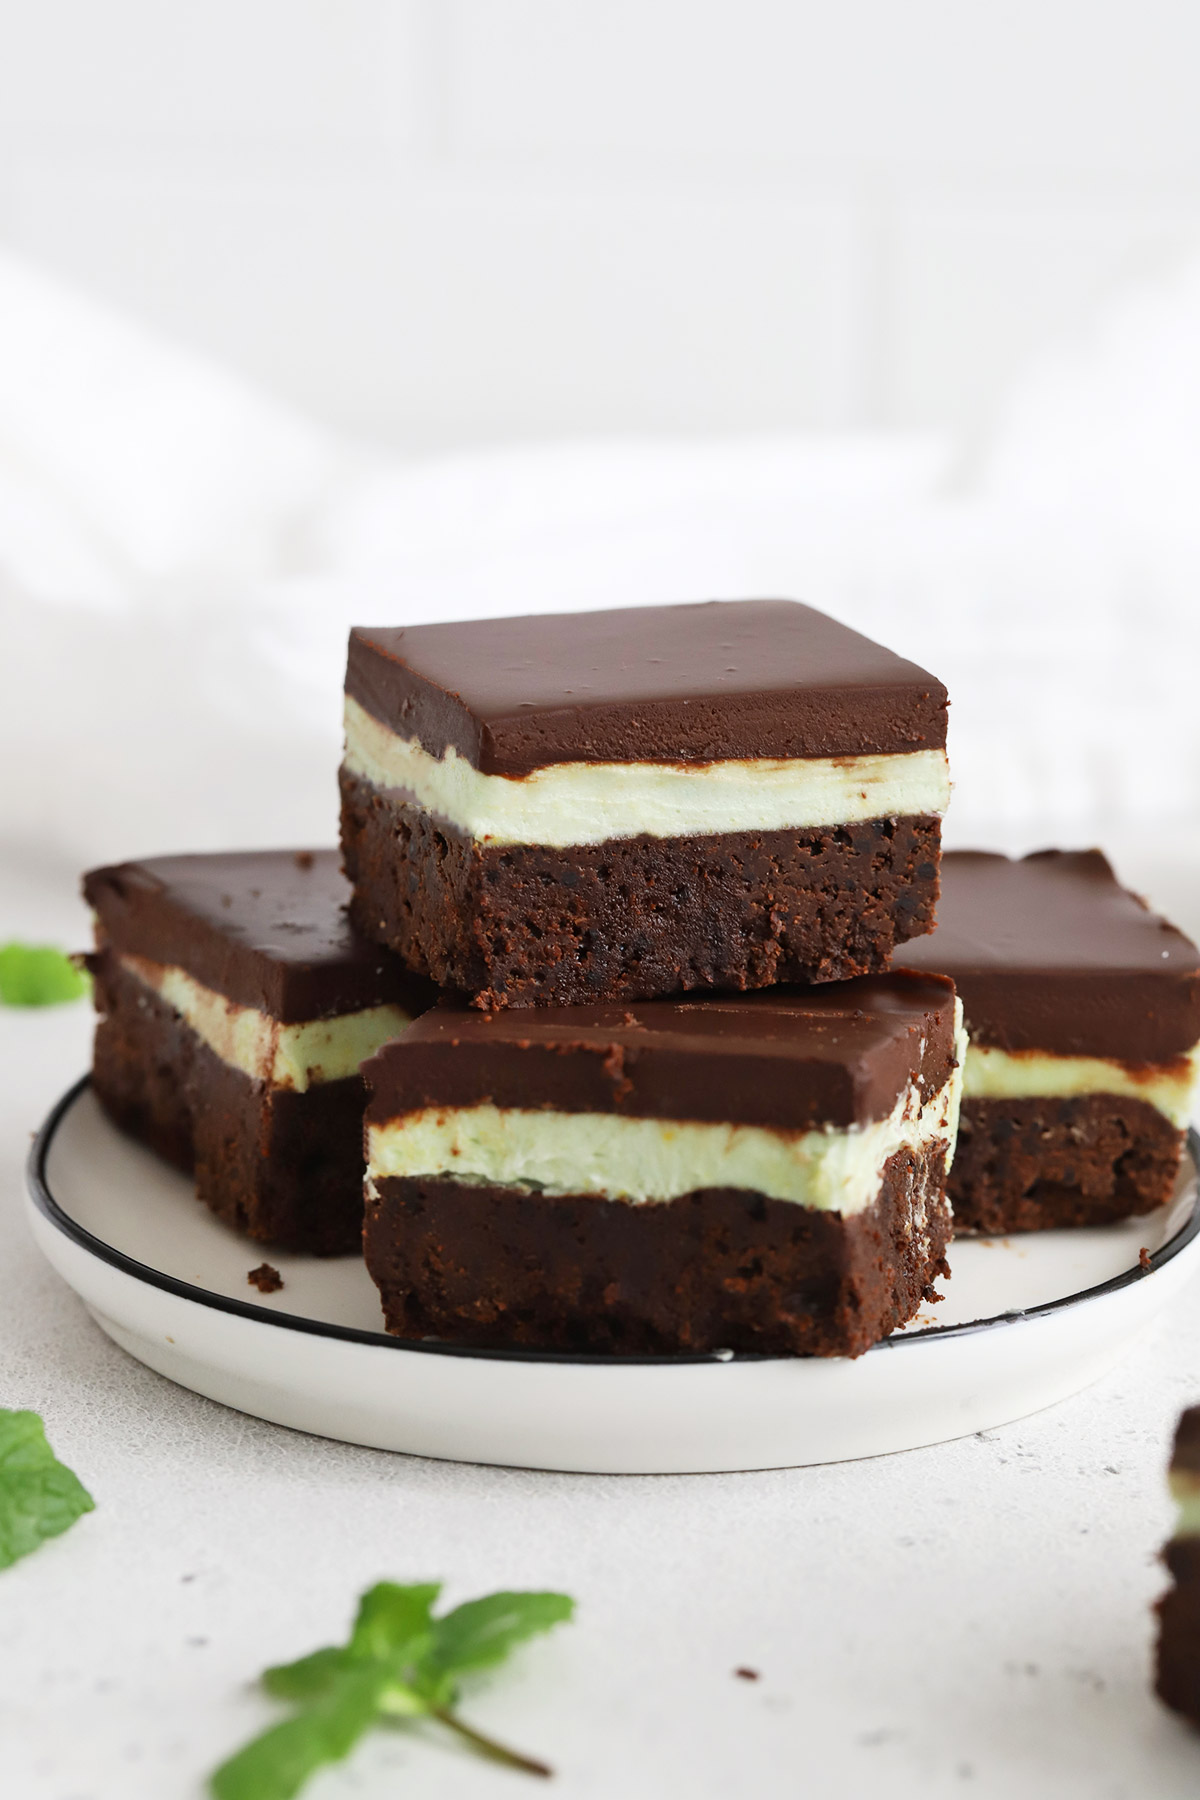
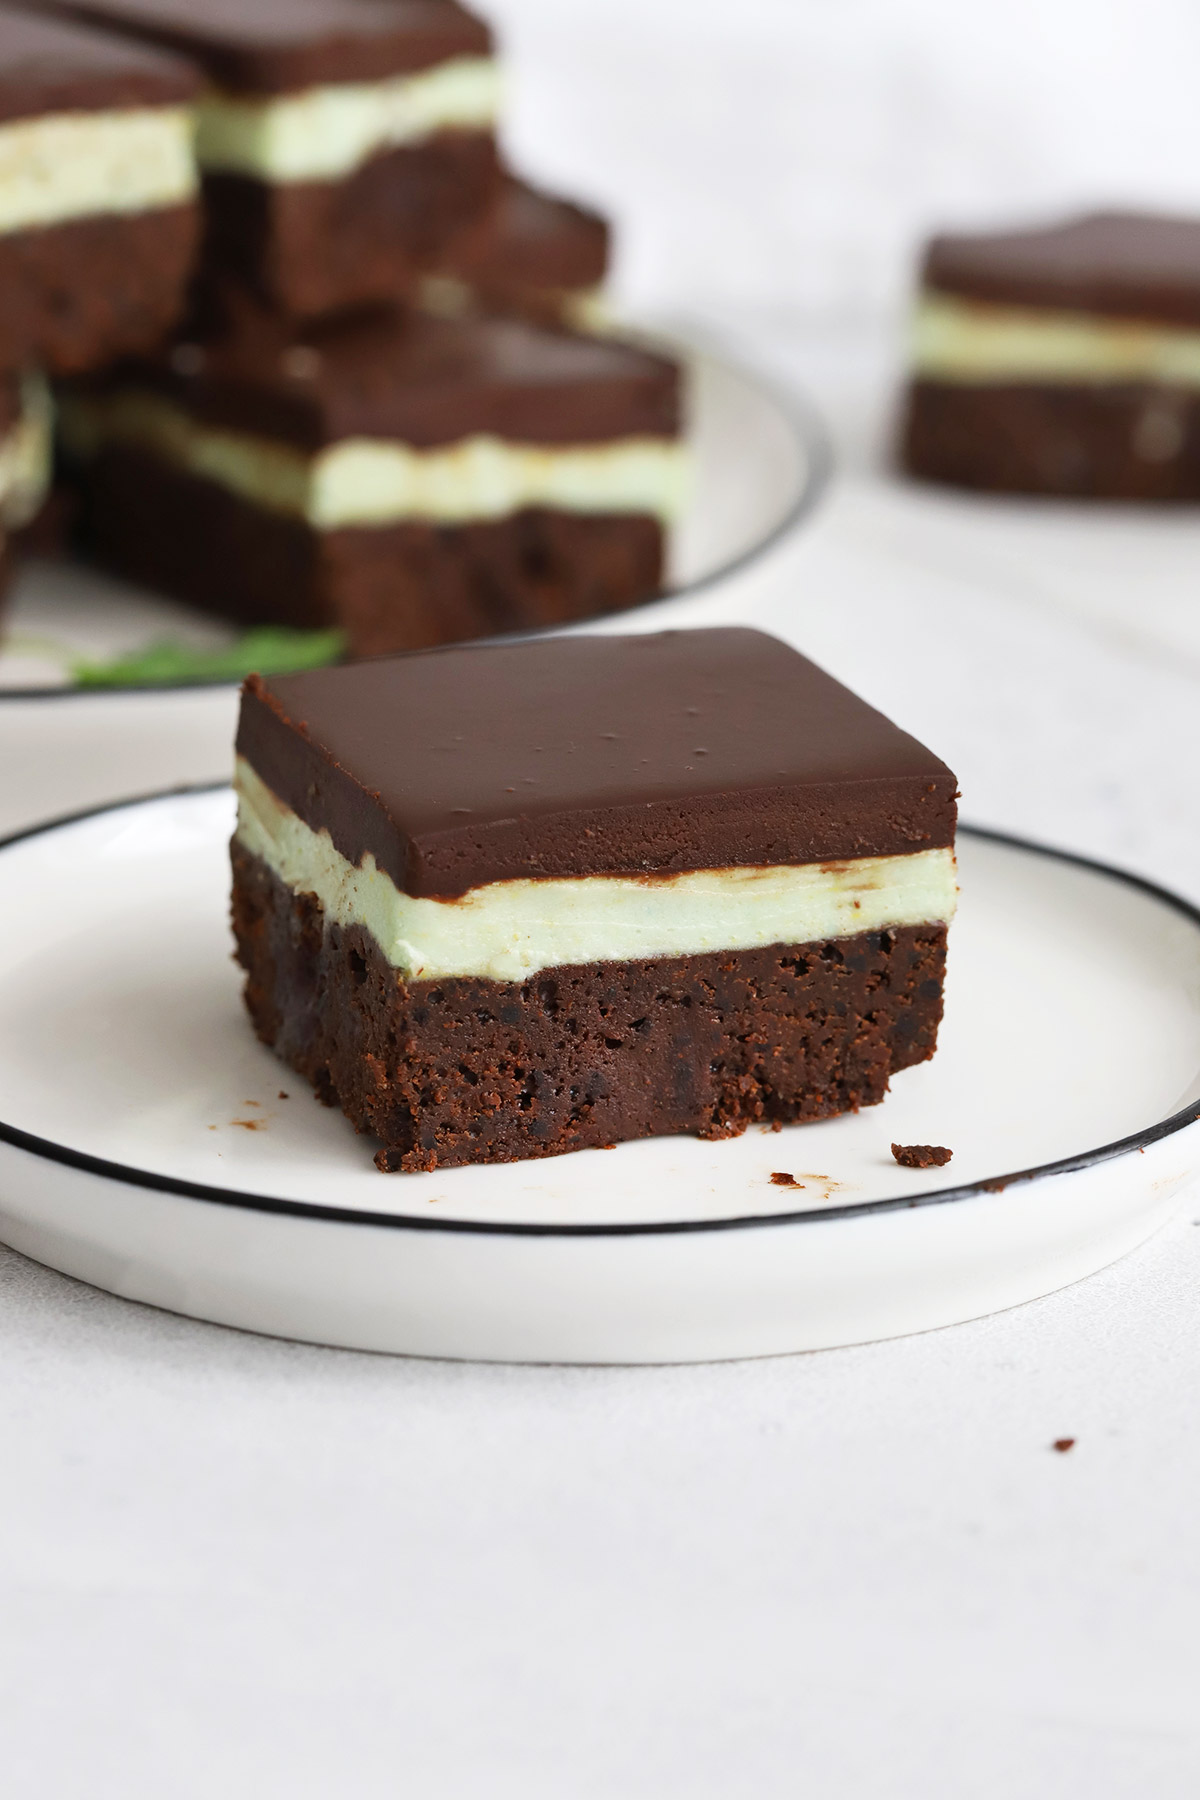
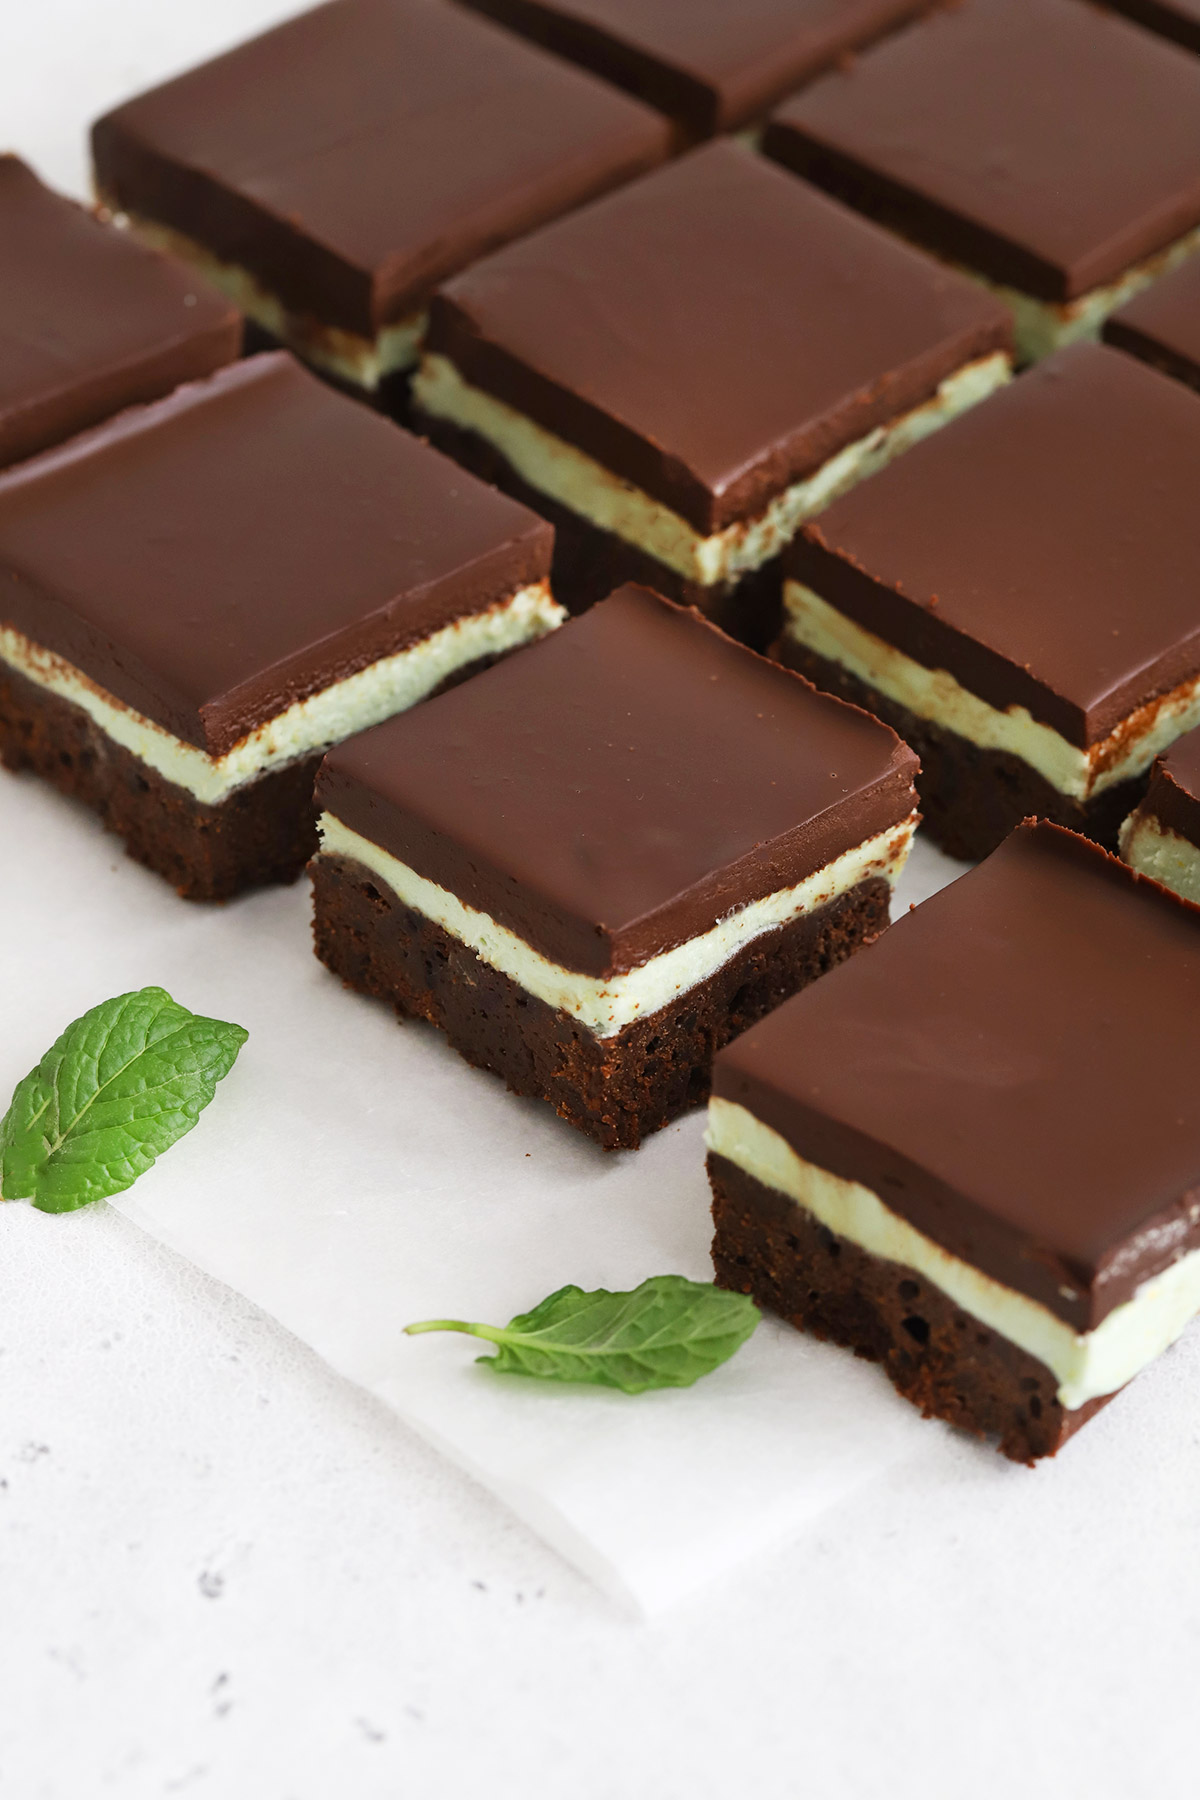
These frosted mint brownies have a layer of fudgy brownies, then a creamy mint buttercream, and finally a layer of chocolate ganache. They’re rich, delicious, and super satisfying when the craving hits.
Plus, you can make them with a boxed brownie mix or homemade gluten-free brownies, which I’ll show you in the recipe. Either way, they’re easy + delicious.
Now, let’s get to it! Here’s what you’ll need to make this yummy gluten-free mint brownie recipe…
Gather Your Ingredients
- Semi-Sweet Chocolate Chips. Or, you can use dark chocolate chips for richer flavor! These will do double duty in both the brownie base and the fudgy chocolate ganache.
- Coconut Oil. For melting. This adds richness to the brownies!
- Coconut Sugar. For a little sweetness. Regular granulated sugar will also work here!
- Eggs. Room temperature eggs work best. Get your eggs to room temperature fast with this trick!
- Vanilla Extract for both the brownies & the mint frosting.
- Dutch Processed Cocoa Powder. Sometimes labeled dark cocoa powder or alkalized cocoa powder, this cocoa adds a rich color and deep chocolate flavor to the brownies.
- Cornstarch. These brownies are actually made without gluten-free flour! Just a little cornstarch to help hold them together.
- Salt. A must for the brownies & frosting!
- Butter or Dairy-Free Butter. Softened butter or vegan butter, like Earth Balance gives body to the frosting. Oil will not be a good substitute here!
- Milk. Whatever milk you drink! We’re using almond milk, but cashew milk or traditional dairy milk also works!
- Powdered Sugar. For the mint buttercream frosting.
- Mint Extract for that delicious mint flavor! (Look for peppermint extract NOT spearmint extract!)
- Maybe Some Food Coloring. If you’d like your mint frosting layer to look green, a little food coloring helps this along! I used natural food coloring for my brownies.
WANT TO USE A BOXED BROWNIE MIX INSTEAD? No problem! This is our favorite gluten-free brownie mix. Follow the box directions to make them, then proceed with the mint layer and ganache. Important note: most mixes make an 8×8 pan of brownies, but double-check before baking since some make a 9×13″ pan. If your mix makes a 9×13″ pan, you’ll want to double the ingredients for the mint layer and chocolate ganache.
How to Make Gluten-Free Mint Brownies, Step By Step
As always, you can find the full recipe, with ingredient amounts, detailed instructions, and tips in the recipe card below!
First, Make The Brownies
- Preheat & Prep. To start, preheat the oven to 350 degrees F. Line an 8×8″ square baking dish with parchment paper or grease thoroughly. (I highly recommend parchment)
- Melt Chocolate & Oil. In a microwave-safe bowl, gently melt together chocolate chips and oil in 20-30 second increments, stirring in-between increments, until the chocolate is completely smooth and glossy. Alternatively, you can melt the chocolate and oil together in a saucepan over low heat. Set melted chocolate aside for a moment.
- Whisk Eggs & Sugar. In a large mixing bowl, whisk together coconut sugar and eggs 2-3 minutes, or until the mixture is slightly lighter in color and the sugar is mostly dissolved. (If you rub the mixture between your fingers, there shouldn’t be a lot of grit.)
- Combine Chocolate & Egg Mixture. Pour the melted chocolate mixture into the egg mixture, stirring to combine well. Whisk in the vanilla.
- Add Dry Ingredients. Next, add cocoa powder, cornstarch, and salt to the batter and stir in with a spatula until just mixed.
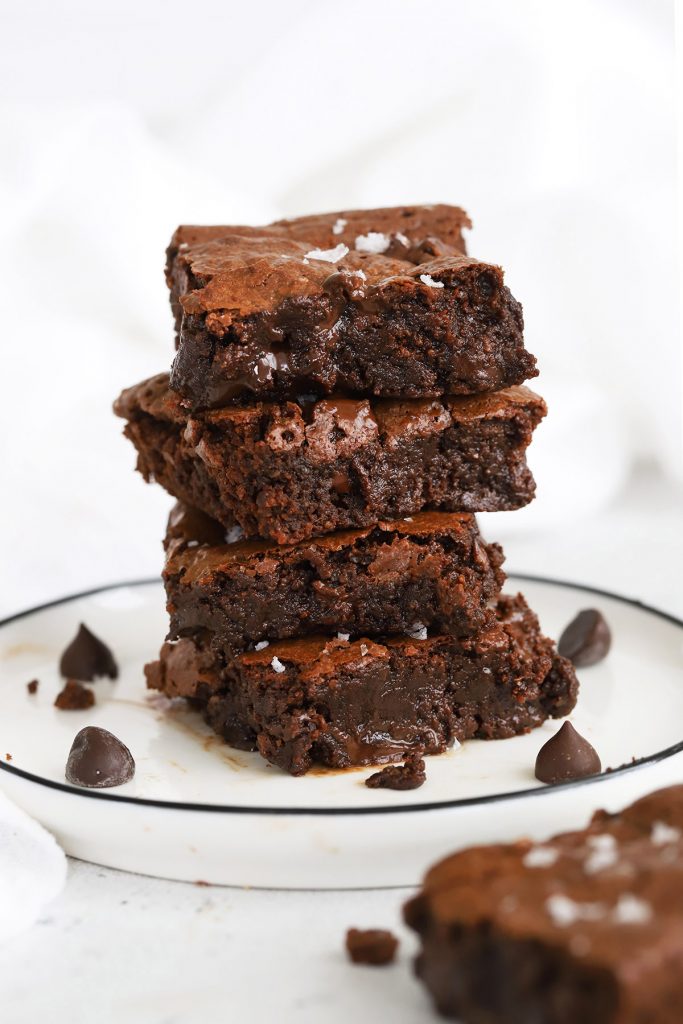
- Bake Brownies. Pour batter into your prepared pan and bake at 350 degrees F. for 17-20 minutes, or until the brownies are just set in the middle, and a toothpick inserted in the center comes out clean, with just a few moist crumbs. Allow brownies to cool completely before moving on to the next step. (Feel free to refrigerate them to speed up this process.)
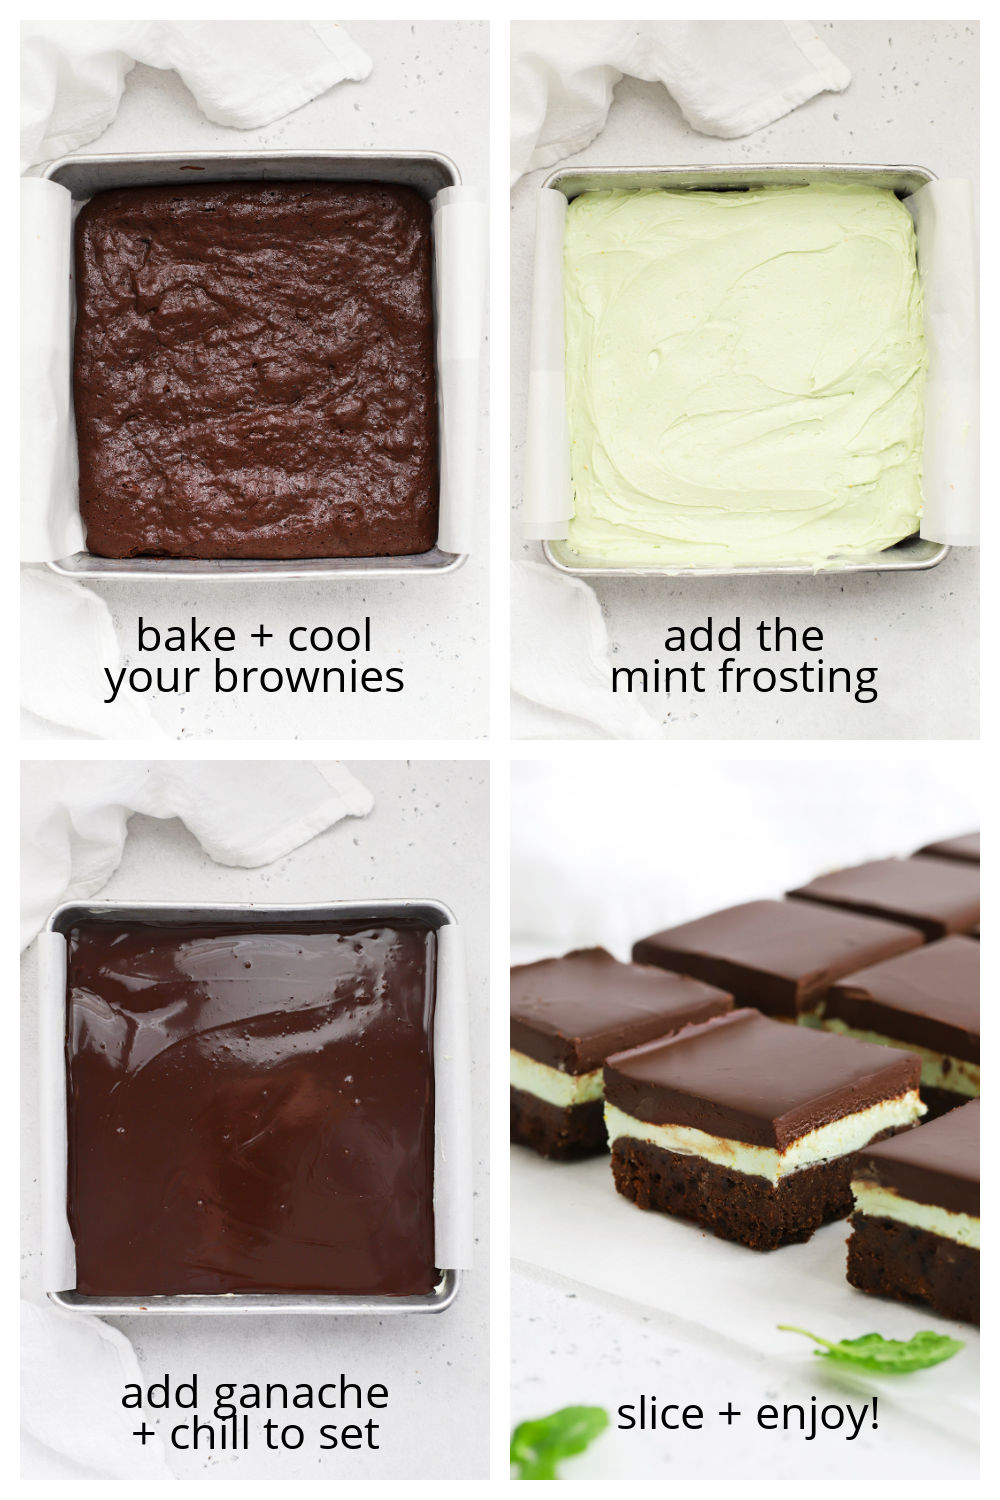
When The Brownies Are Cool, Make The Mint Layer
- Combine. In a large bowl or a stand mixer, combine softened butter/vegan butter, milk, powdered sugar, mint extract, and salt. Whip or beat the frosting until it is light, fluffy and blended. Add food coloring and blend until the color is evenly distributed.
- Adjust The Texture, As Needed. If your frosting seems too stiff to spread, add 1/2 tsp. milk at a time until it loosens back up. If it’s too loose and doesn’t hold its shape, add 1-2 Tbsp. powdered sugar at a time until it’s spreadable and holds its shape.
- Frost Brownies. When the mint frosting is the right texture, spread over the cooled brownies (an offset spatula makes this easier), doing your best to form an even layer.
- Chill. Place the brownies in the refrigerator to chill while you prepare the ganache.
Then, Make The Ganache
- Melt. In a microwave-safe bowl, combine chocolate chips and milk. Melt in 20-30 second increments, stirring in-between each increment, until the chocolate is smooth and glossy. Alternatively, you can melt the chocolate + milk together in a saucepan on the stove over low heat.
- Frost. When the chocolate is smooth and glossy, pour it over the mint layer of the brownies and gently smooth it out to cover the mint layer (again, an offset spatula really helps!).
- Chill To Set. Cover the brownies and return to the refrigerator to set the ganache.
- Slice & Serve. When the ganache is set, remove the brownies from the refrigerator and slice into 16 (2×2″) squares or 20 rectangles. (They’re rich!) Store leftover brownies in an airtight container in the refrigerator 2-3 days, or freeze up to 2 months.
Mix It Up! Mint Brownie Variations To Try
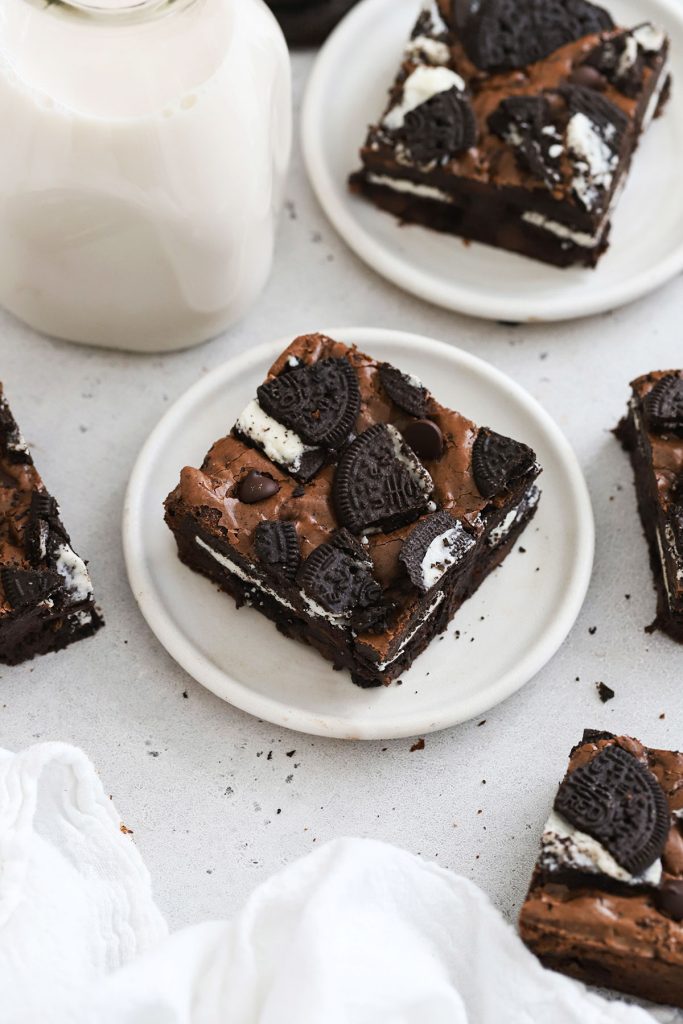
- ADD CRUSHED CHOCOLATE SANDWICH COOKIES. Turn your gluten-free mint brownies into gluten-free grasshopper brownies by adding some chopped or broken up gluten-free chocolate sandwich cookies (basically gluten-free Oreos) to the brownie batter before baking. It’s lovely (and decadent!). 1 cup of cookie bits will do!
- SAVE TIME WITH A BOXED MIX. You can really speed things up here if you use a gluten-free brownie mix from a box. We did a big taste test of common brands a few years ago, and this one is still our favorite. I highly recommend it!
- ADD CHOCOLATE CHIPS TO YOUR BROWNIES. Admittedly, these mint brownies are already on the rich side, but if you want to add even one more layer of awesome, try sprinkling 1/4-1/3 cup additional chocolate chips on top of the brownies right before baking. They add a satisfying chocolatey crunch when the brownies are chilled later!
- OR, TOP WITH ANDES MINTS. If you’re not dairy-free, you can chop up some Andes mint candies to go on top. This makes them REALLY decadent, but it does look pretty! (My mom used to do this sometimes!)
FAQ + Tips And Tricks For The Best Gluten-Free Mint Brownies
OUR FAVORITE NATURAL FOOD COLORING. To avoid artificial dyes, I like to stick with natural food dyes for our mint frosting. Natural food coloring or food dyes typically derive their color from plants (fruits/veggies). Here are a few brands we’ve used over the years:
- Color Kitchen. Mix a little yellow + blue to make green, or get their green dye here.
- McCormick’s Nature’s Inspiration. A drop of blue + a drop of yellow goes a long way!
- Watkins Natural Food Coloring. This 4-pack comes with red, yellow, green, and blue. Feel free to use the green or mix and match with yellow + blue.
START SMALL ON THE MINT EXTRACT. Mint extract is potent, and a little goes a long way in these gluten-free frosted mint brownies. Start small and add from there–you can always make it stronger, but you can’t take it out once it’s been added!
LET YOUR BROWNIES COOL BEFORE ADDING THE MINT LAYER! It might feel tempting to rush this step, but it will *not* end well. Your brownies need to be cool before adding the mint frosting or the mint layer will just immediately melt and turn into a liquid-y mess. Pretty please cool that brownie layer before adding the mint frosting!
CAN I MAKE THESE MORE MINTY? Absolutely. If you love mint, you can simply add more mint extract to the mint frosting, or you can add 1/4 tsp. to the brownies along with the vanilla. If you want them even MORE minty, you can add 1/4 tsp. to the melted chocolate ganache before pouring it over the brownies.


Did You Make This Recipe?
Tell me all about it! Leave a star rating below when you try our Gluten-Free Mint Brownies recipe. I can’t wait to hear how it goes!
Gluten-Free Mint Brownies (Dairy-Free)
Ingredients
FOR THE GLUTEN-FREE BROWNIES:
- 1 cup semi-sweet chocolate chips or dark chocolate chips allergy-friendly or dairy-free, as needed
- 1/3 cup coconut oil or avocado oil can sub butter or vegan butter
- 1/2 cup coconut sugar
- 2 eggs
- 1 1/2 teaspoons vanilla extract
- 1/4 cup unsweetened dark cocoa powder sometimes labeled Dutch-processed or alkalized cocoa
- 3 Tablespoons cornstarch can substitute arrowroot
- 1/2 teaspoon salt
FOR THE MINT LAYER:
- 1/4 cup softened butter or dairy-free butter
- 2 Tablespoons milk I use unsweetened almond milk
- 2 cups powdered sugar
- 1/4-1/2 teaspoon mint extract
- a *tiny* pinch salt less than 1/8 teaspoon
- 1-2 drops green food coloring optional
FOR THE CHOCOLATE GANACHE:
- 1 cup semi-sweet or dark chocolate chips allergy-friendly or dairy-free, as needed
- 1/4 cup milk I use unsweetened almond milk
Instructions
FIRST, MAKE THE BROWNIES:
- Preheat & Prep. To start, preheat the oven to 350 degrees F. Line an 8×8″ square baking dish with parchment paper or grease thoroughly. (I highly recommend parchment)
- Melt Chocolate & Oil. In a microwave-safe bowl, gently melt together chocolate chips and oil in 20-30 second increments, stirring in-between increments, until the chocolate is completely smooth and glossy. Alternatively, you can melt the chocolate and oil together in a saucepan over low heat. Set melted chocolate aside for a moment.
- Whisk Eggs & Sugar. In a large mixing bowl, whisk together coconut sugar and eggs 2-3 minutes, or until the mixture is slightly lighter in color and the sugar is mostly dissolved. (If you rub the mixture between your fingers, there shouldn’t be a lot of grit.)
- Combine Chocolate & Egg Mixture. Pour the melted chocolate mixture into the egg mixture, stirring to combine well. Whisk in the vanilla.
- Add Dry Ingredients. Next, add cocoa powder, cornstarch, and salt to the batter and stir in with a spatula until just mixed.
- Bake Brownies. Pour batter into your prepared pan and bake at 350 degrees F. for 17-20 minutes, or until the brownies are just set in the middle, and a toothpick inserted in the center comes out clean, with just a few moist crumbs. Allow brownies to cool completely before moving on to the next step. (Feel free to refrigerate them to speed up this process.)
WHEN THE BROWNIES ARE COOL, MAKE THE MINT LAYER:
- Combine. In a large bowl or a stand mixer, combine softened butter/vegan butter, milk, powdered sugar, mint extract, and salt. Whip or beat the frosting until it is light, fluffy and blended. Add food coloring and blend until the color is evenly distributed.
- Adjust The Texture, As Needed. If your frosting seems too stiff to spread, add 1/2 tsp. milk at a time until it loosens back up. If it’s too loose and doesn’t hold its shape, add 1-2 Tbsp. powdered sugar at a time until it’s spreadable and holds its shape.
- NOTE: If your frosting seems too stiff to spread, add 1/2 tsp. milk at a time until it loosens back up. If it’s too loose and doesn’t hold its shape, add 1-2 Tbsp. powdered sugar at a time until it’s spreadable and holds its shape.
- Frost Brownies. When the mint frosting is the right texture, spread over the cooled brownies (an offset spatula makes this easier), doing your best to form an even layer.
- Chill. Place the brownies in the refrigerator to chill while you prepare the ganache.
THEN, MAKE THE GANACHE.
- Melt. In a microwave-safe bowl, combine chocolate chips and milk. Melt in 20-30 second increments, stirring in-between each increment, until the chocolate is smooth and glossy. Alternatively, you can melt the chocolate + milk together in a saucepan on the stove over low heat.
- Frost. When the chocolate is smooth and glossy, pour it over the mint layer of the brownies and gently smooth it out to cover the mint layer (again, an offset spatula really helps!).
- Chill To Set. Cover the brownies and return to the refrigerator to set the ganache.
- Slice & Serve. When the ganache is set, remove the brownies from the refrigerator and slice into 16 (2×2″) squares or 20 rectangles. (They’re rich!) Store leftover brownies in an airtight container in the refrigerator 2-3 days, or freeze up to 2 months.
Notes
- LET YOUR BROWNIES COOL BEFORE ADDING THE MINT LAYER! It might feel tempting to rush this step, but it will *not* end well. Your brownies need to be cool before adding the mint frosting or the mint layer will just immediately melt and turn into a liquid-y mess. Pretty please cool that brownie layer before adding the mint frosting!
- WANT TO USE A BOXED BROWNIE MIX INSTEAD? No problem! We love the King Arthur Gluten-Free Brownie Mix. Follow the box directions to make them, then proceed with the mint layer and ganache. Important note: most mixes make an 8×8 pan of brownies, but double-check before baking since some make a 9×13″ pan. If your mix makes a 9×13″ pan, you’ll want to double the ingredients for the mint layer and chocolate ganache.
Video
Nutrition
Nutrition facts are an estimate only and will vary based on brands and amounts used.
Find it Online:
https://www.onelovelylife.com/gluten-free-mint-brownies/
These are my favorite mint brownies ever! I love the mint and fudgy chocolate
I normally am not the biggest fan of brownies, but…
WOW. THESE ARE AMAZING.
THESE ARE IMPOSSIBLE NOT TO LIKE.
Easy and Delicious!
So glad you loved them Buffy!
I’m excited to try these, can they be frozen?
Yes! You can freeze them in a single layer 🙂
Can I double all the proportions in this recipe and bake it in a 9×13 pan for about the same cook time and temperature? They look SO delicious and I want to make plenty to bring to a church potluck. Also, love the fact that they are dairy free and gluten free, make it so much simpler to bring to gatherings. Lastly, can I put it in the fridge overnight? Thanks so much, can;t wait to bake these!
Jane – I definitely recommend storing them in the fridge overnight for best results. They’ll keep best in the fridge!
And for doubling, you’ll get your most consistent results making two 8×8 pans, but if you don’t have 2 pans, you can try the 9×13 route! You may need to adjust the bake time a touch, but everything else should work as directed!
Love these! I’ve made them per your original recipe as well as with a red, white, and blue icing. Huge hit with everyone! Wondering how much powdered sugar could be cut from icing while still keeping the right thickness? Thoughts? Thanks so much! Love your site!
Kelly – I’m so glad you love them! With frostings, you can’t really cut the sugar without impacting the consistency. You could experiment with using half regular powdered sugar and half of a powdered sugar alternative, like powdered Swerve, though I haven’t tried it that way myself. 🙂
about to impress my roommates with this one!! looks so so good
OMG! These look amazing. Can’t wait to make them. chocolate + mint = awesome combo in my book!
I think so too! We’ve been really into the mint + chocolate combo lately!