


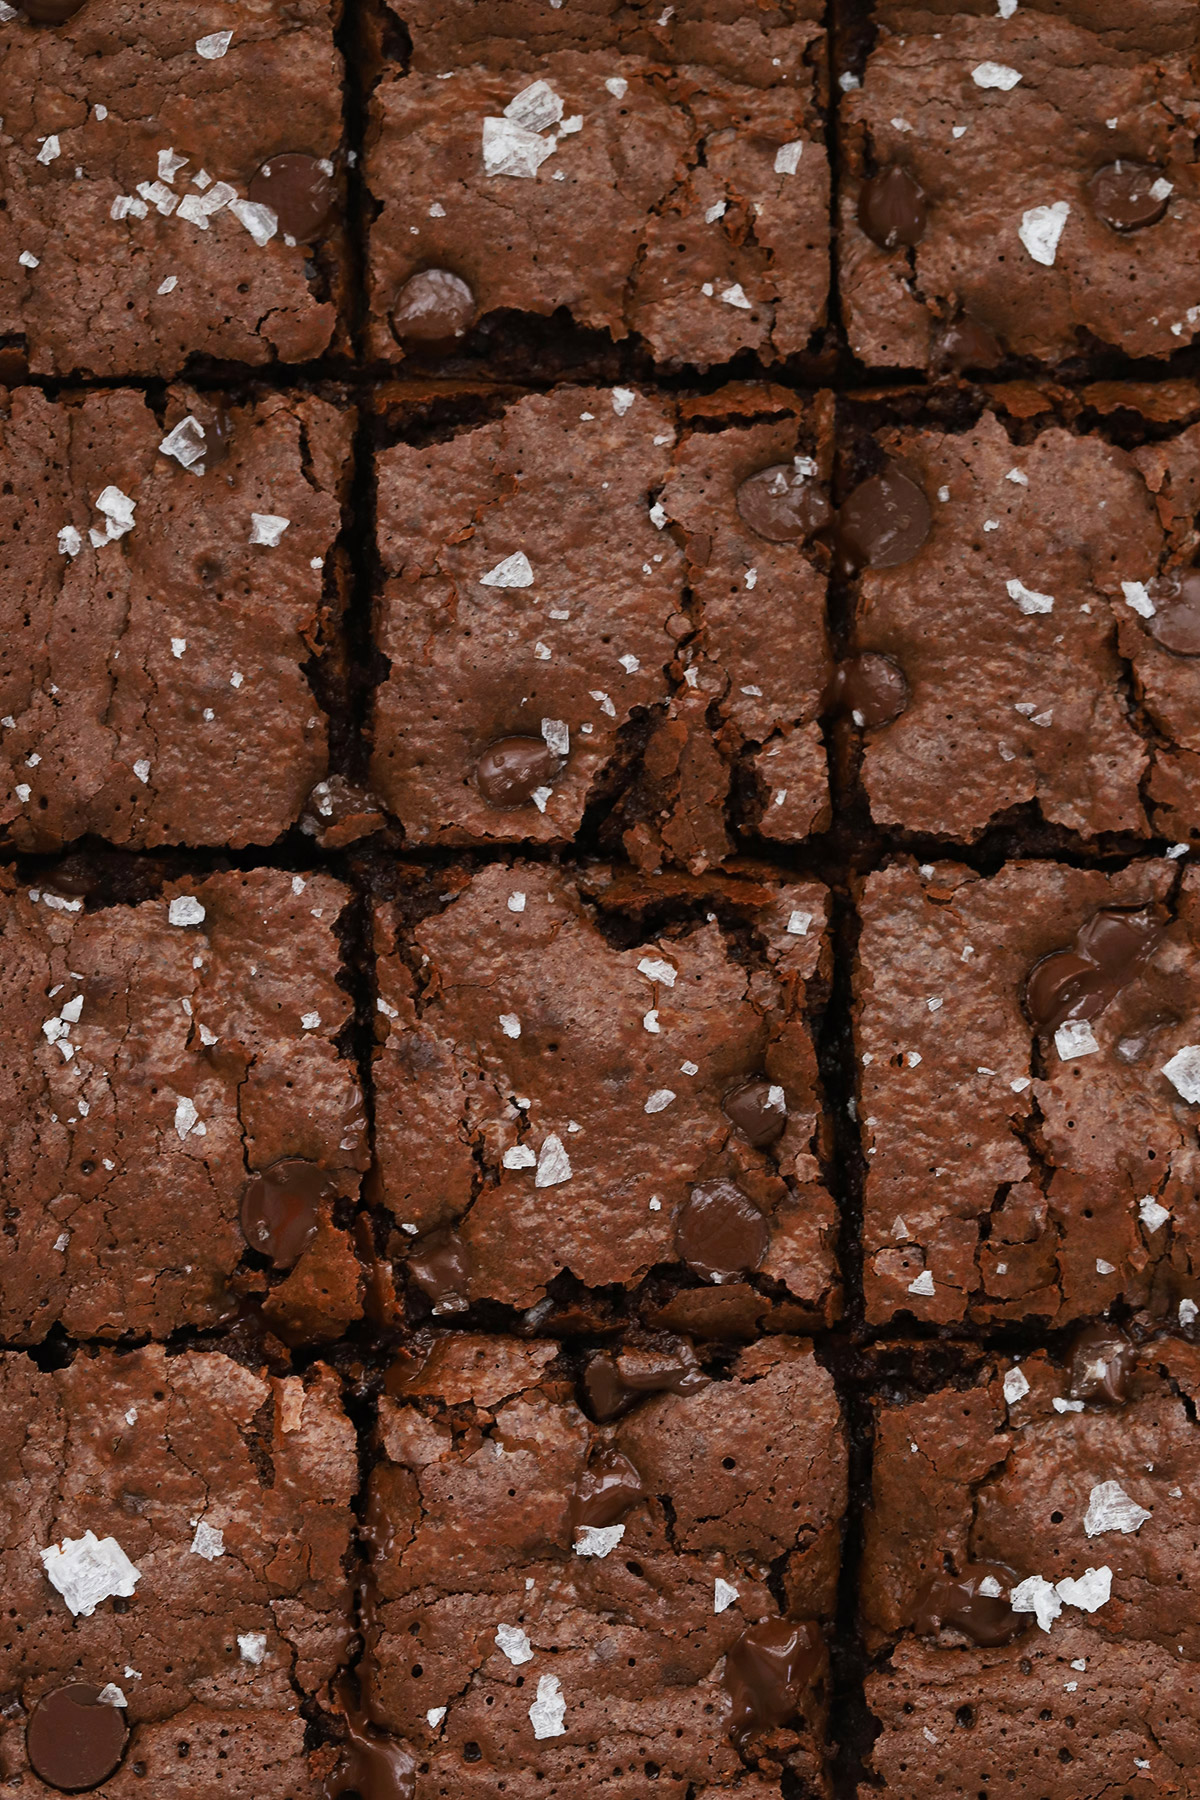
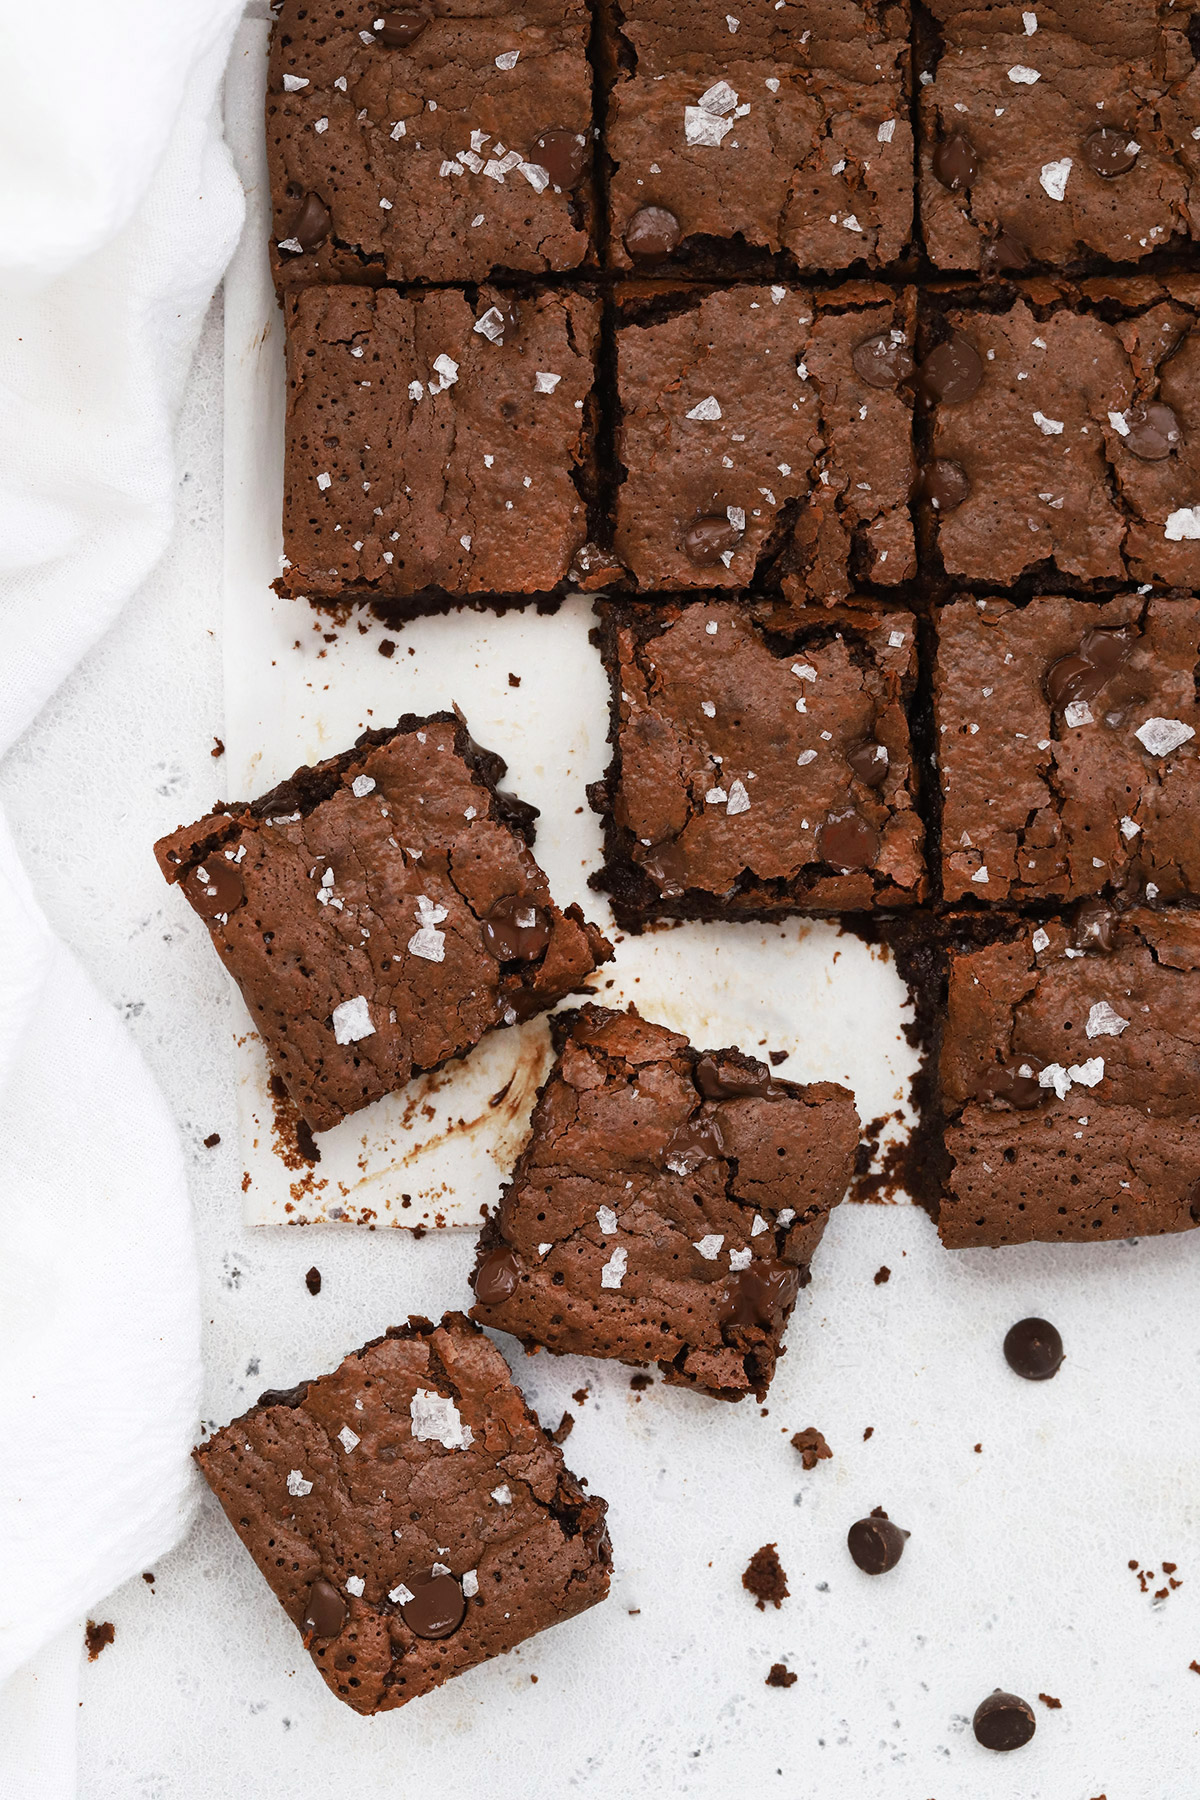
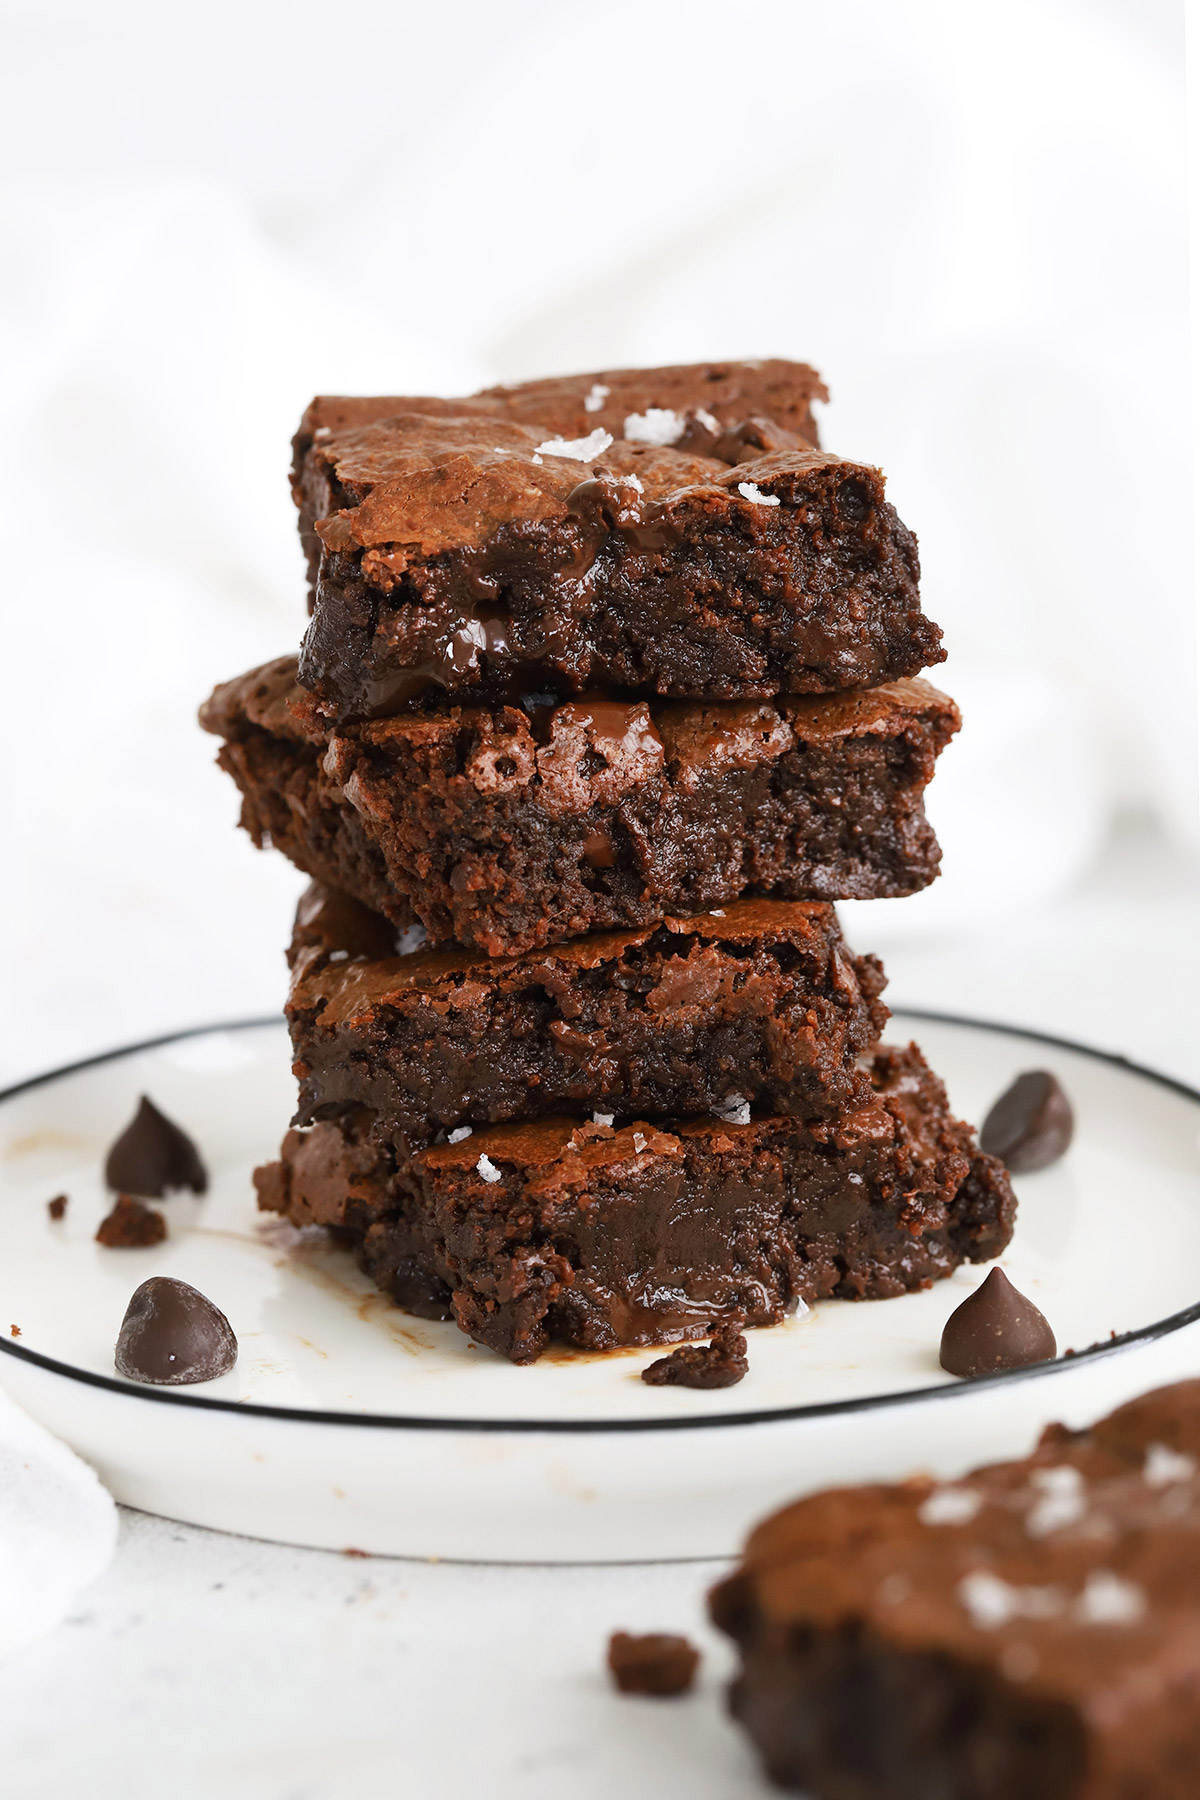
Get ready to make some of the best gluten-free brownies around! These almond flour brownies have glossy tops, fudgy centers, and delicious chocolate flavor in every bite. Even better: they’re gluten-free, dairy-free, AND grain-free!

When we went gluten-free in 2013(!!!), gluten-free dairy-free baking felt a bit like the wild west since there weren’t a ton of gluten-free blogs out there. (Yes, I feel 9,000 years old typing that.) At the beginning, gluten-free baking involved a lot of experimenting, a lot of mistakes, and some pretty serious flops.
But these gluten-free brownies? They’ve been a win since day 1.
I’m not kidding when I say these almond flour brownies are some of THE BEST BROWNIES on the internet. With rave reviews from hundreds of chocolate lovers over the years (on the blog, Pinterest, FB, IG, and more!), I know it’s not just us!
They’re everything I love in a good brownie–shiny tops, fudgy middles, and delicious chocolate flavor in every bite. They delightfully easy to make and have made appearances at birthdays, parties, graduations, wedding proposals, baby showers, and more.
Whether you’re a gluten-free newbie looking for the best gluten-free brownie recipe around, or you’re a long-time pro with a chocolate craving, these easy gluten-free brownies are here to deliver.
Simple Ingredients To Start
Just like traditional brownies, the best part of this gluten-free brownie recipe is how simple the ingredients list is–no fussy ingredients in sight! Let’s take a look:

- ALMOND FLOUR. Finely ground, blanched almond flour is the base of these fudgy gluten-free brownies. Thanks to the moist texture of the almonds, these brownies get that gorgeous fudgy texture I love so much.
- UNSWEETENED COCOA POWDER. To punch up that seriously chocolate flavor we’re looking for, I add a few tablespoons of unsweetened cocoa powder. It works wonders! I’ve made these with both traditional unsweetened cocoa powder and Dutch-processed/dark cocoa powder. Both will work!
- BAKING POWDER + SALT. A little salt helps balance those lovely flavors–don’t skip it! Then, to get that lovely puff, I add some baking powder. If you’re strictly paleo, you’ll need to use paleo-approved baking powder (that doesn’t contain cornstarch)
- CHOCOLATE CHIPS. Most of the chocolate flavor and quite a bit of the structure of these gluten-free brownies comes from melting chocolate chips. I use allergy-friendly semi-sweet or dark chocolate chips like these or these, but you can use your favorite. These ones are naturally-sweetened and paleo-approved, but readers have also made them with stevia-sweetened chocolate chips and more!
- COCONUT OIL (OR BUTTER OR VEGAN BUTTER OR AVOCADO OIL!). For the fat (which helps you get that dense fudgy texture), you can make your gluten-free brownies with melted coconut oil, butter, vegan butter, or avocado oil. They will all work in this recipe!
- EGGS + COCONUT SUGAR. Another trick, which helps you get that gorgeous crackly top, is to whisk-whisk-whisk the eggs and coconut sugar together until they’re lighter in color and smooth. Don’t skimp here since it really helps with the texture! I’ve used coconut sugar in our gluten-free brownies, which is lower on the glycemic index, but if you don’t have it or like it, feel free to substitute white sugar, brown sugar, or even something like maple sugar. It will all work.
- VANILLA. To round off the wet ingredients, you’ll add some vanilla to the gluten-free brownie batter. It really punches up the chocolate flavor!
- MORE CHOCOLATE CHIPS. Lastly, I like folding in another 2/3 cup of chocolate chips. They’re DELIGHTFUL in the baked brownies, like little chocolatey surprises in every bite. If you prefer, you can use chopped nuts here instead.
Can I Use Another Flour Instead?
One of the most common questions I’ve gotten about these brownies over the years is “can I use another kind of flour?” Here are a few things to know about some of the most common gluten-free flour blends.
- Coconut Flour – NO. Coconut flour absorbs several times its own volume in liquid, so using coconut flour here would mean VERY dry, crumbly brownies instead of the gorgeous, fudgy brownies we’re going for. You cannot use it as a substitute here.
- Oat Flour – NO. I don’t recommend oat flour for these gluten-free brownies, since it tends to impact the texture.
- Gluten-Free All Purpose Flour – MAYBE. Several readers have made these brownies with gluten-free 1:1 flour blends. I don’t love it here (I prefer this recipe if I’m using a 1:1 gluten-free flour blend!), but if you HAVE to use a substitute, that’s probably your best option. Keep in mind, the brownies will be a little more dense and dry than if you use almond flour.
How To Make Gluten-Free Brownies, Step By Step
As always, you can find the full recipe with ingredient amounts, detailed instructions, and tips in the recipe card below.

- Preheat Oven & Prep The Pan. To start, preheat oven temperature to 350 degrees F. Line a metal 8×8 baking pan with parchment paper or spray with nonstick spray.
- Melt Chocolate. In a small saucepan, gently melt chocolate and oil over low heat until smooth and glossy. Remove from heat and set aside to cool slightly.
- Beat Eggs & Sugar. In a large bowl, whisk together sugar and eggs 2-3 minutes, until the mixture is lighter in color (This will be easier and faster if you use a handheld electric mixer!). If you rub the mixture between your fingers, it shouldn’t be gritty.) Set aside. Don’t rush this step, or your brownies won’t get that glossy, crackly top!
- Combine Dry Ingredients. In a medium bowl, whisk together the dry ingredients–almond flour, cocoa, baking powder, and salt.

- Combine. Pour the melted chocolate mixture into the egg mixture and stir until smooth. Add vanilla and stir to combine. Stir in the dry ingredients and fold until just mixed.
- Add Mix-Ins. Fold in the additional chocolate chips, reserving a few to sprinkle on the top, if you like.
- Pour batter into your prepared baking dish and smooth the surface. Sprinkle with reserved chocolate chips.
- Bake at 350 degrees 18-20 minutes, or until edges are set and the center is still slightly underdone. (The remaining heat should set the center as it cools.) A toothpick inserted in the center should only come out with a few moist crumbs.
- Garnish & Cool. Sprinkle with flaky sea salt, if using, and allow brownies to cool on a wire rack before slicing.
Variations & Mix-Ins To Try
Now that you’ve mastered our base recipe for gluten-free brownies, you can play with mix-ins! Depending on your dietary needs, you can mix and match from these options when you’re craving something different:
- Chocolate Chunks. Swap out the chocolate chips for chocolate chunks for a bigger impact!
- Nuts! Add some chopped nuts to the brownies! Toasted pecans, almonds, hazelnuts, and walnuts are all delicious.
- White Chocolate Chips. Fold in white chocolate chips at the end for a black & white effect!
- Candy Cane. We use peppermint extract & crushed candy canes in our Peppermint Brownies twist!
- Almond Extract. Try adding 1/4-1/2 teaspoon almond extract along with the vanilla for a more pronounced chocolate almond flavor. It’s delicious!
- Espresso Powder. If you’re a coffee fan, you can add 1 Tablespoon espresso powder with the dry ingredients!
FAQ + Tips And Tricks For The Best Gluten-Free Brownies
USE A METAL PAN! I used to make these brownies in a ceramic pan, but in recent years, I MUCH prefer using a metal pan (this square pan, specifically!) or a glass pan or ceramic pan, since the brownies will get a better rise and a shinier crust. (You can see a visual of brownies baked in glass vs metal pans here!)
ALMOND FLOUR. There are a LOT of different brands and blends of almond flour and most of them produce different results. I recommend using a very finely ground blanched almond flour rather than a coarse grind or almond meal which is made with skins-on almonds. We often buy Blue Diamond almond flour in bulk, but check your local Costco, since they regularly rotate in different brands!
MAKE A SUNDAE! I don’t want to tell you what to do, but I *will* say these brownies are incredible with a scoop of ice cream and a drizzle of our vegan hot fudge sauce or classic hot fudge sauce.
PS – LOOKING FOR A BOX MIX? These brownies are 100% worth the effort, but if you’re looking for the best gluten-free box mix brownies, we did a whole taste test a few years ago that’s worth a look!



Did You Make This Recipe?
Tell me all about it! Leave a star rating below when you try our Almond Flour Gluten-Free Brownie recipe. I can’t wait to hear how it goes!
The PERFECT Gluten-Free Brownies
Ingredients
- 2/3 cup semi-sweet or dark chocolate chips (dairy-free, if needed)
- 5 Tablespoons coconut oil (can sub butter, avocado oil, vegan butter)
- 2/3 cup coconut sugar (can sub white or brown sugar)
- 2 large eggs
- 1 teaspoon vanilla extract
- 2/3 cup finely ground blanched almond flour
- 2 Tablespoons unsweetened cocoa powder
- 1/2 teaspoon baking powder
- 1/4 teaspoon kosher salt
- 2/3 cup additional chocolate chips or chopped chocolate can sub nuts
- Optional: flaky sea salt to sprinkle on top like Maldon
Instructions
- Preheat Oven & Prep The Pan. To start, preheat oven temperature to 350 degrees F. Line a metal 8×8 square pan with parchment paper or spray with nonstick spray.
- Melt Chocolate. In a small saucepan, gently melt chocolate and oil over low heat until smooth and glossy. Remove from heat and set aside to cool slightly.
- Beat Eggs & Sugar. In a large bowl, whisk together sugar and eggs 2-3 minutes, until the mixture is slightly lighter in color and until they pass the ribbon test (when you lift the whisk the mixture should stream down evenly in “ribbons.” If you rub the mixture between your fingers, it shouldn’t be gritty.) Set aside. Don’t rush this step, or your brownies won’t get that glossy, crackly top!
- Combine Dry Ingredients. In a medium bowl, whisk together the dry ingredients–almond flour, cocoa, baking powder, and salt.
- Combine. Pour the melted chocolate mixture into the egg mixture and stir until smooth. Add vanilla and stir to combine. Stir in the dry ingredients and fold until just mixed.
- Add Mix-Ins. Fold in the additional chocolate chips, reserving a few to sprinkle on the top, if you like.
- Pour batter into your prepared pan and smooth the surface. Sprinkle with reserved chocolate chips.
- Bake at 350 degrees 18-20 minutes, or until edges are set and the center is still slightly underdone. (The remaining heat should set the center as it cools.) A toothpick inserted in the center should only come out with a few moist crumbs.
- Garnish & Cool. Sprinkle with coarse salt, if using, and allow brownies to cool on a wire rack before slicing. (For the neatest slices, consider chilling the brownies first)
- Storage Tips. Store leftover brownies in an airtight container at room temperature 1-2 days, in the refrigerator 3-4 days, or in the freezer up to 2 months.
Notes
- For Paleo, use paleo-approved baking powder and dairy-free chocolate chips
- Cocoa Powder. I usually make these with natural cocoa powder (like Hershey’s or Ghirardelli), but you can use Dutch Process cocoa powder for a darker, richer look.
- Don’t Over-Bake. My trick for fudgy brownies is always to pull them out when the center is juuuust about set. They’ll finish setting as they cool and won’t end up too crispy or dried out.
- Use A Metal Pan. When possible, I recommend baking these brownies in a metal pan. The crust will get shinier, the brownies will bake more evenly, and consistently. Baking in glass or ceramic pans will increase the bake time (it’ll take 20-24 minutes) and the surface of your brownies will be more uneven.
- Sugar. Brown sugar or white sugar will give your brownies the glossiest, shiniest tops, but coconut sugar absolutely works if you’re avoiding refined sugar.
Video
Nutrition
Nutrition facts are an estimate only and will vary based on brands and amounts used.
Find it Online:
https://www.onelovelylife.com/the-perfect-gluten-free-brownies/Recipe originally published March 2016. Fully updated in 2018, 2021, then updated and republished again February 2025.
THESE WERE INCREDIBLE. I substituted the baking soda for baking powder, I added chopped pecans, and they came out perfectly. I would never know they were gluten free. Thanks so much for this recipe!!!!!
Kayla – That’s so wonderful to hear! (Also – PECANS!!!!) I’m so glad you liked them!
Best brownies I’ve ever made and had! Just perfectly fudgy with crisp edges but not super crunchy! I think I’ll stick with this when we get a little chocolate craving because it was perfect, thank you!
Wonderful! I love hearing that! We ADORE them too! 🙂
I made these today for Father’s Day and they were amazing. My dad has celiac and he loved them. Even my younger siblings loved them. We finished the whole thing in like 10 minutes. Would definitely reccomend this recipe
I’m SO happy to hear that! We absolutely LOVE these brownies! I’m glad you did too 🙂 Thank you for taking the time to share this with me!
Just did it and I putted shredded coconut on top to remind that coconut oil flavor. it smells amazing and it taste wonderful, it’s super fudgey!!!
Oh, yum! That sounds delicious!
just made these, they turned out perfect. I even halved the amount of sugar, and my family loved them. thanks so much for sharing this amazing recipe
YESSS! I love hearing that! So glad you enjoyed them! They’re our family favorite 🙂
Birthday party tomorrow means I need to double this recipe! Have you done so successfully? I’d be doing it in a cake pan, and I’m just awful about knowing baking times when doubling! Any help appreciated! Can’t wait to try these!
Amy – Fun for a birthday! For doubling, I actually just usually make it in two square pans so the edges don’t burn while the middle stays underdone in a larger pan, but several folks have made a double batch in a 9×13″ pan. I’d start checking them around the same baking time (20-24 min), and then check every 2-3 minutes after that to be safe.
Hello. The recipe sounds good…but what I don’t like is this: 2/3 cup semi-sweet or dark chocolate chips – ?
Why there is no back to basic simple brownie recipe.. Who knows what’s in the chocolate chips, how much butter and sugar is in them in total? I’d much prefer if we could just have kakao powder based recipe…
Peter – I’m sorry they weren’t what you were looking for. Hope you find that recipe soon!
It bakes well and the brownies are a perfect texture. I substituted the coconut oil for butter (same amount) as my daughter has celiacs and she doesn’t like the taste of coconut. They came out yummy!!!!
I’m SO GLAD you liked them Danila!
First, let me say that these brownies were DELICIOUS! I’m gluten/dairy free (Paleo) and took them to a dinner with friends where I was the only one with food restrictions. Everyone devoured them and it was great that I could join in on that devouring. There were crumbs on the plate and one of the men literally licked the plate! Haha! I did not expect that! I followed your recipe exactly and my only issue was that the top didn’t have that traditional brownie sheen on top. It was matte brown instead, but sprinkling the salt distracted from that fact. Can you think of a reason why this happened so I can try to correct it?
I have a question, I would love to make your recipe, however I cannot eat chicken eggs, could i substitute the chicken eggs with say duck eggs?
That is a GREAT question. I have no experience using duck eggs, but my friend Erica did a whole write-up about it that’s worth a full read. She says not to use them as a direct substitute unless you’re doing them by weight.
“Duck eggs are about 1.3-1.4 times as big as a large chicken egg. The average duck egg is about 70 grams, whereas the average chicken egg is about 50 grams.” (She’s got more details about how to use them or substitute them in her article!)
If you give them a go, I’d LOVE to know how they turn out!