


Our Homemade Gluten-Free Gravy Recipe is easy to make with or without drippings. It’s perfect with mashed potatoes, roast chicken, turkey, and more.
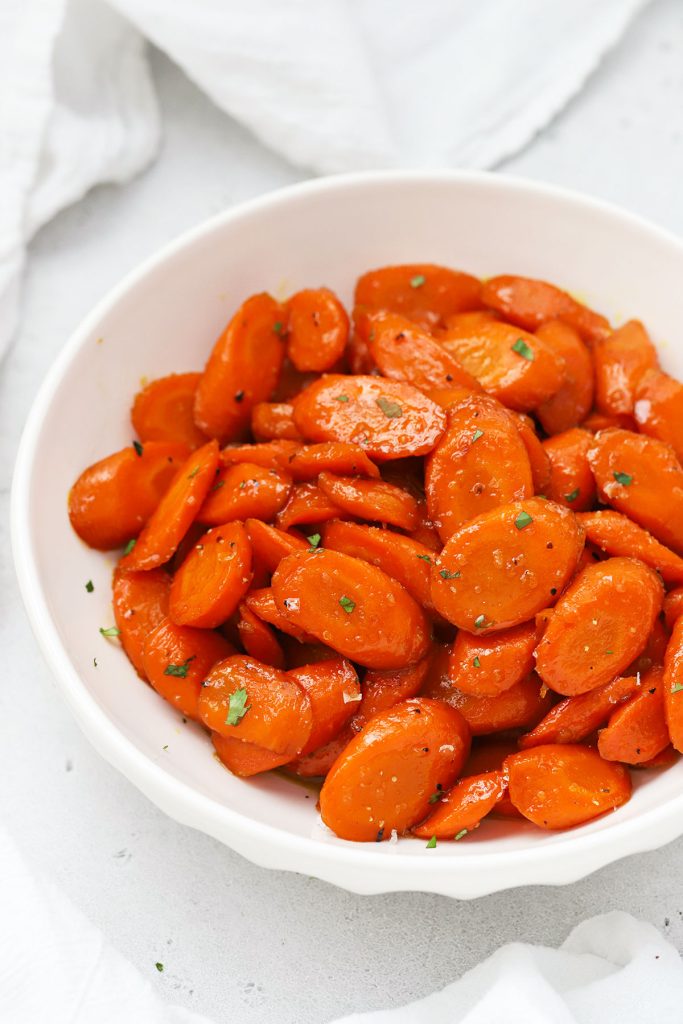
It’s time for another recipe to round out your gluten-free holiday menu! We’ve covered classics like amazing Mashed Potatoes, Cranberry Sauce, Gluten-Free Stuffing, Glazed Ham, Carrots, and more, but today, we’re talking about GRAVY.
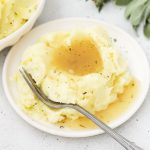
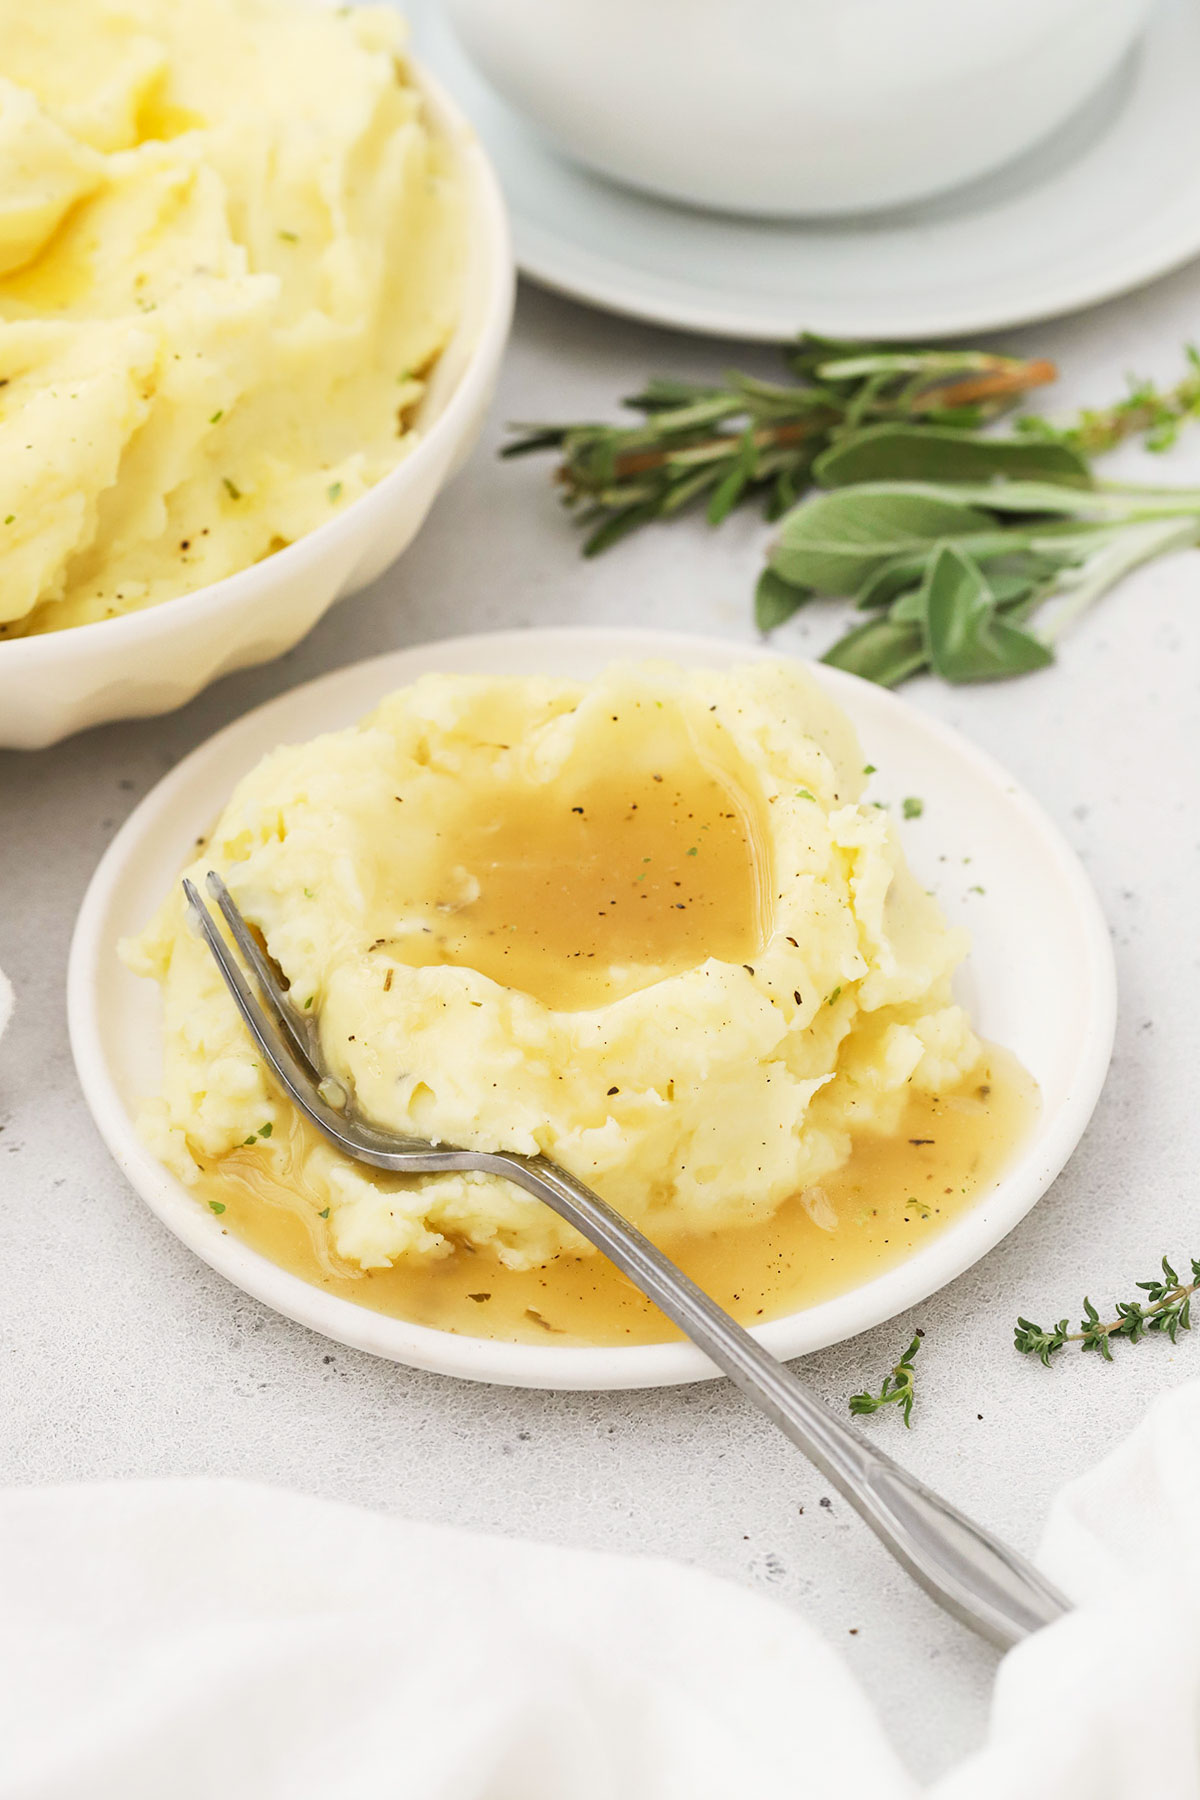
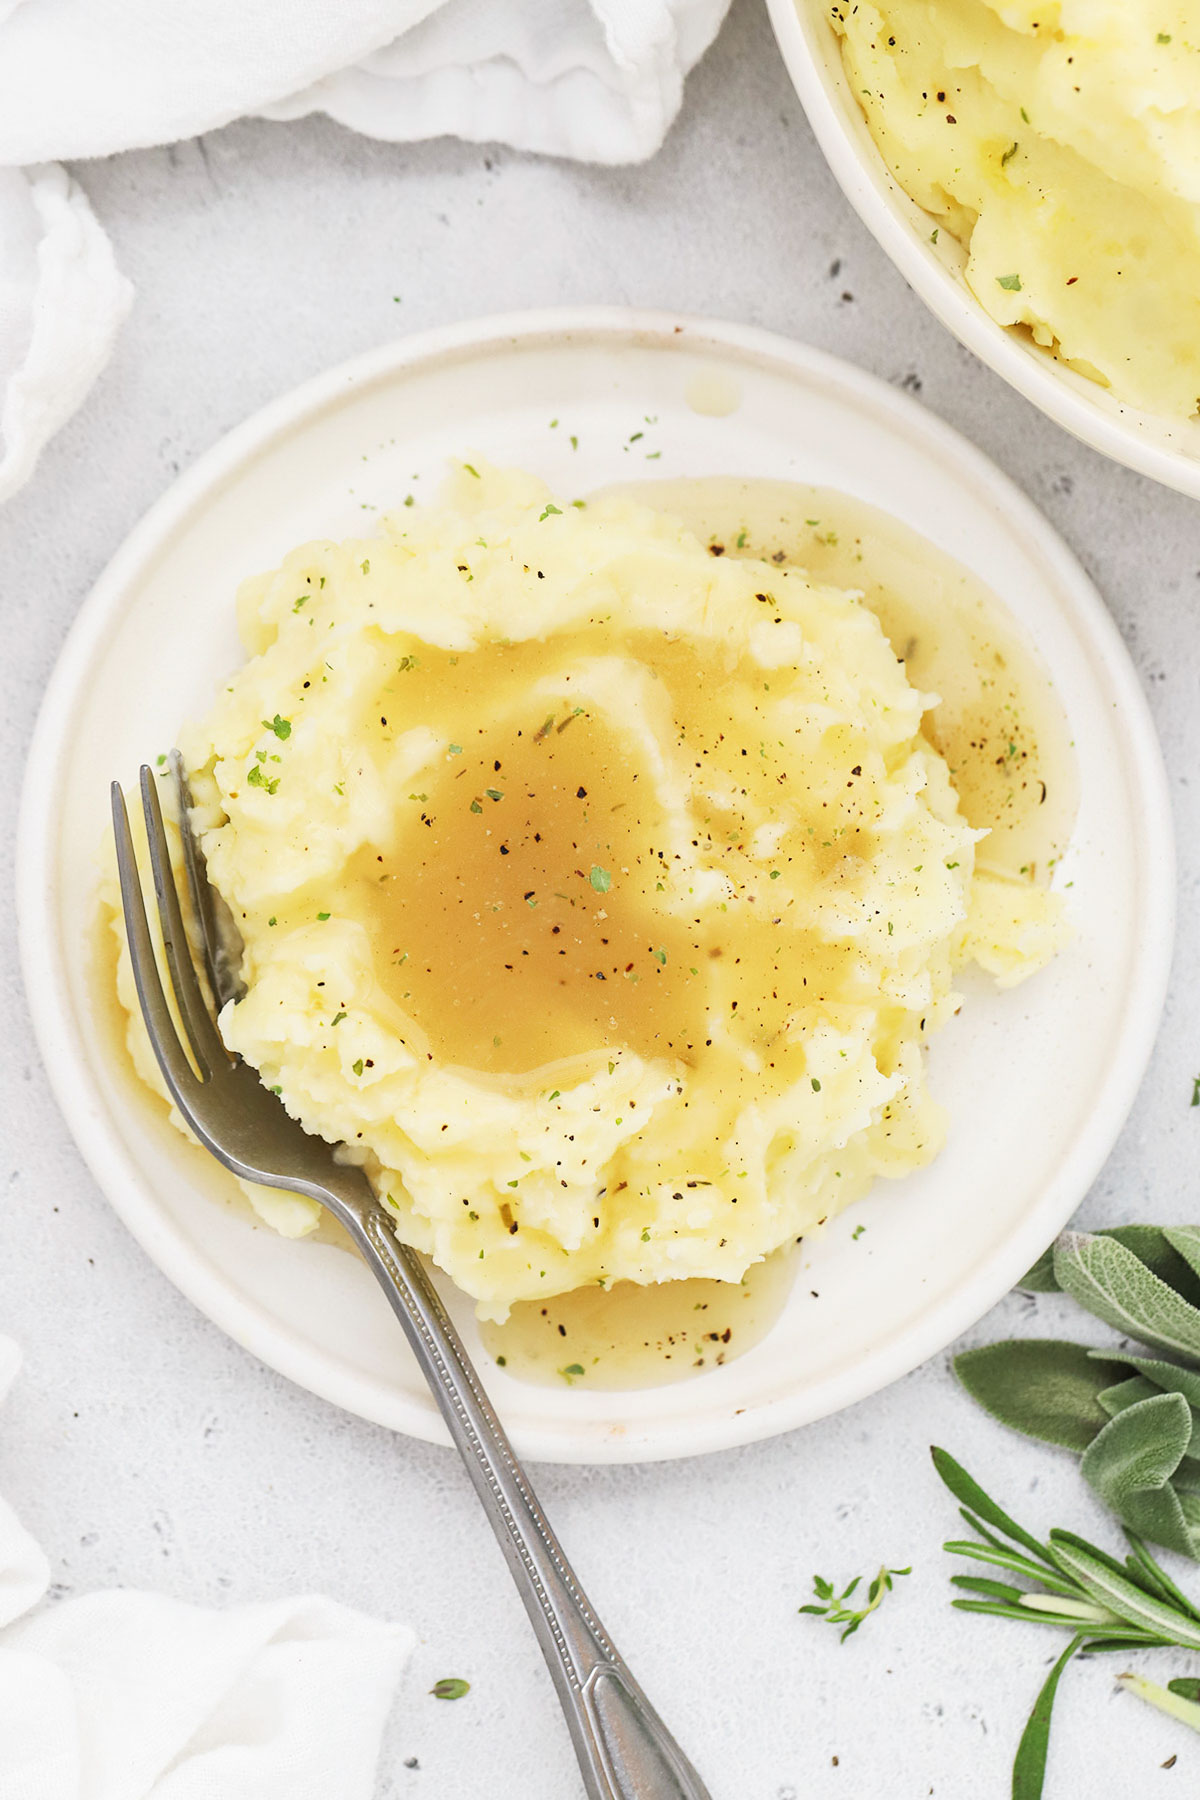
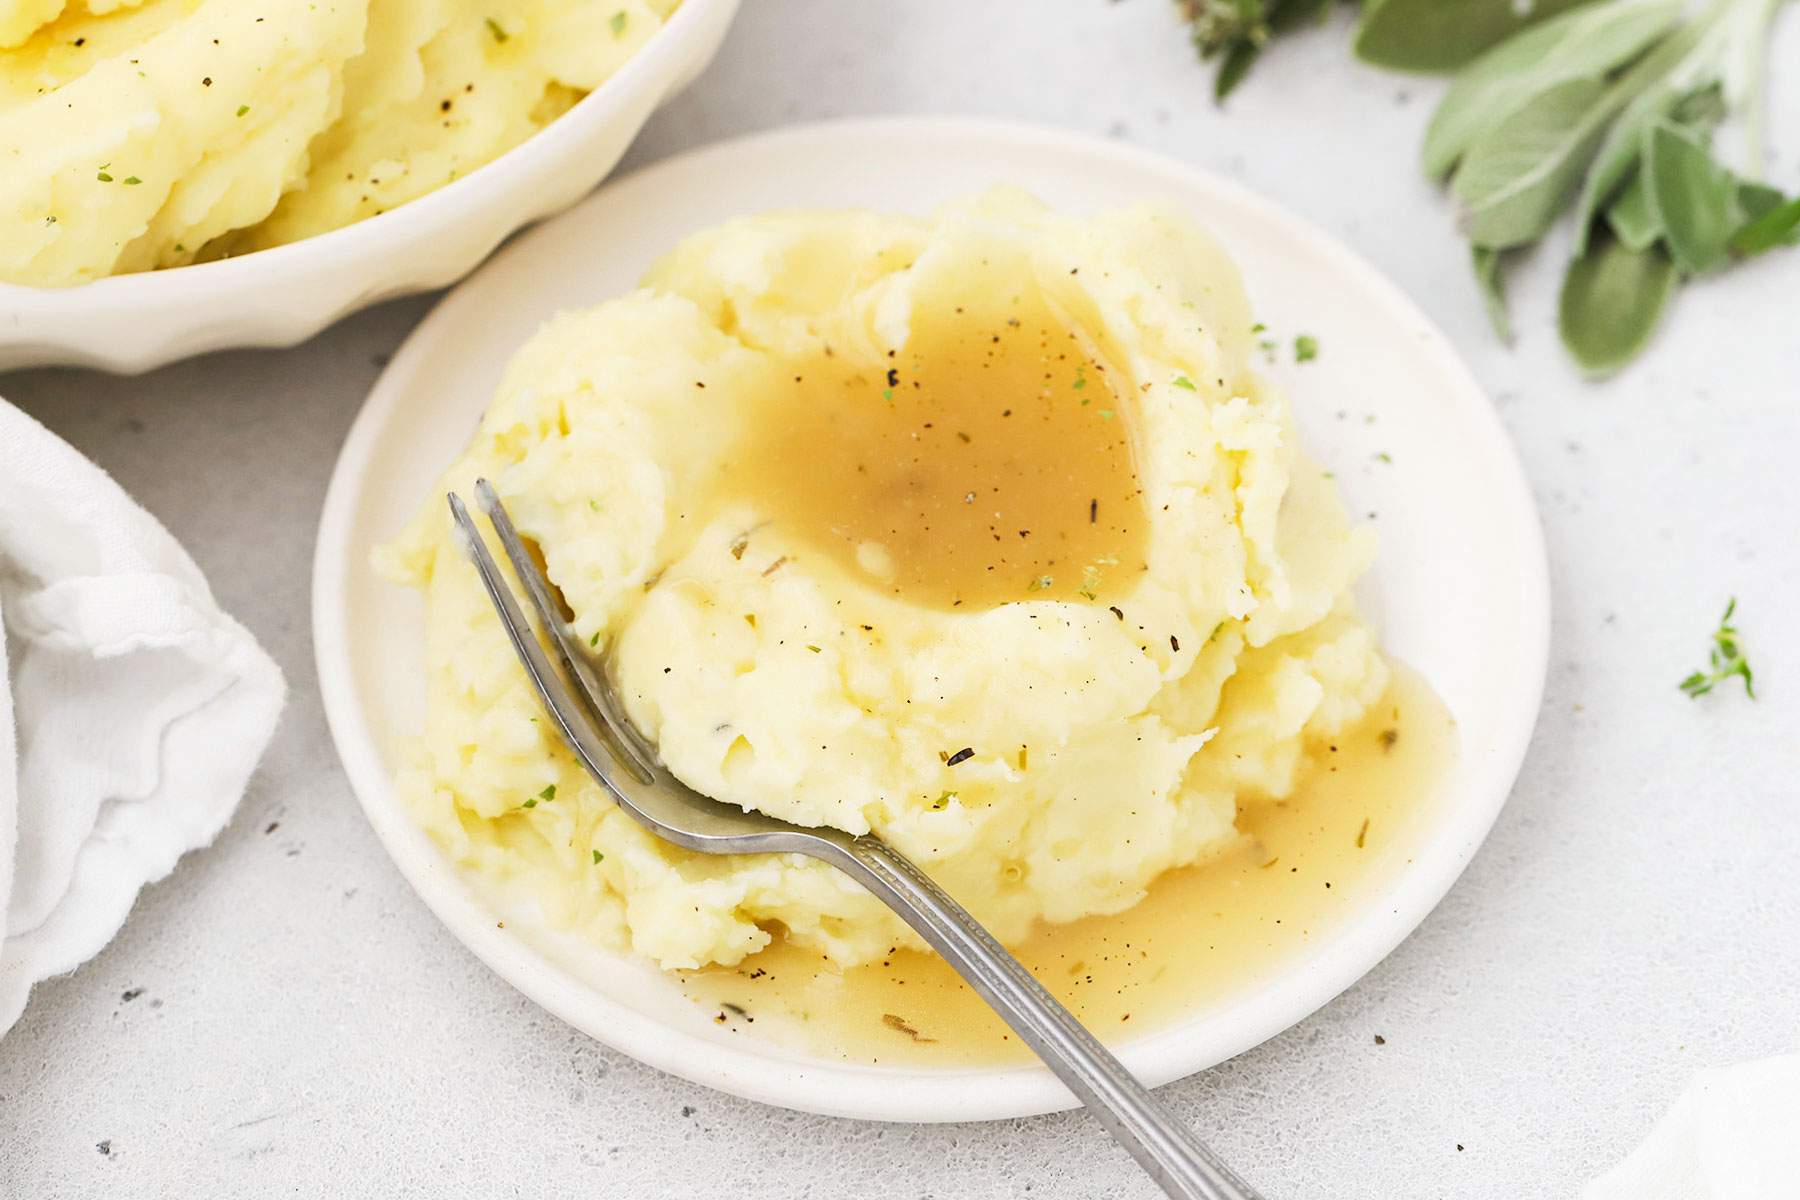
Our homemade gluten-free gravy is easy enough for weeknight mashed potatoes, but also adds a touch of elegance to the Thanksgiving table, Sunday dinners, or holiday meals.
Besides the delicious flavor, what I love best about this homemade gravy recipe is that you can make it with all the beautiful pan juices from a Thanksgiving turkey if you have them, or you can make it without any drippings if you’re making it on a weeknight.
Here’s what you need to make our easy gluten-free gravy recipe…
Is Gravy Gluten-Free? (Usually Not!)
Many classic gravy packets or gravy recipes use all-purpose flour, wheat flour, or wheat starch to thicken them. None of these options is gluten-free or safe for people with Celiac disease, gluten intolerance, or wheat allergies.
To keep your gravy gluten-free, it’s important to use BOTH gluten-free broth AND a gluten-free thickener, such as cornstarch, arrowroot powder, tapioca starch, or even gluten-free flour. But which one is best? Let’s take a look at the ingredients we recommend for the best gluten-free gravy…
Simple Ingredients For Gluten-Free Gravy
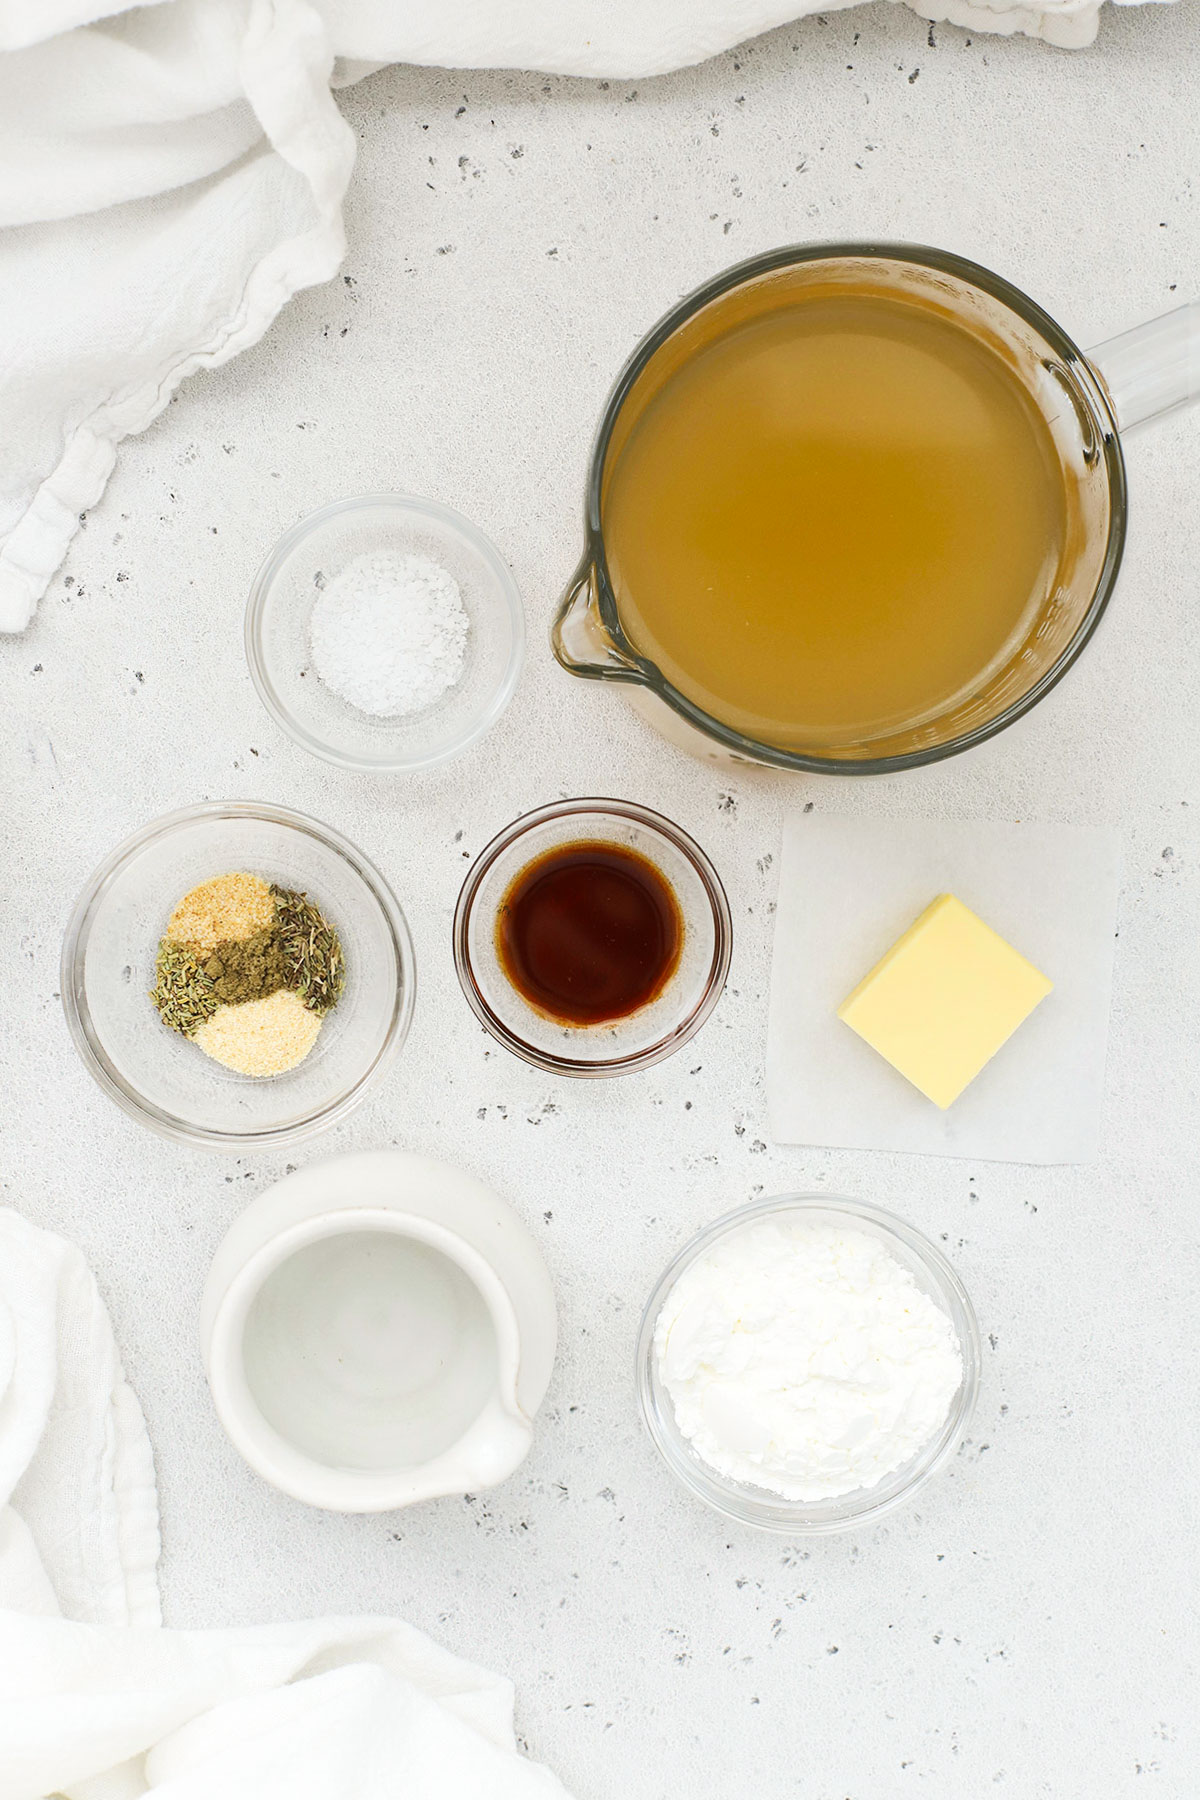
- Chicken Broth or Turkey Broth. First, you’ll start the savory gravy base with broth. You can use chicken broth for gluten-free chicken gravy or turkey broth to make gluten-free turkey gravy. Just make sure your broth is gluten-free! We like Bonafide Provisions, Imagine, Kettle & Fire, and Pacific brands.
- A Few Herbs & Seasonings. Fresh herbs are delicious when you have them, but they’re not essential for this recipe. You’ll use a little onion powder, garlic powder, dried thyme, and a pinch of dried rosemary and sage. It mimics some of the flavors in classic poultry seasoning and tastes savory and delicious.
- Salt. Depending on how salty your chicken broth or turkey broth is, you’ll need to salt the gravy to taste. I’ve given a baseline amount to try in the recipe card below!
- Gluten-Free Tamari. Our secret ingredient! Adding gluten-free soy sauce (tamari), might sound like a strange add, but the tiny splash adds a layer of umami to this gravy that’s delicious. (I promise it won’t taste like soy sauce!)
- Cornstarch + COLD Water. Since we’re using a cornstarch slurry, you’ll need cornstarch and a little water. Cornstarch dissolves best in cold water, so don’t add it to hot gravy!
- Butter OR Pan Drippings. Then, for the most flavorful gravy, you’ll finish with a little cold butter or some pan drippings, if you’ve got them. (Dairy-free butter/vegan butter works, too!)
How Do You Thicken Gluten-Free Gravy?
There are two main techniques for thickening gravy:
- Using a flour roux. The first is a roux made from flour and melted butter, oil, or pan drippings before adding the liquid ingredients.
- Using a cornstarch slurry. The second is a cornstarch “slurry,” a mixture of a few Tablespoons of cornstarch and cold water added to the bubbling gravy.
I’ve made gluten-free gravy with gluten-free flour and gluten-free gravy with cornstarch, and my favorite is definitely cornstarch. I find you’re more likely to get lumps or grit with gluten-free flour. Using cornstarch, it’s easier to get the right consistency–there’s no grittiness, and it ends up smooth, beautifully thickened, and so full of savory flavor.
How To Make This Homemade Gravy, Step By Step
As always, you can find the full recipe, with ingredient amounts, detailed instructions, and tips in the recipe card below!
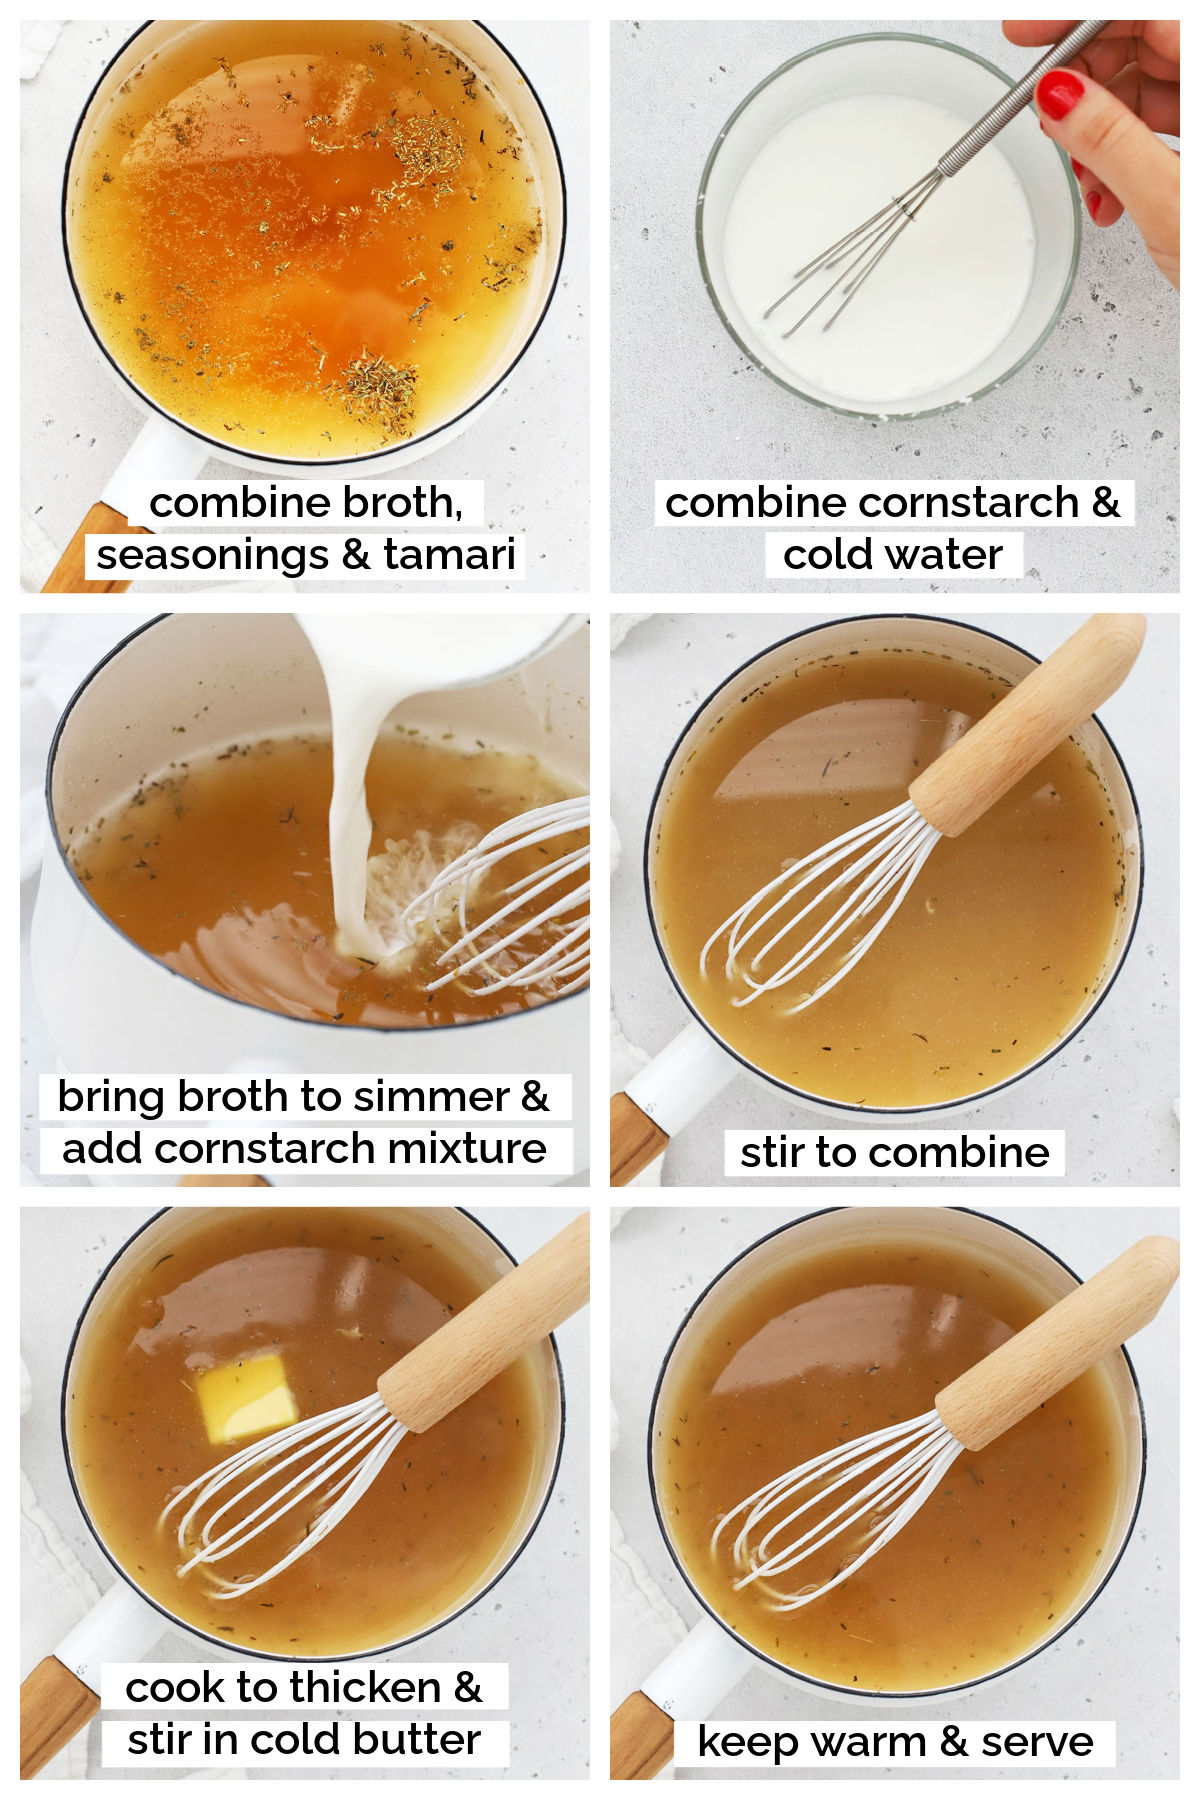
- Combine Broth Base. Start by pouring the broth into a medium saucepan. Add garlic powder, onion powder, thyme, rosemary, sage, and salt. Start bringing this mixture to a simmer over medium heat.
- Combine Cornstarch Slurry. In a small bowl, whisk cornstarch and COLD water until smooth. (Make sure to combine this well to avoid lumpy gravy!) Set slurry aside for a moment.
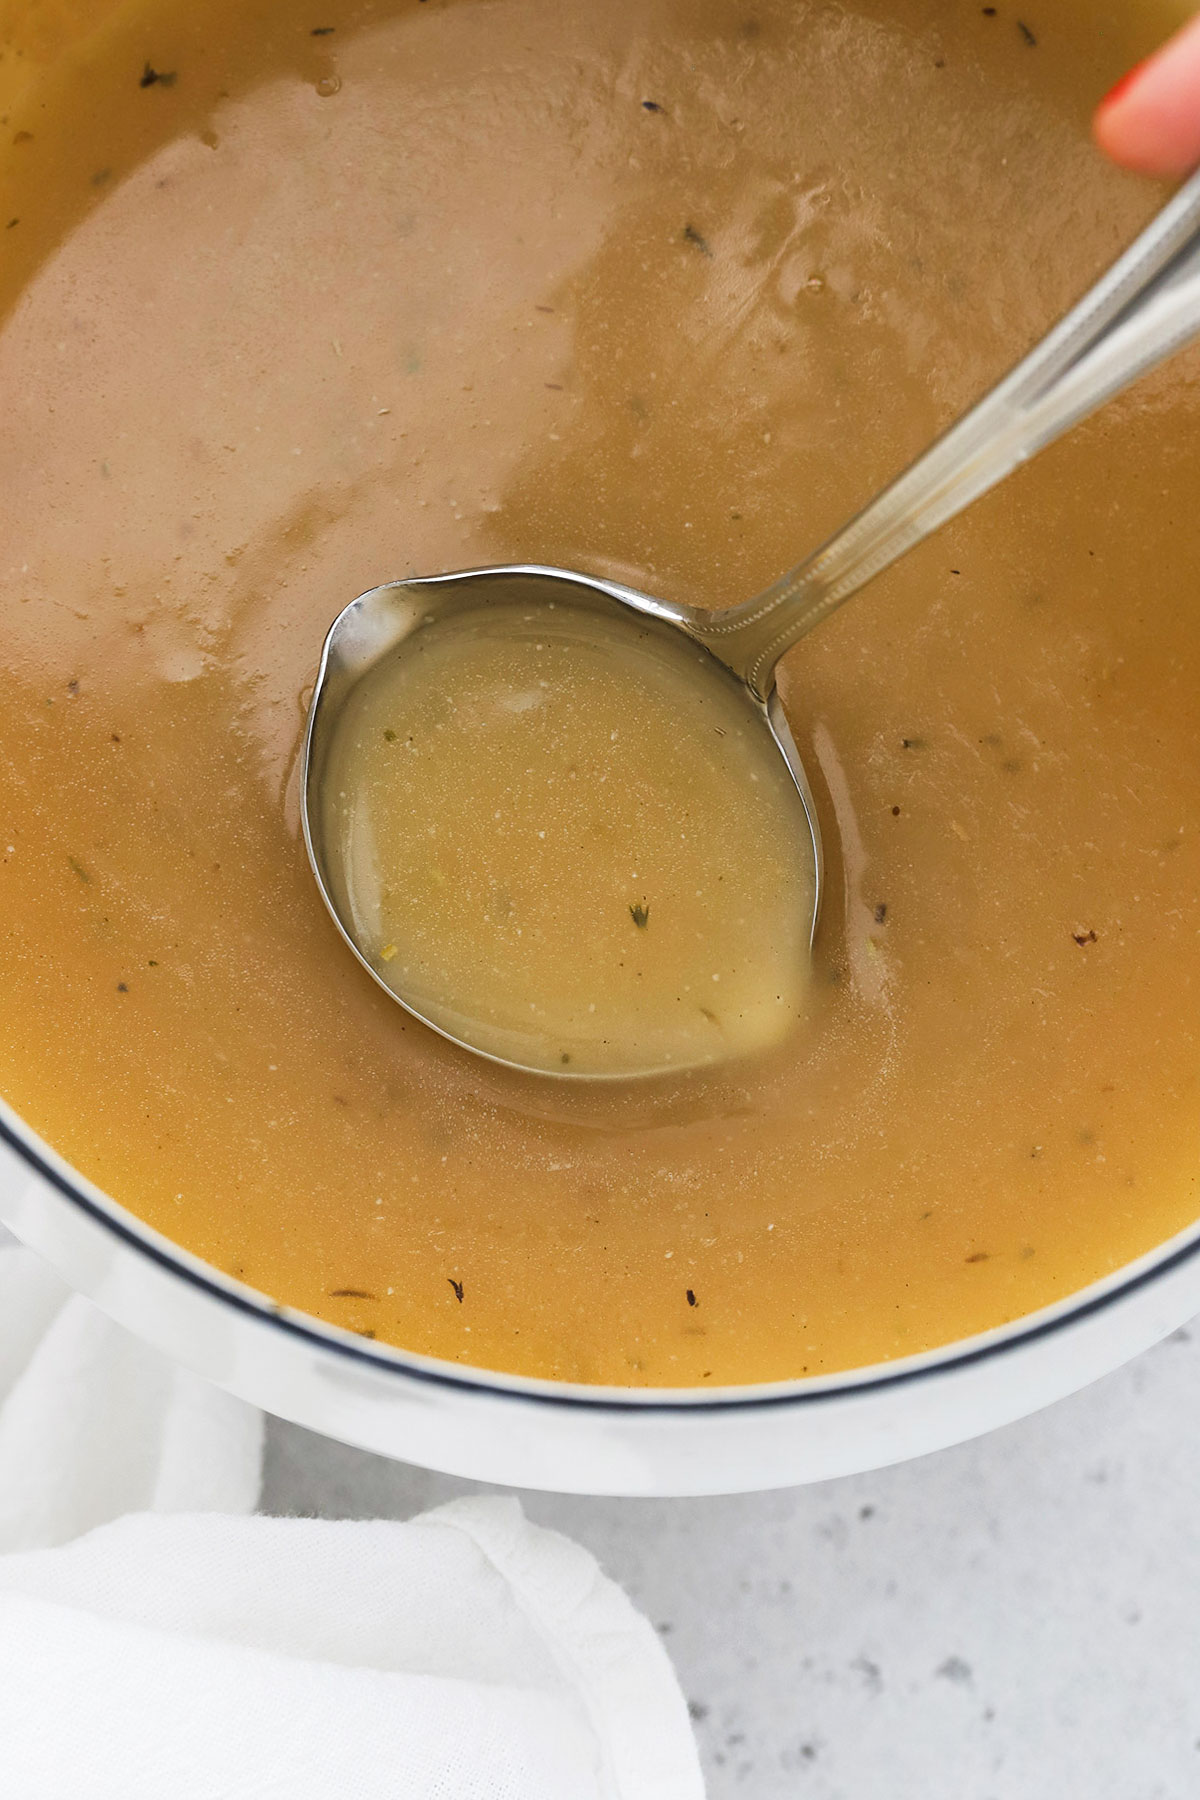
- Bring Gravy To A Simmer. When the gravy is bubbling, double check that your cornstarch slurry is smooth (it can settle if you wait to long!). Pour the cornstarch slurry into the simmering gravy.
- Whisk To Thicken. Continue whisking the gravy over medium heat until it has thickened, 2-4 minutes. The mixture will go from looking slightly cloudy from the cornstarch slurry to looking translucent, thicker, and glossy.
- Reduce Heat To Low. If desired, continue cooking the gravy on low heat. (The longer the gravy simmers, the more concentrated the flavor gets over time.)
- Finish With Butter. Right before serving, whisk COLD butter into the gravy. Taste, and add additional salt or seasonings, if needed.
- Serve or Store. Pour gravy into a gravy boat, serving bowl, or small pitcher to serve. Store leftovers in an airtight container in the refrigerator up to 3-4 days. Or, freeze gravy up to 2-3 months!
To Make Your Gravy With Drippings
To Supplement With Drippings: Add 1/4 cup of pan drippings to the saucepan along with the broth at the beginning of the recipe and skip the addition of butter at the end.
To Use All Drippings: If you prefer, you can absolutely use all chicken or turkey drippings instead of store-bought broth. Pour the pan drippings through a fine mesh sieve or strainer into a fat separator or large glass measuring cup. Let the drippings rest about 5 minutes so the fat will separate into an even layer. Skim out all but 2-3 Tablespoons of the fat and measure 2 cups of broth. (If you don’t quite have enough, you can supplement with store-bought broth or water.)
FAQ + Tips And Tricks For The Best Gluten-Free Gravy
Can You Make Gluten-Free Gravy In Advance? Yes! You can freeze gravy up to 2-3 months in a freezer bag or airtight container. Or, you can mix it up the day before, then reheat on the stove the day you plan to serve it.
How Do You Make Gluten-Free Gravy Without Pan Drippings? We use butter! This is known as monter au beurre in French cooking. Finishing the gravy with cold butter at the end gives it a velvety finish and adds shine, flavor, and richness to the gravy, all without drippings!
What’s The Difference Between Chicken Broth And Chicken Stock? Though these terms are often used synonymously, chicken broth tends to be seasoned with salt and vegetables, where chicken stock is usually unsalted. Either will work for our gravy recipe, but I usually use chicken bone broth. I find that it’s got a richer, deeper flavor. It makes for such flavorful gluten-free gravy!
What’s The Best Store-Bought Gluten-Free Gravy? We’ve had decent luck with Simply Organic gravy packets in a pinch. Primal kitchen also sells a grain-free option. (Our homemade gluten-free gravy definitely tastes better!)
Need A Mashed Potatoes Recipe?
WE’VE GOT YOU COVERED! Try our classic Fluffy Mashed Potatoes, Instant Pot Mashed Potatoes, or Slow Cooker Mashed Potatoes! They’re all lovely with this delicious gravy.


Did You Make This Recipe?
Tell me all about it! Leave a star rating below when you try our homemade Gluten-Free Gravy recipe. I can’t wait to hear how it goes!
Easy Gluten-Free Gravy (Chicken or Turkey)
Ingredients
For The Gravy:
- 2 cups Gluten-Free Chicken Broth or Turkey Broth*
- 1/2 teaspoon onion powder
- 1/2 teaspoon garlic powder
- 1/8 teaspoon dried thyme
- 1/8 teaspoon dried rosemary
- 1/8 teaspoon dried sage
- 1/8-1/4 teaspoon kosher salt start with less if using fine table salt
- 1/2 teaspoon gluten-free tamari optional, but recommended*
- 1 Tablespoon COLD butter* or 1/4 cup pan drippings
- Black pepper if desired (optional)
For The Cornstarch Slurry:
- 1/4 cup COLD water
- 3 Tablespoons Cornstarch
Instructions
To Make The Gravy WITHOUT Drippings:
- Combine Broth Base. Start by pouring the broth into a medium saucepan. Add garlic powder, onion powder, thyme, rosemary, sage, and salt. Start bringing this mixture to a simmer over medium heat.
- Combine Cornstarch Slurry. In a small bowl, whisk cornstarch and COLD water until smooth. (Make sure to combine this well to avoid lumpy gravy!) Set slurry aside for a moment.
- Bring Gravy To A Simmer. When the gravy is bubbling, double check that your cornstarch slurry is smooth (it can settle if you wait to long!). Pour the cornstarch slurry into the simmering gravy.
- Whisk To Thicken. Continue whisking the gravy over medium heat until it has thickened, 2-4 minutes. The mixture will go from looking slightly cloudy from the cornstarch slurry to looking translucent, thicker, and glossy. (Keep in mind that the gravy will thicken even more as it cools.) Taste and add more salt or herbs, if desired.
- Finish With Butter. Keep warm on lowest setting until you’re ready to serve. Right before serving, whisk COLD butter into the gravy. Garnish with a little pepper, if desired.
- Serve or Store. Pour gravy into a gravy boat, serving bowl, or small pitcher to serve. Store leftover gravy in an airtight container in the fridge up to 3-4 days. Or, freeze gravy up to 2-3 months. Keep in mind that chilled gravy will thicken and look almost like jello. This is normal! Just reheat on the stove or in the microwave to loosen it back up.
To Make Gravy WITH Pan Drippings:
- To Supplement With Drippings: Add 1/4 cup of pan drippings to the saucepan along with the broth at the beginning of the recipe and skip the addition of butter at the end.
- To Use All Drippings: If you prefer, you can absolutely use all pan drippings instead of store-bought broth. Pour the pan drippings through a fine mesh sieve or strainer into a fat separator or large glass measuring cup. Let the drippings rest about 5 minutes so the fat will separate into an even layer. Skim out all but 2-3 Tablespoons of the fat and measure 2 cups of broth. (If you don’t quite have enough, you can supplement with store-bought broth or water.) Add the fat and broth to the pan & make as directed, omitting butter at the end.
Notes
- BROTH. Make sure you’re using a gluten-free broth, as some are NOT gluten-free. We love chicken or turkey bone broth for richer flavor. Also, I recommend low-sodium or reduced sodium options to help you keep the sodium in check.
- SEASONINGS. Depending on how flavorful your broth is, you may want to add more dried herbs. Feel free! You can increase all herbs up to 1/4 teaspoon for a stronger herb flavor.
- FRESH HERBS. Or, get more potent flavor from fresh herbs! In general, you want to use 2-3x the amount for fresh herbs, so a little less than 1/2 teaspoon fresh herbs for each 1/8 teaspoon dried herbs. (technically, about 3/8 teaspoon)
- TAMARI. Not strictly essential, but this gluten-free soy sauce adds a layer of umami flavor that’s INCREDIBLE. It won’t taste like soy sauce. Promise.
- BUTTER. Finishing gravy with cold butter is known as monter au beurre in French cooking. This technique gives the gravy a velvety smooth finish and adds shine, flavor, and richness to the gravy, all without drippings!
- MAKE IT EVEN THICKER. If you want even thicker gravy, you can add an additional Tablespoon of cornstarch to the slurry to help you reach your desired consistency.
Video
Nutrition
Nutrition facts are an estimate only and will vary based on brands and amounts used.
Find it Online:
https://www.onelovelylife.com/gluten-free-gravy/
I love this gluten-free gravy! I loved it with mashed potatoes! And I didn’t know you could freeze gravy. That is a great tip.
I just made this for thanksgiving and it was amazing. Not only was it full of flavor, it was easy to make. It paired perfectly with the turkey or mashed potatoes. One guest said it was the best gravy they ever had! I will be making this again next year for sure!
Jess, you totally made my day! I’m so glad it was a win for you and your crew! Thank you so much for taking the time to leave such a kind review.
Easy and delicious! I usually do store bought gravy for ease, but have a family member that is strictly gluten free, so I wanted to accommodate. I used the drippings (since I had roasted a turkey) instead of the butter and it was very good, but next time I’ll try the butter just to compare.
Thanks so much for taking the time to leave such a kind comment! So glad you enjoyed it!
Was delicious! Used for Hawaiian Haystacks with chicken and turned out great! Thank you for yummy gluten free gravy 🙂
Yum! So glad you loved it!