
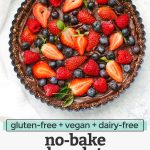
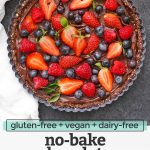
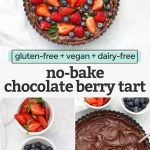
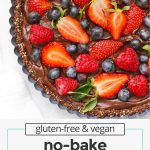
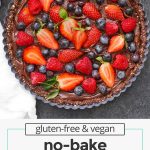

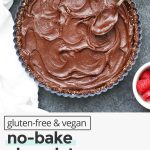
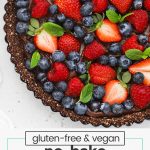
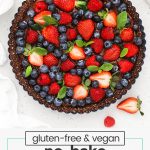
No-Bake Chocolate Berry Tart anyone? This vegan chocolate tart tastes so fresh and luscious! It’s gluten-free, dairy-free, refined sugar-free and really makes a statement!
It’s almost Valentine’s Day!
I always love doing a simple but fun Valentine’s Day dinner for our family, and everyone’s favorite part is definitely dessert.
While most of our desserts are pretty basic–things like cookies, brownies, or really good chocolate pudding, I wanted to make something that LOOKED really fancy, even if it was easy-peasy to put together.
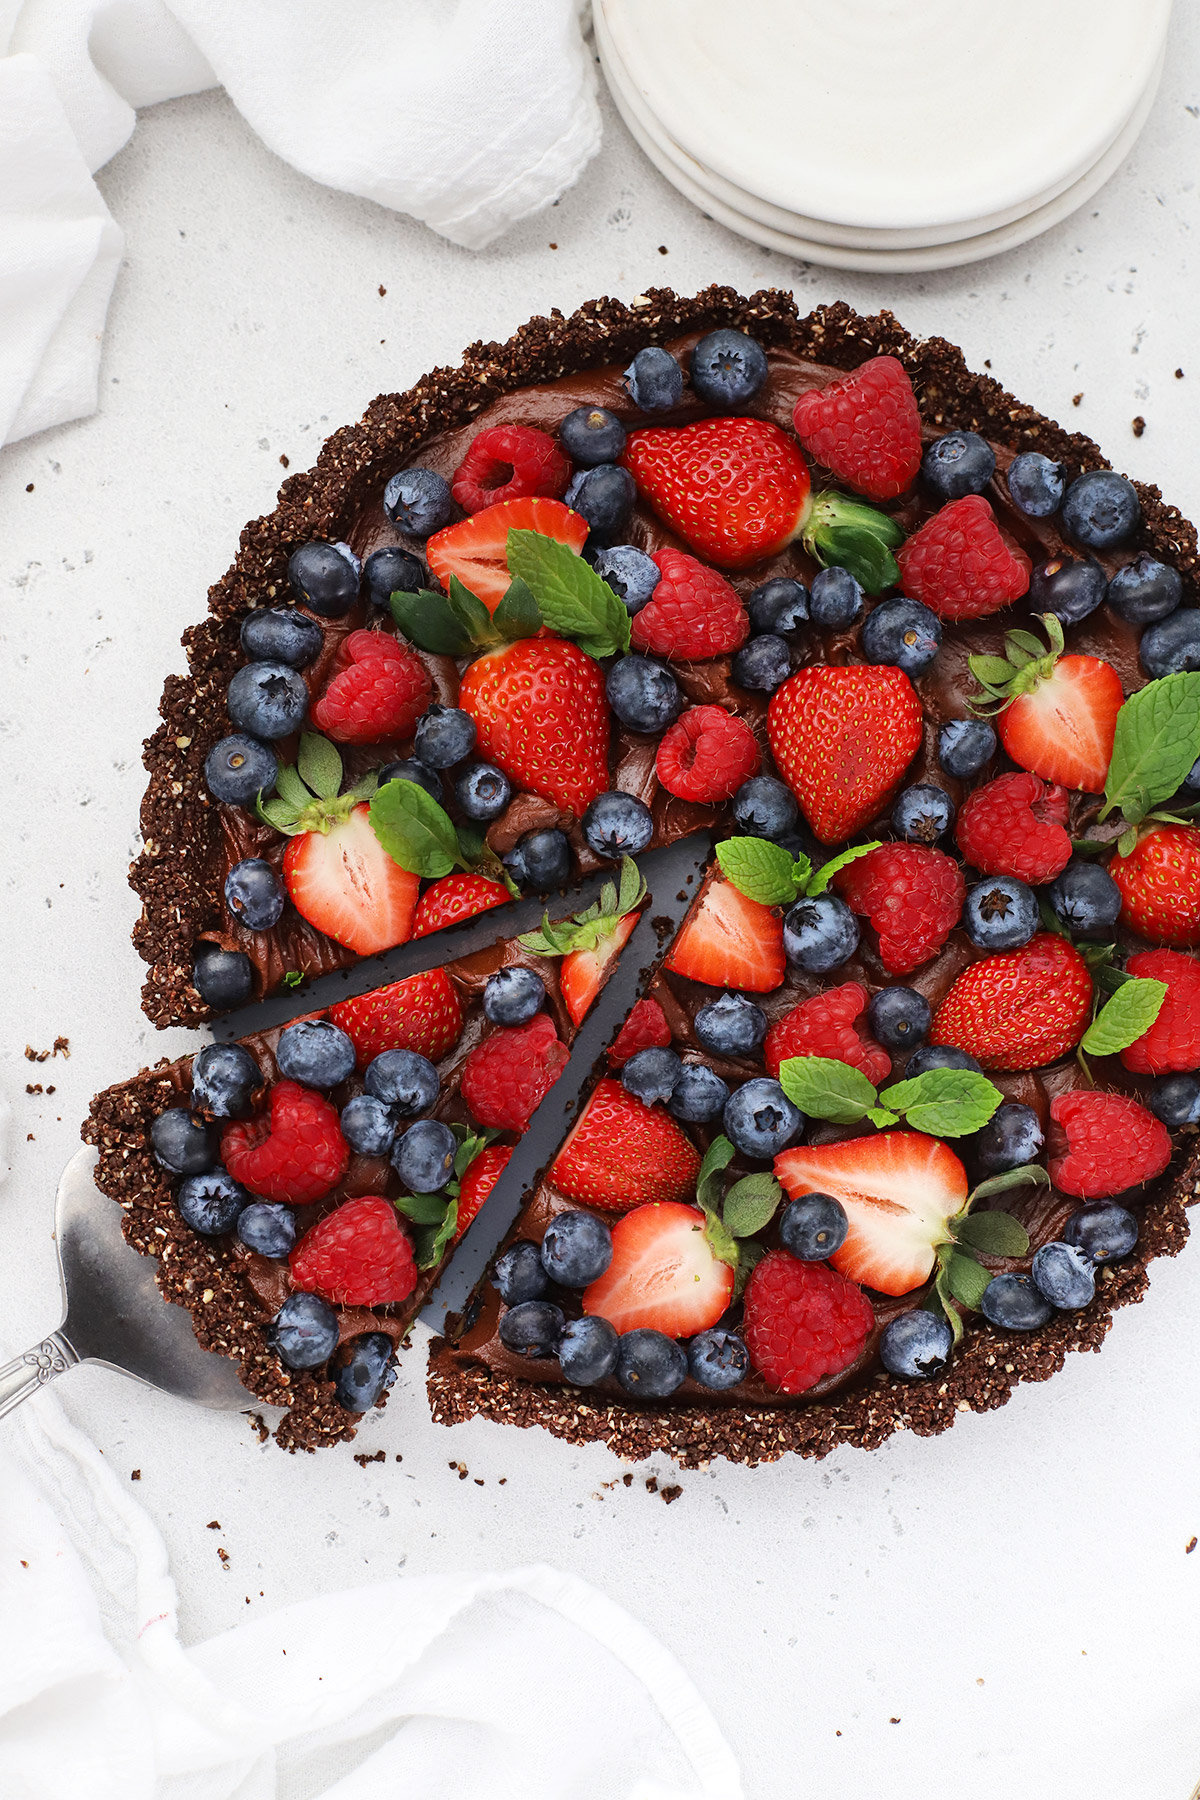
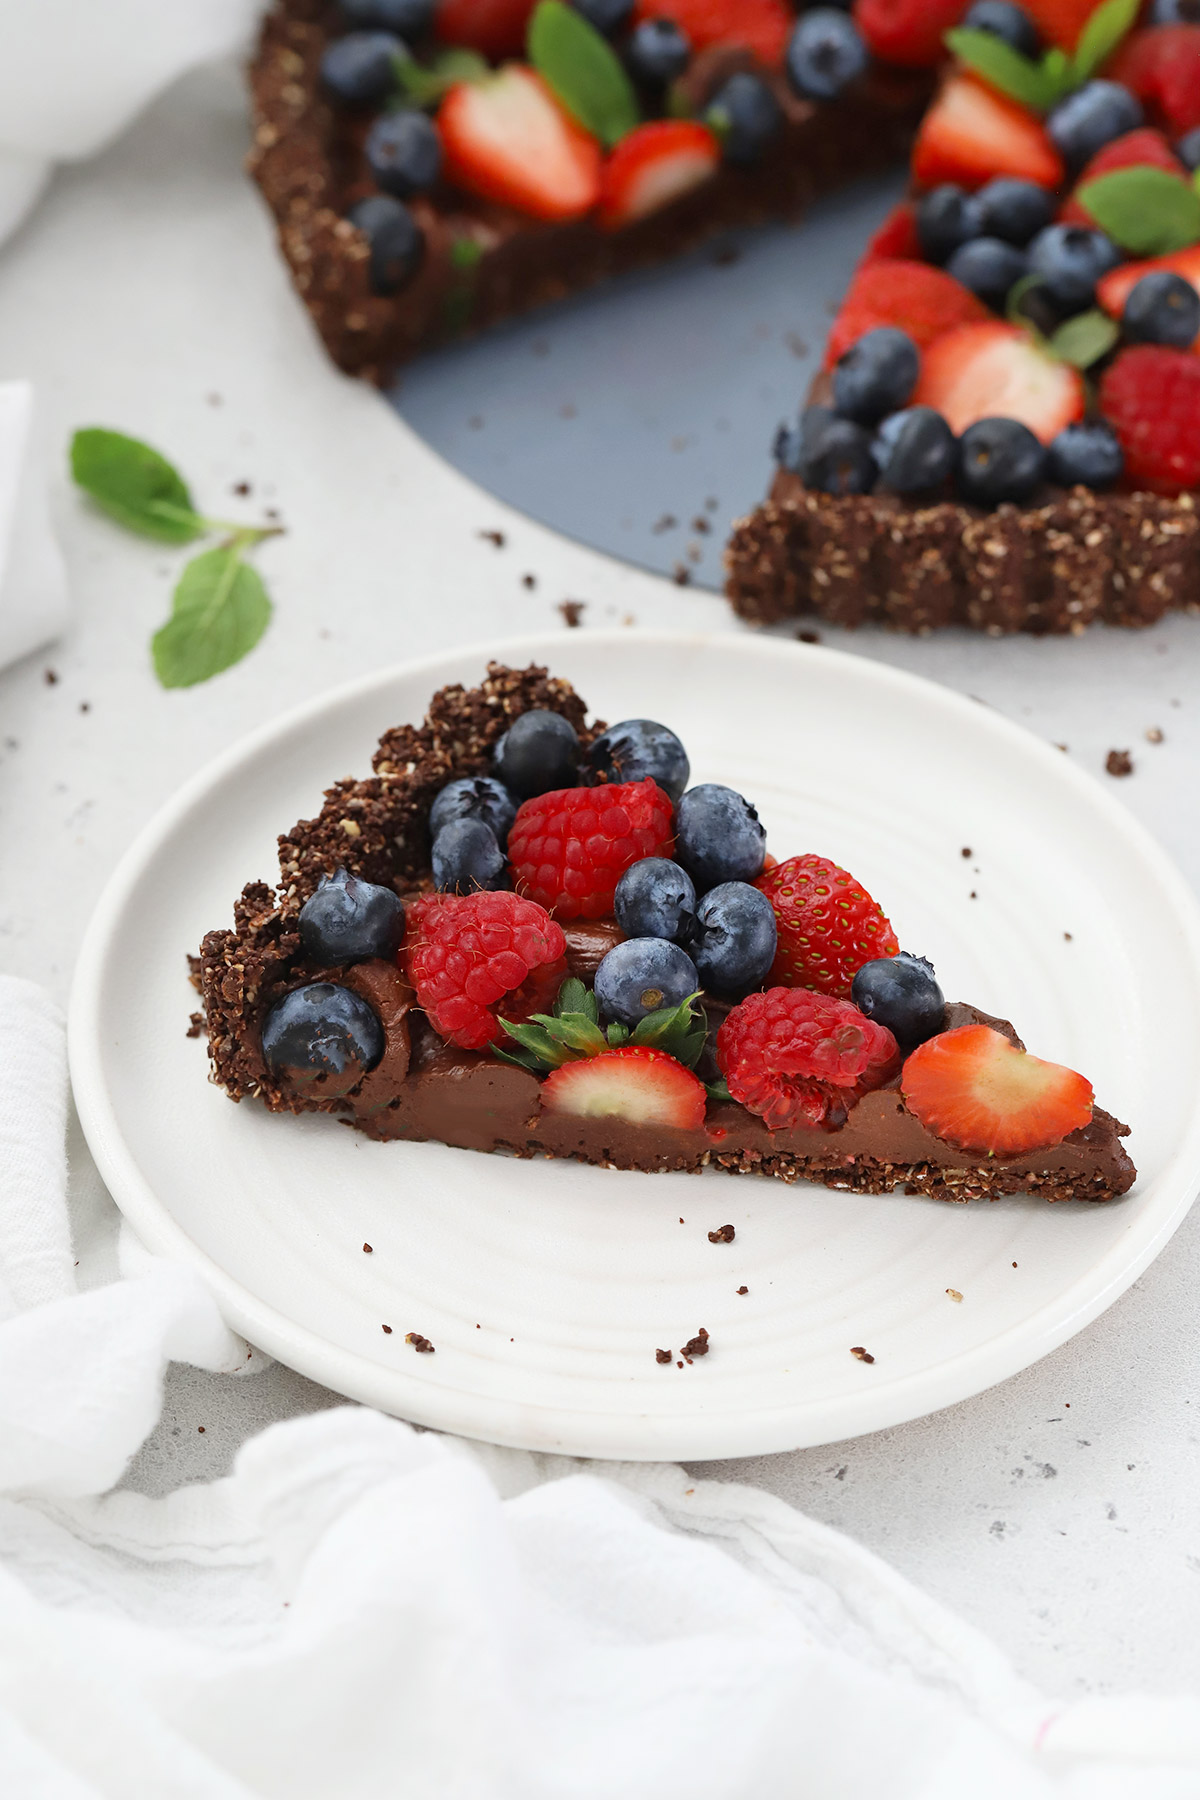
This no-bake chocolate tart won All The Things. It’s easy (check!), delicious (check, check!), and looks GORGEOUS (super extra check!).
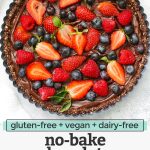
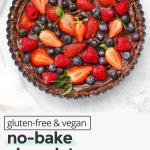
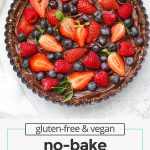
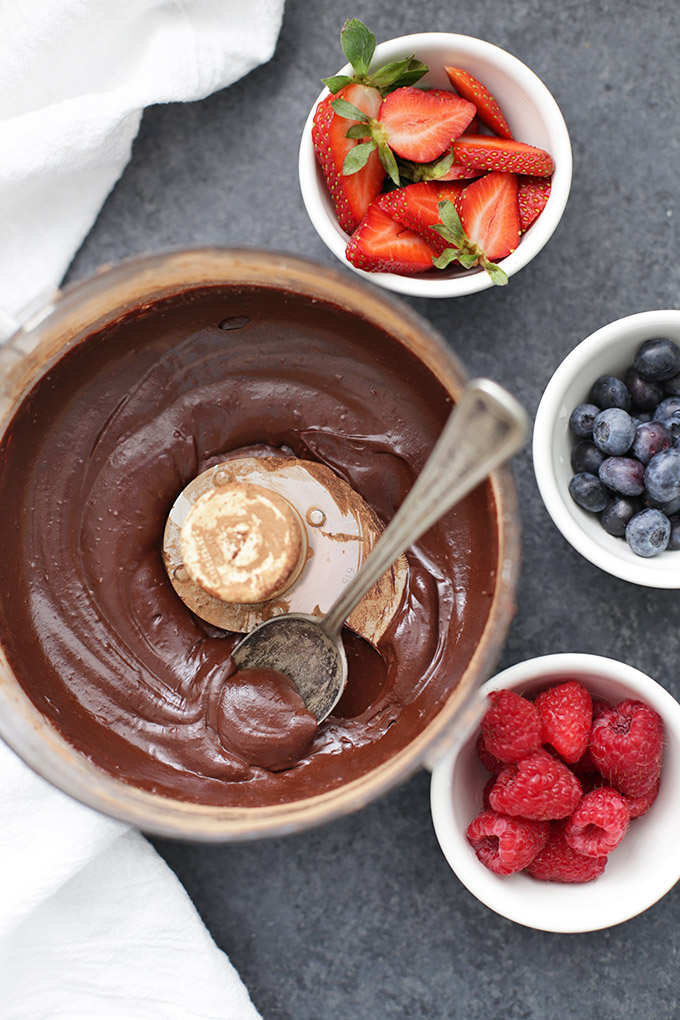
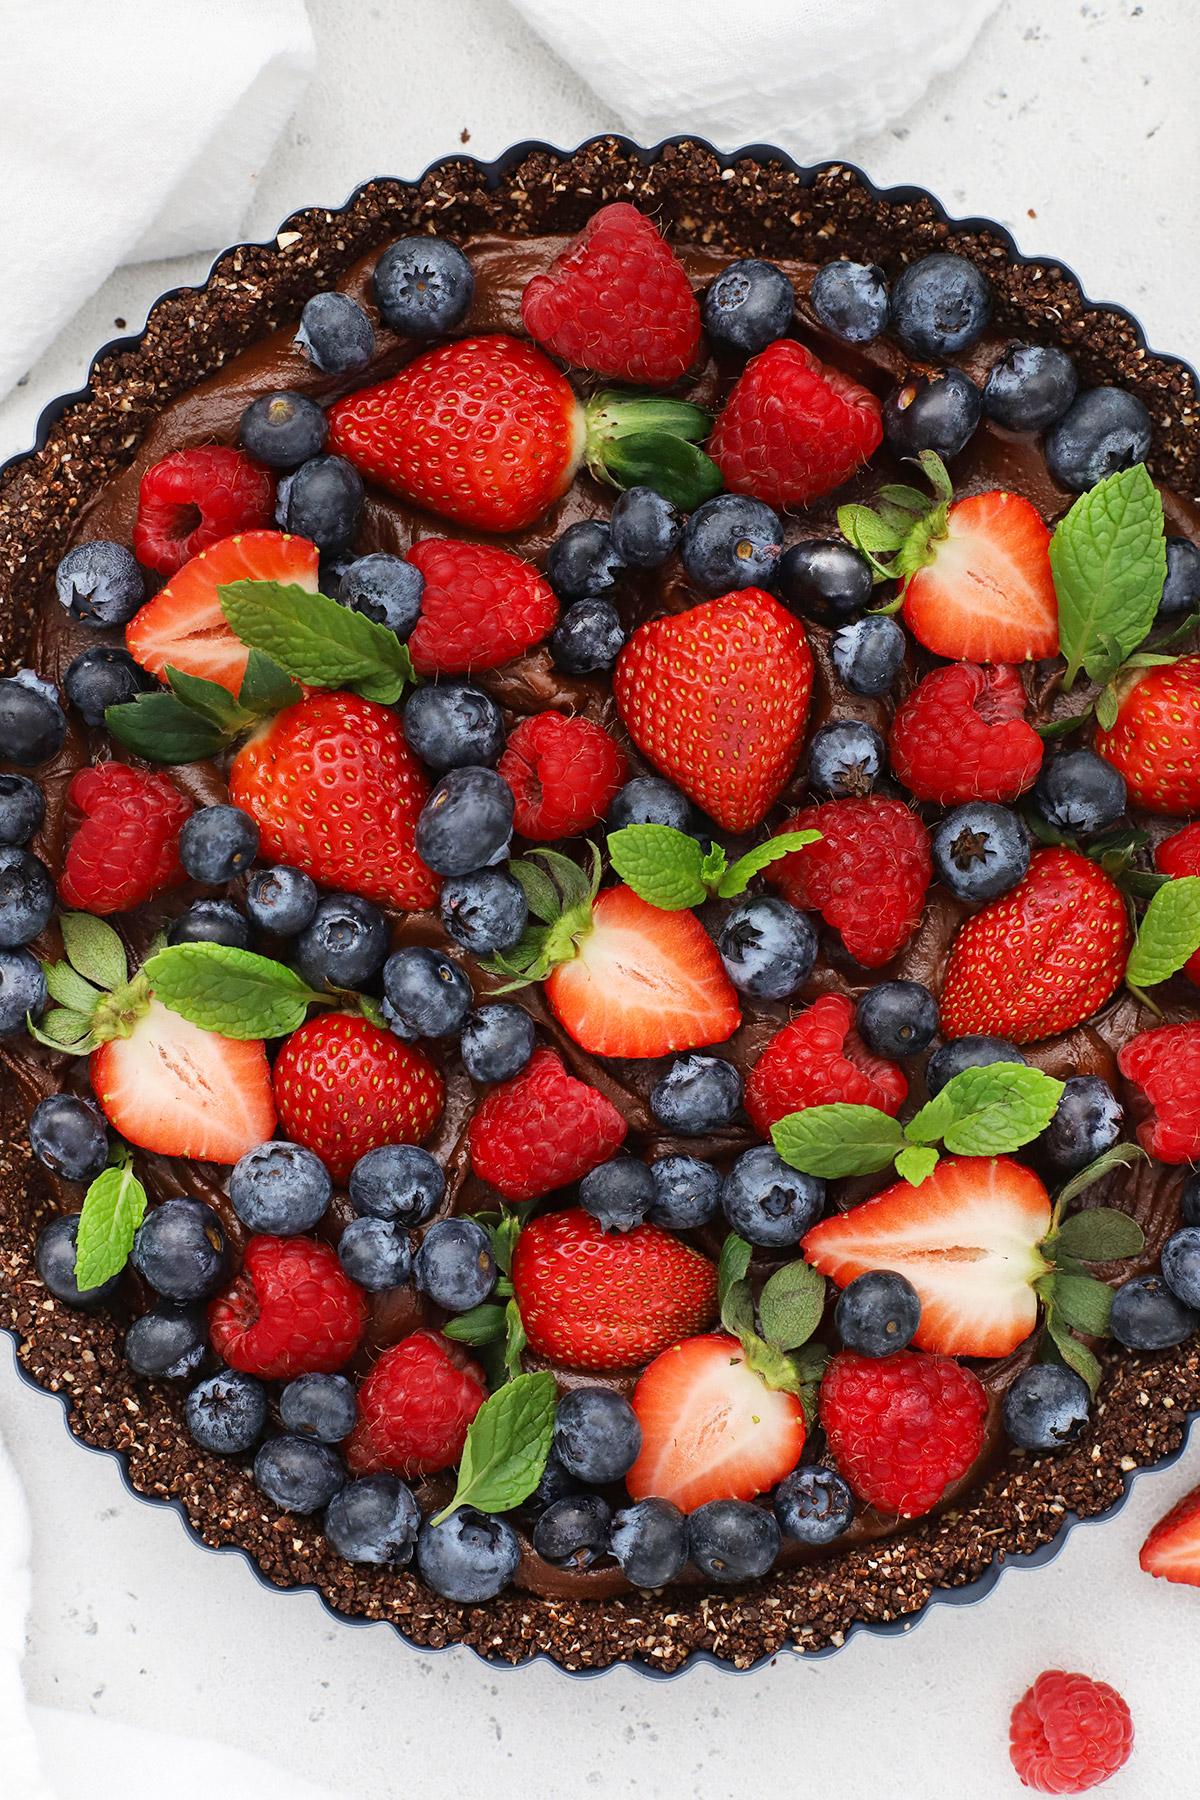
An easy cocoa crust loaded with a luscious chocolate filling and topped with bright, beautiful fresh berries makes this gluten-free chocolate berry tart the PERFECT (easy!) fancy dessert. No eggs, flour, butter, cream or oven needed!
You’d never guess it’s this easy…
Gather Your Ingredients
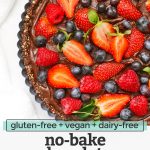
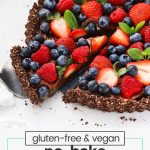
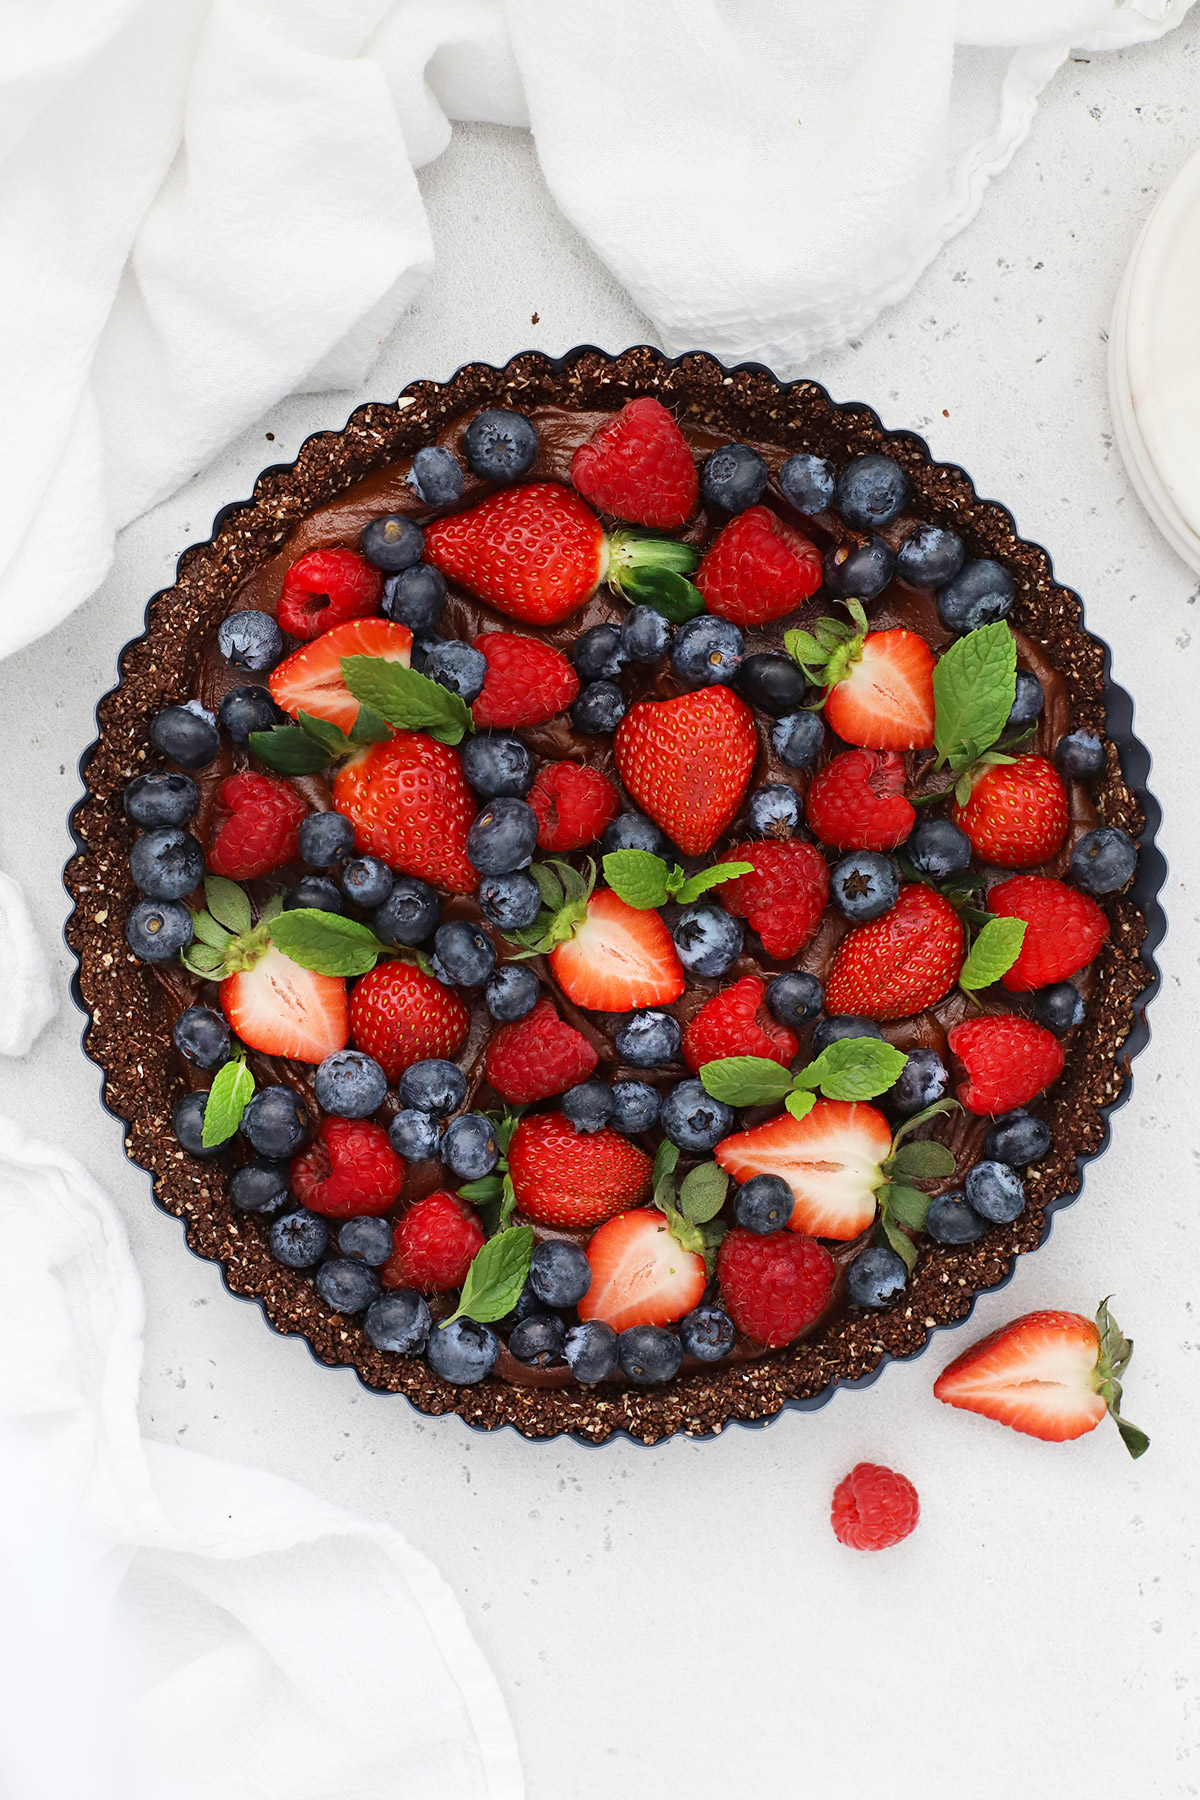
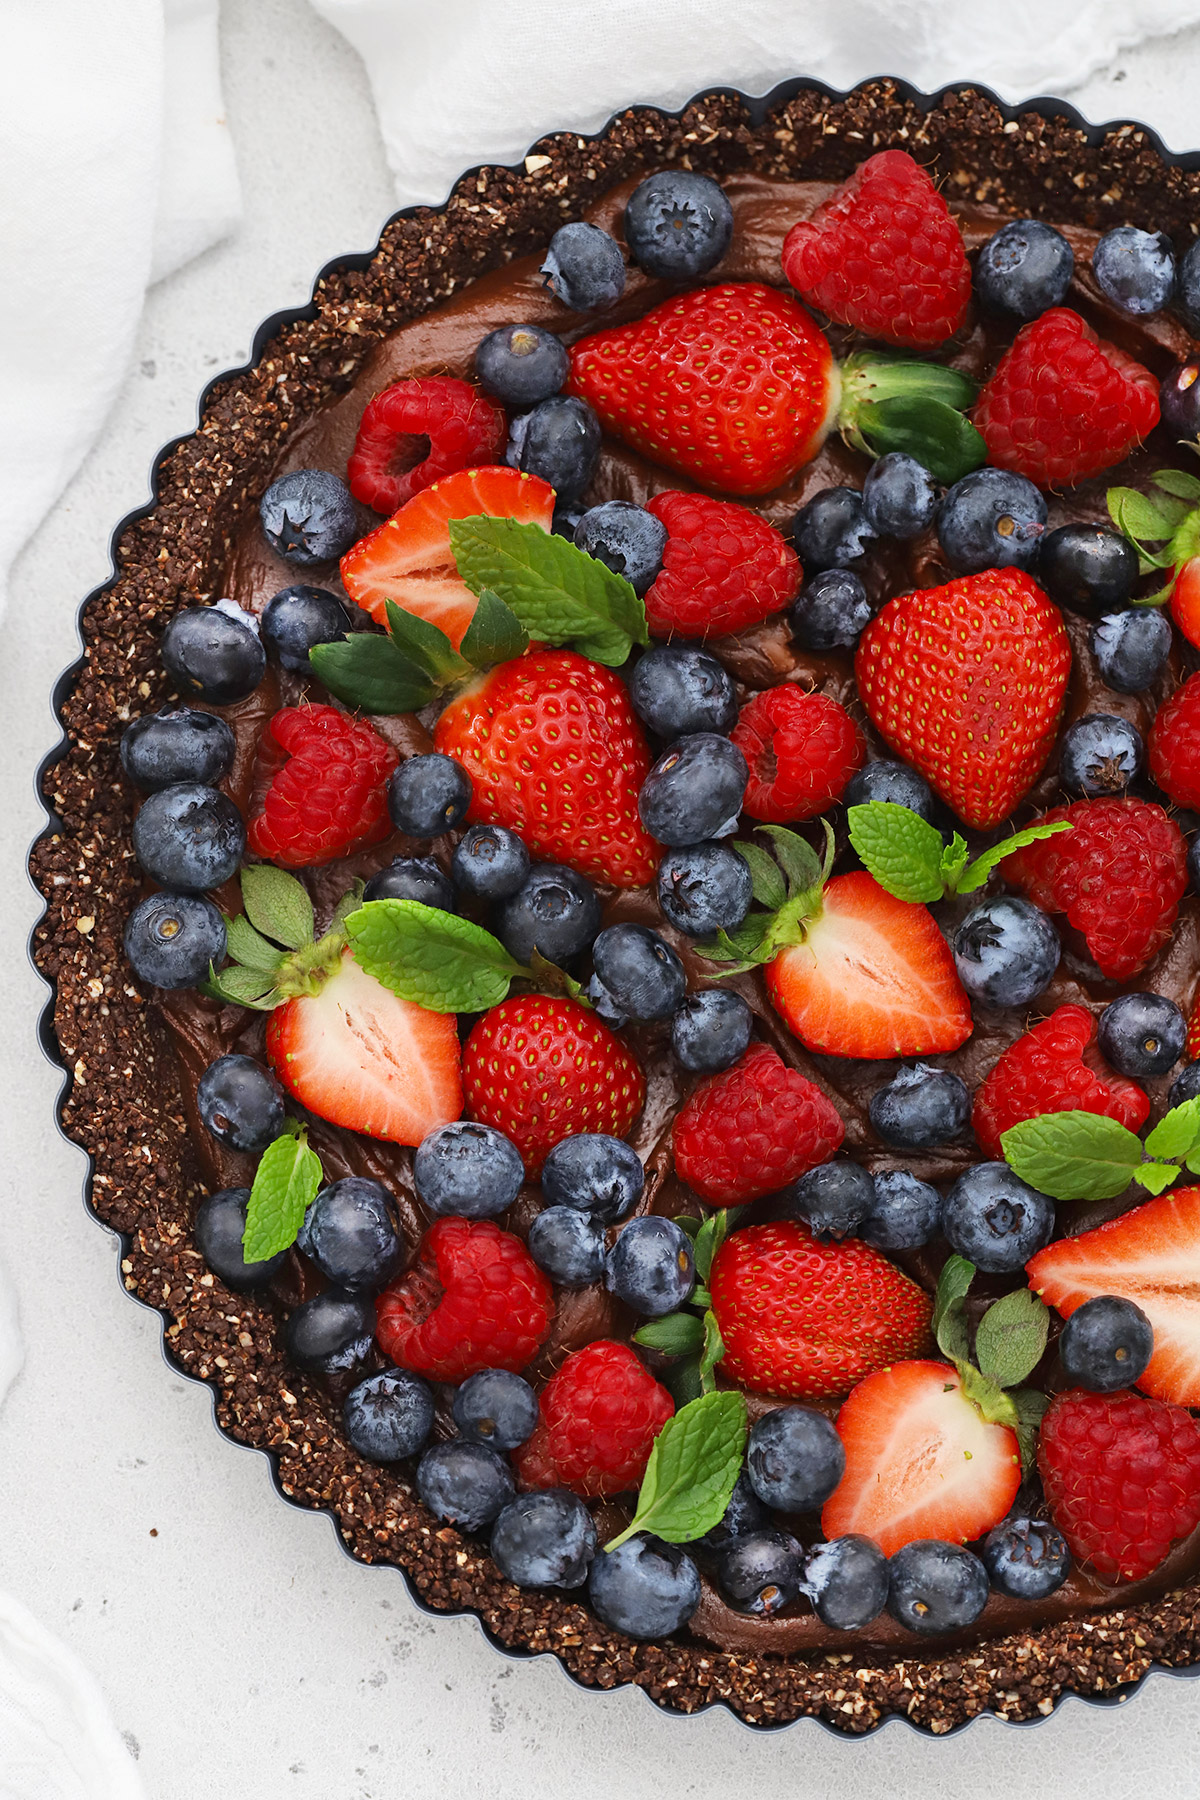
This gluten-free chocolate berry tart really might be the prettiest thing I’ve ever made or photographed on my blog. Fresh berries are like that! Honestly, I think they make everything look lovelier!
- A QUICK NO-BAKE CRUST. This chocolate crust is made from gluten-free oats, cocoa powder, pure maple syrup, coconut oil, and a tiny pinch of salt. You’ll blend it all together, then pat it out into a tart pan. Easy-peasy!
- UNSWEETENED COCOA POWDER. Cacao and chocolate (especially when not overloaded with sugar) can be part of a healthful diet because of its antioxidant properties. Raw cacao powder or unsweetened cocoa powder and added it to both the crust and the chocolate filling. It’s AMAZING.
- PURE MAPLE SYRUP. It’s amazing that this tart can be naturally sweetened!
- COCONUT MILK. You can use any kind of milk for this vegan chocolate tart recipe. For the most luscious texture, I choose canned coconut milk for its richness, but you can also sub cashew, almond, dairy milk, etc. Know that using a lighter milk (like soy, almond, or cashew) will make the filling slightly less thick and creamy. Reduce the milk by 1-2 Tablespoons to start with if you use a thinner milk.
- COCONUT OIL. Using coconut oil gives this crust a gorgeous, velvety texture that’s almost like chocolate ganache. I don’t recommend any substitutes here, but using refined coconut oil can cut down on the coconut flavor.
- VANILLA EXTRACT & SALT. Vanilla plays up the chocolate notes and salt balances the flavors beautifully.
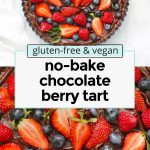
- FRESH BERRIES – Berries are a nutrient powerhouse. They’re loaded with antioxidants, fiber, vitamin C and more. You can use any favorite berries for this yummy tart–raspberries, blueberries, strawberries, and blackberries are all yummy!
- MAYBE SOME FRESH MINT. To make this tart extra pretty, you can add a few sprigs of fresh mint (or just leave the leaves on your strawberries–they’re edible, or people can cut around them if they’d rather not eat them).
Gluten-Free? Read This!
If you have Celiac or gluten-intolerance, be sure to buy certified gluten-free oats to avoid cross contact/cross-contamination. We have good luck with Trader Joe’s, Thrive Market, Bob’s Red Mill, and One Degree brands.
How To Make This Tart, Step By Step
As always, you can find the full recipe, with ingredient amounts, detailed instructions, and tips in the recipe card below!
Start With The Crust
- Break Up The Oats. Put the oats in a food processor and pulse to break up a bit.
- Mix In The Rest. Add cocoa powder, syrup, coconut oil, and salt. Process until mixture starts to come together and it sticks together when you pinch it between your fingers. If your mixture is too dry, you can add more coconut oil 1/2 teaspoon at a time until it comes together.
- Pat Crust Into The Pan. Transfer dough to a tart pan (preferably one with a removable bottom) and pat out using fingers or the bottom of a cup until crust is spread evenly. Refrigerate the crust while you make the filling.
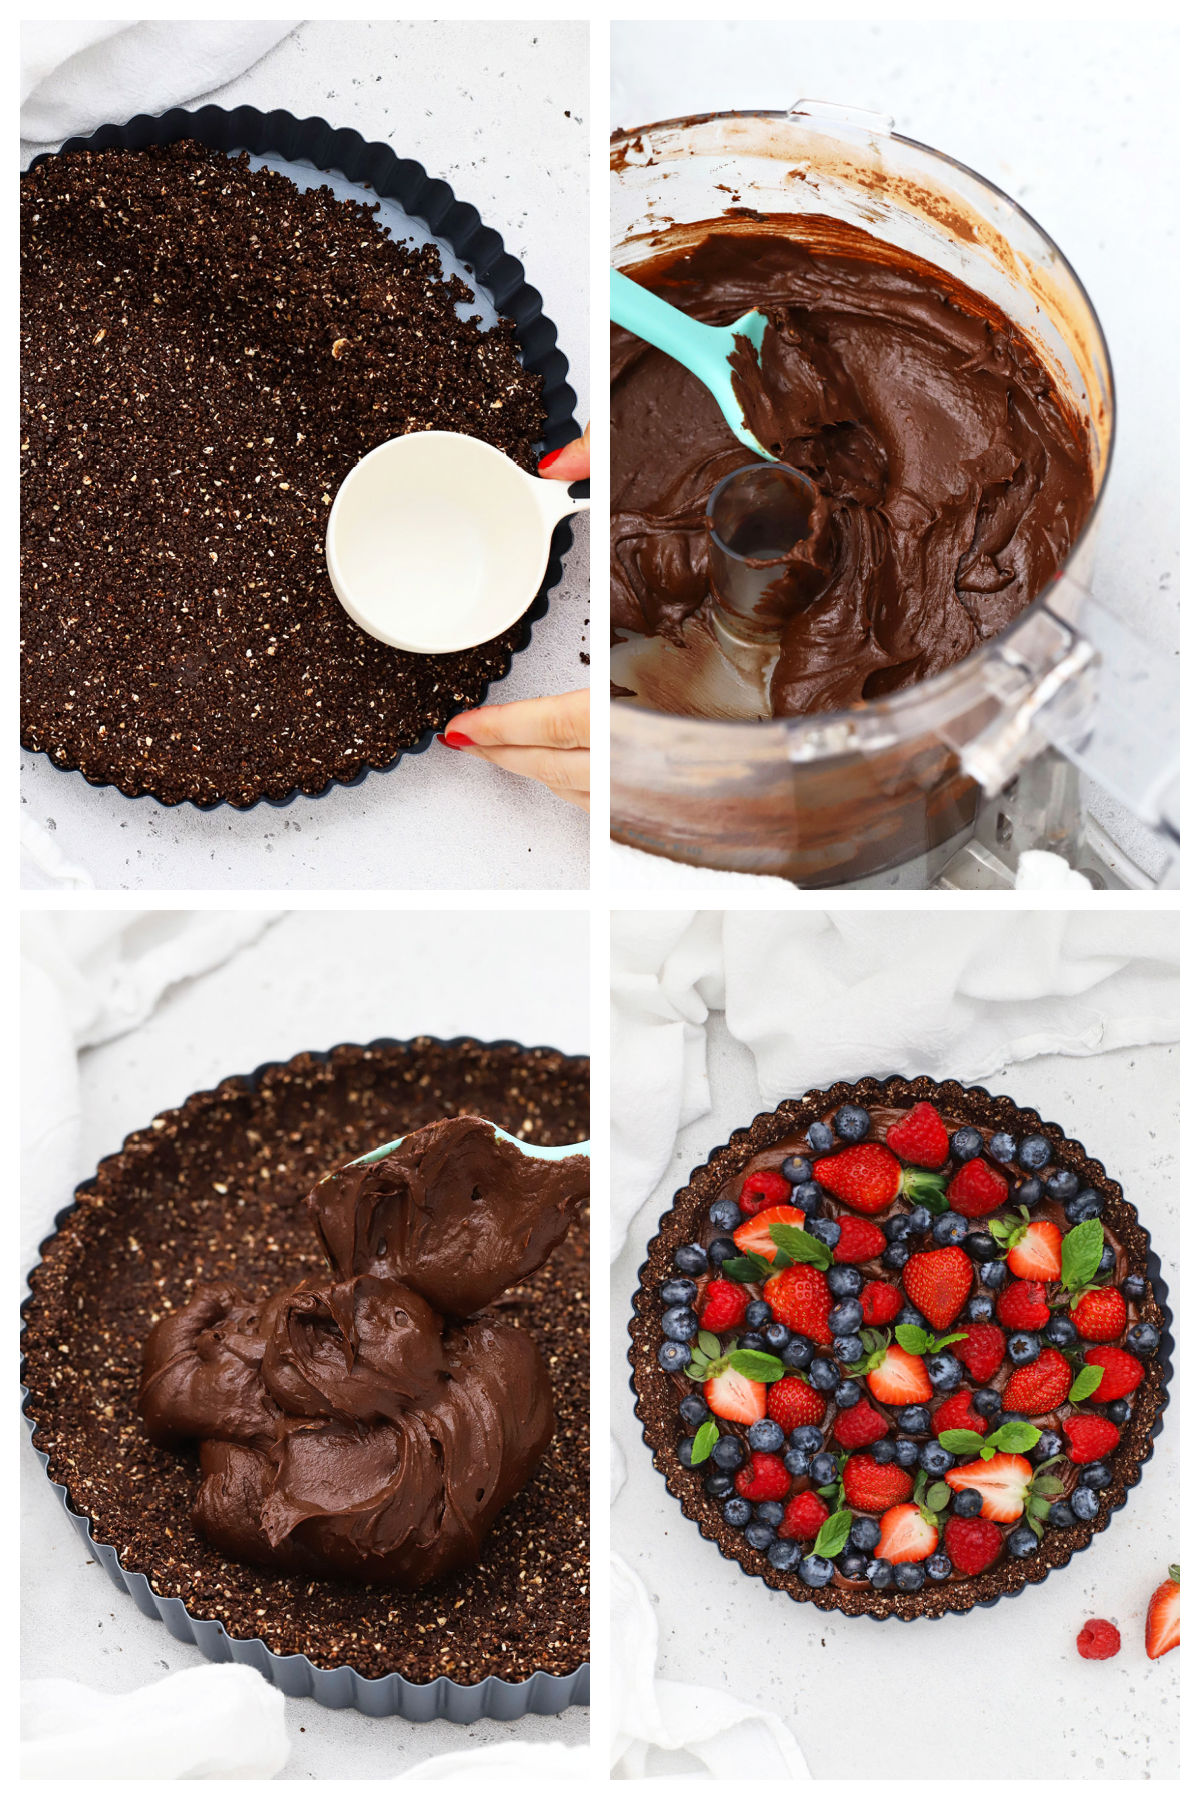
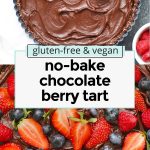
Then, Make The Chocolate Filling
- Add Ingredients To The Food Processor. Pour syrup, coconut oil, coconut milk, cocoa powder, vanilla, and salt in a food processor (or blender)
- Pulse To Combine. Blend, puree, or pulse until the filling is well combined. Give the filling a stir to make sure there are no lumps remaining. (You want it totally smooth)
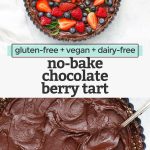
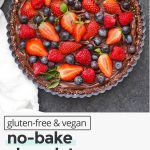
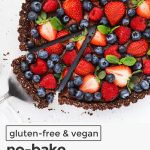
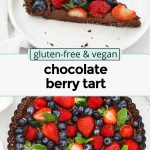
- Spread filling over the crust and smooth out with a spatula or knife. If desired, use an offset spatula or the back of a spoon to make gentle swoops in the filling.
Finish With Toppings
- If serving within a few (4-5) hours, place the berries on top of the chocolate filling in any design you like, and chill for at least 30-40 minutes in the refrigerator to allow filling and crust to set. Store tart in the refrigerator until ready to serve.
- If you are making this ahead of time (more than 4-5 hours before eating), refrigerate the tart (crust and filling). When ready to serve, top with berries. Store tart in the refrigerator.
- If you are making this far in advance, you can make and freeze the tart without the berry topping and store in the freezer in an airtight bag up to 2-3 weeks. Thaw in the refrigerator before adding berries and serving.
FAQ + Tips For The Best Chocolate Berry Tart
A TIP FOR GETTING PRETTY CHOCOLATE SWIRLS. If you want to make chocolate swirls in the filling like I did, I love using an icing spatula (sometimes called an offset spatula). They’re specifically designed to be light and flexible, and make spreading frostings and fillings SUPER easy. (You can also see it in action in my chocolate zucchini cake)
HOW LONG WILL THIS TART KEEP? Just a few days, unfortunately, since the fresh berries will start to deteriorate if you’ve kept them ON the tart. If you want to make it ahead of time, simply wash and add the berries right before serving.
CAN I MAKE THIS CHOCOLATE BERRY TART IN ADVANCE? Other than the berries on top, the rest of the chocolate berry tart (crust and chocolate filling) will keep well covered in the refrigerator up to 4-5 days total, or the freezer up to 2-3 weeks. Just add the fresh berries on top right before serving. (If you’ve frozen your tart, you can thaw the pre-made tart and top it with berries right before serving.)
WHAT KIND OF TART PAN DO YOU USE? Tart pans are admittedly a fairly specialty piece of equipment. I use this one, but you can also make this in a 9-inch springform pan, or make mini tarts in a silicone muffin pan (we have this one) that you can just pop right out.
Love A Good Chocolate Recipe? You’ll Also Love…
- The Perfect Gluten-Free Brownies
- Vegan Chocolate Cheesecake – Allergy Awesomeness
- The Best Vegan Chocolate Pudding
- Fudgy Gluten-Free Vegan Brownies – Sweets & Thank You
- Flourless Chocolate Cake with Raspberry Sauce
- Gluten-Free Chocolate Zucchini Cake
- Chocolate Avocado Mousse (You won’t believe how good it is!)
- Vegan Chocolate Covered Strawberries
⭐ Don’t forget to leave a star review and comment below when you make this No-Bake Chocolate Berry Tart recipe. I can’t wait to hear how it goes!
Print
No Bake Chocolate Berry Tart (Gluten Free & Vegan)
- Total Time: About 45 minutes
- Yield: 1 (9 inch) tart, or 12 mini tarts 1x
- Diet: Gluten Free
Description
No Bake Chocolate Berry Tart – This gluten free vegan chocolate tart tastes so fresh and luscious. It’s gluten free, dairy free, refined sugar free, and really makes a statement. The belle of the ball at any dinner or party!
Ingredients
For the Crust:
- 1 3/4 cup (190 grams) rolled oats (certified gluten free, if needed)
- 2/3 cup (65 grams) unsweetened cocoa powder
- 1/3 cup pure maple syrup
- 2 Tablespoons coconut oil
- pinch kosher salt
For the Chocolate Filling:
- 1/3 cup pure maple syrup
- 1/3 cup coconut oil
- 1/3 cup coconut milk
- 2/3 cup (65 grams) unsweetened cocoa powder
- 1 1/2 teaspoons vanilla extract
- 1/4 teaspoon kosher salt
For the Topping:
- 1 1/2 – 2 cups fresh berries (I like a mix of fresh raspberries, strawberries, and blueberries)
- Fresh mint leaves (optional), for garnish
Instructions
First, Make The Crust:
- Put the oats in a food processor and pulse to break up a bit.
- Add cocoa powder, syrup, coconut oil, and salt. Process until mixture starts to come together and it sticks together when you pinch it between your fingers. If your mixture is too dry, you can add more coconut oil 1/2 teaspoon at a time until it comes together.
- Transfer dough to a tart pan (preferably one with a removable bottom) and pat out using fingers or the bottom of a cup until crust is spread evenly. Refrigerate the crust while you make the filling.
Then, Make The Chocolate Filling:
- Place syrup, coconut oil, coconut milk, cocoa powder, vanilla, and salt in a food processor (or blender) and puree or pulse until well combined. Give the filling a stir to make sure there are no lumps remaining.
- Spread filling over the crust and smooth out with a spatula or knife. If desired, use an offset spatula or the back of a spoon to make gentle swoops in the filling.
For the Topping:
- If serving within a few (4-5) hours, place the berries on top of the chocolate filling in any design you like, and chill for at least 30-40 minutes in the refrigerator to allow filling and crust to set. Store tart in the refrigerator until ready to serve.
- If you are making this ahead of time (more than 4-5 hours before eating), cover the tart with plastic wrap or food wrap and refrigerate the tart (crust and filling). When ready to serve, top with berries. Store tart in the refrigerator.
- If you are making this far in advance, you can make and freeze the tart without the berry topping and store in the freezer in an airtight bag up to 2-3 weeks. Wrap with plastic wrap or food wrap and cover with a large freezer bag. Thaw tart in the refrigerator before adding berries and serving.
- Prep Time: 45 minutes
- Category: Dessert
- Method: No-Bake
- Cuisine: American
Nutrition
- Serving Size: 1 Slice (1/12th tart)
- Calories: 219
- Sugar: 12.3 g
- Sodium: 77.7 mg
- Fat: 10.9 g
- Saturated Fat: 8.9 g
- Carbohydrates: 29.4 g
- Fiber: 5.1 g
- Protein: 3.7 g
- Cholesterol: 0 mg
Originally posted in February 2017. Fully updated in January 2023.
Hi there, do you use canned coconut milk; or the drinkable coconut milk (much like almond milk)? Thanks!
Hi, Renee! I recommend canned coconut milk for the best texture. 😉
Hi – love the ingredients, taste & presentation of this tart!! I chilled mine for 4 plus hours and the filling was still more of a liquid consistency (not completely, but more than I would have liked). Any suggestions of how to thicken the filling a bit?
Thank you!
Claudia
Hi! I’d love to help. Did you make any changes to the filling? (Any substitutions or swaps, like using almond milk instead of coconut milk or using another kind of oil instead of coconut oil?)
The filling should set up fairly firm, but still with some give. But definitely shouldn’t be liquid! If you made it exactly as directed, but still want it a bit thicker/firmer, I’d start by reducing the amount of coconut milk next time. You won’t want to reduce the syrup or it won’t be sweet enough, and the coconut oil should help it set up, so you won’t want to reduce that either.
Thank you! I will definitely give that a try 🙂
Would it work to make this in a stand mixer?
Cheryl – Hi! The crust will probably not work in a stand mixer, because it won’t break up the oats enough. The filling would work just fine in a stand mixer, though! You can substitute a chocolate cookie crumb crust instead if you don’t have a food processor or blender!
Out of curiosity are you using rolled oats (old fashioned) or quick oats? Thanks for your assistance!
Hi Lisa! I used rolled oats 🙂
This was so easy, and absolutely delicious – what a huge hit! Thank you so much!
Yaaaaay! So glad you loved it Bethany! Thank you for your review!
Hi Emily….I’m vegan but no oil…. What could I substitute for the oil
Thx Janey
Janey – I’m not sure! You’ll have to play with it a bit. You could try using nut butter or something instead, but I developed the proportions to work with oil. Cheering you on!
I made this for a girls get together. Because one of the lovely ladies can not have grains or oats I subbed them for unsweetened coconut and crushed almonds. It come together great and tastes like an almond joy.
Oh YUM! I bet that was amazing. I’m totally trying that sometime!
Thank you so much for taking the time to leave a review. I appreciate it so much!
Can I use any other Oil instead of coconut? Maybe corn or vegetable oil?
Coconut oil lends a subtle sweetness + has a structure that’s different than liquid oils. If you need a sub, I’d recommend butter or vegan butter instead. Hope that helps! 🙂
I’m trying to make the crust and for some reason it’s not forming a ball. I’m not sure what I did wrong. I followed the directions exactly. Should I add more oil or syrup or just keep blending?
Oh dear! I’d probably first try blending a bit longer. If it’s still not coming together, I’d add a bit more oil or syrup (just some sort of liquid) to help it along. Then it’ll be easier to pat out into your pan.
Thank you so much for this recipe! My husband and I loved it. He was wowing between mouthfuls letting me know how much he liked it. SUPER easy to make and i made 1/3 of the recipe for 4 mini tarts. Crust got a little tough in the fridge over night but i think if i had just sprayed the tin or left it out for a few minutes it would have been fine. Def will make again! 🙂
Oh my goodness! That’s so wonderful to hear! I’m so glad you enjoyed it!
What is used to thicken this filling? There isn’t any thickener so does it rely on the congealed coconut oil and canned coconut milk? Just need to know before I get started! Sounds yummy….especially the healthy crust.
Susie – It’s naturally thickened because of the ratio of liquid to dry ingredients in the filling. (There’s enough cocoa powder to thicken up the syrup, coconut oil, and milk) Hope that helps! 🙂
I couldn’t wait to make this! I followed your recipe exactly but my filling didn’t come out thick it was runny. It’s been in the freezer for an hour and still not set, so disappointed. I just can’t figure out what did wrong.
Oh dear! I’m so sorry to hear that. I wonder what went wrong?
The kitchen and I are usually not on good terms lol but decided to try and make it anyway and wow it tastes amazing! My family couldn’t believe I made something so delicious!
Jessica – Oh, this made my day! I’m SO glad you guys enjoyed it! My whole family just gobbles it right up!
Do you use the canned coconut milk or the boxed version?
Patricia – Either will work, but I use the canned (the higher fat content makes for a more luscious filling). 🙂
Do you think frozen berries could be used?
Michelle – I’m a huge fan of frozen berries, but I don’t think they’ll work for this recipe. Upon thawing, they’ll release a lot of juice which makes for a soggy tart and soggy berries. 🙁
Do you think it will be OK not to use the coconut oil…I don’t eat oil xx
Karen – I’m not sure… the crust could probably work if you added some dates or something to help it stick together (the coconut oil acts as a binder), but the filling partially sets up because of the oil. If you skip the oil, it’ll be more like ganache than a creamy filling and may not set up entirely as the oil gives it some of it’s structure.
If you do give it a successful try with your own modifications, I’d love to know how it turns out! I’m sure there are others out there who’d love to try it your way!
Hi! Not a fan of coconut oil. Could I use vegan butter or another oil instead? (which do you think would work best?) Thanks! Plan to make this for Valentines day!
Sharon – Vegan butter would be my top substitute suggestion if you’re staying dairy free!
This look amazing! Have you ever done this with a larger tart pan? I am looking to serve a crowd. if so, how have you altered the recipe?
Joyce – I haven’t ever made it larger, but totally think it would work if you double or triple the recipe. What size pan are you thinking to work with? I’d love to help!
The Sprouts recipe does not have the cacao powder listed in the filling. 🙁
Oh no! I’ll try to let them know so they can fix it. Thanks for letting me know!
I saw this recipe on Sprouts website, but the cocoa powder for the filling was omitted. I came here to see how much was needed… It looks delicious.
Does it matter if the coconut oil is solid or liquid?
I’m so sorry for the late reply. Because your are pureeing it, it doesn’t. Unless yours is ROCK SOLID, you should be fine! (and even then, the heat and friction caused by blending will loosen it up enough to blend well.)
I just made the filling but it wasn’t creamy like yours after blending in the food processeor. My coconut oil was completely liquid bc it’s hot out in my house. Once it refrigerates, I’m hoping it gets thicker!
Hmm…I would think the fridge would set it right up. I’d love to know how it turns out!
Just made this and it was delicious! Thank you for the healthy and yummy recipes!!!
WOW! Looks delicious!! Thanks for sharing 🙂
Also wanted to share this health giveaway going on right now: https://microbiomeplus.com/deal/ where you can win 3 month supply of probiotics, $100 towards a gym membership and a $50 Amazon gift card! 🙂