Gluten-Free Oatmeal Pancakes
This post may contain affiliate links. Please read our disclosure policy
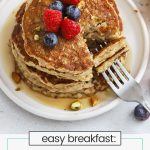
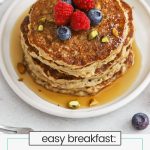
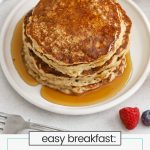
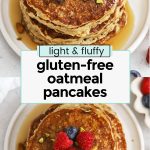
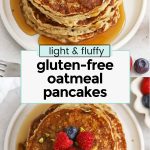

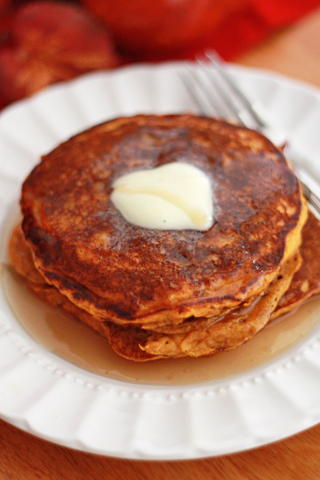
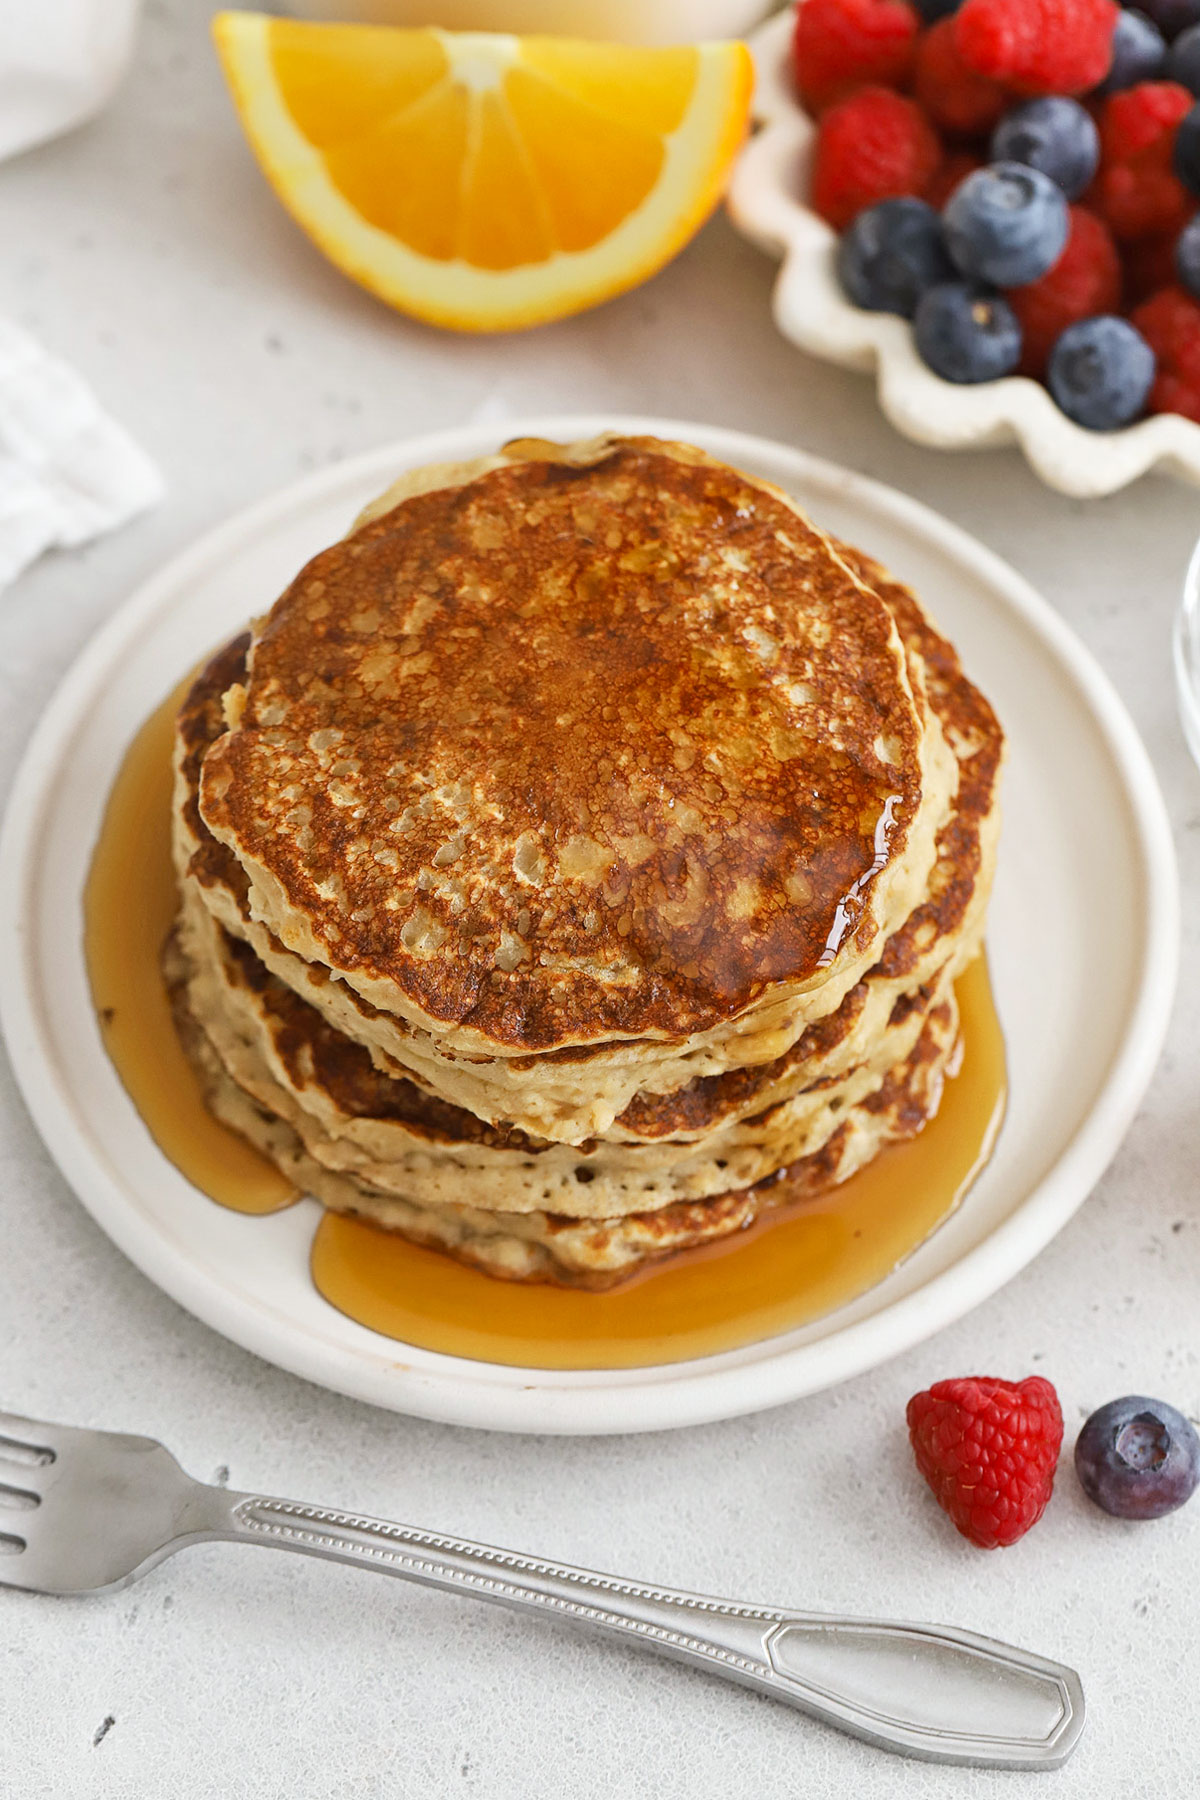
This gluten-free oatmeal pancakes recipe is the perfect blend of fluffy and hearty. It’s a delicious weekend breakfast your whole family will love. (+Toppings To Try!)
I grew up eating these oatmeal pancakes at my Grandma’s house when we’d visit in the summers. I thought they were the BEST pancakes I’d ever eaten at the time, and all these years later, I still love them.
A lovely change of pace from traditional pancakes, these gluten-free oatmeal pancakes are a perfect recipe for Saturday mornings and holidays, when you have a little more time. They’re somehow hearty AND fluffy, made with simple ingredients that taste delicious.
Here’s all you need to get started on this gluten-free pancake recipe…
Our Gluten-Free Oatmeal Pancake Recipe, At A Glance:
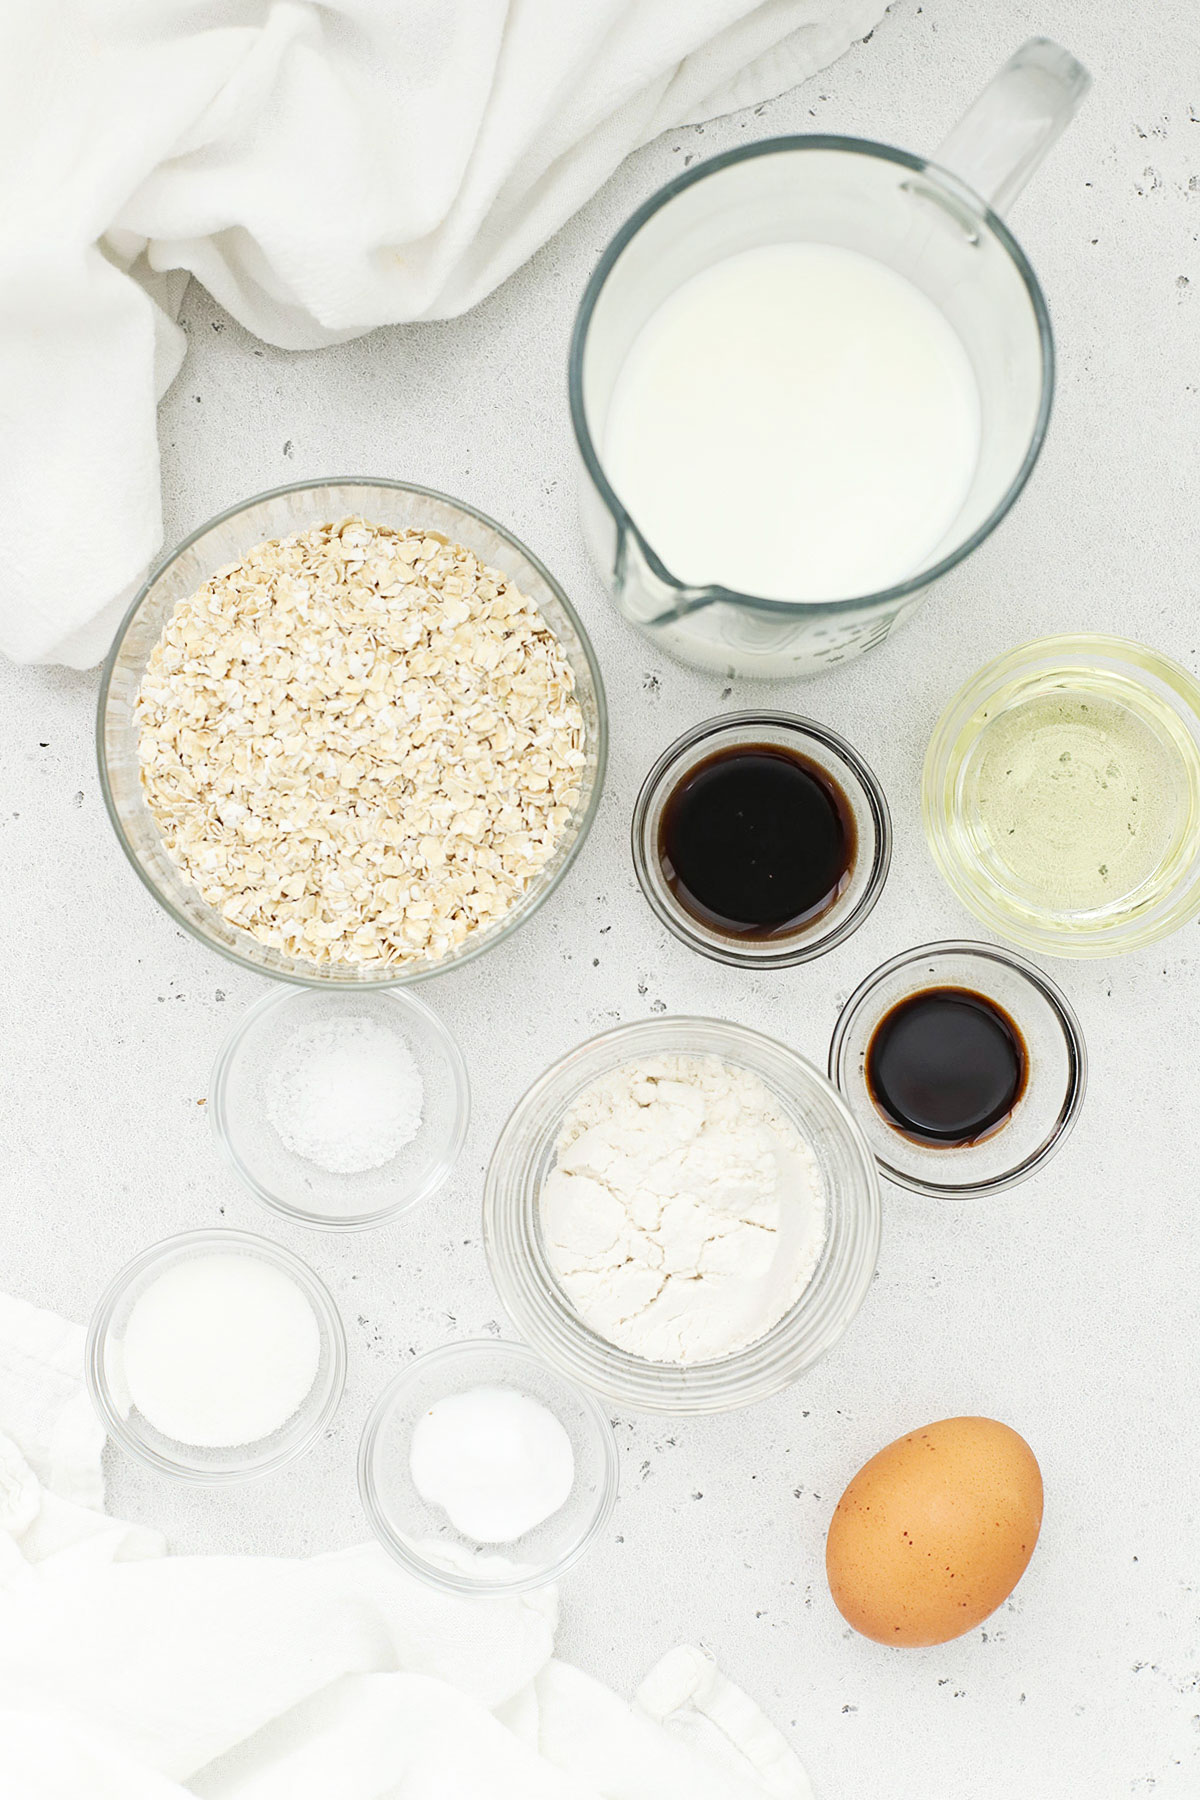
Simple Ingredients For Oatmeal Pancakes
- Buttermilk. The acidity reacts with the baking soda to give these gluten-free oatmeal pancakes a lighter, fluffy texture. Need a dairy-free option? Check out the recipe card for more info!
- An Egg. One large egg is enough to bind the pancakes together and help them puff.
- Oil. Any neutral oil works well here! Avocado oil, canola oil, grape seed oil, etc. You can also swap in melted butter or melted vegan butter, if needed.
- Sugar. A little bit of sugar, brown sugar, or pure maple syrup adds just a touch of sweetness.
- Vanilla Extract. This adds delicious flavor.
- Maple Extract (Optional). An optional ingredient, a little maple flavor is my grandma’s secret ingredient for these pancakes. Use it when you have it, and feel free to skip it if you don’t.
- Gluten-Free Quick Oats. Some oatmeal pancake recipes (like our Pumpkin Oatmeal Pancakes or Banana Oatmeal Pancakes) have you blend oats in a high speed blender for a flour-like consistency, but our recipe uses actual oats for a really satisfying flavor and texture.
- Gluten-Free Flour. I recommend a gluten-free measure-for-measure flour blend like this one from King Arthur, but you can swap in your favorite 1:1 gluten-free flour blend, so long as it contains xanthan gum. I don’t recommend oat flour or almond flour here, since they make for denser pancakes.
- Baking Soda. For some puff!
- Kosher Salt. Just enough to balance the flavors.
Gluten-Free? Stay Safe!
Keep in mind that if you have Celiac disease or gluten intolerance, it’s important to ONLY use certified gluten-free oats for these oatmeal pancakes. We like Bob’s Red Mill and One Degree, but there are other great brands out there, too!
How To Make These Gluten-Free Pancakes, Step By Step:
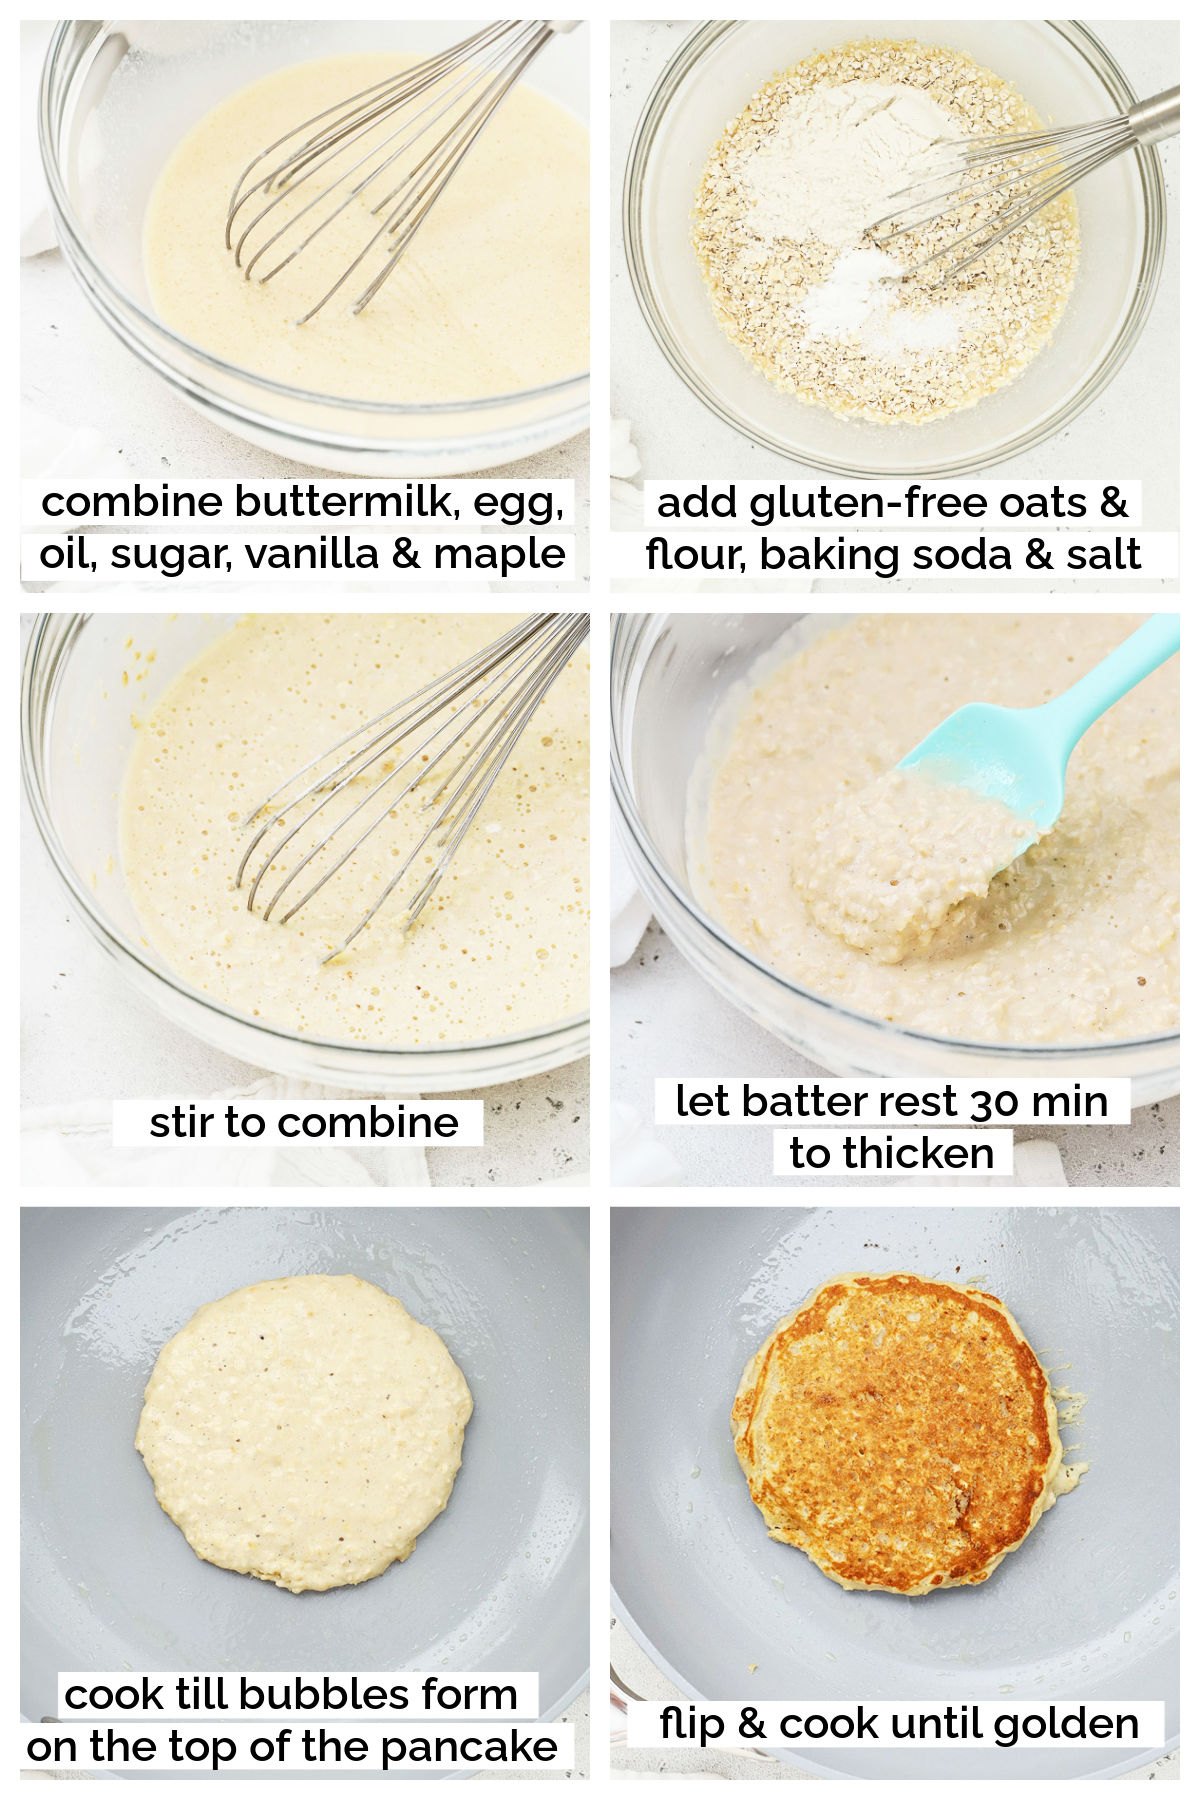
- Combine Wet Ingredients. In a medium bowl, combine buttermilk, egg, oil, sugar, vanilla, and maple extract (if using). Whisk to combine until smooth.
- Add Dry Ingredients. Then, add gluten-free oats, gluten-free flour, salt, and baking soda. Gently mix until just combined.
- Let Batter Rest For 30 Minutes to let the oats absorb some of the liquid. The batter will thicken quite a bit so don’t skip this step!
- Prep The Skillet. Preheat a large skillet (or electric griddle) over medium-low heat. Lightly grease the pan with butter, oil, cooking spray, or spray oil. (You’ll know the skillet is hot enough to cook the pancakes when you can sprinkle a drop of water onto the pan and it sizzles.)
- Cook Pancakes. Scoop about 1/4 cup of batter into the pan per pancake, cooking 2-3 at a time (so you don’t overcrowd the pan). Let pancakes cook 2-3 minutes or until small bubbles form on the top of the pancake, then use a flexible spatula to flip the pancakes. Cook 2-3 minutes on the second side, or until the exterior is golden brown and the center is cooked through. Repeat until all the pancakes are cooked. (If you notice the outsides of the pancakes are browning before the centers are cooking through, reduce the heat to medium low or even low, if needed.)
- Serve & Store. Keep pancakes warm on a sheet pan in a 200 degree F oven until you’re ready to serve. Store leftover pancakes in an airtight container in the fridge 2-3 days or freeze up to 2 months.
Pancake Toppings To Try
The best part of making these easy oatmeal pancakes? THE TOPPINGS!
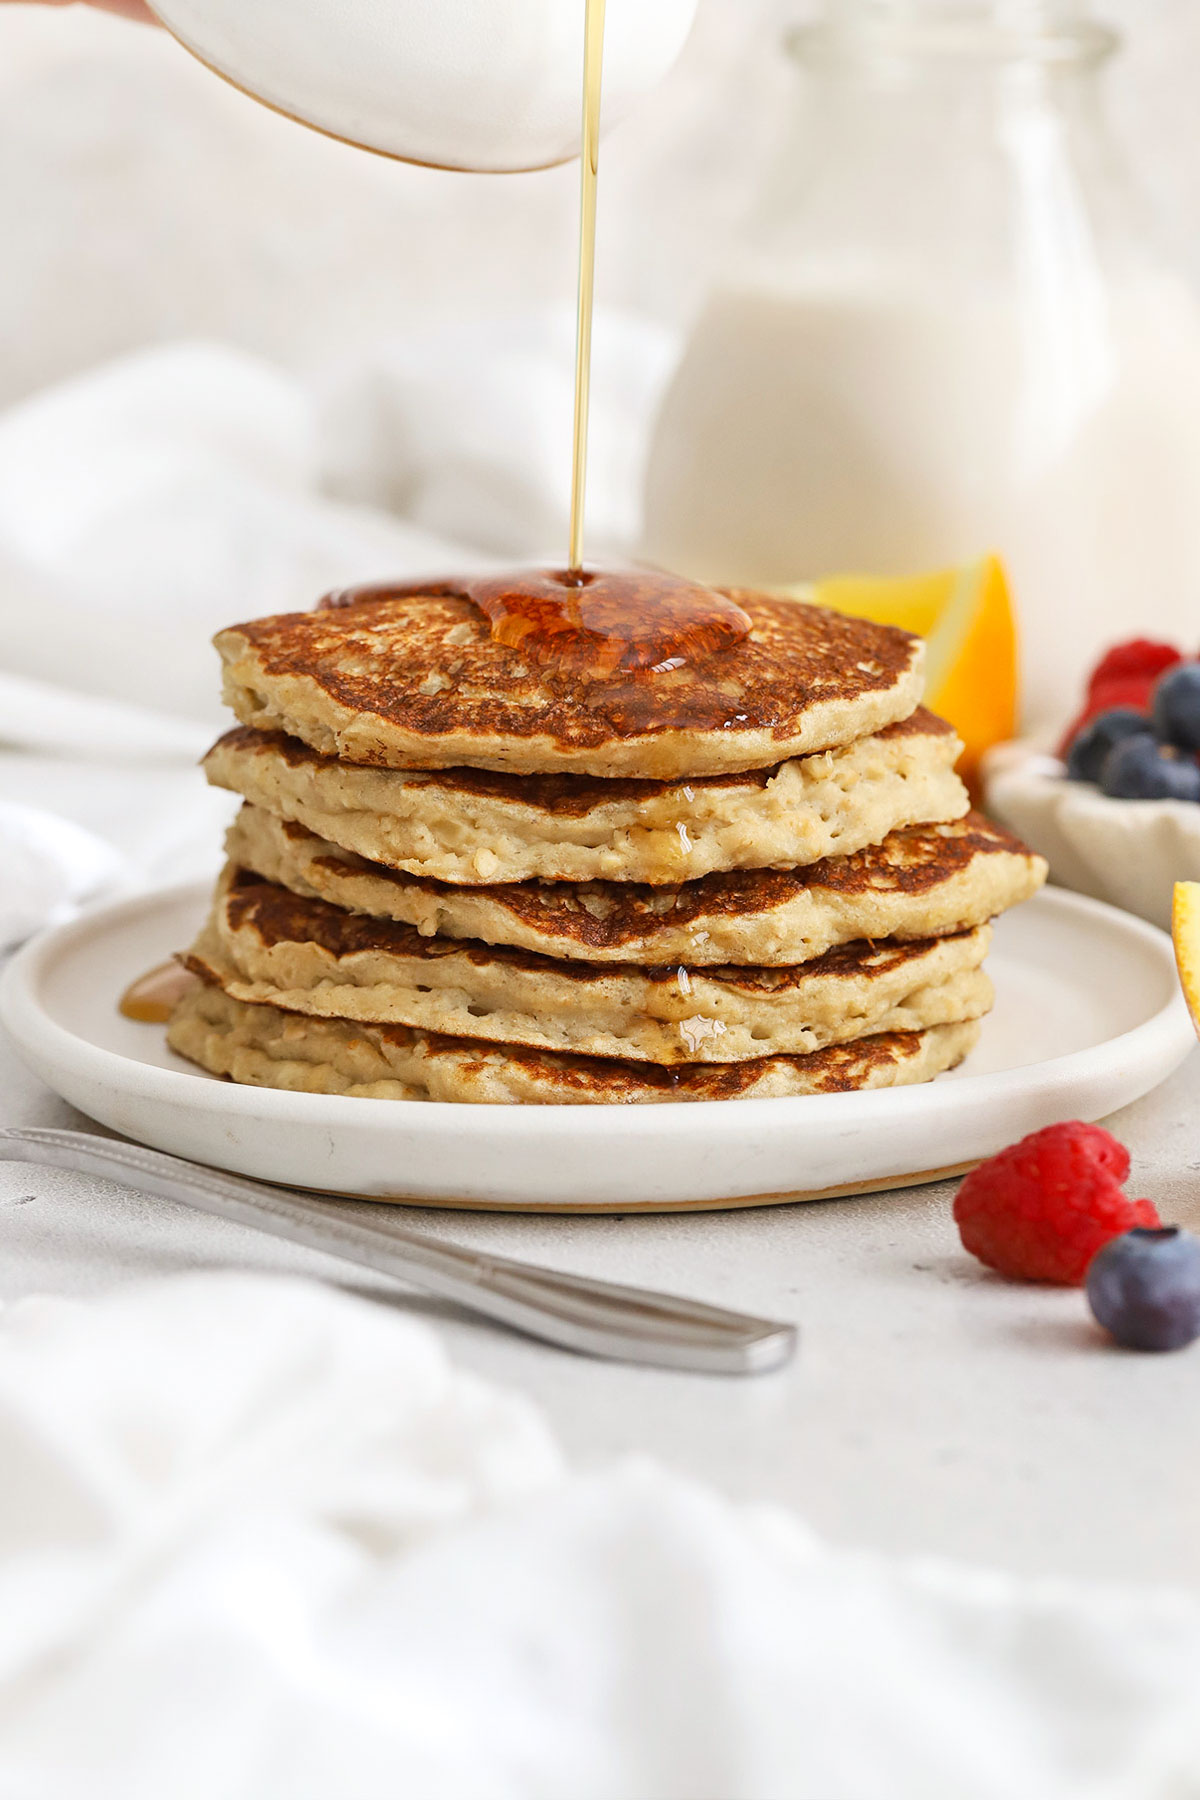
- Maple Syrup. Always a classic, a drizzle of maple syrup is delicious on these oatmeal pancakes!
- Buttermilk Syrup. For a special occasion, this caramel-like syrup recipe is tough to beat!
- Strawberry Topping. I love berry topping on pancakes, and this strawberry topping is AMAZING
- Whipped Cream. Or, add a little fluffy whipped cream or whipped coconut cream. Yum!
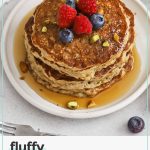
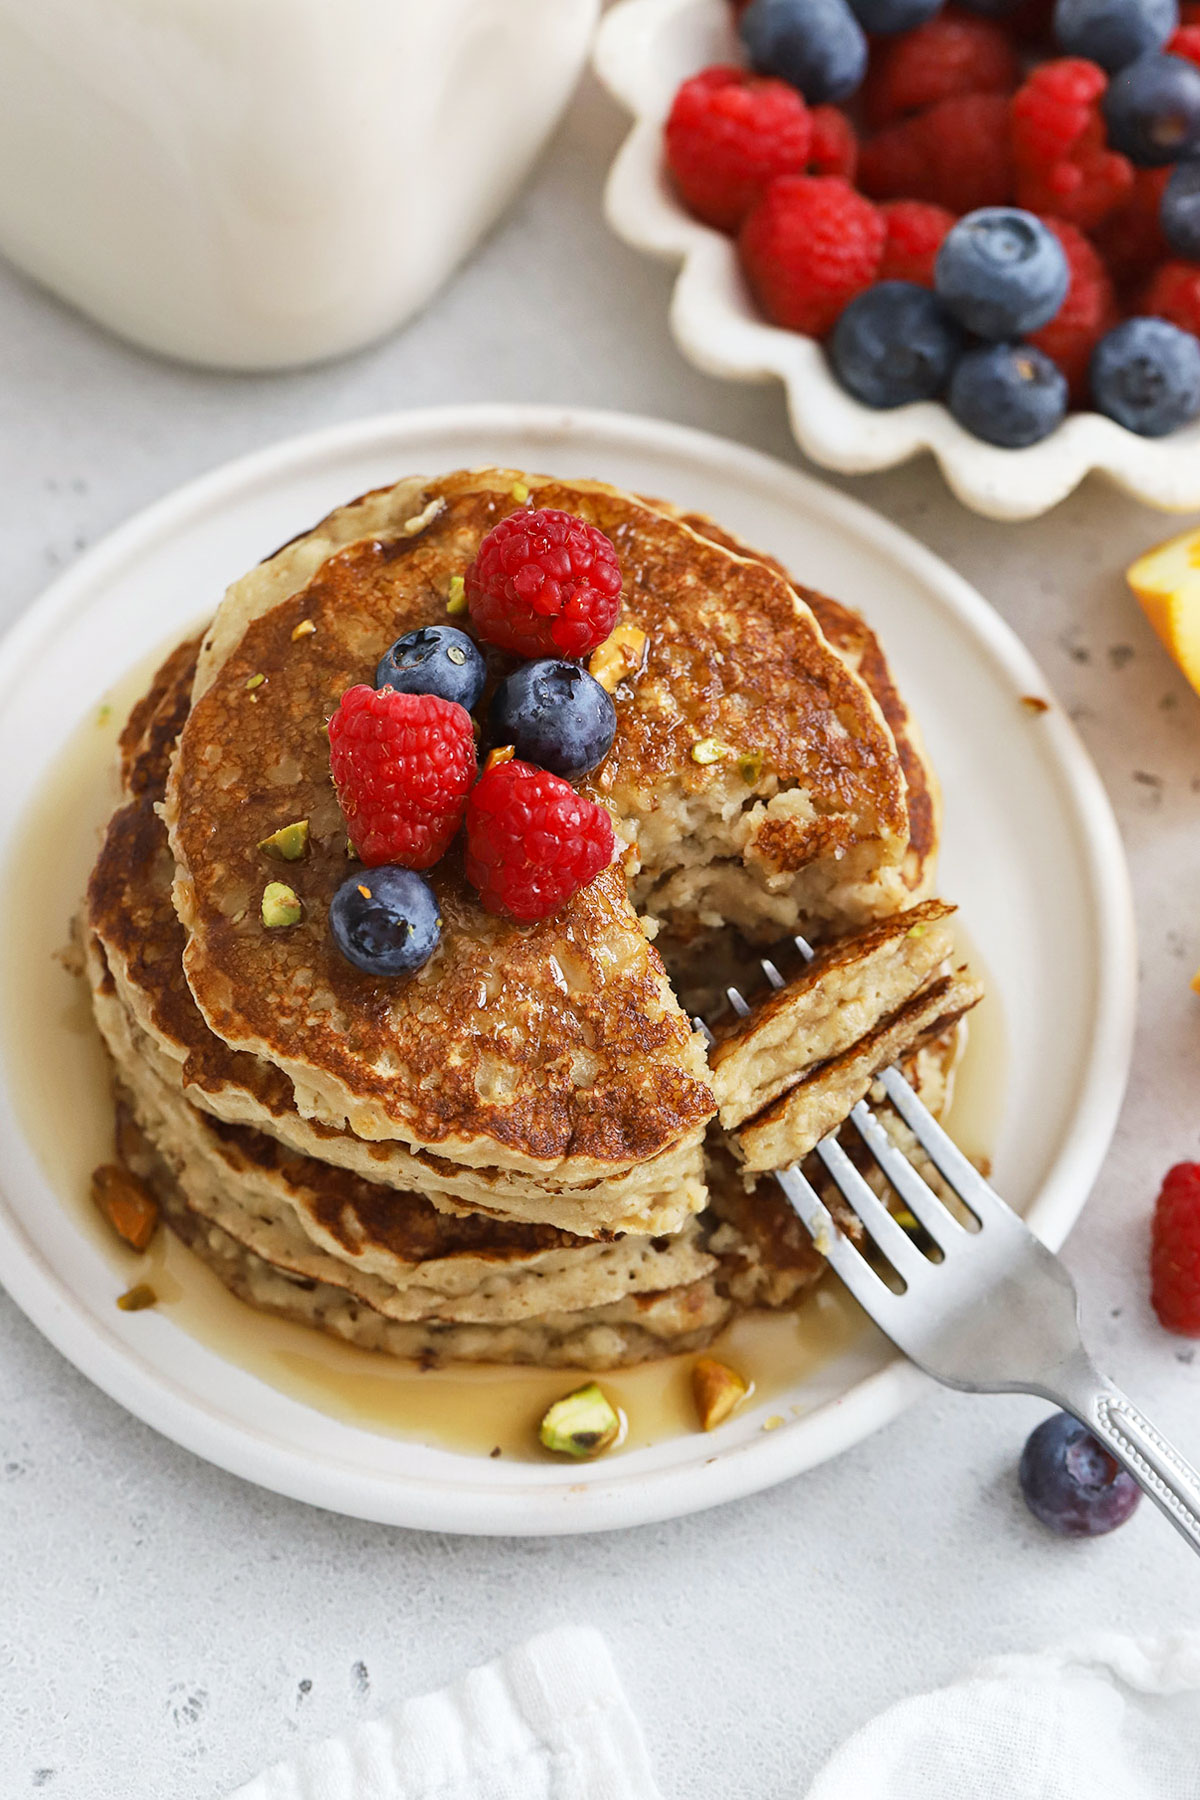
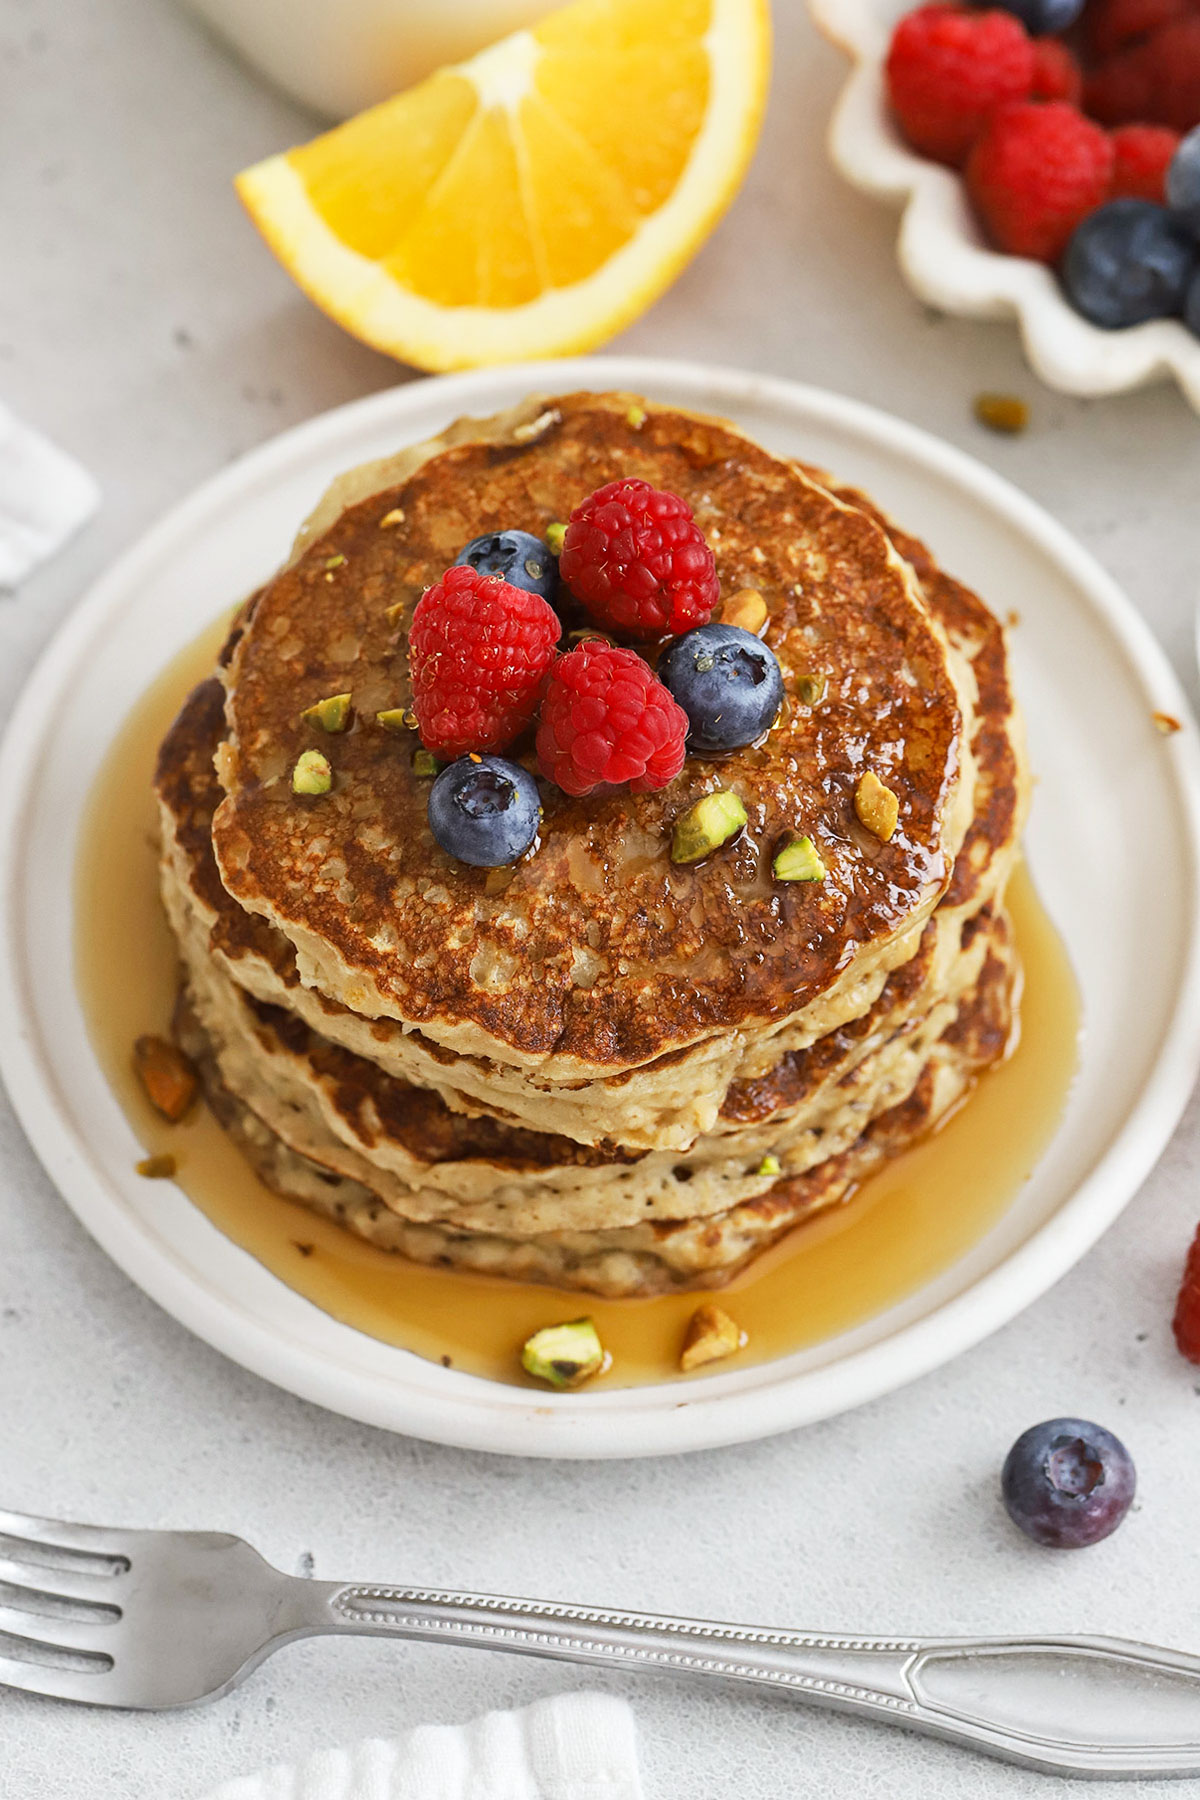
- Fresh Berries. Fresh fruit for the win! Blueberries, strawberries, raspberries, and blackberries are all fantastic. (Especially with whipped cream!)
- Chocolate Chips. Mini chocolate chips are such a fun addition.
- Peanut Butter or Almond Butter. Really, any kind of nut butter or seed butter!
- Sliced Bananas. Banana slices are amazing with the hearty texture of these pancakes.
- Cinnamon Apples. Or, go for these cinnamon apples for a fun fall or winter twist!
- Toasted Nuts. Some toasted pecans, sliced almonds, hazelnuts, or even pistachios add a lovely crunch!
FAQ + Tips And Tricks For The Best Oatmeal Pancakes:
Don’t Skip The Rest Time! This oatmeal pancake batter will be MUCH too thin if you skip the 30 minutes of rest time. During the rest, the oats soften and soak up liquid from the batter. You’ll notice a BIG difference in the consistency after the rest time! (If needed, you can even mix up this batter and chill overnight in the fridge!)
Can I Make Vegan Oatmeal Pancakes? Yes! Swap a flax egg or powdered egg substitute in for the egg, and use the vegan buttermilk substitute in the notes section of the recipe card. The rest of the ingredients are easily vegan-friendly!
Can I Use Rolled Oats or Steel-Cut Oats Instead? Using gluten-free quick cooking oats allows the pancake batter to thicken more quickly and will give your pancakes the lightest texture. Rolled oats require a much longer soaking time and will yield chewier, denser pancakes. Steel-cut oats will not work here.
⭐ Don’t forget to leave a star rating and comment below when you make our Gluten-Free Oatmeal Pancakes recipe. I can’t wait to hear how it goes!
Print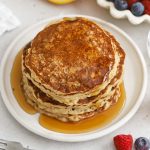
Gluten-Free Oatmeal Pancakes
- Total Time: 1 hour 5 minutes
- Yield: 8 (4-inch) pancakes 1x
- Diet: Gluten Free
Description
These hearty, fluffy pancakes are perfect for a delicious weekend breakfast. Try them with syrup, whipped cream, fresh fruit, peanut butter, and more!
Ingredients
- 1 1/3 cup buttermilk*
- 1 egg
- 2 Tablespoons oil*
- 1 Tablespoon sugar*
- 1 teaspoon vanilla extract
- 1/4 teaspoon maple extract (optional)
- 1 cup gluten-free quick oats*
- 1/3 cup gluten-free measure-for-measure flour*
- 1/2 teaspoon salt
- 1/2 teaspoon baking soda
Instructions
- Combine Wet Ingredients. In a medium bowl, combine buttermilk, egg, oil, sugar, vanilla, and maple extract (if using). Whisk to combine until smooth.
- Add Dry Ingredients. Then, add gluten-free oats, gluten-free flour, salt, and baking soda. Gently mix until just combined.
- Let Batter Rest For 30 Minutes to let the oats absorb some of the liquid. The pancake mixture will thicken quite a bit so don’t skip this step!
- Prep The Skillet. Preheat a large skillet (or griddle pan) over medium-low heat. Lightly grease the pan with butter, oil, or spray oil. (You’ll know the skillet is hot enough to cook the pancakes when you can sprinkle a drop of water onto the pan and it sizzles.)
- Cook Pancakes. Scoop 1/4 cup batter into the pan per pancake, cooking 2-3 at a time (so you don’t overcrowd the pan). Let pancakes cook 4-5 minutes or until small bubbles form on the top of the pancake, then use a flexible spatula to flip the pancakes. Cook 2-3 minutes on the second side, or until the exterior is golden brown and the center is cooked through. Repeat until all the pancakes are cooked. (If you notice the outsides of the pancakes are browning before the centers are cooking through, reduce the heat to medium low or even low, if needed.)
- Serve & Store. Keep pancakes warm on a sheet pan in a 200 degree F oven until you’re ready to serve. Store leftover pancakes in an airtight container in the fridge 2-3 days or freeze up to 2 months.
Notes
- Buttermilk. You can make a buttermilk substitute by adding 4 teaspoons vinegar to 1 1/4 cup milk. (Almond milk, whole milk, cashew milk, oat milk, etc. will all work.) It won’t be quite as thick as traditional buttermilk, but it will give you the acidity you need for fluffy pancakes!
- Oil. Any neutral oil will work here–avocado oil, vegetable oil, etc. You can also use melted butter or melted vegan butter.
- Sugar. If desired, you can substitute brown sugar, or maple syrup instead of traditional granulated sugar.
- Oats. If you have celiac disease, make sure to buy certified gluten-free quick oats. (Old-fashioned oats require more soaking time, so quick oats work best here. Steel cut oats will not work.)
- Flour. I recommend King Arthur Measure-For-Measure Gluten-Free flour. If you use another flour blend, be sure it contains xanthan gum for the best texture.
- Cooking Tips. Different pans conduct heat differently. I prefer a non-stick pan for these pancakes, since cast iron sometimes makes the pancakes too brown too quickly. If you use a griddle pan on the stovetop or an electric griddle, just keep an eye on the temperature so the pancakes can cook all the way through. You may want to start with medium-low heat, and reduce the heat as needed.
- Prep Time: 10 minutes
- Rest Time: 30 minutes
- Cook Time: 25 minutes
- Category: Breakfast
- Method: Stovetop
- Cuisine: American