
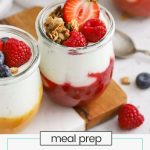


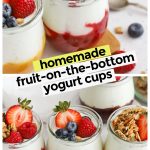


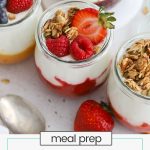
These homemade Fruit On The Bottom Yogurt Cups are an easy meal-prep breakfast recipe. With so many flavors to try, it’s easy to keep things fresh and interesting!
Aren’t these SO PRETTY? I love working with fruits and veggies–they look so beautiful, and whenever it comes to healthy eating, I’m looking for ways to add MORE goodness and deliciousness to my day!
Making your own version of pre-made yogurt cups means you get to choose what type of yogurt your use and which kind of fruit you want to play around with. YUM!
Whether you’re looking for an easy grab-and-go breakfast option, something easy to toss into lunch boxes, or a healthy snack, these DIY fruit on the bottom yogurt cups are a delicious option!
This basic recipe lets you skip the sugary syrup, artificial flavors, or high fructose corn syrup in favor of higher protein yogurt and the natural sweetness of the fruit. I think the flavor is super delicious and I love how easy they are to make.
Here’s all you need to make your own homemade yogurt cups…
Our Meal Prep Yogurt Cups Recipe, At A Glance:
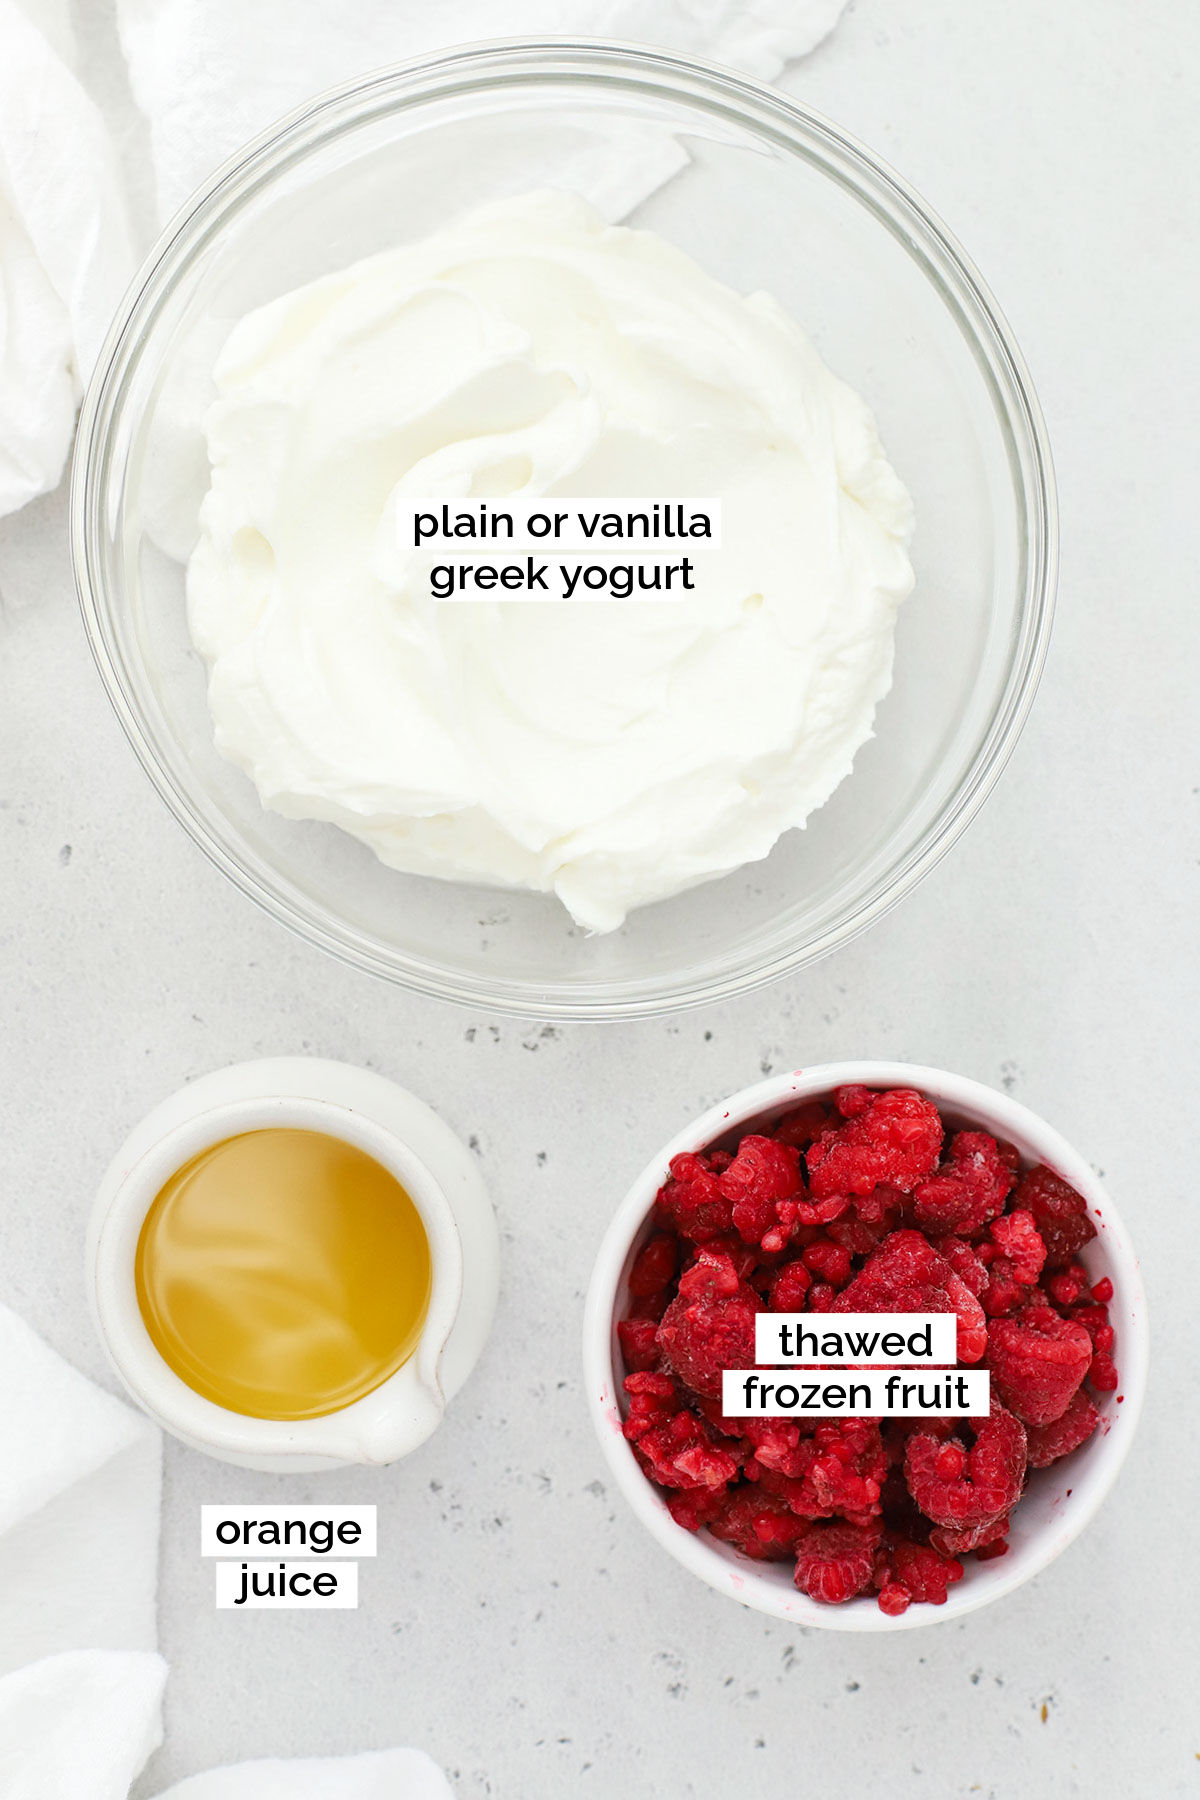
Simple Ingredients For Homemade Fruit On The Bottom Yogurt Cups
- (Thawed) Frozen Fruit. You’ll start the fruit base with thawed frozen fruit. Frozen fruit is budget friendly, picked at its peak, AND it blends or mashes well for the fruit puree. Win-win-win!
- Orange Juice. The magic ingredient! Adding good quality orange juice adds natural sweetness and helps the fruit mash and blend easier. It *also* helps keep the fruit looking vibrant since it helps prevent browning.
- Maybe Some Honey or Agave. If needed, you can absolutely add a little drizzle of honey or agave (for vegan) for some extra sweetness.
- Thick Yogurt. Choose your favorite yogurt here, or even try homemade yogurt! You can use unsweetened plain Greek yogurt for less sugar, or feel free to use vanilla Greek yogurt. I prefer thick yogurt for these, since the fruit puree thins the mixture out a bit when you mix it in. Greek yogurt or thick, Greek-style vegan options like Culina work well! (Use vegan yogurt to keep these vegan!)
- Jars. Lastly, you’ll need a jar to put them in! Small mason jar or weck jars can be a great way to go, but a fairly narrow, small container works well, too.
Which Fruit Works Best?
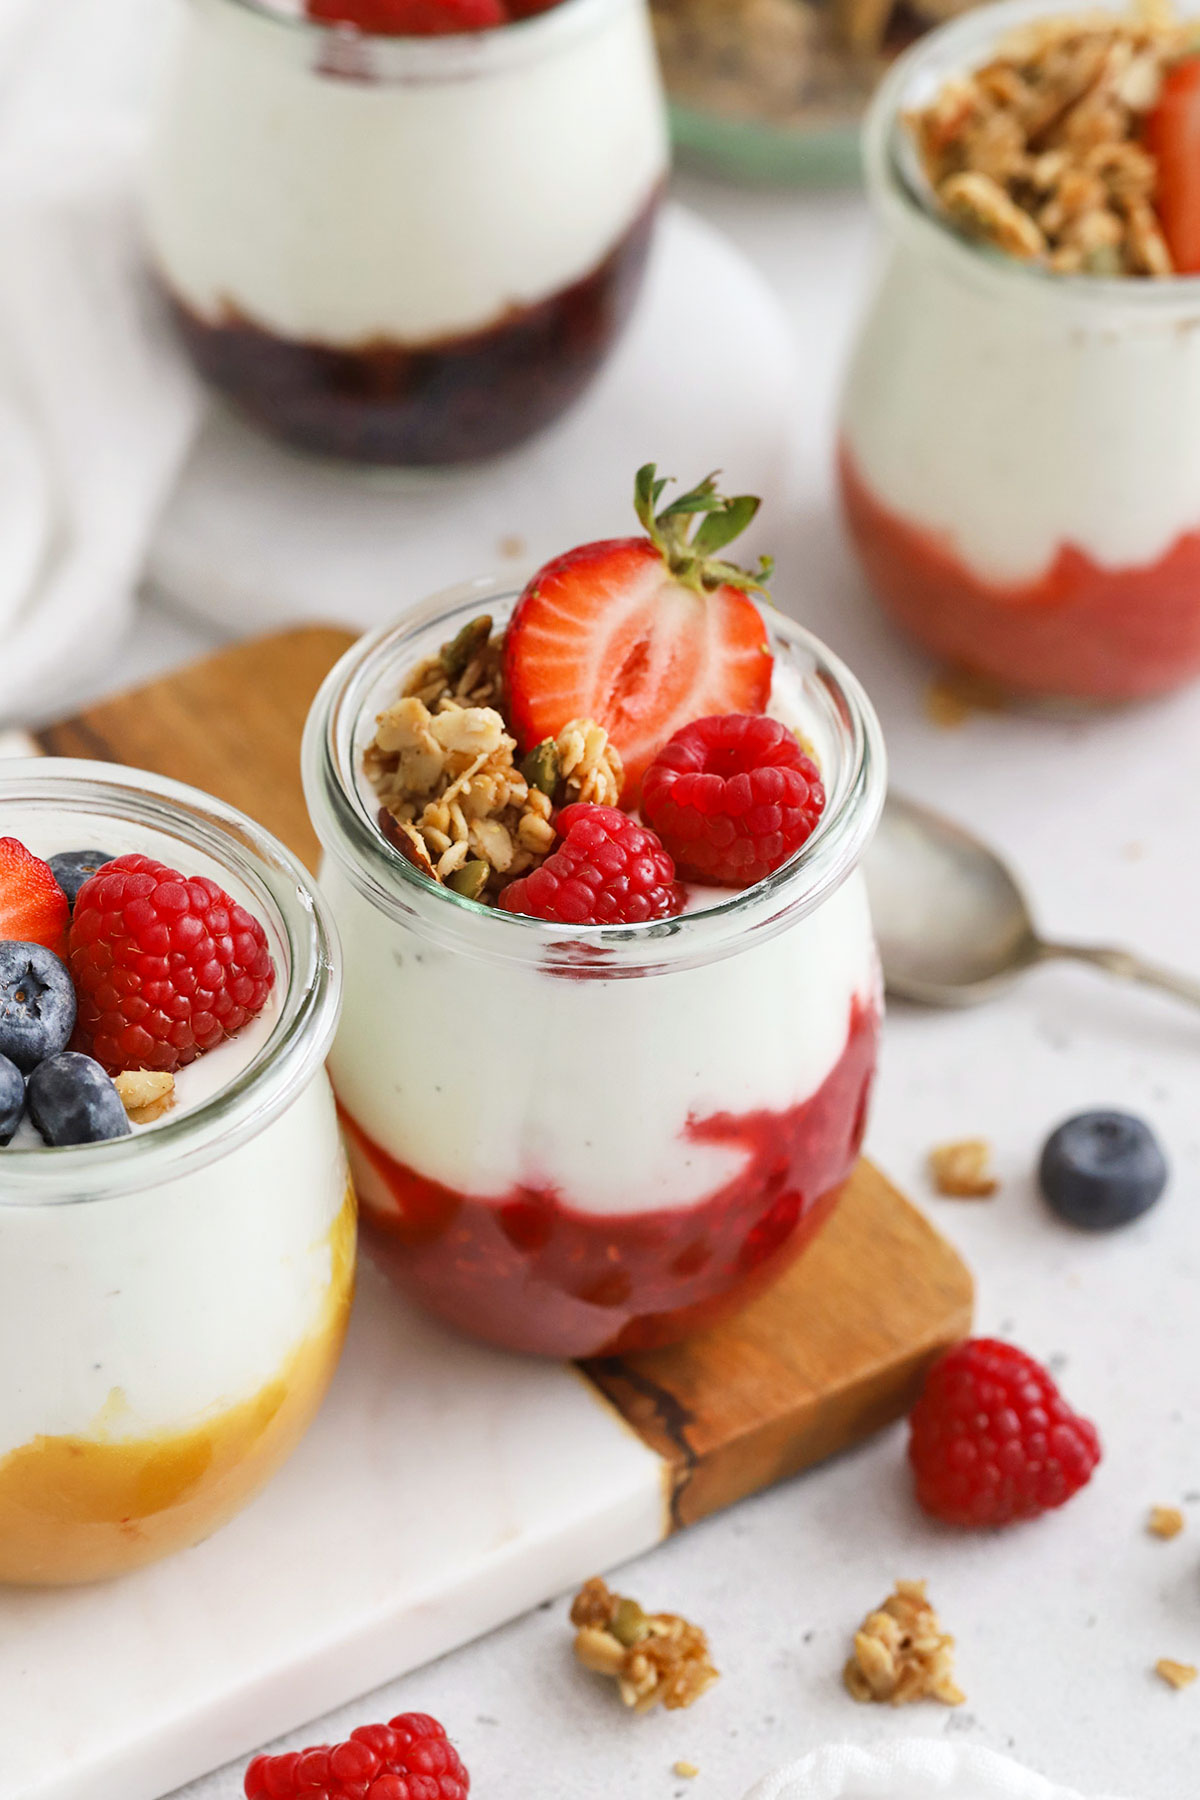
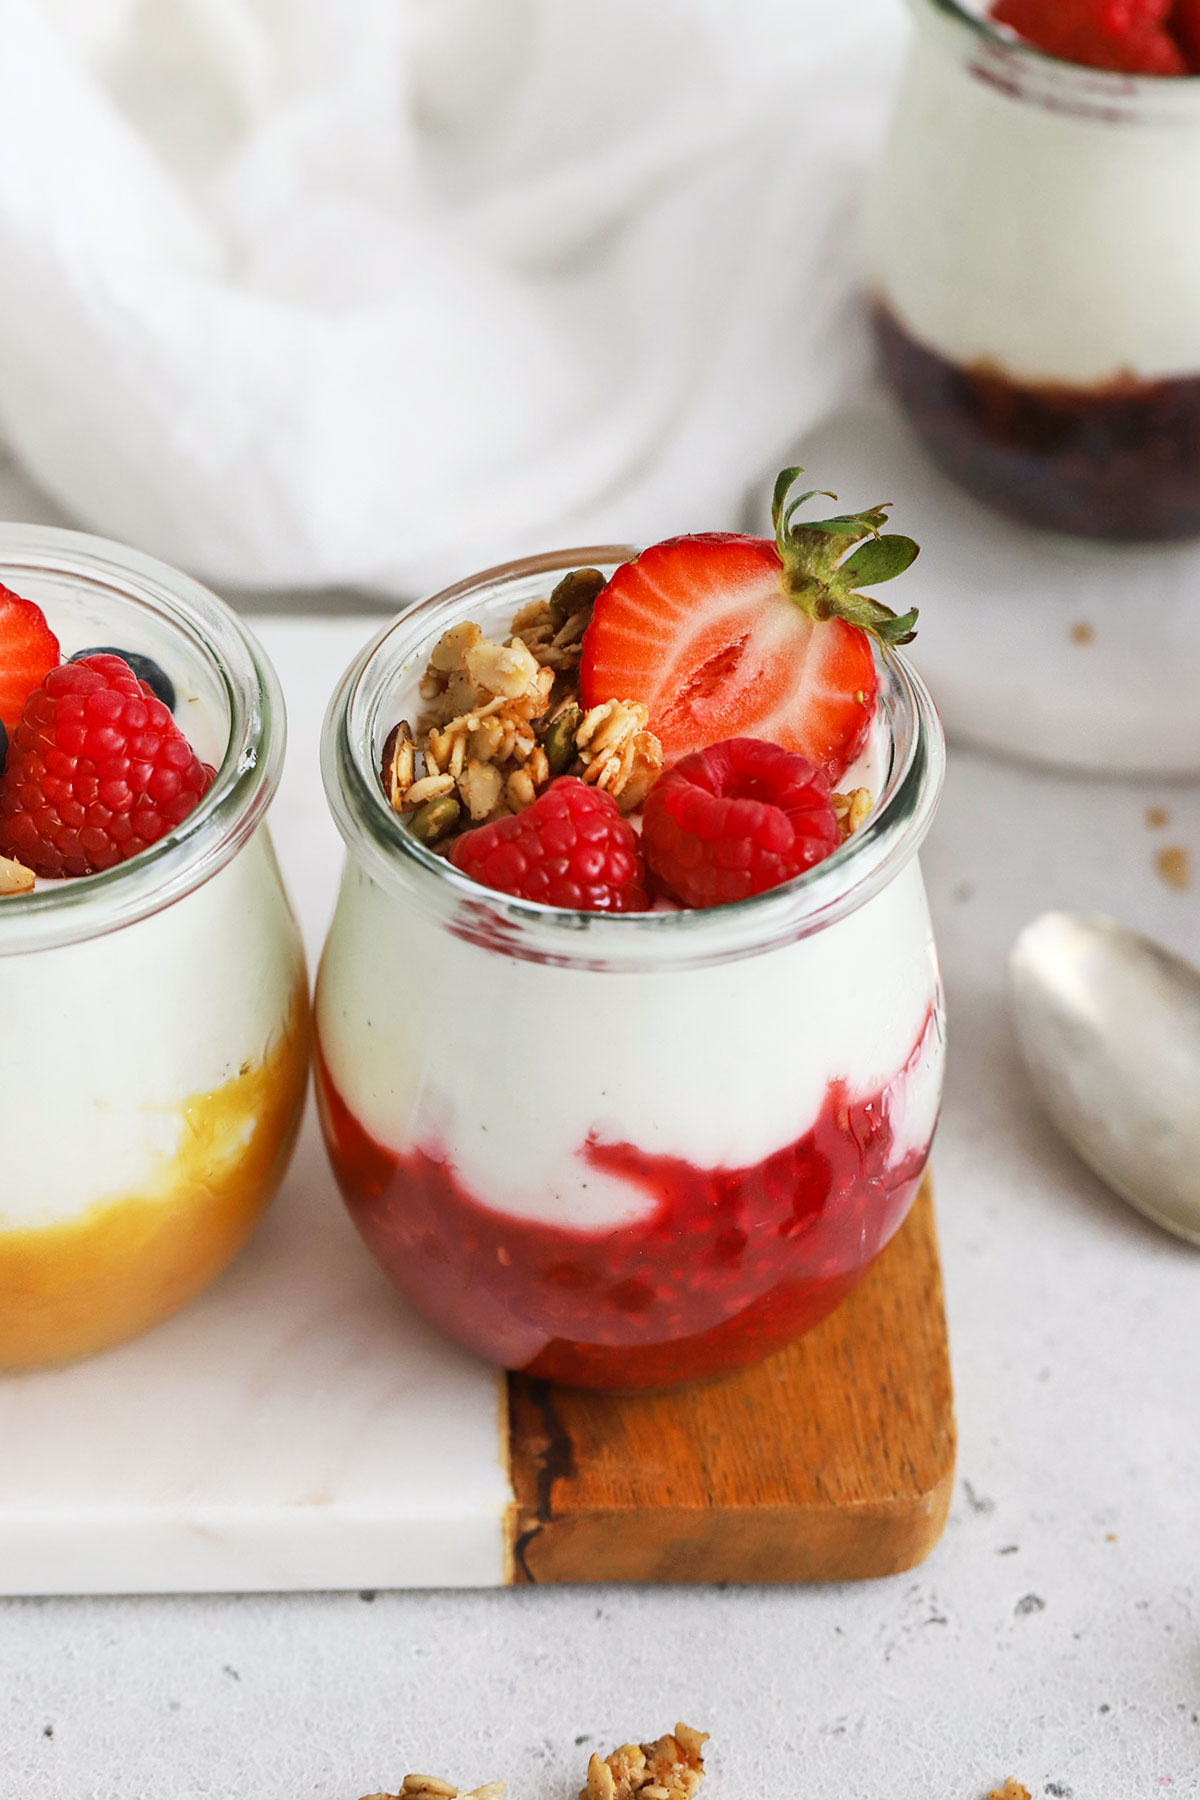
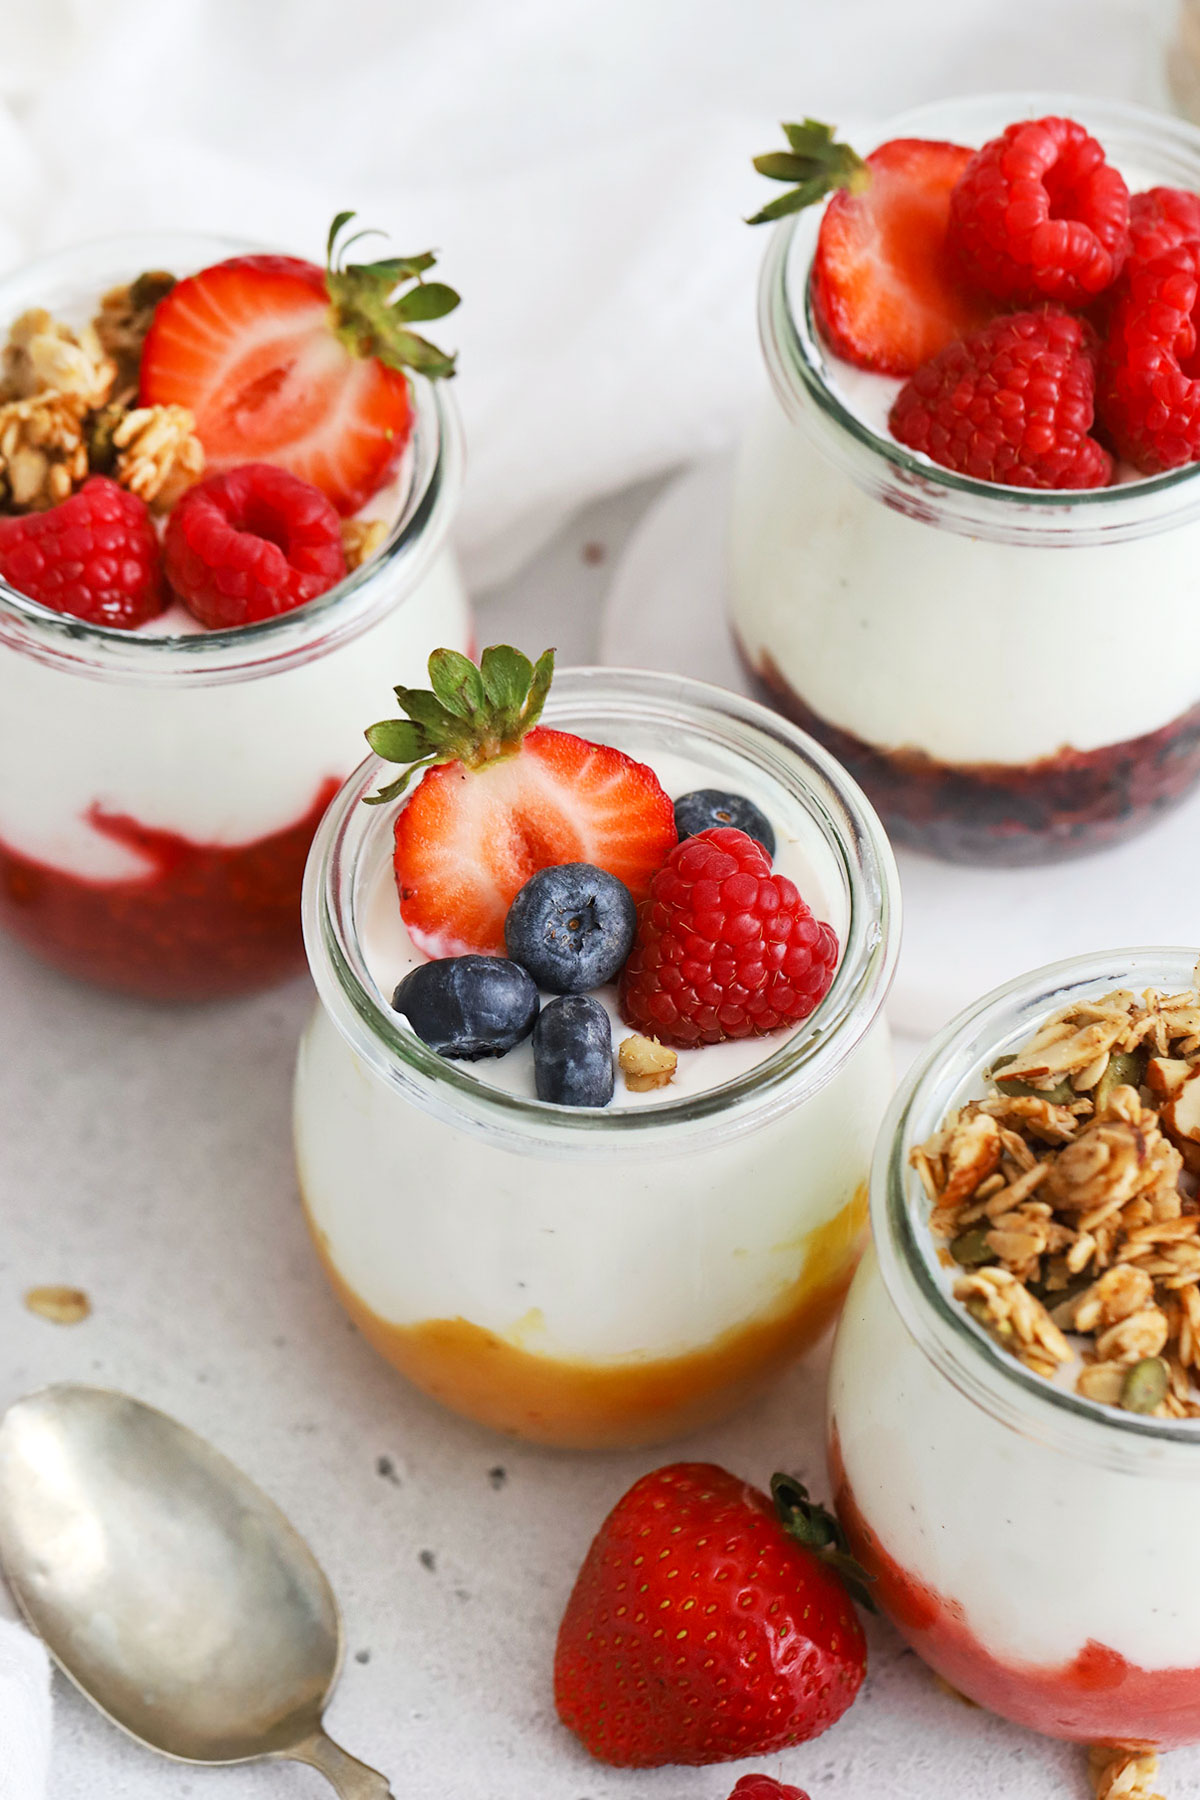
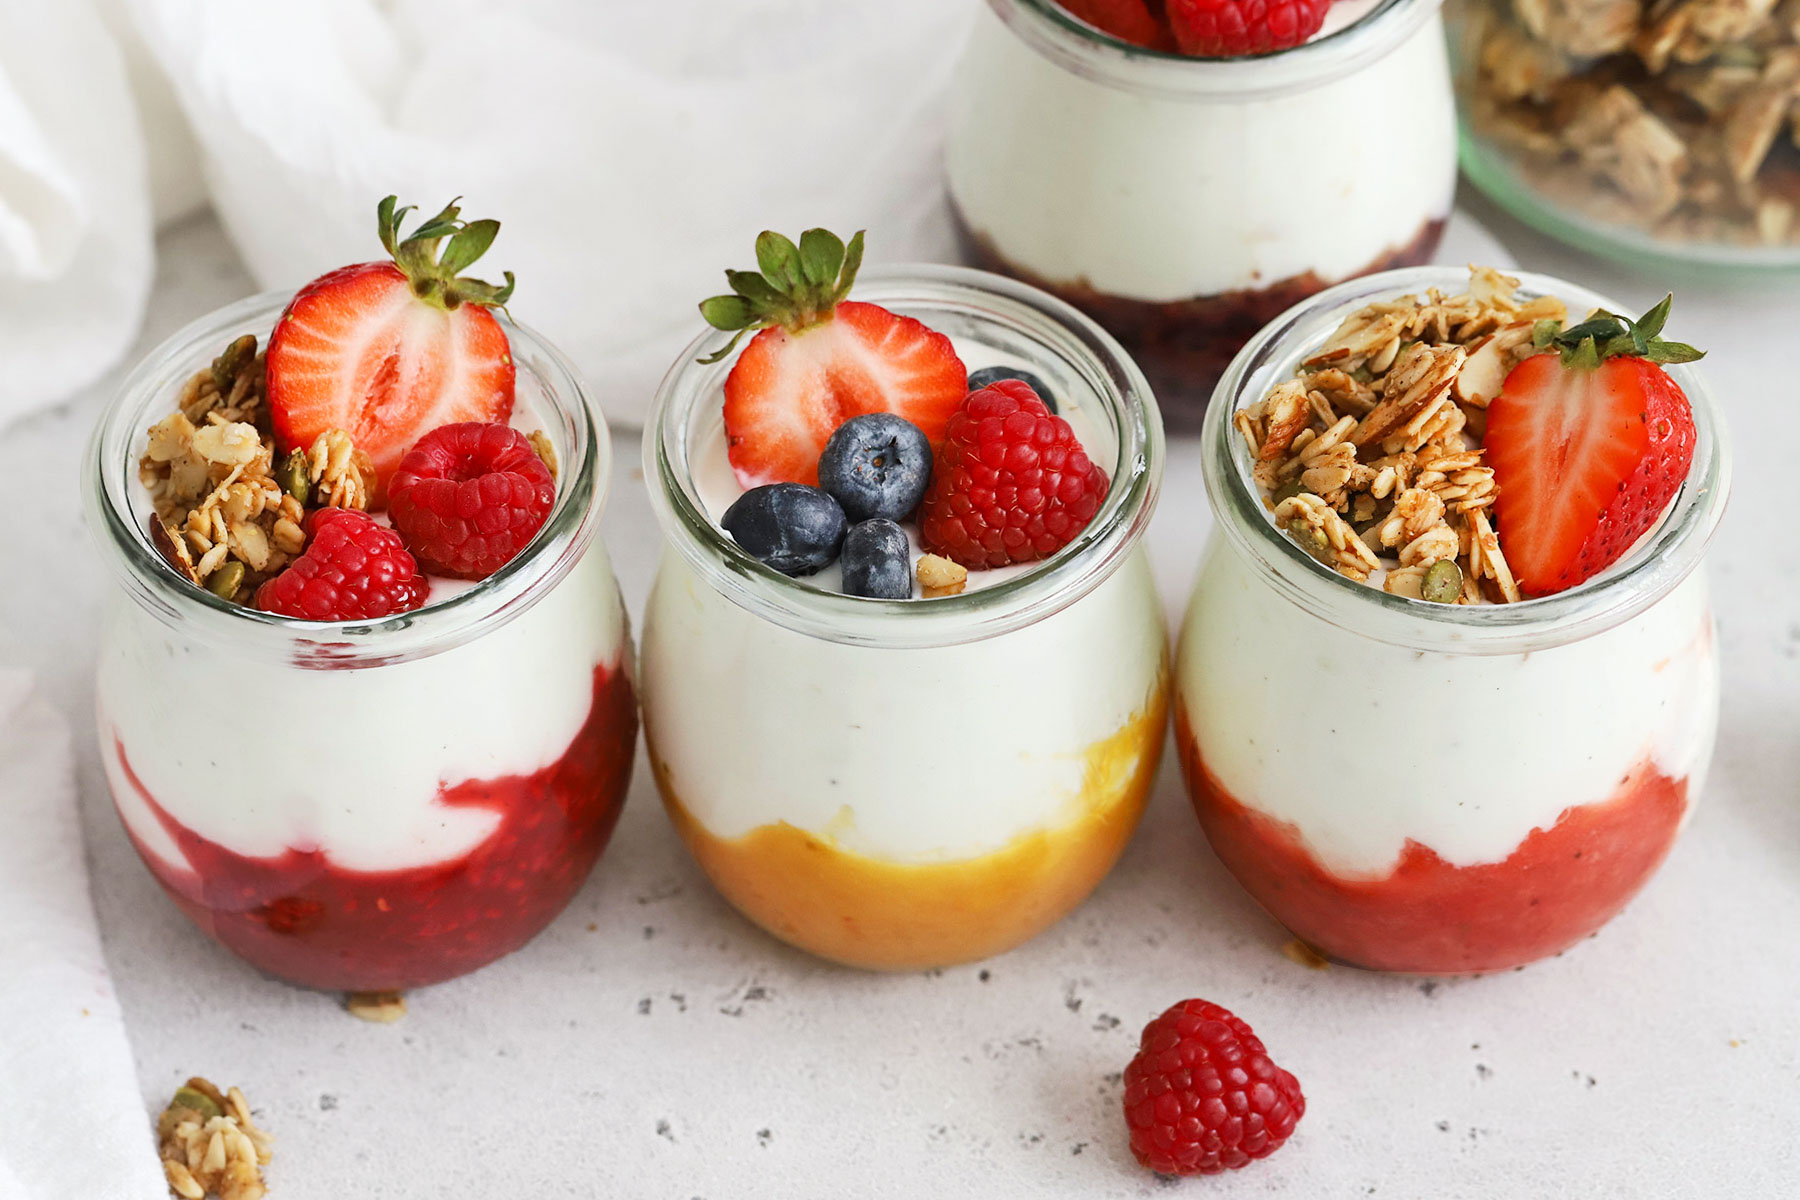
We’ve made this homemade fruit on the bottom yogurt with raspberries, strawberries, blueberries, and peaches. We find red fruits like raspberries and strawberries maintain their color best. (But this is just cosmetic.)
Other soft fruits like mango or blackberries should work, but I’d stay away from anything too fibrous (like pineapple). Overly soft, juicy fruits (like plums or kiwi) may not work as well, since they’ll get thinner and tend to brown faster.
How To MAke These Meal Prep Yogurt Cups, Step By Step:
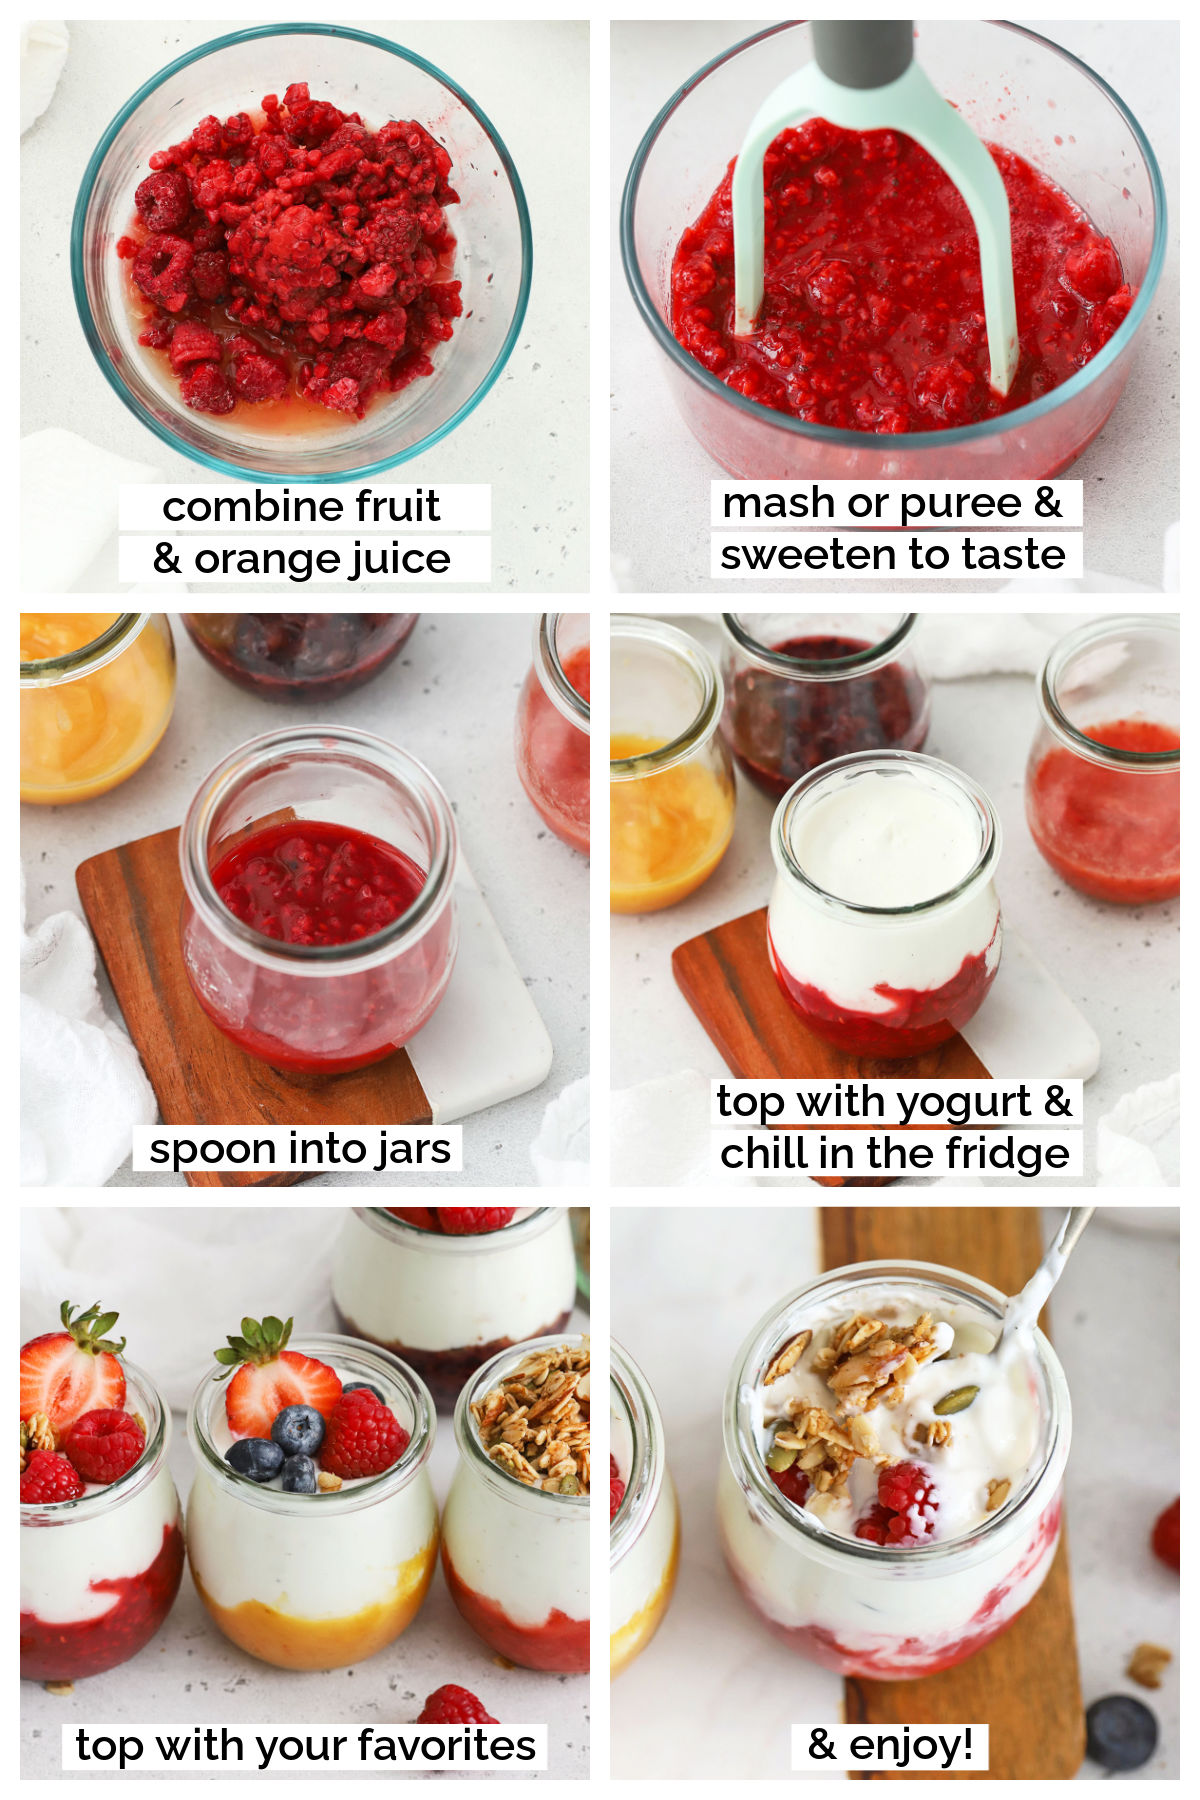
- Make The Fruit Puree. In a medium bowl, combine thawed frozen fruit and 2 Tablespoons orange juice. Use a potato masher to mash the fruit for a more rustic texture, or use a food processor or immersion blender for a smoother texture.
- Taste & Adjust. Next, taste the fruit mixture and add additional orange juice or a drizzle of honey or agave to sweeten, to taste. (I usually don’t sweeten the fruit puree if my yogurt is sweetened or I’m looking for a lower sugar option.)
- Layer. Then, divide the fruit puree between 2 jars, adding the fruit to the bottom of each jar. Use a spoon or fork to layer the yogurt on top of the fruit puree, doing your best to eliminate any air bubbles. For pretty layers, I find it works best to focus on the sides of the jar first, then fill in the center.
- Serve or Store. Enjoy yogurt cups right away or cover and chill in the fridge up to 2-3 days. Keep in mind the color of the fruit will get a little less vibrant each day, but this is cosmetic.
- Top. To serve, enjoy as-is, or top with more fresh fruit (berries, bananas, peaches, etc.) and granola or nuts for some crunch.
Variations To Try
We love the original, but you KNOW I have so much fun with a variation! It’s a great way to mix up your breakfast or afternoon snack:
- Try Different Fruits! Experiment with raspberries, strawberries, peaches, blueberries, blackberries, nectarines, and more!
- Try It With Chia Seeds. For a little extra fiber and healthy fat, you can mix some chia seeds into the yogurt. (This is a great way to thicken dairy-free yogurt, too!)
- Try It With Protein Yogurt. Or, pack in some protein with our chocolate protein yogurt. This pairs nicely with strawberry or raspberry!
- Try It With Lime Yogurt. Another fun option is this naturally sweetened Lime Greek Yogurt. We love it with berries or peaches!
- Try It With Chia Pudding. Not a yogurt fan? Swap in our Vanilla Chia Pudding. It’s vegan & paleo friendly!
FAQ + Tricks For The Best DIY Fruit On The Bottom Yogurt Cups:
Can I Use Fresh Fruit Instead? If it’s at the peak of ripeness, yes. The reason we use frozen fruit is because it gets softer in texture, so it’s easy to mash or puree. If your fresh fruit it ripe and juicy, feel free to use that instead!
How To Prevent Browning. The best way to prevent browning is to avoid air exposure. Eliminate air bubbles in the yogurt when you can, so it makes a good seal on the fruit sauce. Also, keep in mind that any slight browning (oxidation) is 100% cosmetic. Adding orange juice (and honey!) can both help the fruit look vibrant.
How Long Do These Last In The Fridge? Your yogurt cups will easily keep for 2-3 days in the fridge.
Add Some Crunch! I’m all about textures, so I love pairing the creamy yogurt cups with some crunchy gluten-free granola or nuts before serving. Even crunchy peanut butter is great!
Let’s Talk Yogurt
Since you’re making your own version of pre-made yogurt cups, YOU get to choose the type of yogurt you choose here.
- Fat Percentage. Depending on your family’s needs, you can choose full-fat yogurt (whole milk yogurt), low fat yogurt, or fat free yogurt. I love using low-fat yogurt then adding additional fat and fiber with my meal in other ways, but everyone’s needs will be different. Choose what works best for you!
- Plain or Vanilla. Then, you can choose whether you buy plain (unsweetened) yogurt or vanilla yogurt. Plain is a great way to help control your sugar content, but there are a lot of lower sugar vanilla yogurt options out there these days that taste great, too.
- Dairy-Free or Dairy. Feel free to use a thick vegan yogurt here (like Culina). I don’t recommend thin yogurt when you make your own yogurt cups since the fruit puree also thins it out a bit, and they can get runny.
More Healthy Breakfast REcipes Recipes To Try:
- Easy Gluten-Free Granola
- Paleo Mini Quiche
- Vanilla Chia Pudding (Paleo, Vegan)
- Chocolate Protein Yogurt Bowls
- Chunky Monkey Overnight Oats (Gluten Free + Vegan)
- 13+ Favorite Kid-Friendly Smoothie Recipes
⭐ Don’t forget to leave a star review and comment below when you make our Fruit On The Bottom Yogurt recipe. I can’t wait to hear how it goes!
Print
Homemade Fruit On The Bottom Yogurt Cups
- Total Time: 5 minutes
- Yield: 2 Servings 1x
- Diet: Gluten Free
Description
These homemade Fruit On The Bottom Yogurt Cups are an easy meal-prep breakfast or after school snack. We LOVE them!
Ingredients
For The Fruit Sauce:
- 1 cup frozen fruit (raspberries, strawberries, peaches, blueberries, etc.),* thawed
- 2–3 Tablespoons orange juice
- optional: 1/2-1 Tablespoon honey or agave, if needed
For The Yogurt:
- 10–12 ounces Greek yogurt or dairy-free yogurt* (plain or vanilla)
Instructions
- Make The Fruit Puree. In a medium bowl, combine thawed frozen fruit and 2 Tablespoons orange juice. Use a potato masher to mash the fruit for a more rustic texture, or use a food processor or immersion blender for a smoother texture.
- Taste & Adjust. Next, taste the fruit mixture and add additional orange juice or a drizzle of honey or agave to sweeten, to taste. (I usually don’t sweeten the fruit puree if my yogurt is sweetened or I’m looking for a lower sugar option.)
- Layer. Then, divide the fruit puree between 2 jars. Use a spoon or fork to layer the yogurt on top of the fruit puree, doing your best to eliminate any air bubbles. For pretty layers, I find it works best to focus on the sides of the jar first, then fill in the center.
- Serve or Store. Enjoy yogurt cups right away or cover and chill in the fridge up to 2-3 days. Keep in mind the color of the fruit will get a little less vibrant each day, but this is cosmetic.
- Top. To serve, enjoy as-is, or top with more fresh fruit (berries, bananas, peaches, etc.) and granola or nuts for some crunch.
Notes
- Fruit. We’ve made this with raspberries, strawberries, blueberries, and peaches. Other soft fruits like mango or blackberries should work, but I’d stay away from anything too fibrous (like pineapple).
- Yogurt. You can use unsweetened plain yogurt for less sugar, or feel free to use your favorite vanilla yogurt. I prefer thick vanilla yogurt for these, since the fruit puree thins the mixture out a bit when you mix it in. Greek yogurt or thick, Greek-style vegan options like Culina work well!
- Prevent Browning. The best way to prevent browning is to avoid air exposure. Eliminate air bubbles in the yogurt when you can, so it makes a good seal on the fruit sauce. Also, keep in mind that any slight browning (oxidation) is 100% cosmetic. Adding orange juice (and honey!) can both help the fruit look vibrant.
- Prep Time: 5 minutes
- Category: Breakfast
- Method: No-Cook
- Cuisine: American
These are so easy to make and eat. Such a simple, solid breakfast.