


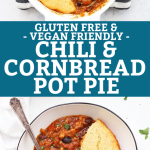
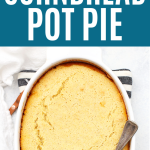


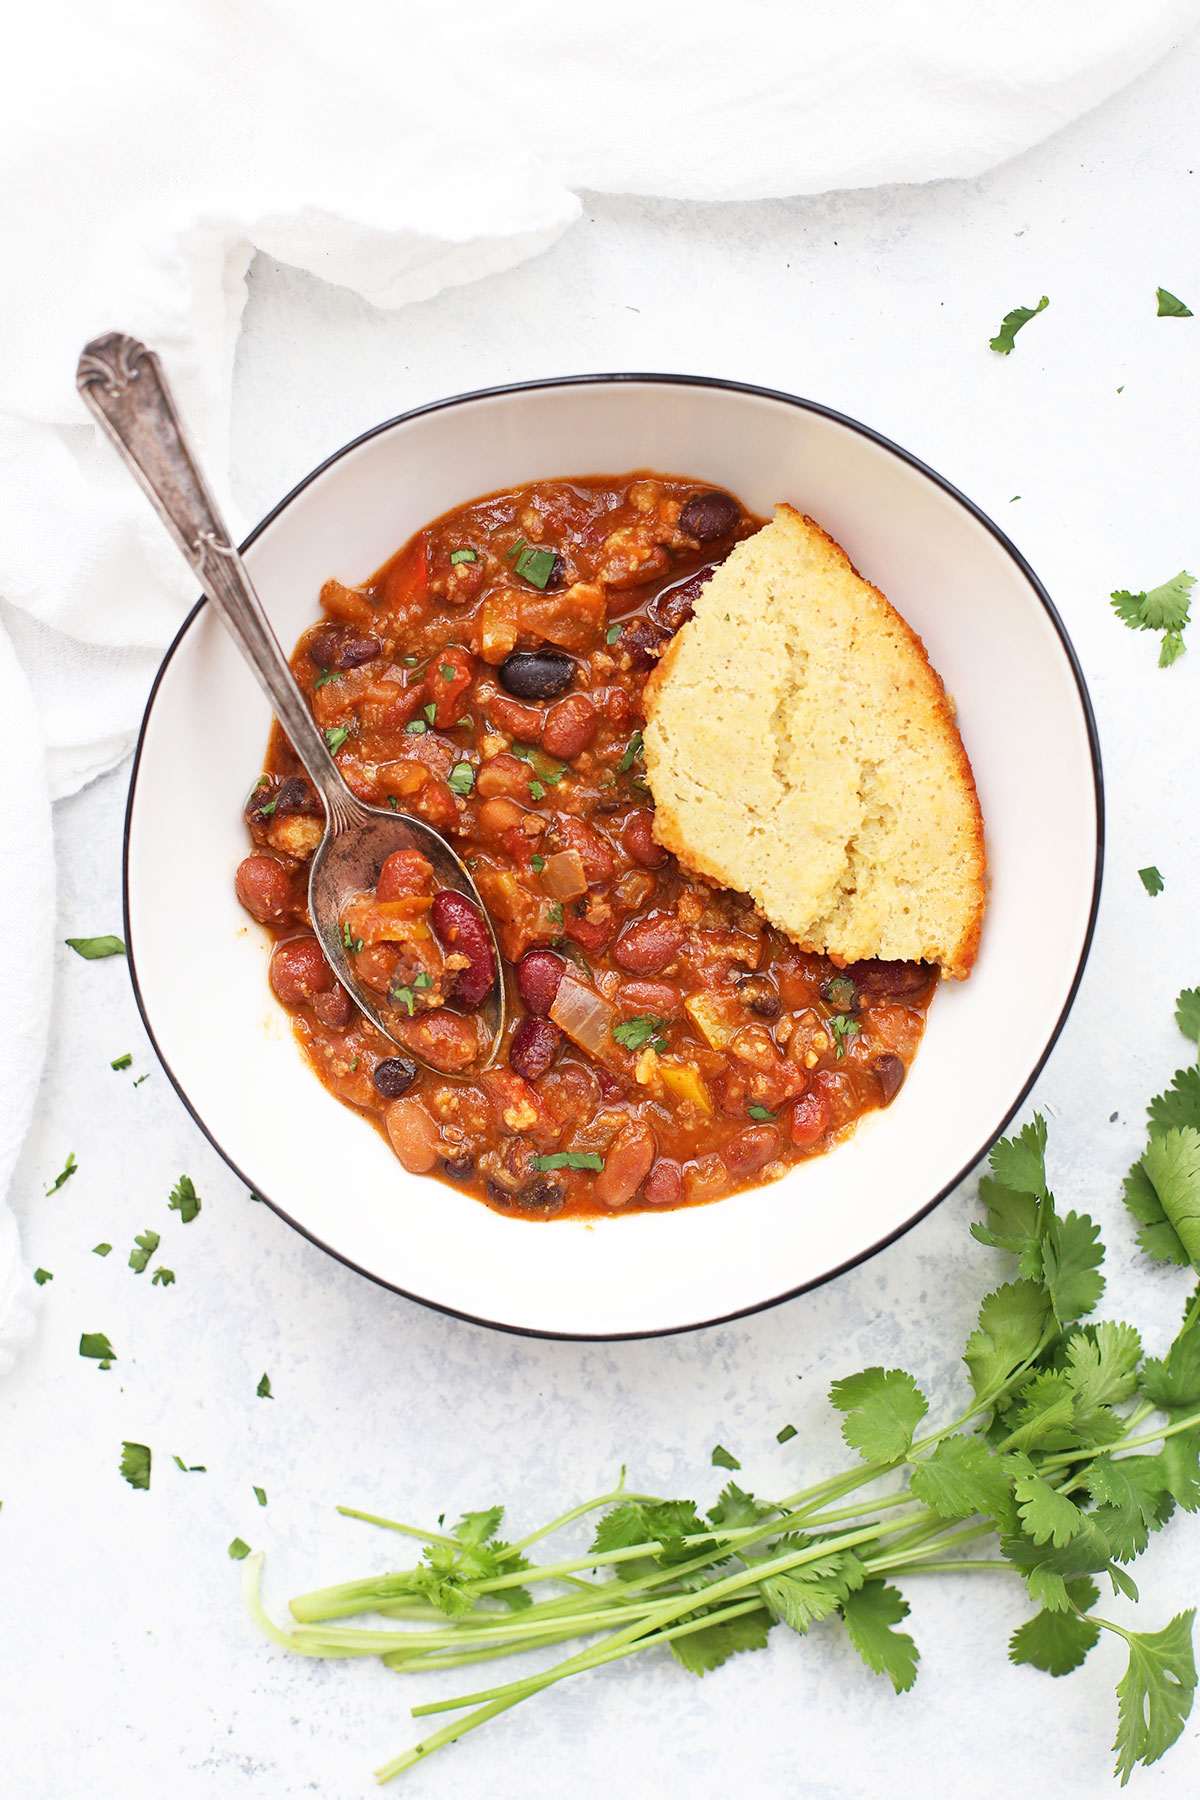
Chili Cornbread Pot Pie – This cozy chili & cornbread pot pie combines two favorites into one delicious meal. Gluten-free, dairy-free, and easily vegan!
When Michael and I were dating in college, I brought him dinner during an especially rough week for him. I made Shortcut Chicken Pot Pie, which used a biscuit topping over the chicken pot pie filling in a casserole dish (instead of a traditional crust-on-the-bottom-and-top pie).
He. Loved. It.
Pot pies have been one of his favorites ever since, and when cooler weather hits, it’s often one of his first requests. We’ve got a great gluten free pie crust recipe for the “real thing,” but I’ll admit, I still really love the convenience of the shortcut version in a baking dish.
A few years ago, we decided to combine pot pie with our fall-induced love for chili and cornbread, and the result is this gorgeous chili & cornbread pot pie. It took a bit of testing, but we’ve NAILED the proportions and the flavors couldn’t be better together.
Here’s why we think you’ll love chili cornbread pot pie as much as we do…
WHAT MAKES CHILI CORNBREAD POT PIE AMAZING:
- IT’S AN ALL-IN-ONE MEAL. I love that this pairs two of my favorites (chili + cornbread) into a one-pan meal. It’s home-y and cozy, and perfect for a busy night.
- YOU CAN USE LEFTOVER CHILI! I often make a BIG batch of chili when I make it, so there’s plenty to freeze for another day. I love that by turning leftover chili into a pot pie, it breathes new life into my leftovers!
- IT WORKS FOR LOTS OF DIFFERENT DIETS. Dairy free? Vegan? Vegetarian? Gluten Free? None of those? This will work for a wide variety of dietary needs and allergies. See the notes below for an egg-free version, plus my suggestions for different chilis below, from meat-only to meat & beans, to vegan.
- IT’S FREEZER FRIENDLY. You can make, bake, and freeze this meal to be pulled out later or given to a friend who needs a dinner. I’ve got instructions for just how to freeze and reheat it below in the notes!
- YOU CAN PICK YOUR FAVORITE CHILI RECIPE.You can use just about any chili recipe for this chili cornbread pot pie. Store-bought…homemade…whatever you like! Speaking of chili recipes…

6 FAVORITE CHILI RECIPES FOR CHILI CORNBREAD POT PIE:
You can use any favorite chili recipe or store-bought chili for this chili cornbread pot pie, so long as it’s on the thicker side. Pick one you love! You’ll need about 6-7 cups of chili for this recipe. Thicker chili recipes work best, so here are a few of my favorite chili recipes are…
- Simple Slow Cooker Chili (Gluten-Free)
- Slow Cooker Sweet Potato Chili (Gluten-Free)
- Instant Pot (or Slow Cooker) Vegan Chipotle Black Bean Chili (Gluten Free, Vegan)
- The Best Pumpkin Chili (Gluten Free, Vegan Friendly)
- The Perfect Classic Chili (Gluten Free)
- Vegetarian Pumpkin Chili (Vegan, Vegetarian)
MAKE IT A MEAL! WHAT TO SERVE WITH CHILI POT PIE:
Since this has your main dish (chili) and a side (cornbread) already covered, I recommend going with something lighter and fresher on the side.
- A simple green salad is always a winner.
- Fresh veggies + a yummy dip (we love this Creamy Paleo/Vegan Ranch or Avocado Ranch)
- Apple slices or grapes – I love how cool, fresh fruit is a nice contrast to the warm cozy chili cornbread pot pie.
TIPS + TRICKS FOR THE BEST CHILI CORNBREAD POT PIE:
FREEZER MEAL NOTES: if you want to freeze this, you’ll need to make it start-to-finish before freezing, as unbaked batter won’t keep well in the freezer. I also recommend using a metal baking dish, which can handle reheating without the temperature shock of going from the freezer to the oven (very cold/frozen glass or ceramic can sometimes crack or burst in a hot oven). After baking, cool it completely, cover with foil, and freeze. The flexible foil baking dishes you can get at the grocery store work well!
TO HEAT THIS UP FROM THE FREEZER: If you’ve used a metal pan, you can put it right in the oven from the freezer. I don’t even preheat the oven first, as the pan will warm up along with the oven (which can prevent warping the pan). I just remove the foil, put it in the cold oven, then turn the oven on and bake for 20-25 minutes, or until it’s bubbly and hot.
MAKE IT VEGAN/EGG-FREE. You can absolutely use an egg replacer in this to make it vegan or egg-free. I’ve had good luck with The Neat Egg, which is a powdered egg replacer. Follow the directions on your package for substituting. (You may also be able to get away with a flax egg, but I haven’t tested it.)
NOT GLUTEN-FREE OR DAIRY-FREE? You can use traditional white flour in place of the gluten free flour blend and/or use traditional buttermilk in place of the nut milk + vinegar option I used here.
MAKE IT MINI! You can totally make these in ramekins for individually portioned pot pies. Depending on the size of your ramekins, you’ll need to adjust the baking time. Narrow/deep ramekins will cook slower than wide/shallow ones.
LOVE THIS COZY DINNER? YOU MIGHT ALSO LOVE…
- Salsa Verde Chicken Chili (20 minutes or less!)
- Healthy Buffalo Chicken Burgers
- Cajun Sausage & Rice Skillet
- Slow Cooker Pumpkin Taco Soup (Gluten Free & Paleo)

Chili Cornbread Pot Pie (Gluten Free, Vegan Friendly)
- Total Time: 40 minutes
- Yield: 6–7 servings 1x
Description
This cozy chili & cornbread pot pie combines two favorites into one delicious, cozy meal. Gluten free, dairy free, and easily vegan! You can use any chili you like here–I like to assume about 1 cup of chili per person, so I usually use about 6-7 cups of chili.
*Nutrition facts will vary based on what chili you use, so the nutrition facts below are for the cornbread topping only.
Ingredients
For the Cornbread Topping:
- 2/3 cup milk (I used unsweetened almond or cashew milk)
- 1 tsp cider vinegar
- 1/2 cup gluten free 1:1 all purpose flour (or white flour if not GF)
- 1/2 cup cornmeal (certified gluten free, as needed)
- 1 tsp baking powder
- 1/2 tsp salt
- 2 eggs (or 2 eggs’ worth of egg replacer, if vegan)
- 2 Tbsp avocado oil, butter, vegan butter, or ghee (melted if solid)
- 1 1/2 Tbsp maple syrup or honey
For chili: 6-8 cups of your favorite chili
Instructions
- Preheat oven to 400 degrees F.
- In a small bowl or liquid measuring cup, combine milk + cider vinegar. Set aside while you mix up the dry ingredients.
- In a medium bowl, whisk together flour, cornmeal, baking powder, and salt.
- Add milk mixture, eggs (or egg replacer), oil, and syrup to the dry ingredients.
- Stir until just combined. (A few small lumps are ok.)
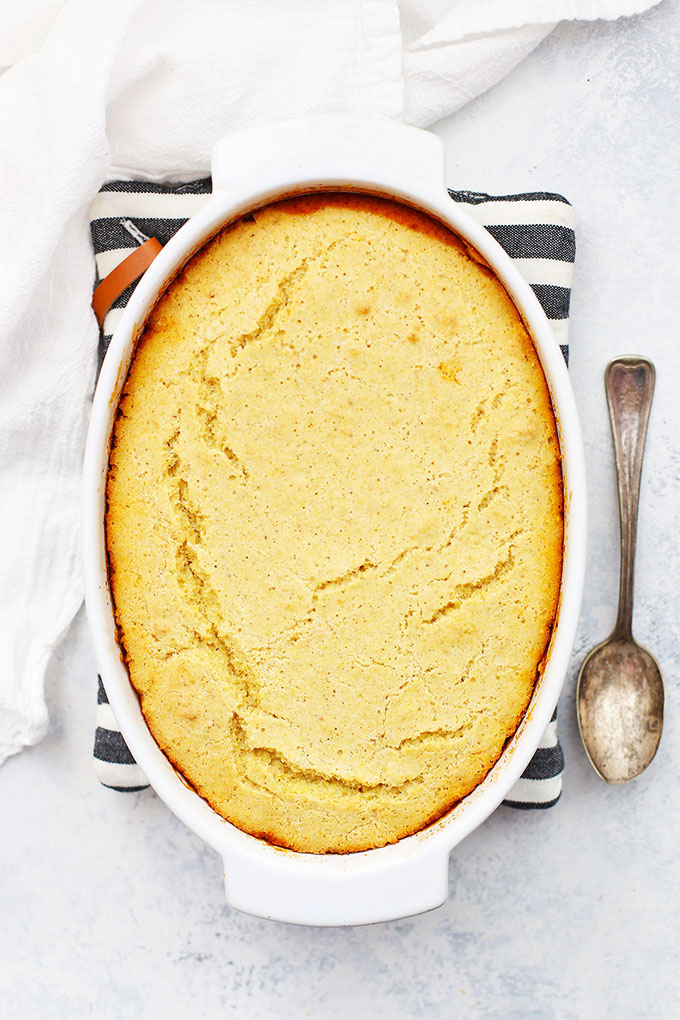
- Pour your chili into a 2-3 quart baking dish (8×8 or 2-quart oval/circle are fine!).
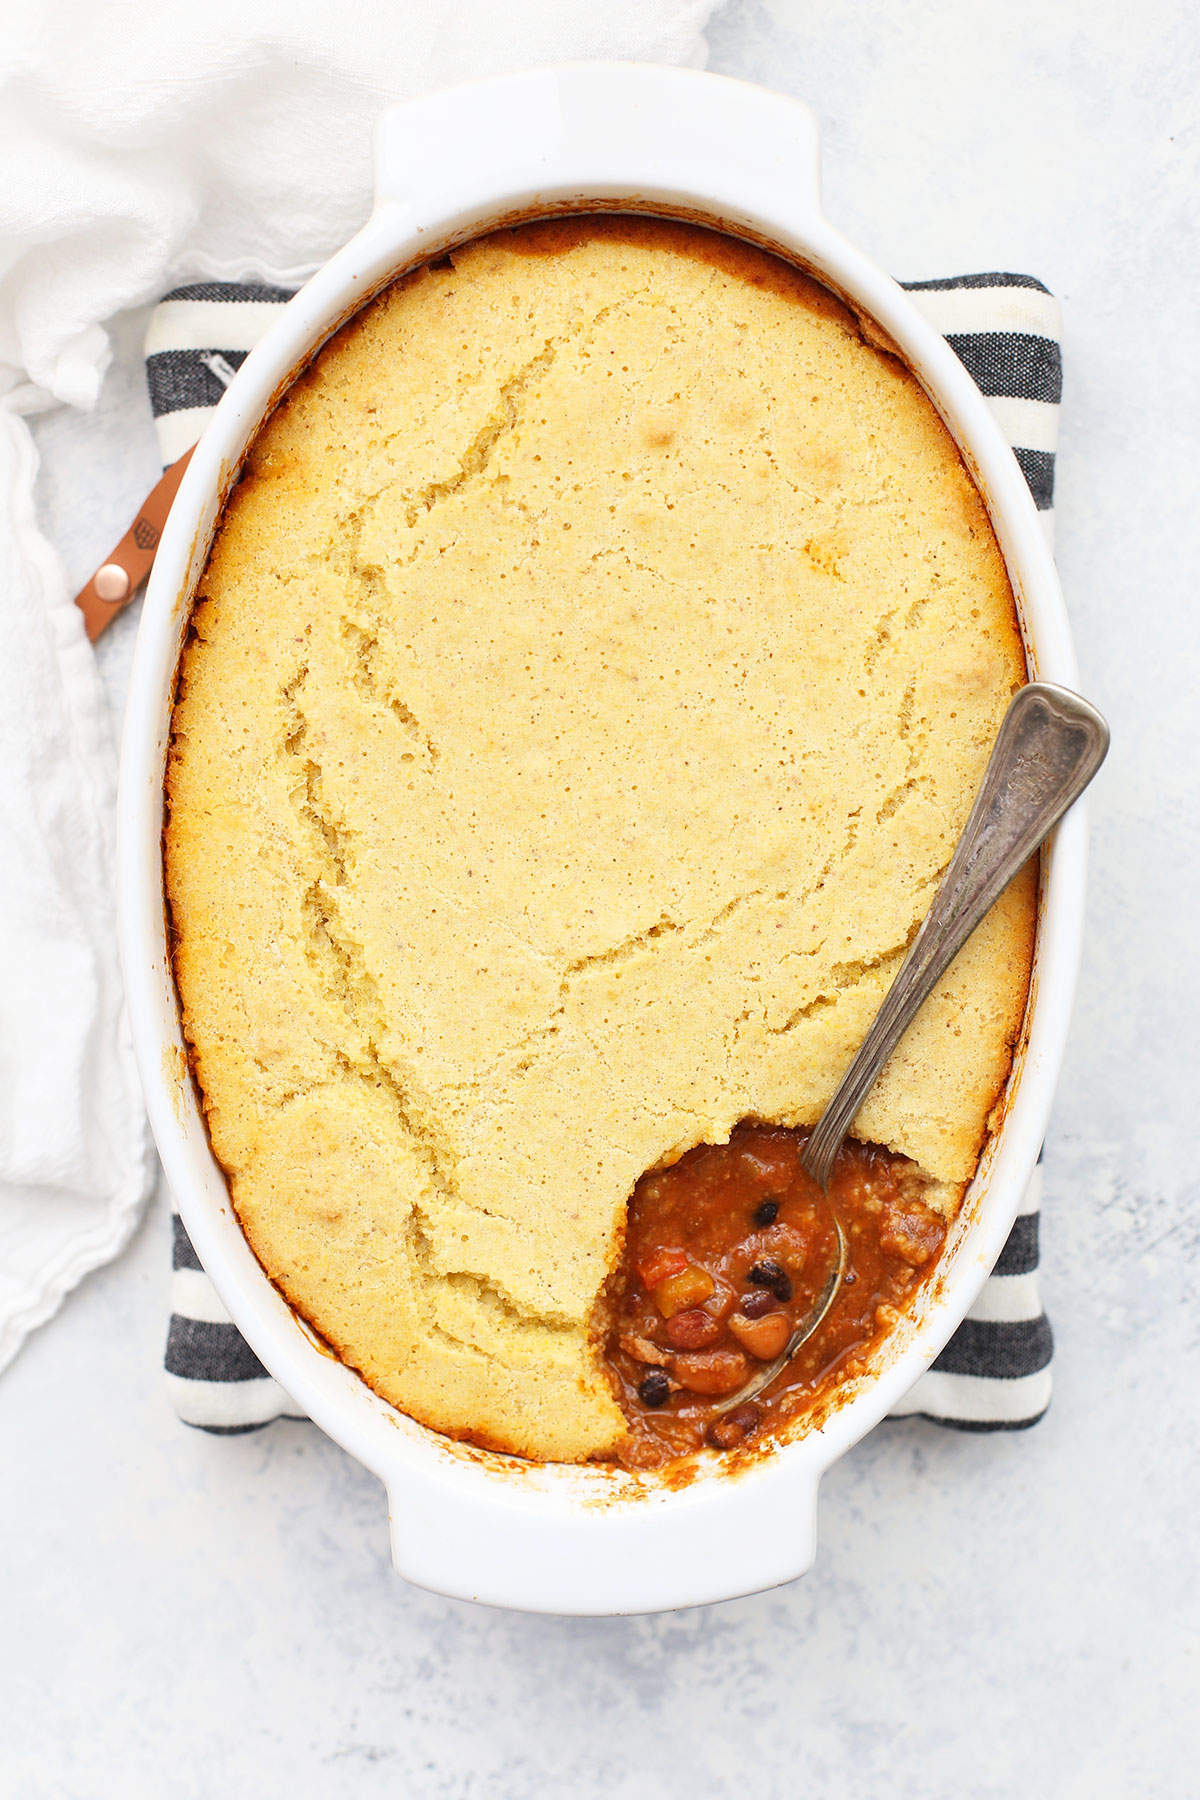
- Gently spoon the cornbread batter over the surface of the chili (this will keep it a distinct layer instead of sinking down into the chili).
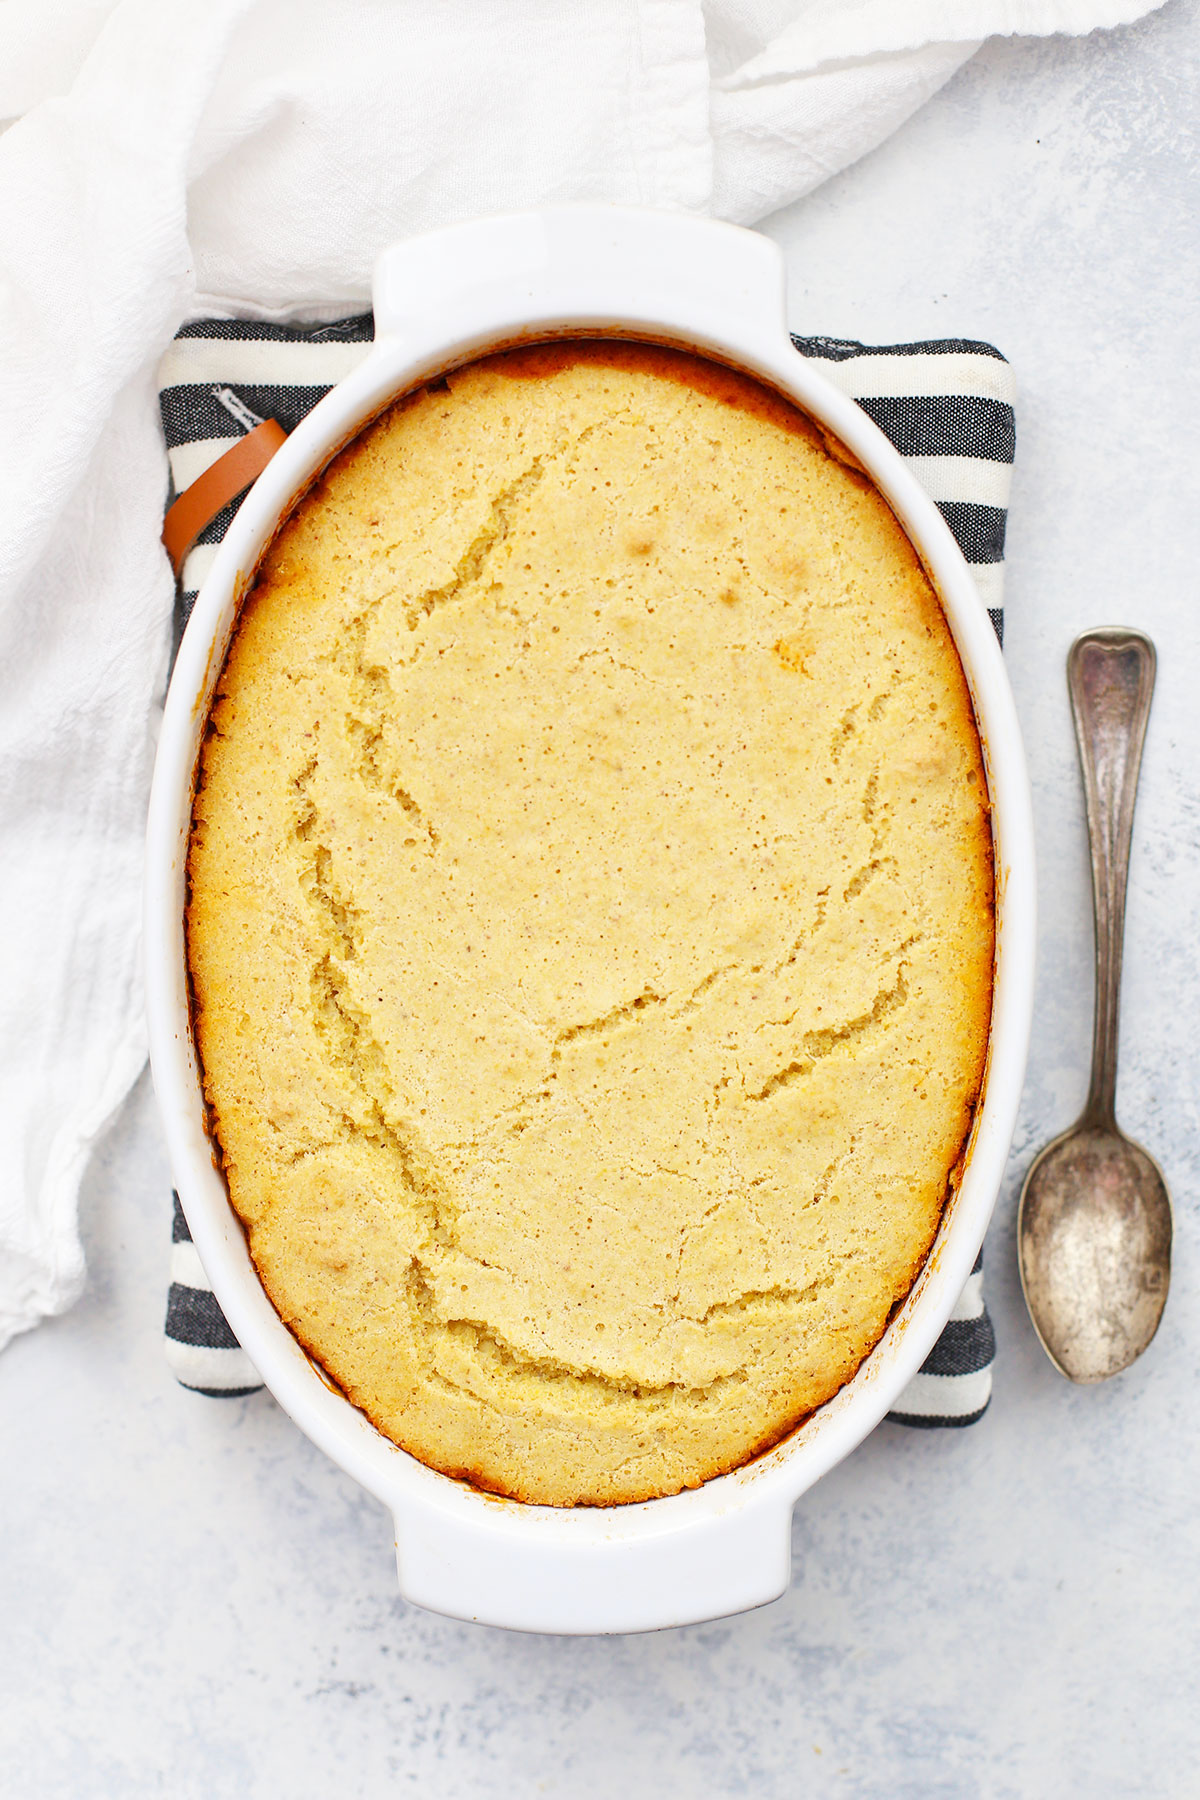
- Bake at 400 degrees 25-30 minutes, or until edges are golden and a toothpick inserted in the center comes out clean.
- Run a thin knife around the edges to loosen the cornbread from the sides and serve!
Notes
- Freezer Meal Notes: if you want to freeze this, you’ll need to make it start-to-finish before freezing, as unbaked batter won’t keep well in the freezer. I also recommend using a metal baking dish, which can handle reheating without temperature shock of going from the freezer to the oven (very cold/frozen glass or ceramic can sometimes crack or burst in a hot oven). After baking, cool it completely, cover with foil, and freeze!
- To Heat From the Freezer: If you’ve used a metal pan, you can put it right in the oven from the freezer. I don’t even preheat the oven first, as the pan will warm up along with the oven (which can prevent warping the pan). I just remove the foil, put it in the cold oven, then turn the oven on and bake for 20-25 minutes, or until it’s bubbly and hot.
- Make it Vegan/Egg Free – You can absolutely use an egg replacer in this to make it vegan or egg free. I’ve had good luck with The Neat Egg, which is a powdered egg replacer. Follow the directions on your package for substituting. (You may also be able to get away with a flax egg, but I haven’t tested it.)
- Not Gluten Free or Dairy Free? You can use traditional white flour in place of the gluten free flour blend and/or use traditional buttermilk in place of the nut milk + vinegar option I used here. Out of buttermilk? Use cows milk + vinegar in the same proportions I use below.
- Make it Mini. You can totally make these in ramekins for individually portioned pot pies. Depending on the size of your ramekins, you’ll need to adjust the baking time. Narrow/deep ramekins will cook slower than wide/shallow ones.
- Prep Time: 10 minutes
- Cook Time: 30 minutes
- Category: Main Dish
- Method: Oven
- Cuisine: American
Nutrition
- Serving Size: 1/6 Recipe (Crust Only)
- Calories: 167
- Sugar: 4.4 g
- Sodium: 246.8 mg
- Fat: 6.9 g
- Carbohydrates: 23.2 g
- Fiber: 1.1 g
- Protein: 3.8 g
- Cholesterol: 62 mg
Updated from the archives. Originally shared Oct 18, 2018
If we use store bought gluten free cornbread do we bake it in the oven according to the box ?
Hi Kim! I haven’t tried this with store-bought mix before. Our recipe is specifically scaled to fit the recipe (so it’s not too much, not too little), so I highly recommend it. If you’re using store-bought mix, you’ll have to play it by ear as to how much of the mix you decide to add, but I’d start with a bake time similar to mine and go from there.
This looks so good! Can you use oat fiber in place of the flour and would it be a 1-1 ratio?
Georgia – Do you mean oat flour or oat bran? I haven’t tried it with either so I couldn’t give you ratios, but I wouldn’t recommend either as a direct substitute. Oat bran would be too dry and crumbly, and oat flour would probably be too close textured and wouldn’t be light enough to go with this recipe without lightening it up with some starch or starchy flour. I’m sorry!
Emily,
I didn’t see the instructions for assembling g or baking. Did I miss it somewhere? This recipe looks amazing, and I look forward to trying it.
Natalie – Ack! There was some sort of glitch and the instructions weren’t showing! I think I’ve got it all sorted out (I can see them on my computer and phone). PLEASE let me know if they’re not showing up for you!
It looks fixed. Thank you!
Phew! Thank you for letting me know. I’m so sorry about that!