


This luscious vegan chocolate pudding might be naturally gluten-free AND dairy-free, but it still has all the creamy, chocolatey flavor you crave. Best of all–it’s made with simple ingredients! No tofu, avocado or other weird ingredients here!

We’ve been making this easy chocolate pudding for over NINE YEARS. Isn’t that crazy!? I first developed the recipe for my daughter’s preschool snack time, and we’ve loved it ever since. Over the years, I’ve lost count of how many messages, comments, and reviews I’ve gotten about it. It’s a major fan-favorite and for good reason:
This vegan chocolate pudding is the real deal–it’s smooth, thick, and not too heavy, with delicious chocolate flavor in every spoonful.
A lot of dairy-free chocolate pudding recipes use avocado, banana, or tofu to help the texture, but we find we can make the BEST vegan chocolate pudding from just a few simple ingredients…
Simple Ingredients To Start
Our easy vegan chocolate pudding recipe is made WITHOUT tofu, avocado, or bananas. Instead, we rely on simple pantry ingredients it’s easy to keep on hand any time. Let’s take a peek at the ingredients list:

- Coconut Sugar (Or Granulated Sugar). For a more natural sweetener, we usually make this dairy-free chocolate pudding with coconut sugar. If you’re not a fan or simply don’t have it on hand, you can absolutely use vegan white sugar instead. Just keep in mind that it’ll be a little sweeter this way.
- Cornstarch. We use cornstarch to thicken the pudding, since it gives the most consistent results, but if you prefer to use arrowroot, check out the FAQ below for some tips!
- Unsweetened Cocoa Powder. I prefer the flavor of natural cocoa powder (regular cocoa powder) instead of dutch-processed cocoa powder for homemade pudding.
- A Pinch of Salt. The perfect tiny pinch to balance the flavors.
- Full-Fat Coconut Milk. This is where we get our richness. Since most chocolate pudding recipes use whole milk, we need something thicker than just almond milk (which is mostly water). I find the full-fat canned coconut milk is the best option here.
- Almond Milk. Then, you’ll round out the liquid with your favorite dairy-free milk. We usually use unsweetened almond milk, but you can also use cashew milk, soy milk, or whatever plant-based milk you typically drink/use at home.
- Dairy-Free Chocolate or Chocolate Chips. Good-quality dark chocolate melts even better, so feel free to use that instead of chocolate chips! If chocolate chips are easier, we usually buy Enjoy Life or Guittard Extra Dark chocolate chips for this homemade chocolate pudding.
- Vanilla. Chocolate + vanilla extract forever!
Ingredient Check: Is It Vegan?
It’s important to note that dairy-free is NOT the same as vegan. To keep this dairy-free chocolate pudding vegan, make sure you check:
- Sugar. Use coconut sugar (which doesn’t use bone char for processing!), or use organic cane sugar/vegan granulated sugar.
- Chocolate. Not all dairy-free chocolate is vegan, but we love Enjoy Life chocolate when we need a vegan option. It’s certified gluten-free AND vegan, plus free of 14 allergens! Equal Exchange, Endangered Species, Pascha, and Hu Kitchen are other great brands. Even brands like Simple Truth, Toll House, and Ghirardelli offer plant-based chocolate chips these days! Good-quality dark chocolate melts even better, so feel free to use that instead of chocolate chips!
How To Make Vegan Chocolate Pudding, Step By Step
As always, you can find the full recipe with ingredient amounts, step-by-step instructions, and tips in the recipe card below.

- Whisk Dry Ingredients. In a medium saucepan, combine coconut sugar, cornstarch, cocoa powder, and salt. whisk to combine until well blended.
- Add Milk & Cook. Next, pour in coconut milk and almond milk, then whisk and cook over medium heat 8-10 minutes, or until the mixture has come to a low simmer and the pudding has thickened. (You should be able to see the path of the whisk in the pudding and if you let pudding drip off the whisk back into the saucepan, it should rest on the surface of the pudding briefly before absorbing. You can also check by dipping a spoon or spatula into the pudding and running your finger down the middle. It should leave a clear line.)
- Add Chocolate & Vanilla. When the pudding has thickened, turn off the heat and mix in chocolate chips and vanilla extract. Whisk until the chocolate has full melted and the pudding is smooth. (You will likely see some bubbles, but there shouldn’t be any lumps. If, by chance you do have lumps, you can strain the pudding through a fine mesh sieve before refrigerating.)
- Cover & Chill. Pour the chocolate pudding into a heat-proof bowl and press plastic wrap onto the surface to prevent the pudding from developing a “skin” on top of the pudding. Transfer to the refrigerator and chill at least 3-4 hours to thicken completely. If you check it after 1-2 hours, it’ll still be on the thin side.
- Serve & Store. Spoon the pudding into individual dishes and top with whipped coconut cream, fresh berries, chocolate, etc. as desired. Leftover pudding will keep in an airtight container the refrigerator 3-4 days.

Pro Tips: How To Avoid Lumps In Your Pudding
While you may see some air bubbles from whisking, this creamy pudding shouldn’t have any lumps. My best tricks for lump-free chocolate pudding are:
- Whisk The Dry Ingredients Well At the Beginning. This will help break down any lumps in the cocoa or sugar.
- Whisk Constantly As It Cooks. Next, don’t walk away from the pan while you’re cooking the pudding. You want to whisk the whole time. Cocoa is hydrophobic, which means it’s “afraid” of water/liquid at first. As the milk heats, the cocoa powder will blend in better. Just keep whisking!
- Use Good-Quality Chocolate When You Can. Lastly, use the best quality chocolate that easily fits your budget. Some chocolate chips have added stabilizers to prevent them from melting in cookies, so using a higher quality option (like Enjoy Life, Guittard, or Ghirardelli) can help your chocolate melt better at the end.
- Strain It If You Need To. Making this with kids? Get distracted? Found some lumps anyway? No worries. Just strain the pudding through a fine-mesh sieve before transferring it to the fridge. This will help press out any lumps.

Yummy Toppings To Try
Now that you know how to make dairy-free chocolate pudding, we can talk about TOPPINGS! You know I love a garnish–it doesn’t need to be fancy, but that little extra “something” can easily elevate this from fun kids treat, to luscious dessert.
- Fresh Berries. I love berries and chocolate, so this is always my first pick! Strawberries and raspberries are my favorite, but all berries work.
- Whipped Cream. Try some whipped coconut cream on top. Coco Whip is a great store-bought option (like vegan Cool Whip!)
- Sliced Bananas. I love bananas and chocolate together.
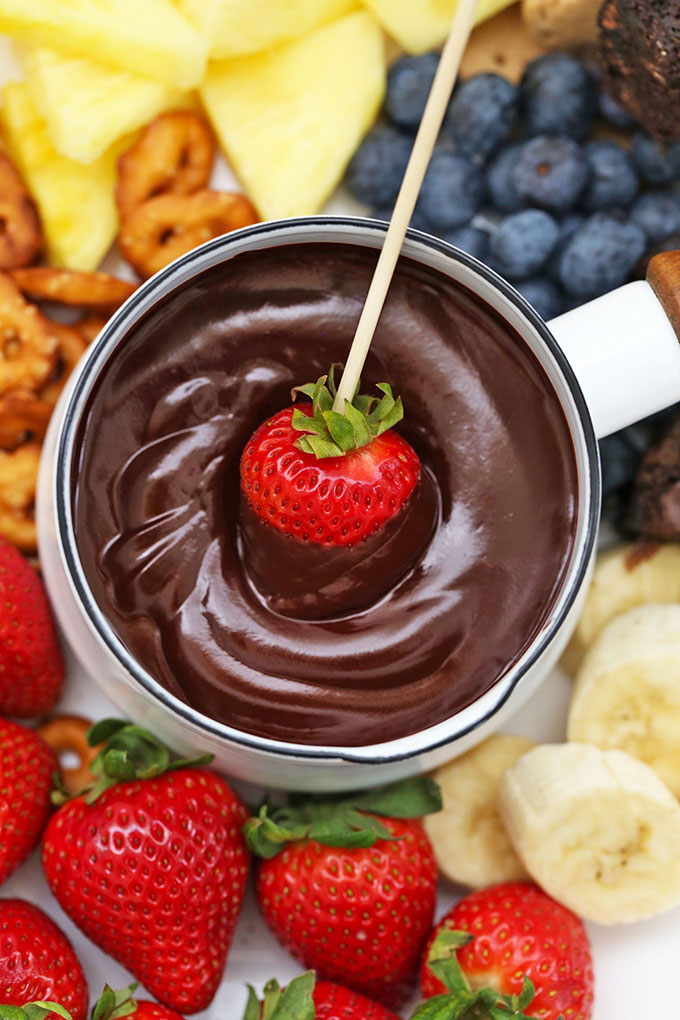
- Chocolate Covered Strawberries. If you want to really go for it (say, for Valentine’s Day or another special occasion), try serving each bowl of chocolate pudding with one of our vegan chocolate covered strawberries on top!
- Cacao Nibs. I love the crunch these add! They’re not sweetened, so use a light hand when you add them.
- Mini Chocolate Chip. If you want your crunch a little sweeter, go for mini chocolate chips.
- Toasted Almonds. Add a nutty crunch with some toasted almonds (or hazelnuts!)
- Fresh Mint Leaves. A pretty pop of green adds such a lovely look!
- More Chocolate. Some chocolate curls, chocolate shavings, or even a light dusting of cocoa powder can add even more rich chocolate flavor!

FAQ + Tips And Tricks For The Best Vegan Chocolate Pudding
Can You Freeze Vegan Chocolate Pudding? I don’t recommend it, unless you’re pouring it into popsicle molds to make frozen pudding pops. Let the popsicles freeze 3-4 hours or until solid, then enjoy!
What Milk Can You Use For Dairy-Free Chocolate Pudding? I like using a combination of almond and coconut milk in this vegan pudding recipe, since it prevents either flavor from overpowering the chocolate and the coconut milk lends a nice richness. You can substitute other dairy-free milk (like soy milk, cashew milk, or oat milk), but know that if you’re skipping the coconut milk, your end result will be a bit thinner.
Arrowroot VS Cornstarch. I usually use cornstarch to thicken this creamy vegan chocolate pudding because it gives such consistent results. If you can’t have corn, you can try arrowroot instead. Arrowroot powder (sometimes labeled arrowroot starch) is a grain-free starch that’s common in allergy-free and paleo cooking. (Note: for paleo chocolate pudding, be sure to use the arrowroot option!)


Did You Make This Recipe?
Tell me all about it! Leave a star rating below when you try our Vegan Chocolate Pudding recipe. I can’t wait to hear how it goes!
The Best Vegan Chocolate Pudding
Ingredients
For The Vegan Chocolate Pudding:
- 1/3 cup coconut sugar or vegan granulated sugar
- 3 Tablespoons unsweetened cocoa powder or cacao powder (I prefer regular cocoa powder, NOT Dutch-processed cocoa for this pudding)
- 4 Tablespoons cornstarch (or arrowroot powder, for paleo)
- pinch salt
- 1 13 oz. can full fat coconut milk
- 1 1/4 cups unsweetened almond milk or your favorite non-dairy milk
- 2/3 cup dairy-free chocolate chips or 4 ounces chocolate chopped
- 1 teaspoon vanilla extract
Optional Toppings:
- Fresh raspberries chopped chocolate, fresh strawberries, sliced bananas, a drizzle of peanut butter, etc.
Instructions
- Whisk Dry Ingredients.In a medium saucepan, combine coconut sugar, cornstarch, cocoa powder, and salt. whisk to combine until well blended.
- Add Milk & Cook. Next, pour in coconut milk and almond milk, then whisk and cook over medium heat 8-10 minutes, or until the mixture comes to a low simmer and pudding has thickened. (You should be able to see the path of the whisk in the pudding and if you let pudding drip off the whisk back into the saucepan, it should rest on the surface of the pudding briefly before absorbing.
- Add Chocolate & Vanilla. When the pudding has thickened, turn off the heat and mix in chocolate chips and vanilla extract. Whisk until the chocolate has full melted and the pudding is smooth. (You will likely see some bubbles, but there shouldn’t be any lumps. If, by chance you do have lumps, you can strain the pudding through a fine mesh sieve before refrigerating.)
- Cover & Chill. Pour the chocolate pudding into a heat-proof bowl and press plastic wrap onto the surface to prevent the pudding from developing a “skin” on top of the pudding. Transfer to the refrigerator and chill at least 3-4 hours to thicken completely. If you check it after 1-2 hours, it’ll still be on the thin side.
- Serve & Store. Spoon the pudding into individual dishes and top with whipped coconut cream, fresh berries, chocolate, etc. as desired. Leftover pudding will keep in an airtight container the refrigerator 3-4 days.
Notes
- Thicker, thinner. This pudding does continue to thicken as it cools. If you want to loosen it up a bit, just add a splash of milk and whisk it in.
- Can I Use Another Milk? We recommend a mix of coconut milk & almond milk since the coconut milk adds thickness/richness, while the almond milk keeps the flavor more neutral. If you use all almond milk, your pudding will turn out much thinner. If you need to substitute another plant based milk for the almond milk portion (oat milk, soy milk, rice milk, etc.) you can follow the same instructions.
Video
Nutrition
Nutrition facts are an estimate only and will vary based on brands and amounts used.
Find it Online:
https://www.onelovelylife.com/the-best-vegan-chocolate-pudding/Originally shared October 2015. Updated January 2017, then fully updated again July 2024.
I only have coconut cream in my pantry. Can I sub that for the full fat coconut milk?
Wanting to test this recipe today for a wiggly worm / muddy puddles dessert for my daughter’s first birthday!
Thanks!
Jamie – Yes–BUT! If you use a full can of coconut cream, it will be VERY thick, so I recommend doing HALF the amount of coconut cream and adding more water or almond milk for the rest. (So I’d add half the can of coconut cream, put the rest in your fridge and then add half a can worth of extra almond milk (or water)).
Thank you so much for this recipe! It’s absolutely delicious and you wouldn’t know that it’s a vegan recipe. The texture and flavor of this pudding are outstanding!
You MADE my day! What a sweet review. Thank you! I’m so glad you loved it as much as we do!!!
Hi there! This looks delicious!! I’m planning to make today but have a quick question- for the can of coconut milk, do you use the full can (including coconut water) or just the cream at the top?
Thank you!!
The full can 🙂 Hope you love it!
Thank you!!!
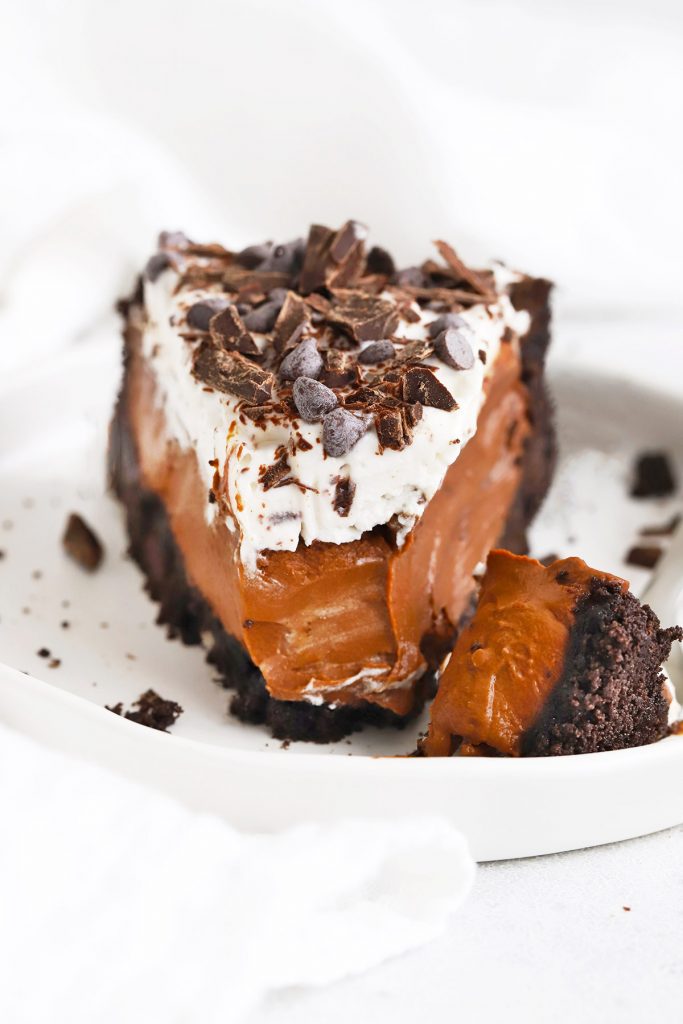
I’m making a chocolate pudding pie with this recipe. Can I pour the warm pudding into a chocolate crumb pie crust right away? The pudding is delicious and I used the reduced fat coconut milk!! I cannot, in good conscience use the full fat coconut milk.
Paula – You should be able to pour the pudding right into the prepared/baked crust and refrigerate it that way. (Also – The pudding may be a bit thinner with the reduced fat milk!)
Hi Emily,
Just following up- Thank you very much for the tips.
I made the pudding again (with Arrow Root) and kept it over the heat a little longer. It firmed up better.
And a few hours in the fridge made it perfect!
I am a gluten-free vegan and it is very hard to find pudding that I can eat, this is great!
Oh, I’m SO GLAD! It really is so hard to find a good GFDF pudding out there, and this is our favorite!
Hi I use to buy ZenSoy chocolate pudding but they seem to be out of business. I can’t find Vegan and Gluten free pudding anywhere. So I made yours. Wow it is amazing!
I have a question about the heating. What purpose does it serve? ( sorry for the dumb question)
Also I made it once with corn starch, it came out very think, maybe too think after 24 hours in the fridge.
I made it once with arrowroot, it did not firm up much.
Not sure if I am under heating it, but I don’t want to burn it.
Any tips?
Thanks.
Brandon – Thanks so much for your comment! That’s not a dumb question at all. The heat activates the thickening properties of the cornstarch or arrowroot. If you don’t heat it, it cannot thicken.
This homemade pudding is thicker than some store-bought varieties (many homemade puddings are), but it does sound liker perhaps it was over-cooked with the corn starch and not quite long enough with the arrowroot.
If you keep your heat on medium-low, whisking pretty constantly, then pull it off the heat when it’s visibly thicker, I think that should help. (Did you by chance watch the recipe video? I think it gives a good visual of the state you’re looking for.) One trick is that it should be thick enough to coat the back of a spoon well (if you run your finger along the back of the spoon, the line where you moved your finger should stay visible). Another trick is that if you *do* accidentally get it too thick, you can loosen it back up with some additional milk and some whisking after it’s refrigerated.
I hope some combination of those tips helps for next time! Thanks again for leaving your comment!!!
what is the nutritional value of this pudding. I do not like tofu pudding so I want to try something else. I am on a daily 1200 calorie meal plan. but i need this pudding to be 110 calories for 1/2 cup and only 7 net carbs. please post nutritional value… i can not find it on this page. thanks
Tammy – I don’t have nutrition facts available on my site for this one yet. You’re welcome to plug it into any free online calculator! My Fitness Pal is my favorite (the app or the site).
Can you freeze the pudding?
Jennifer – I have never had good luck freezing pudding before. I haven’t tried it on this recipe, but it hasn’t worked well for me in the past. The binders don’t always hold and the texture can get gloppy and separated upon thawing. I’m sorry!
Wow! So good. Sprinkled sea salt on the top.
Hooray! So glad you enjoyed it! I love it with sea salt!
Do you think I could use flax or soy milk instead of the almond milk? My little one has dairy and nut allergies.
Yes! You can sub basically any milk for the almond milk. The coconut milk is a little harder (but still possible) to substitute, since using a thinner milk will result in a thinner consistency for the pudding. I hope you love it!